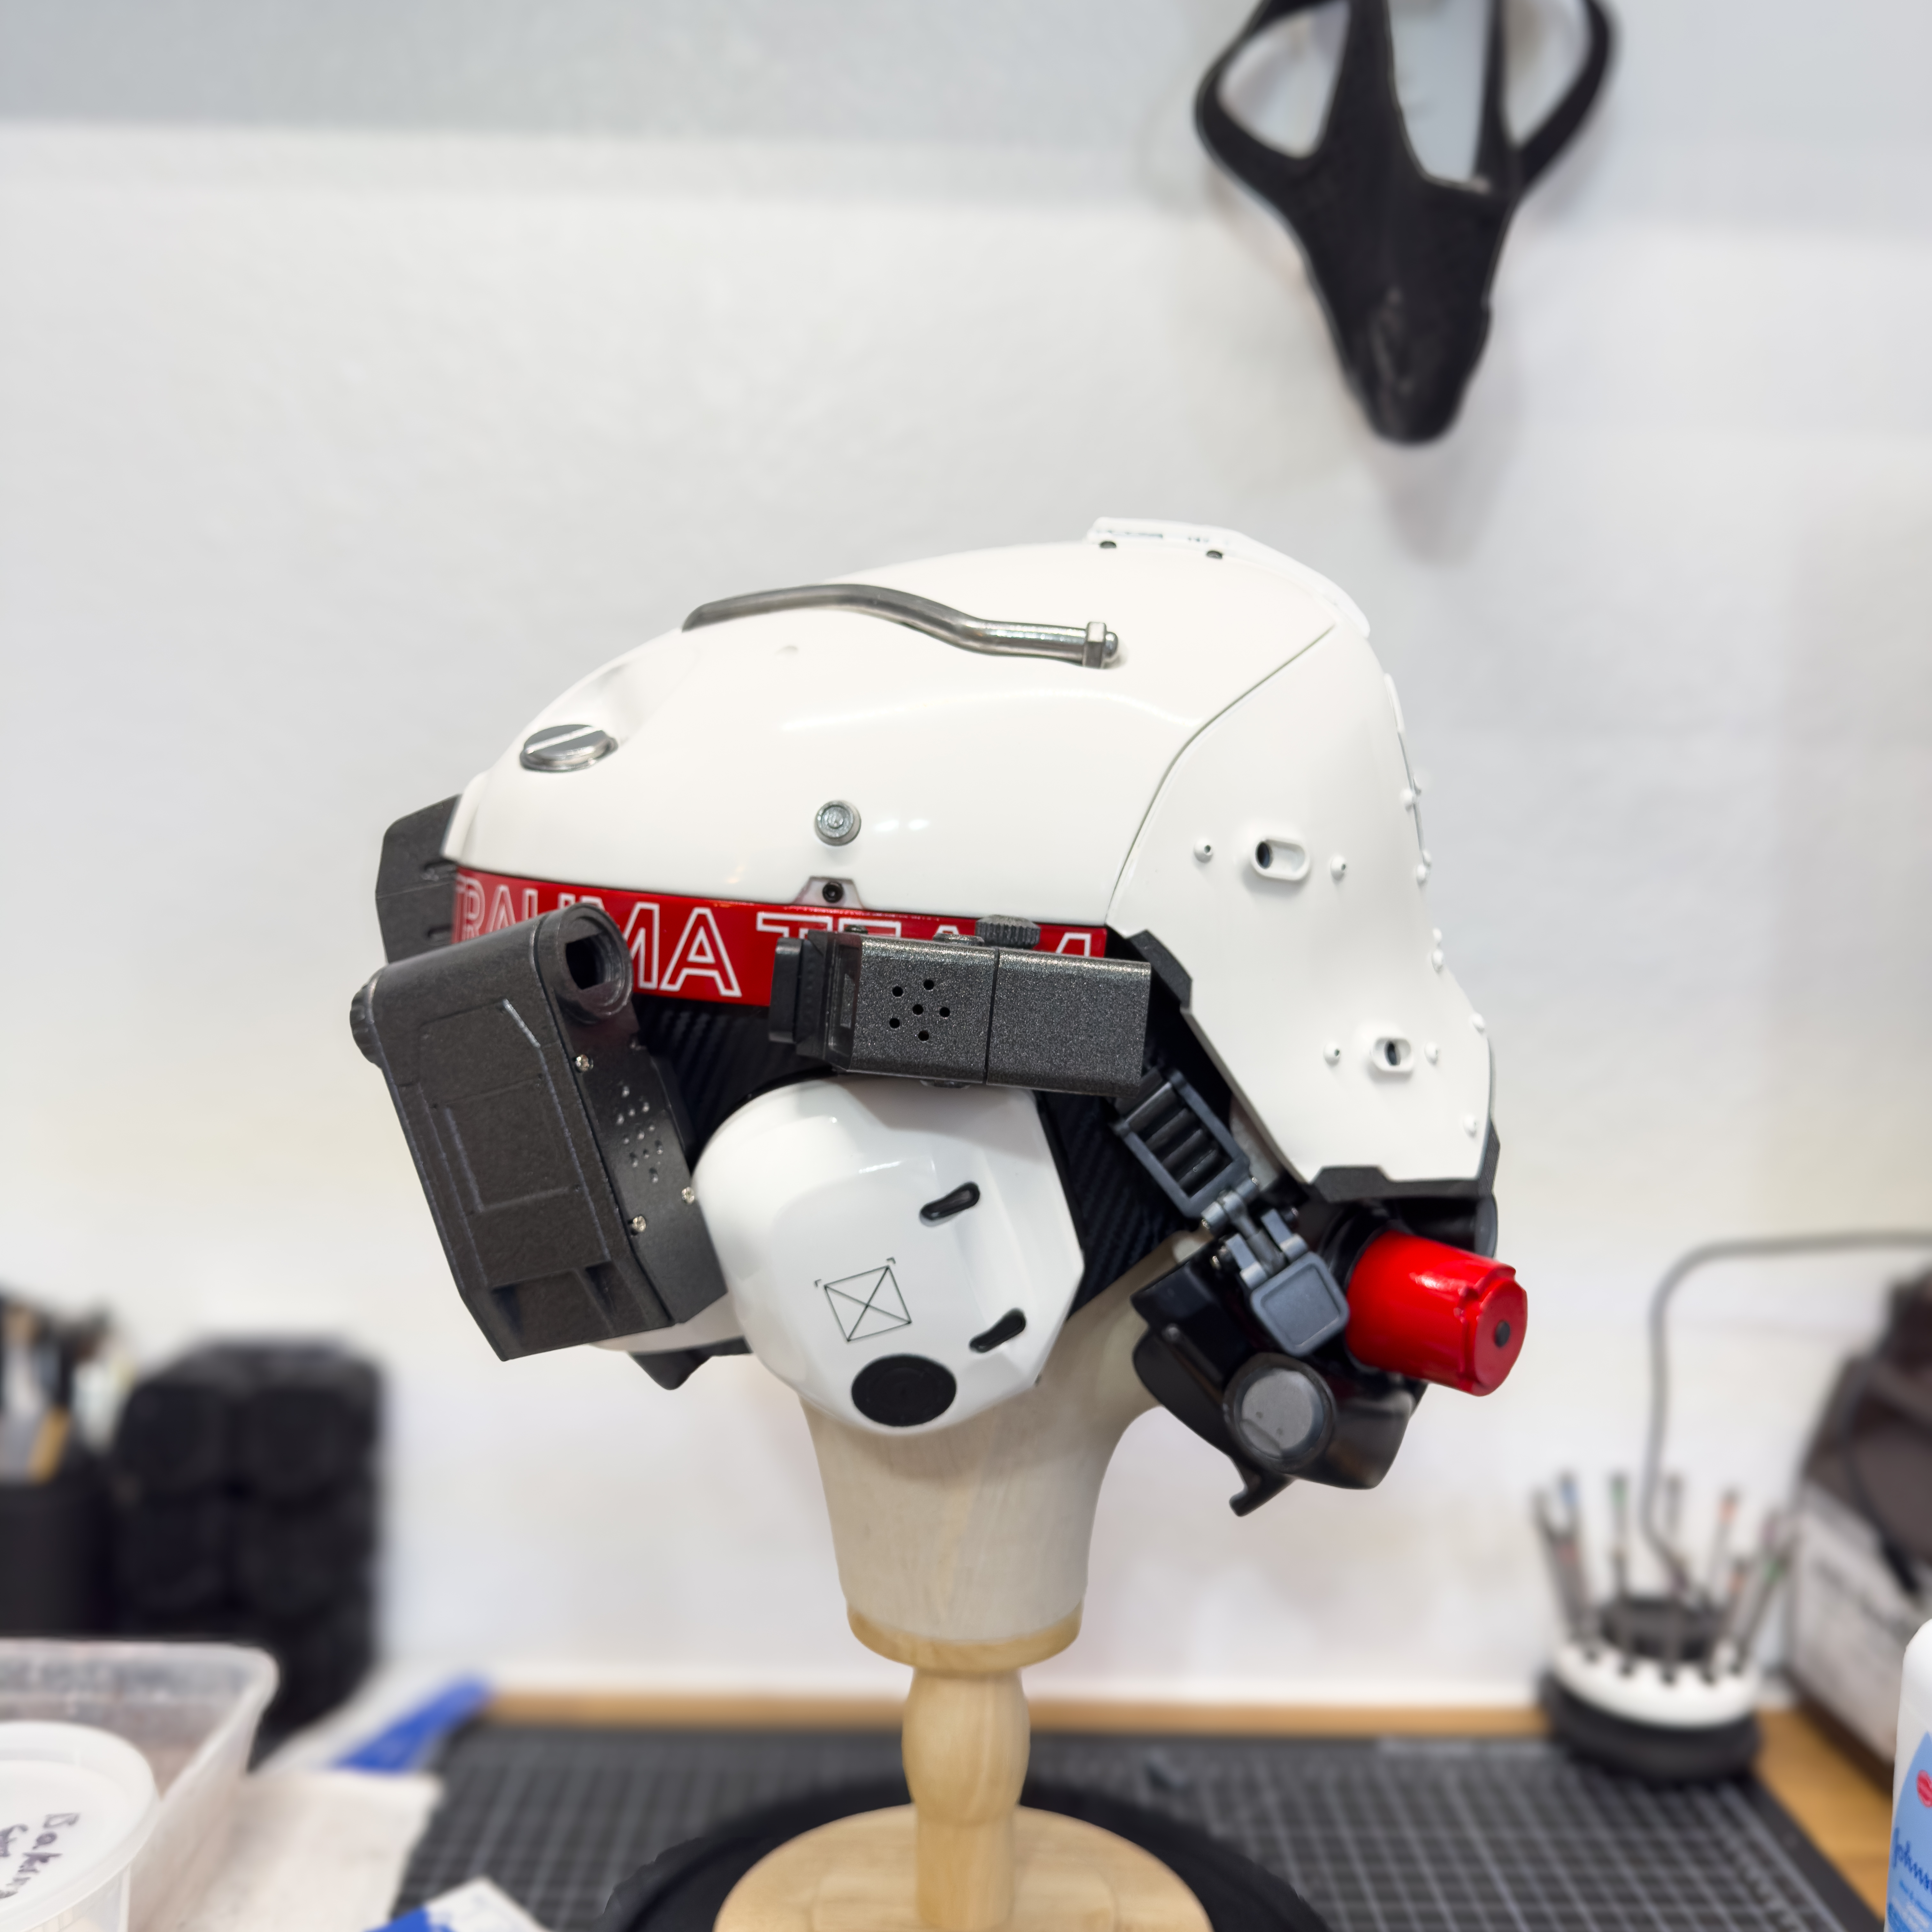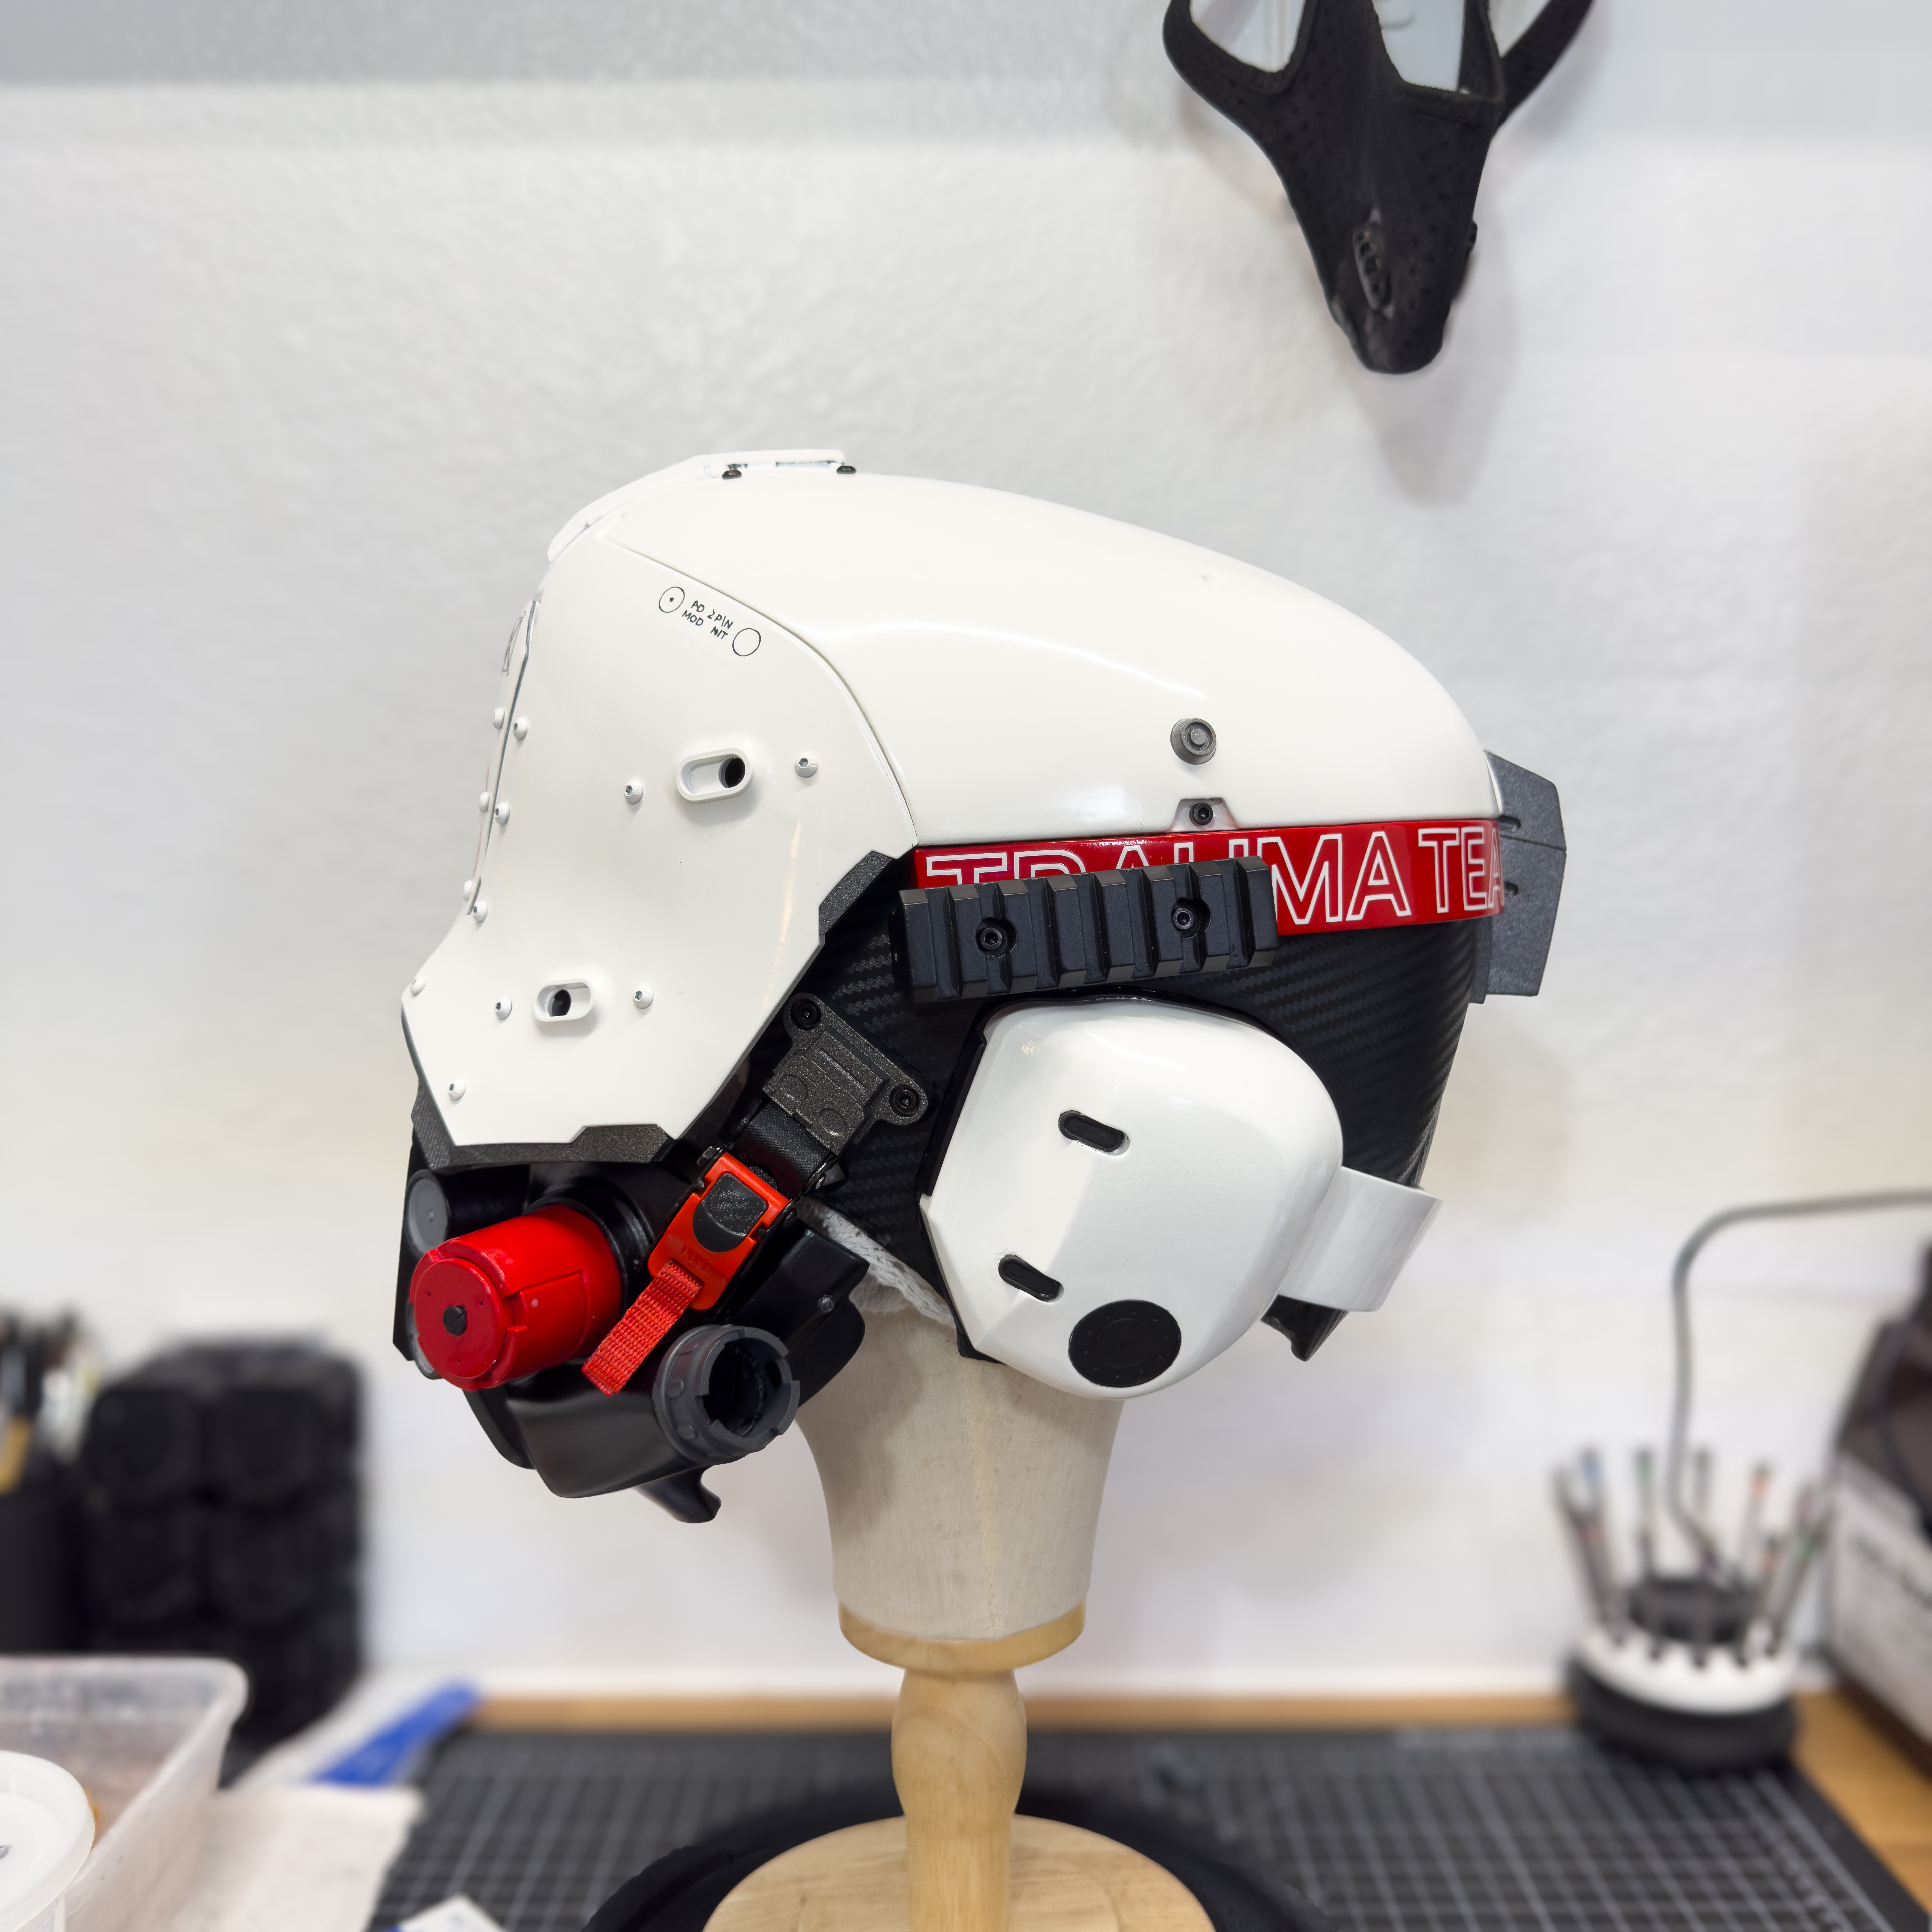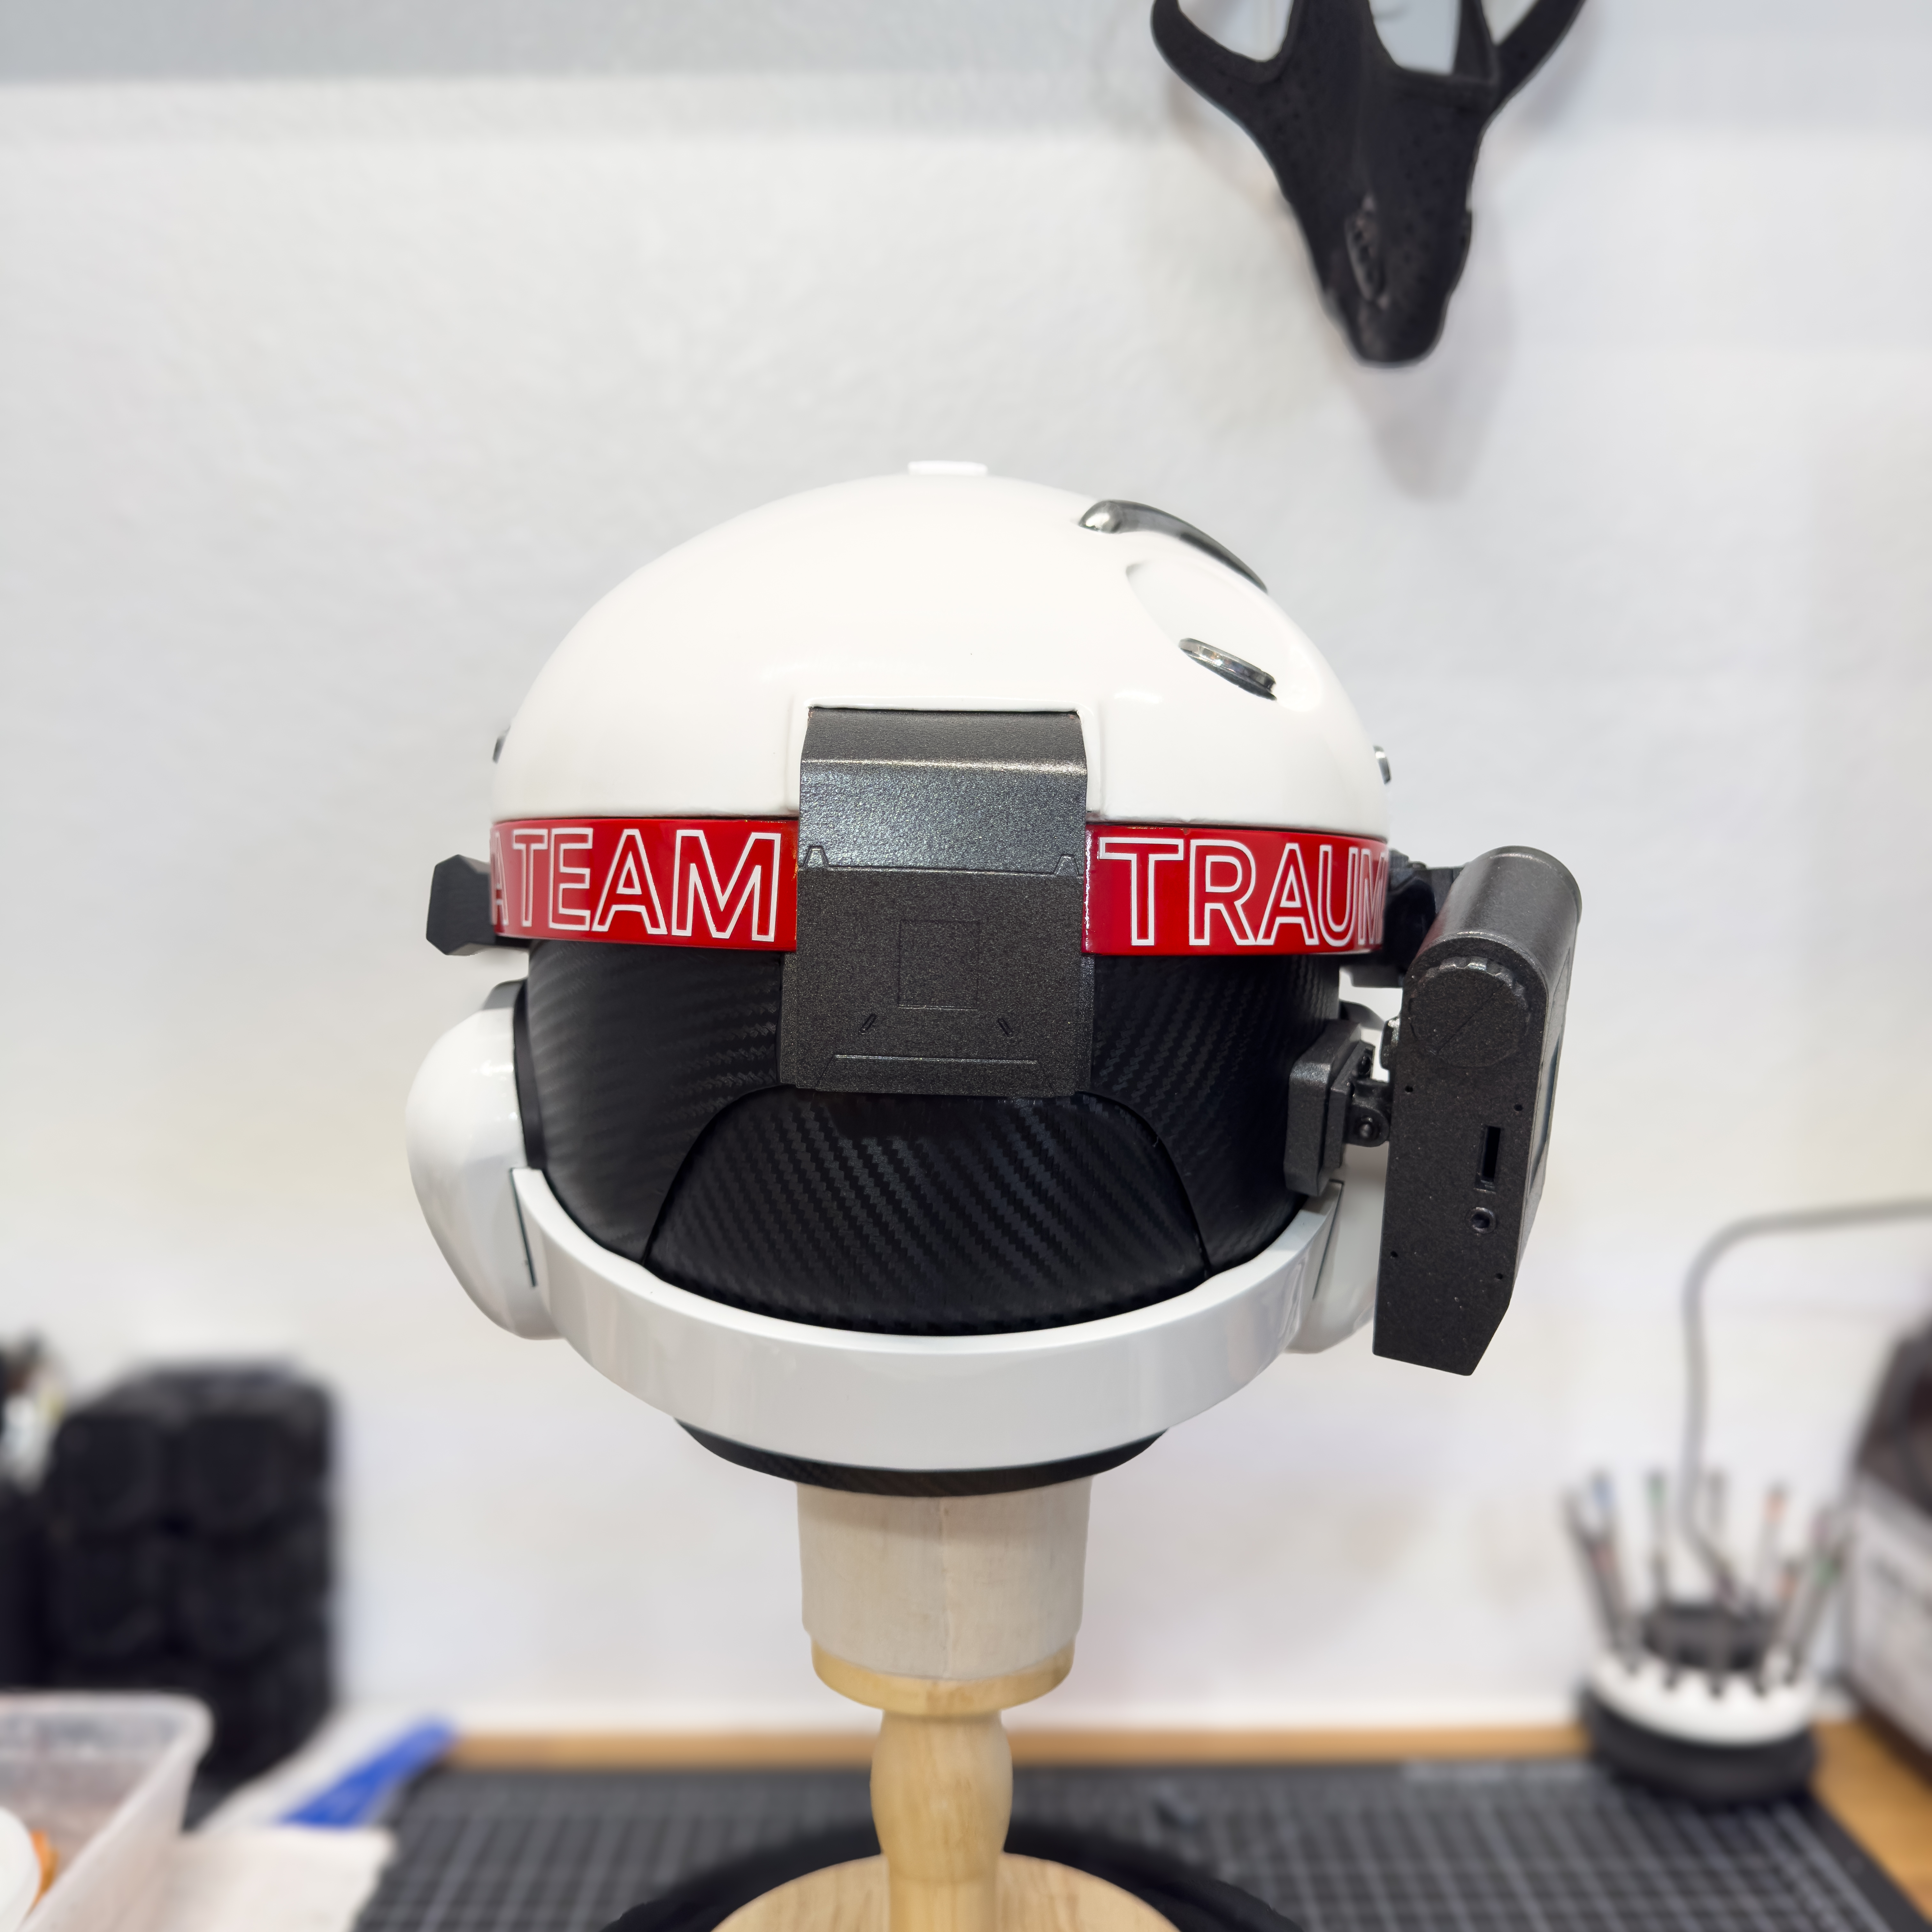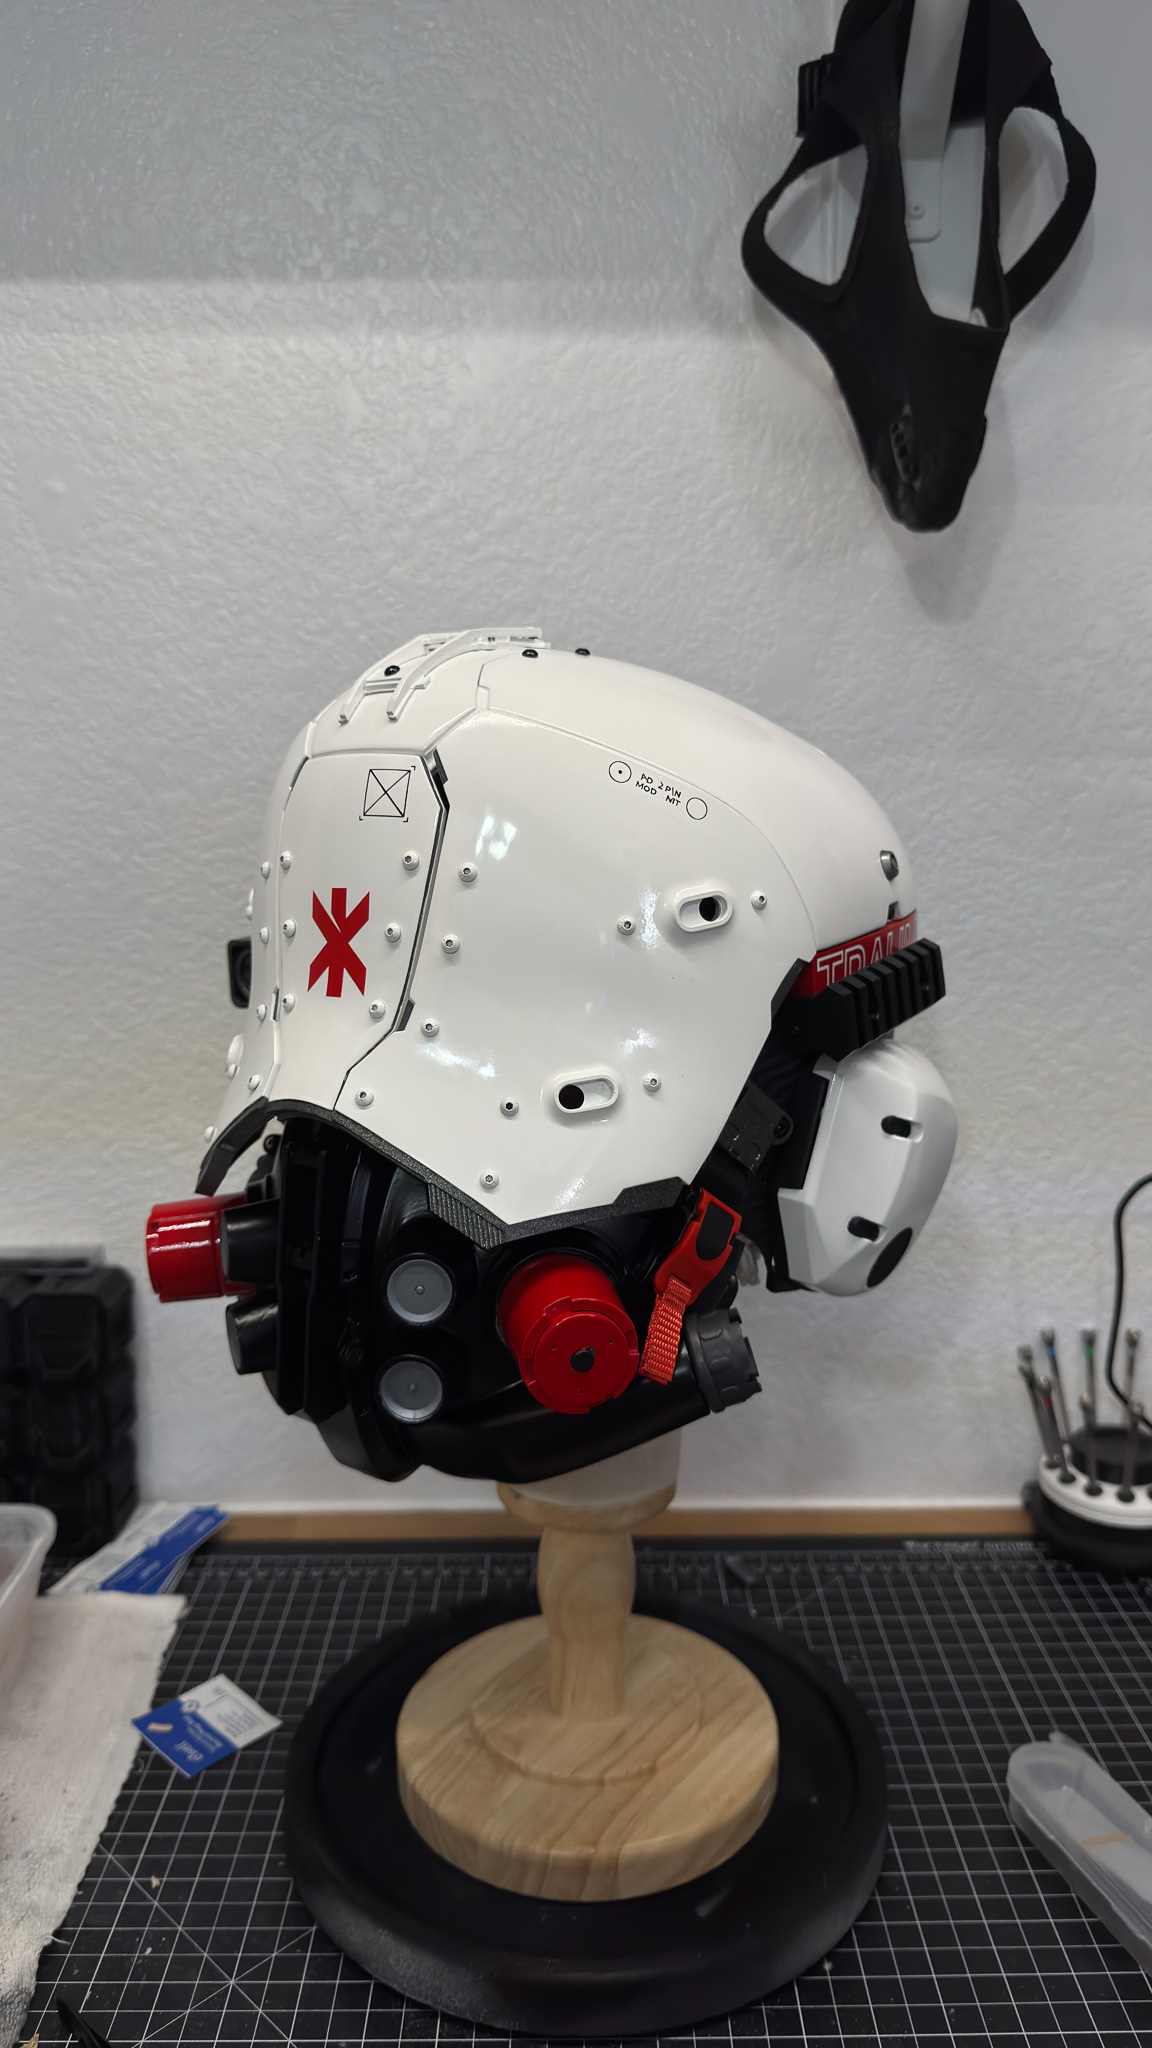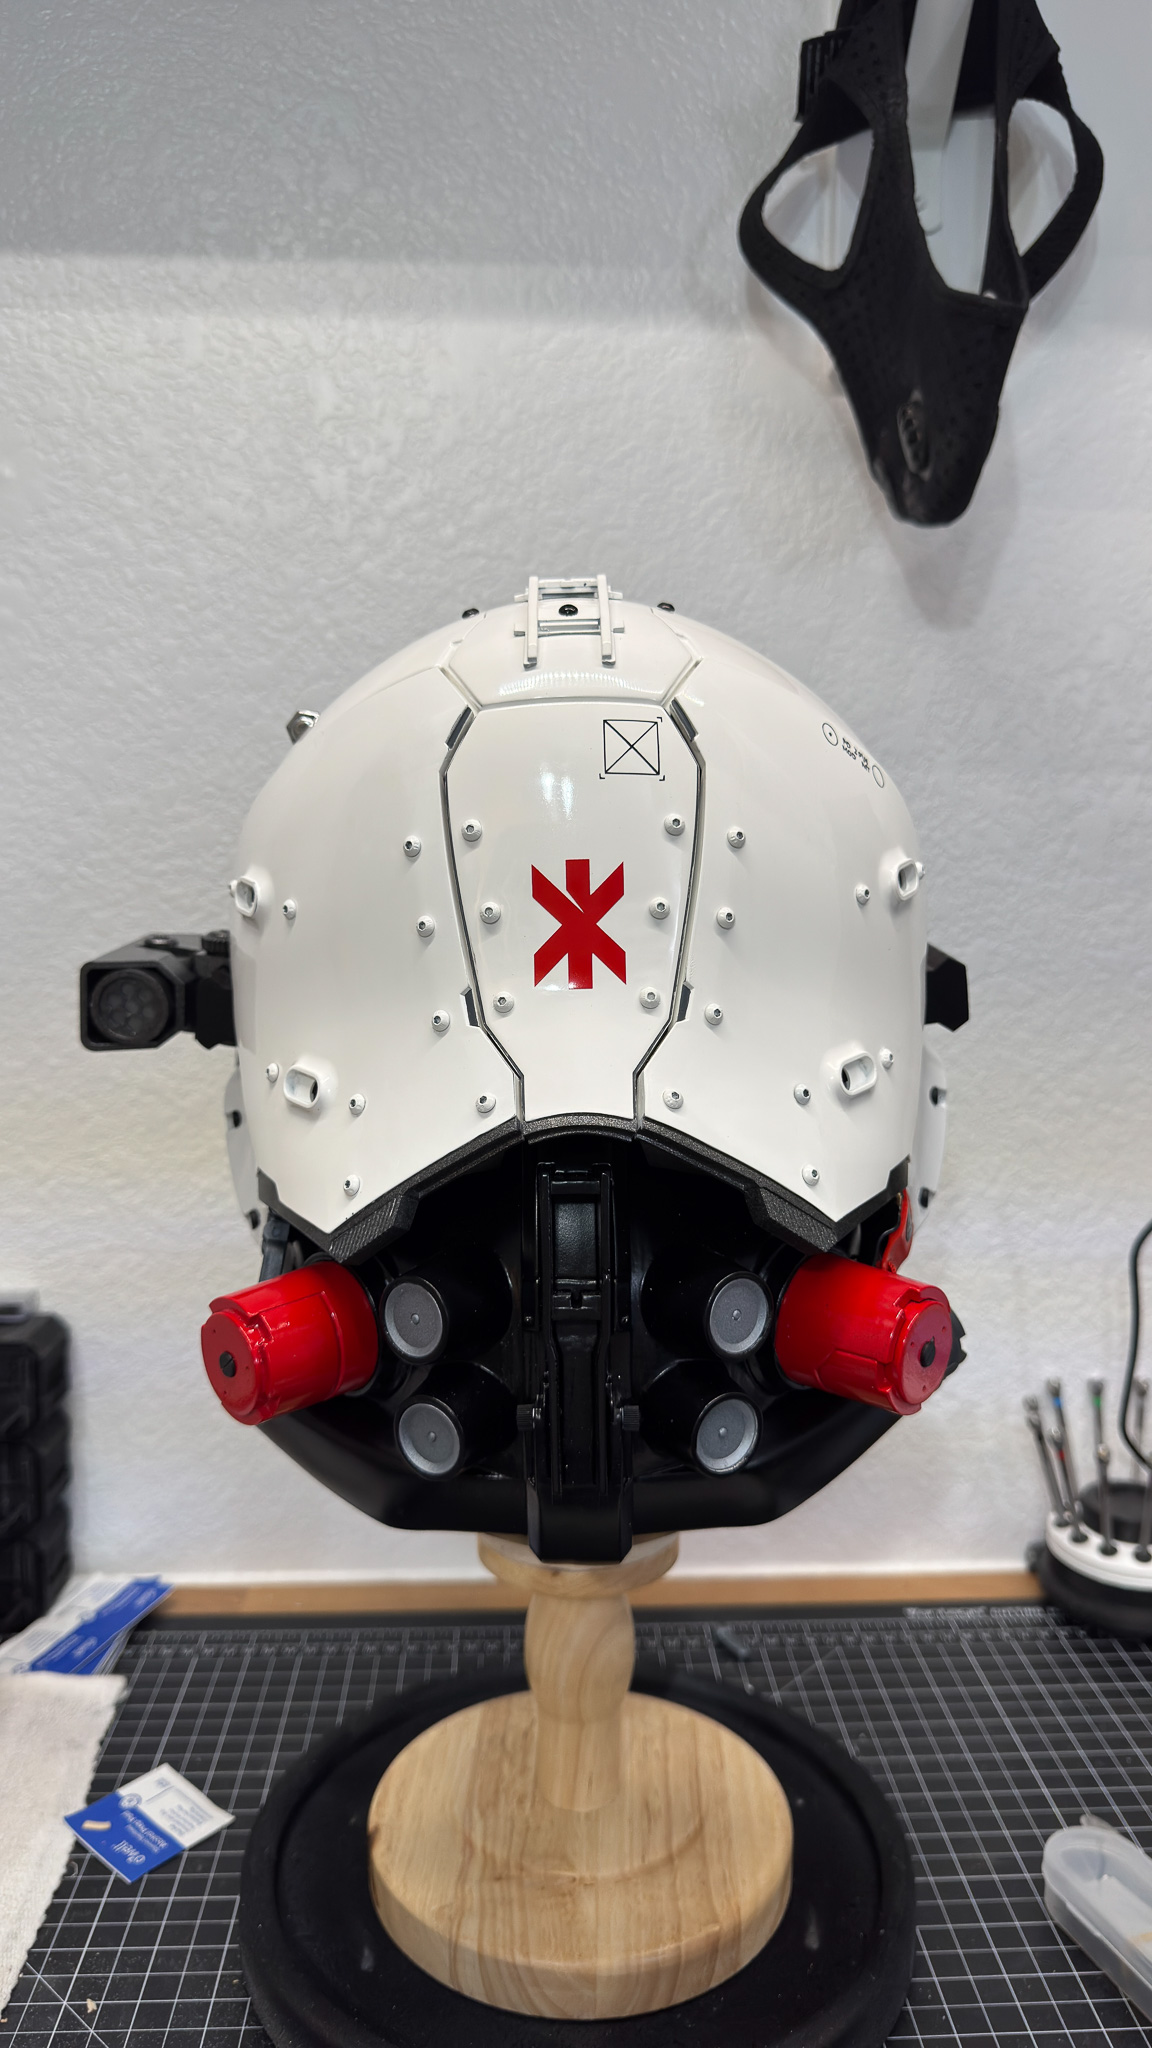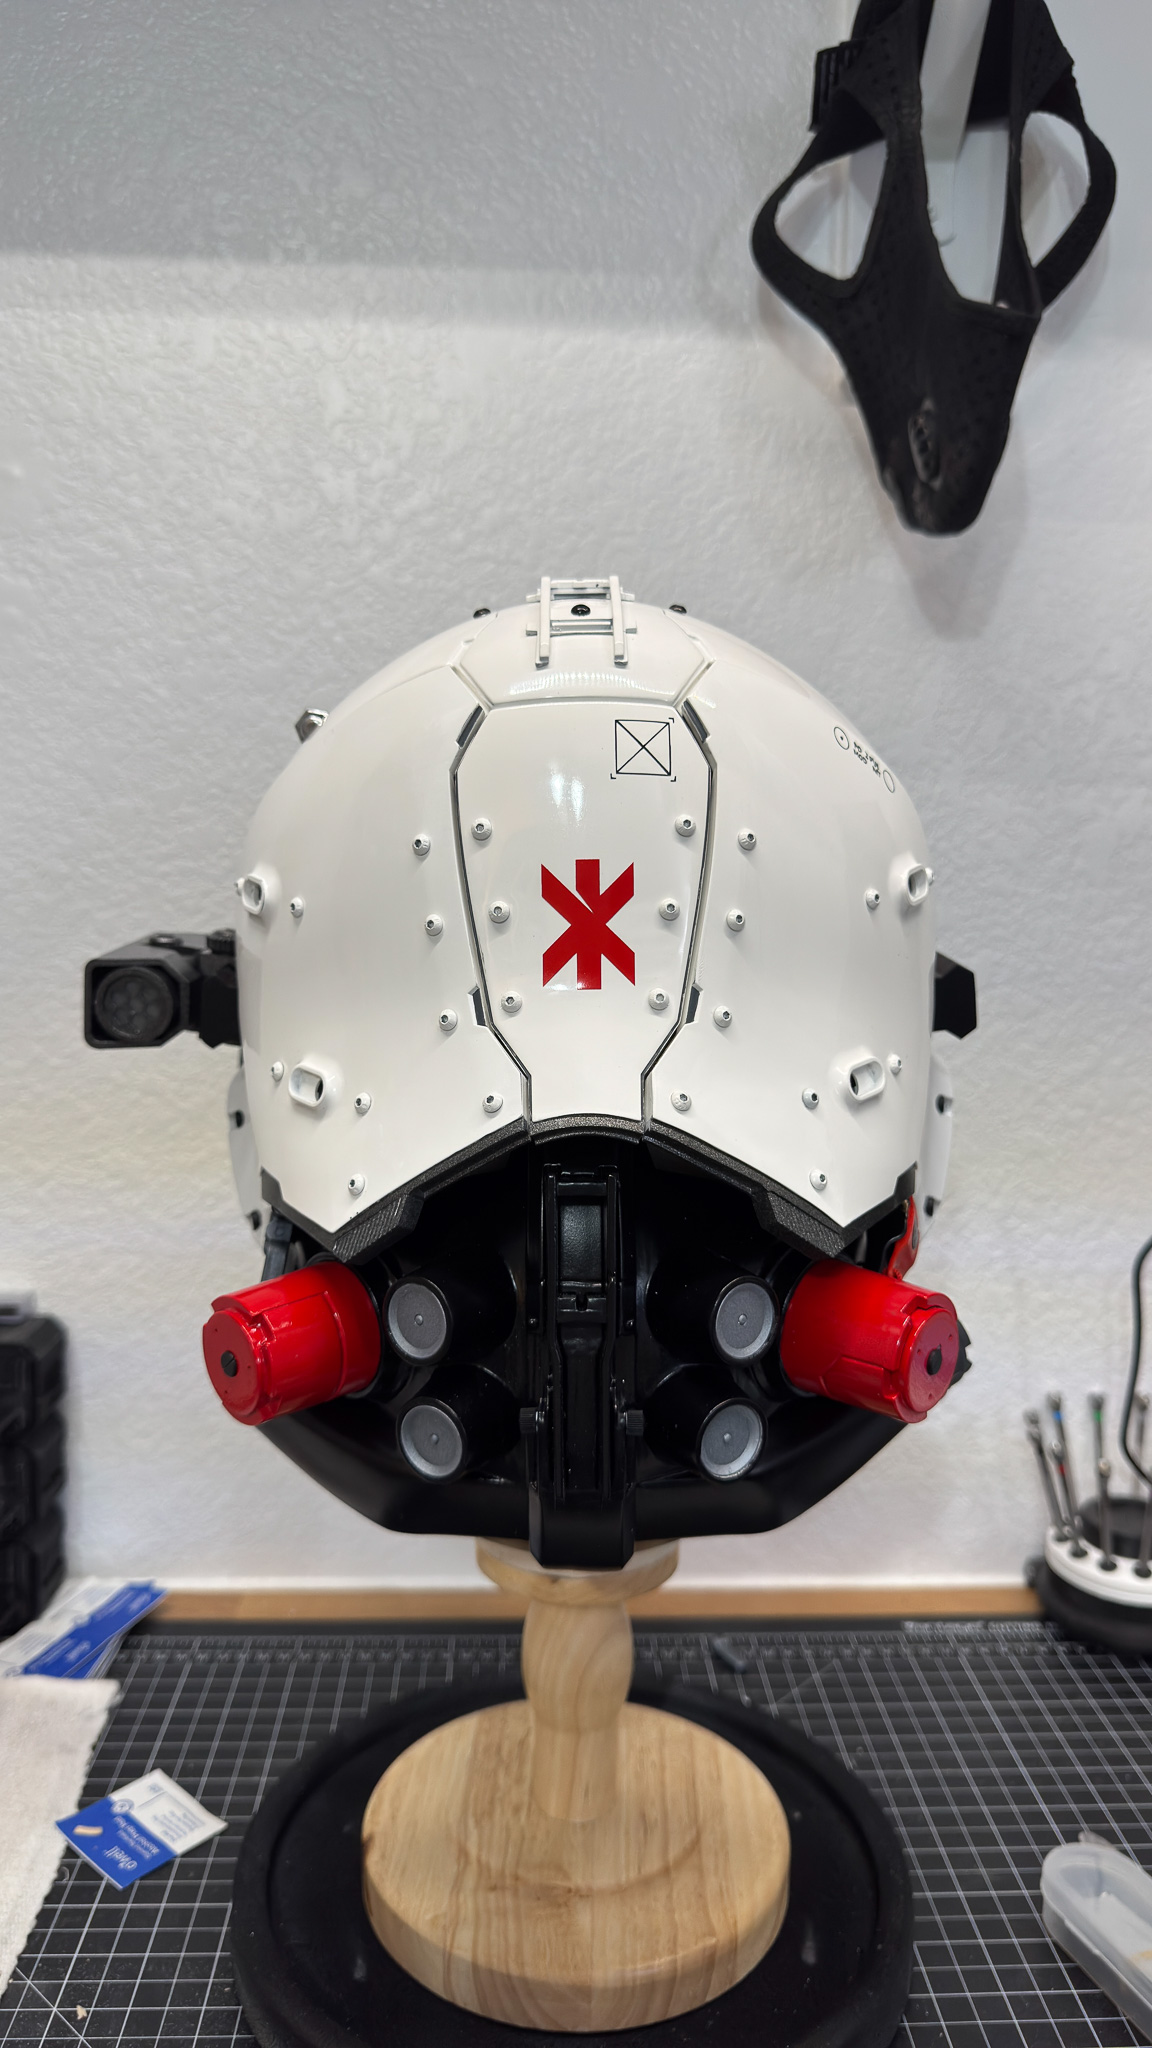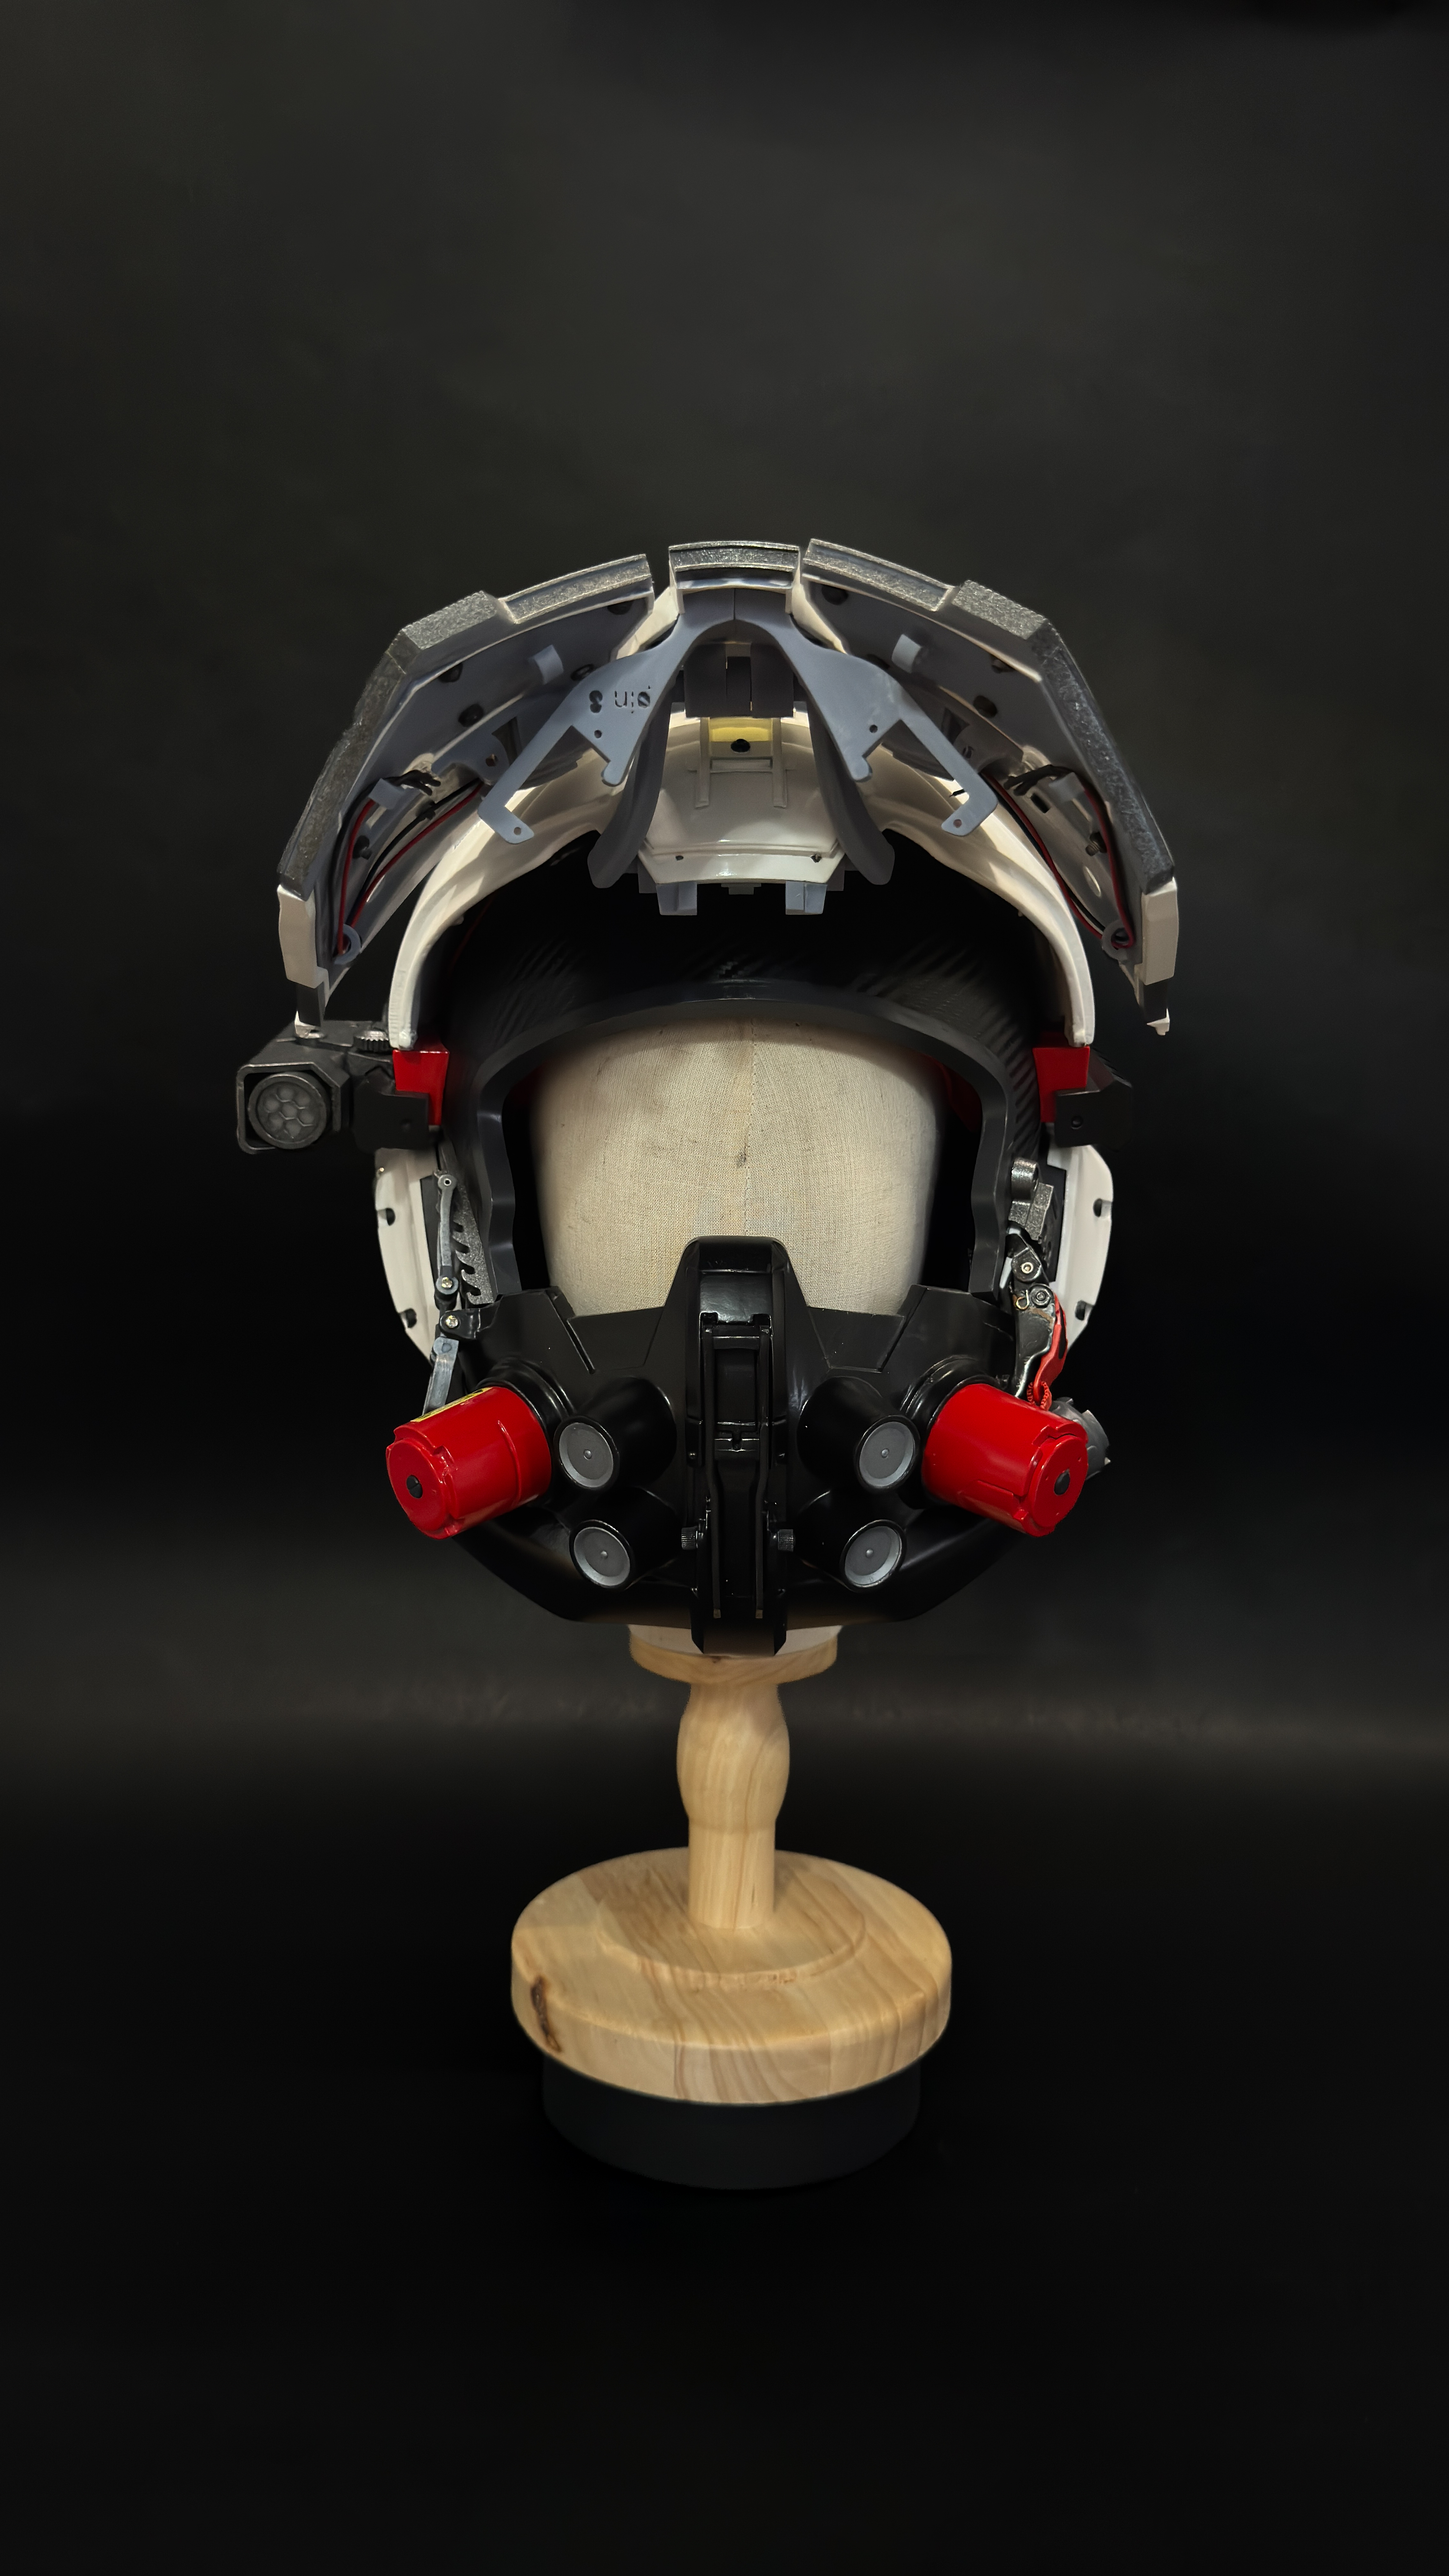
Trauma Team Helmet
A complete breakdown of this custom Cyberpunk 2077 inspired helmet build.
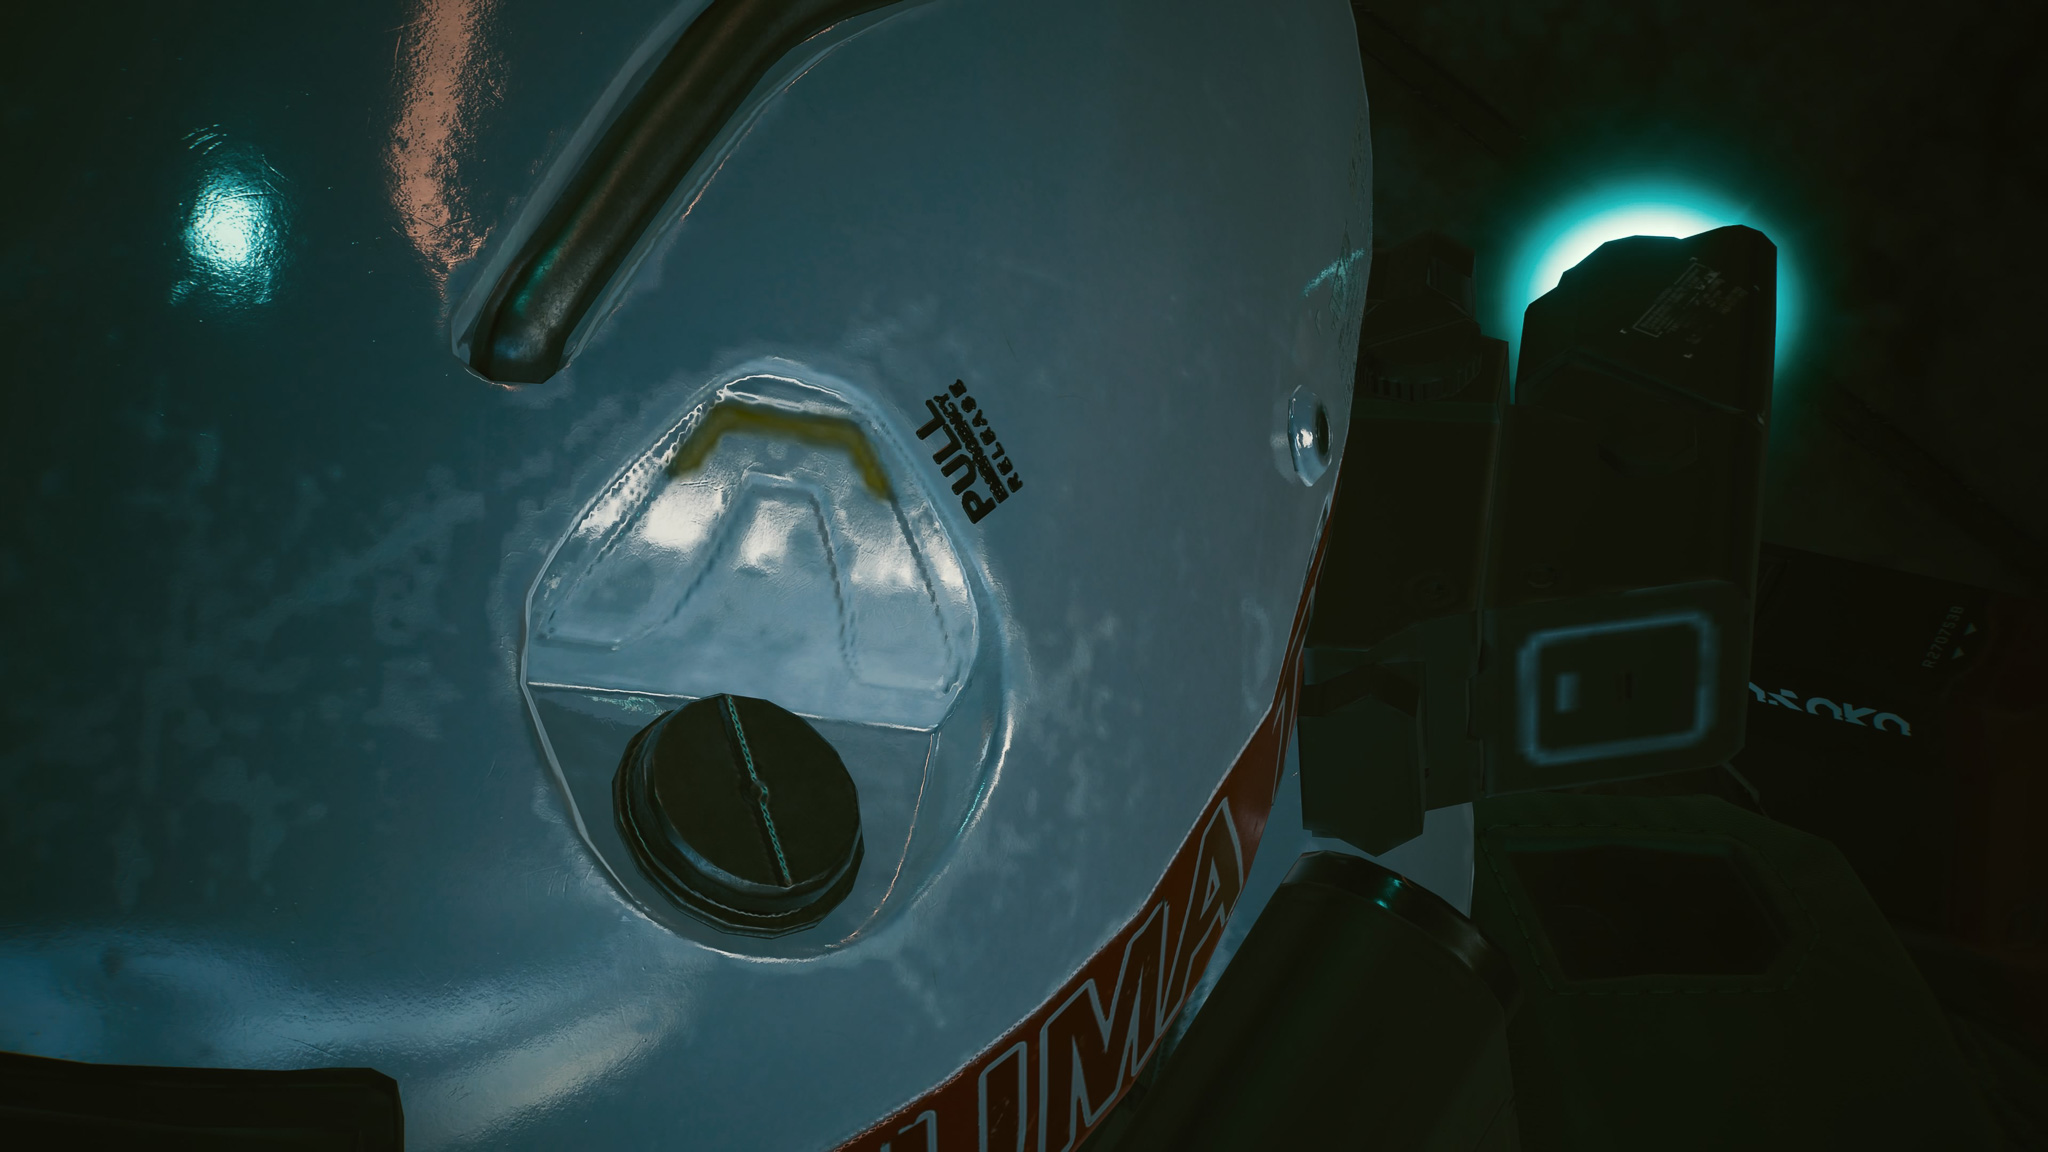
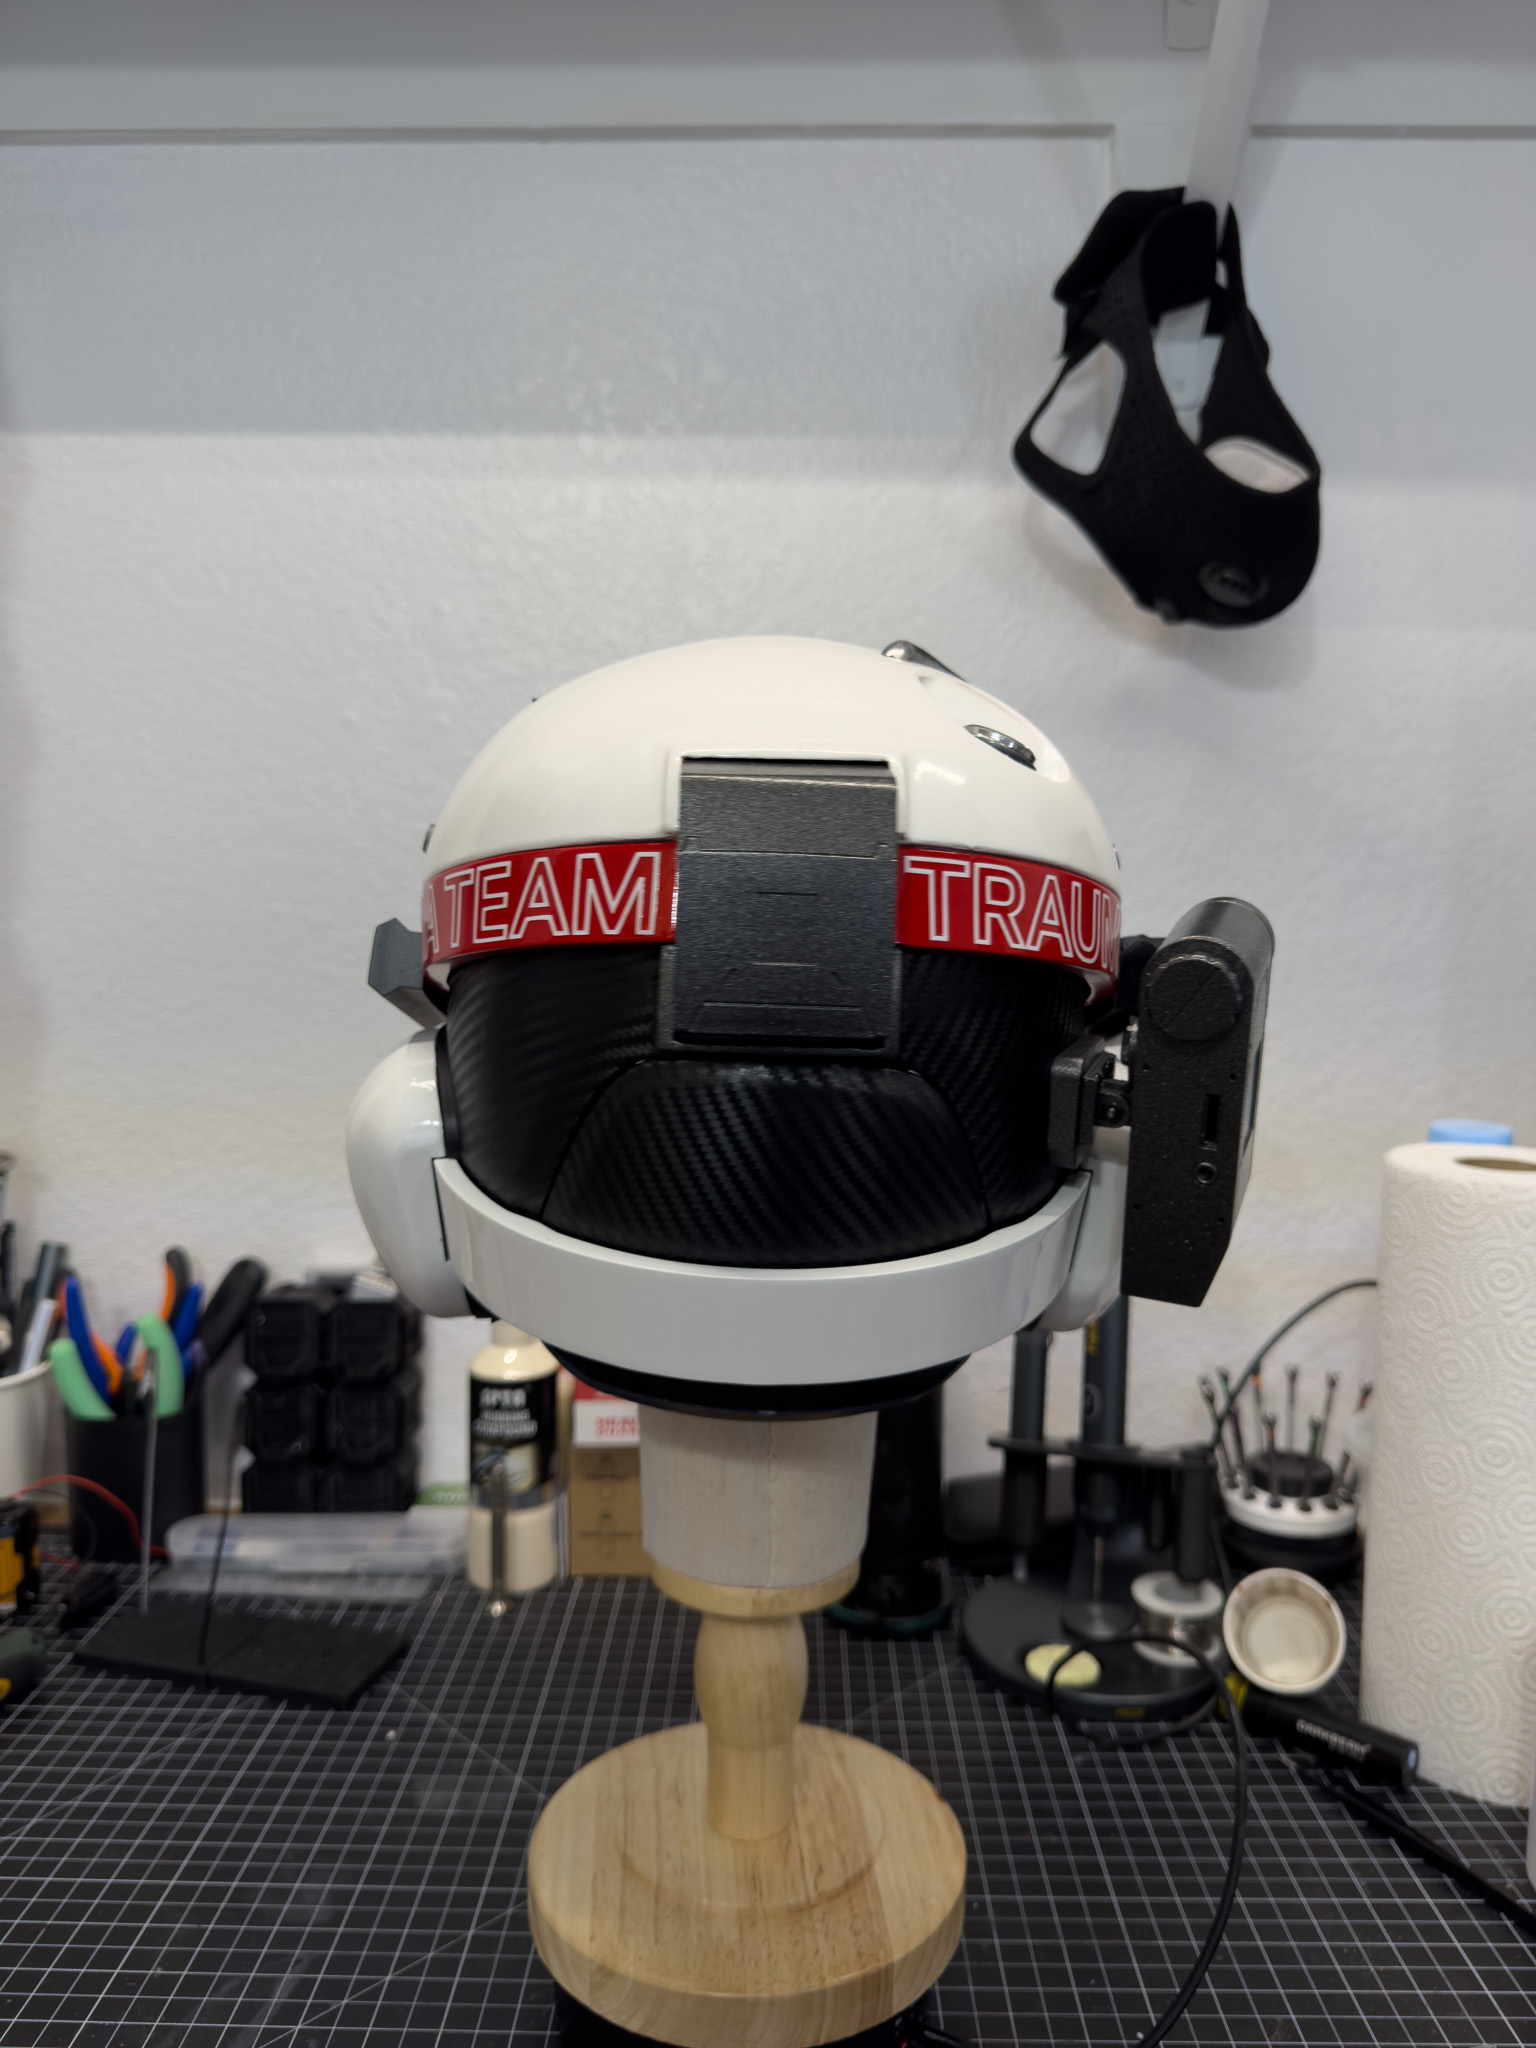
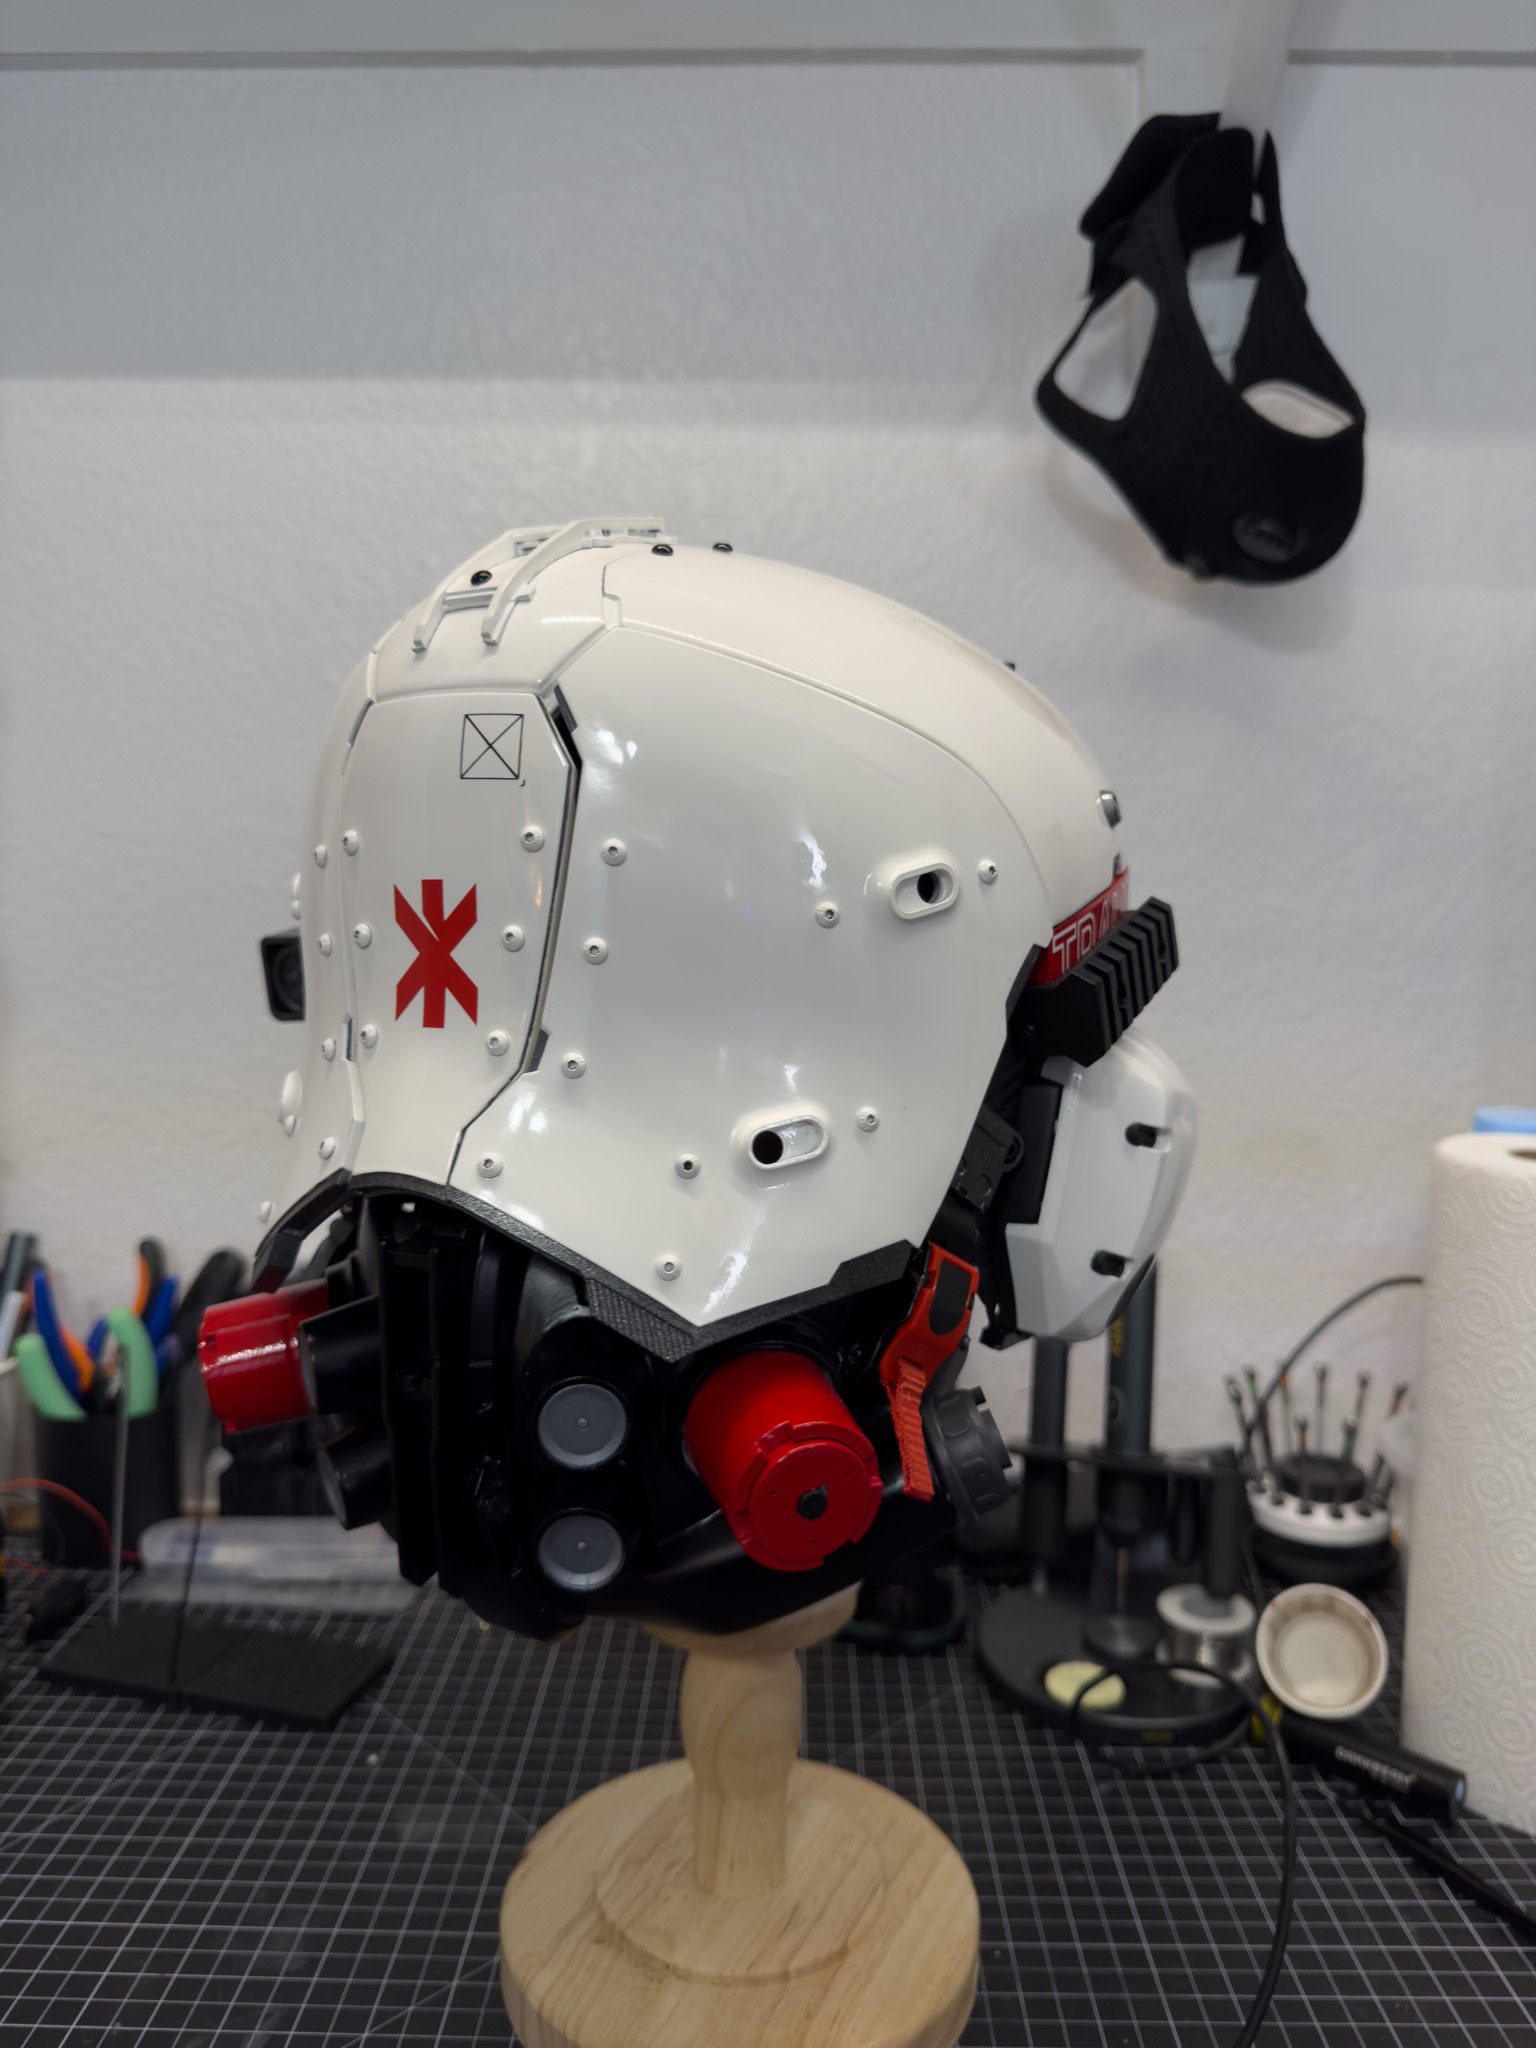
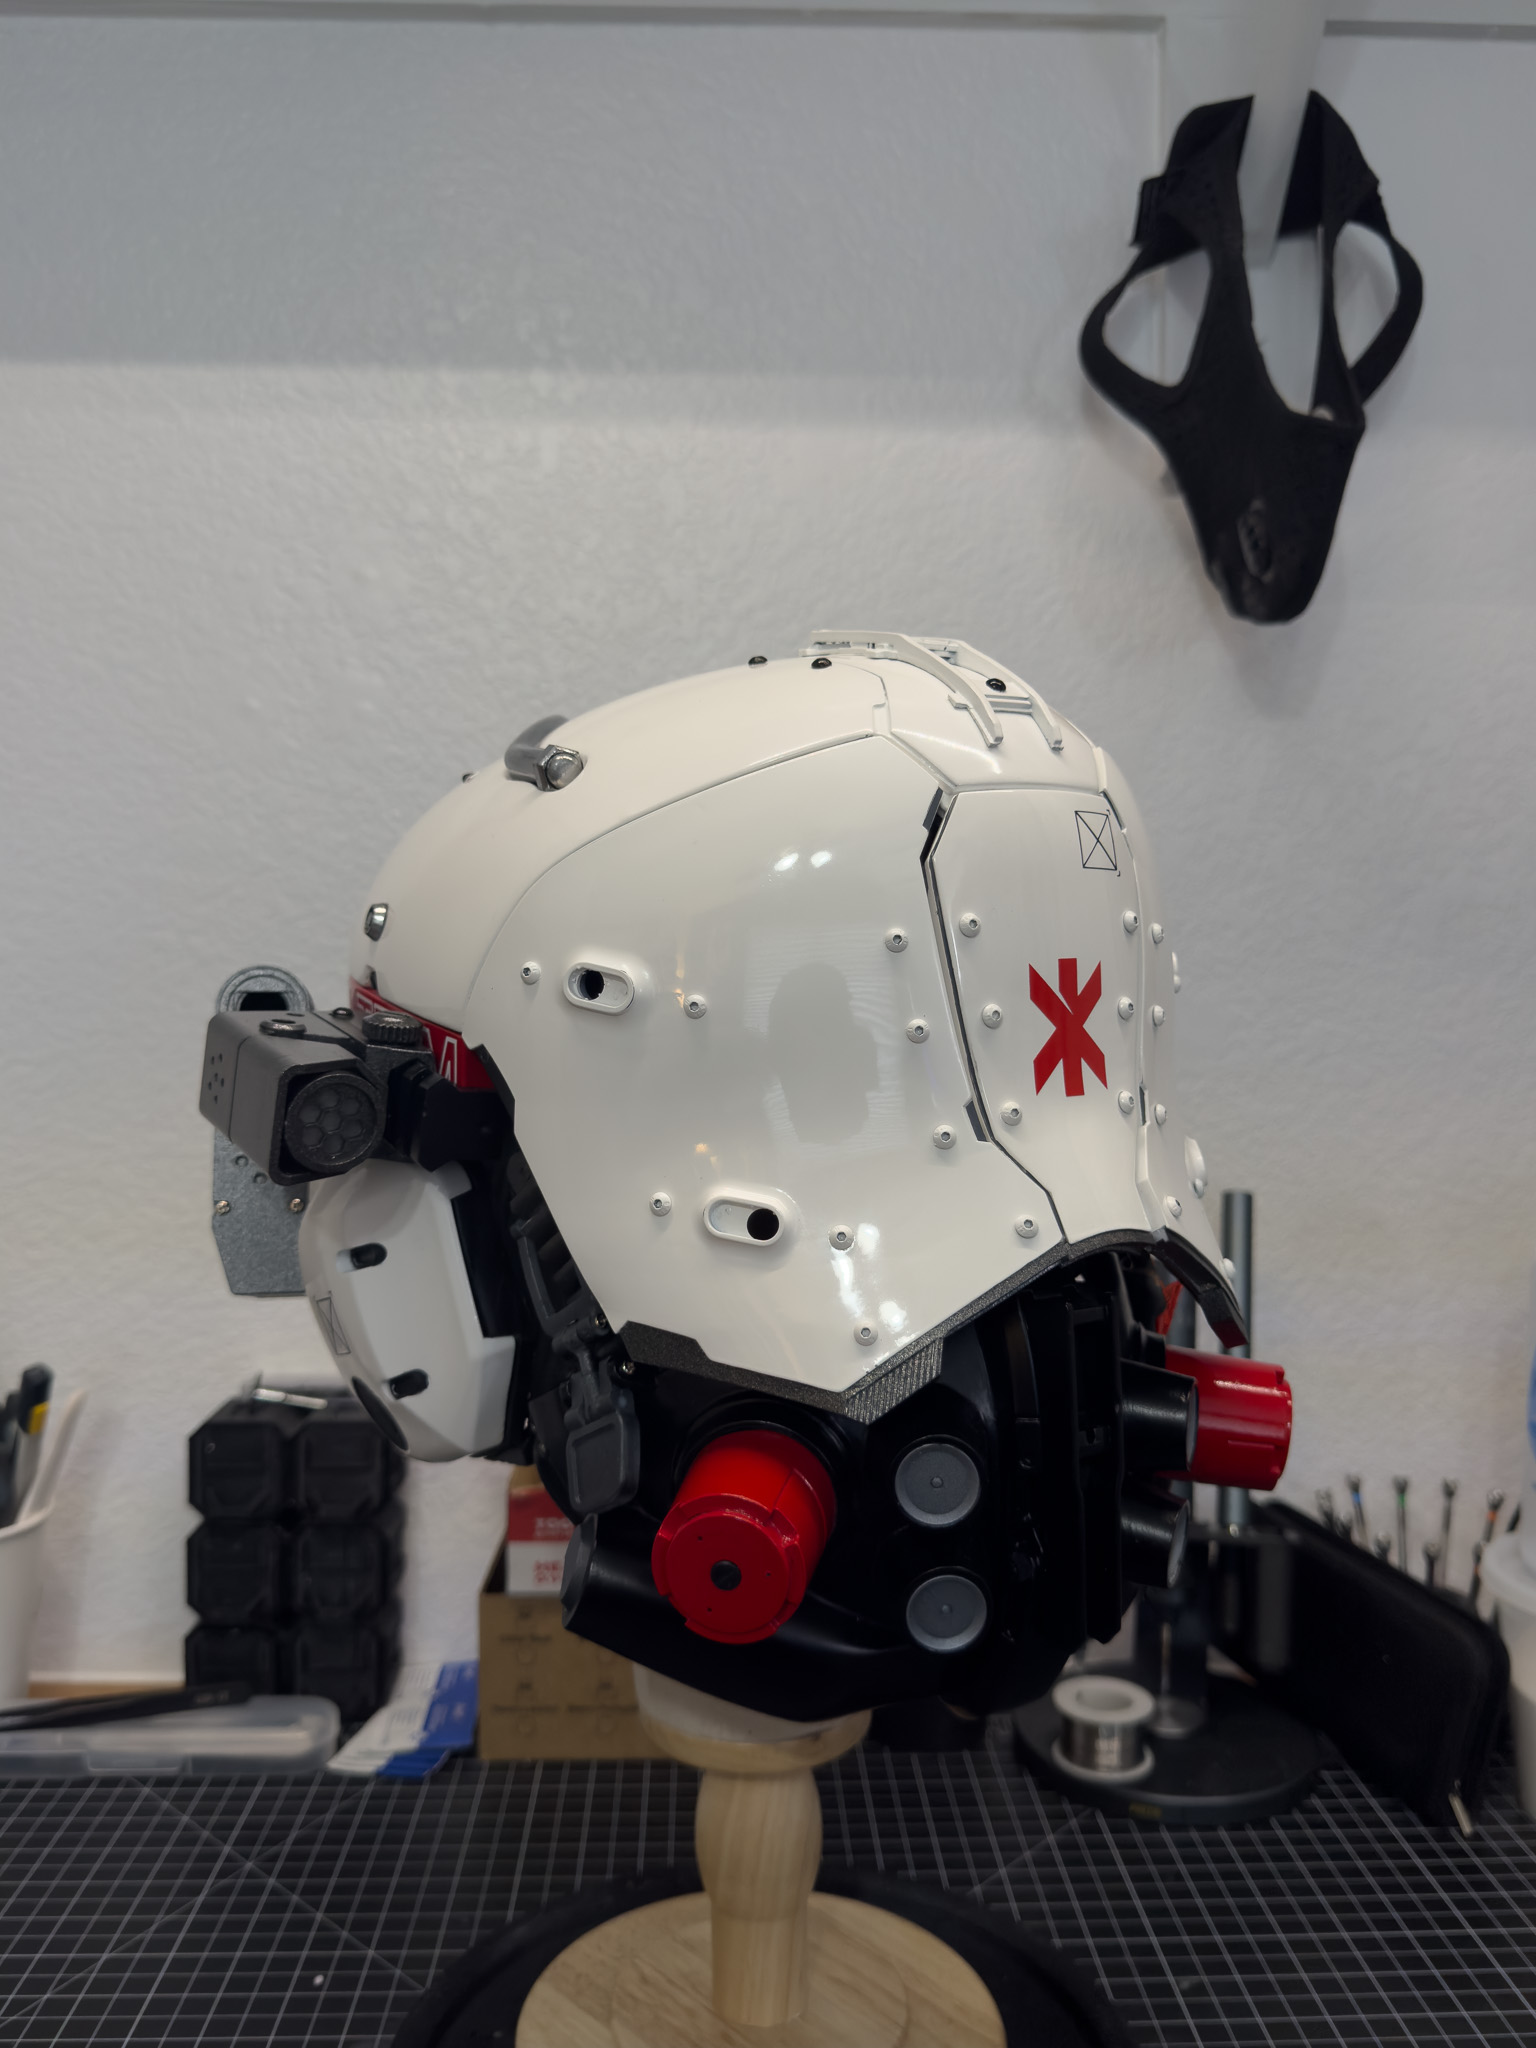
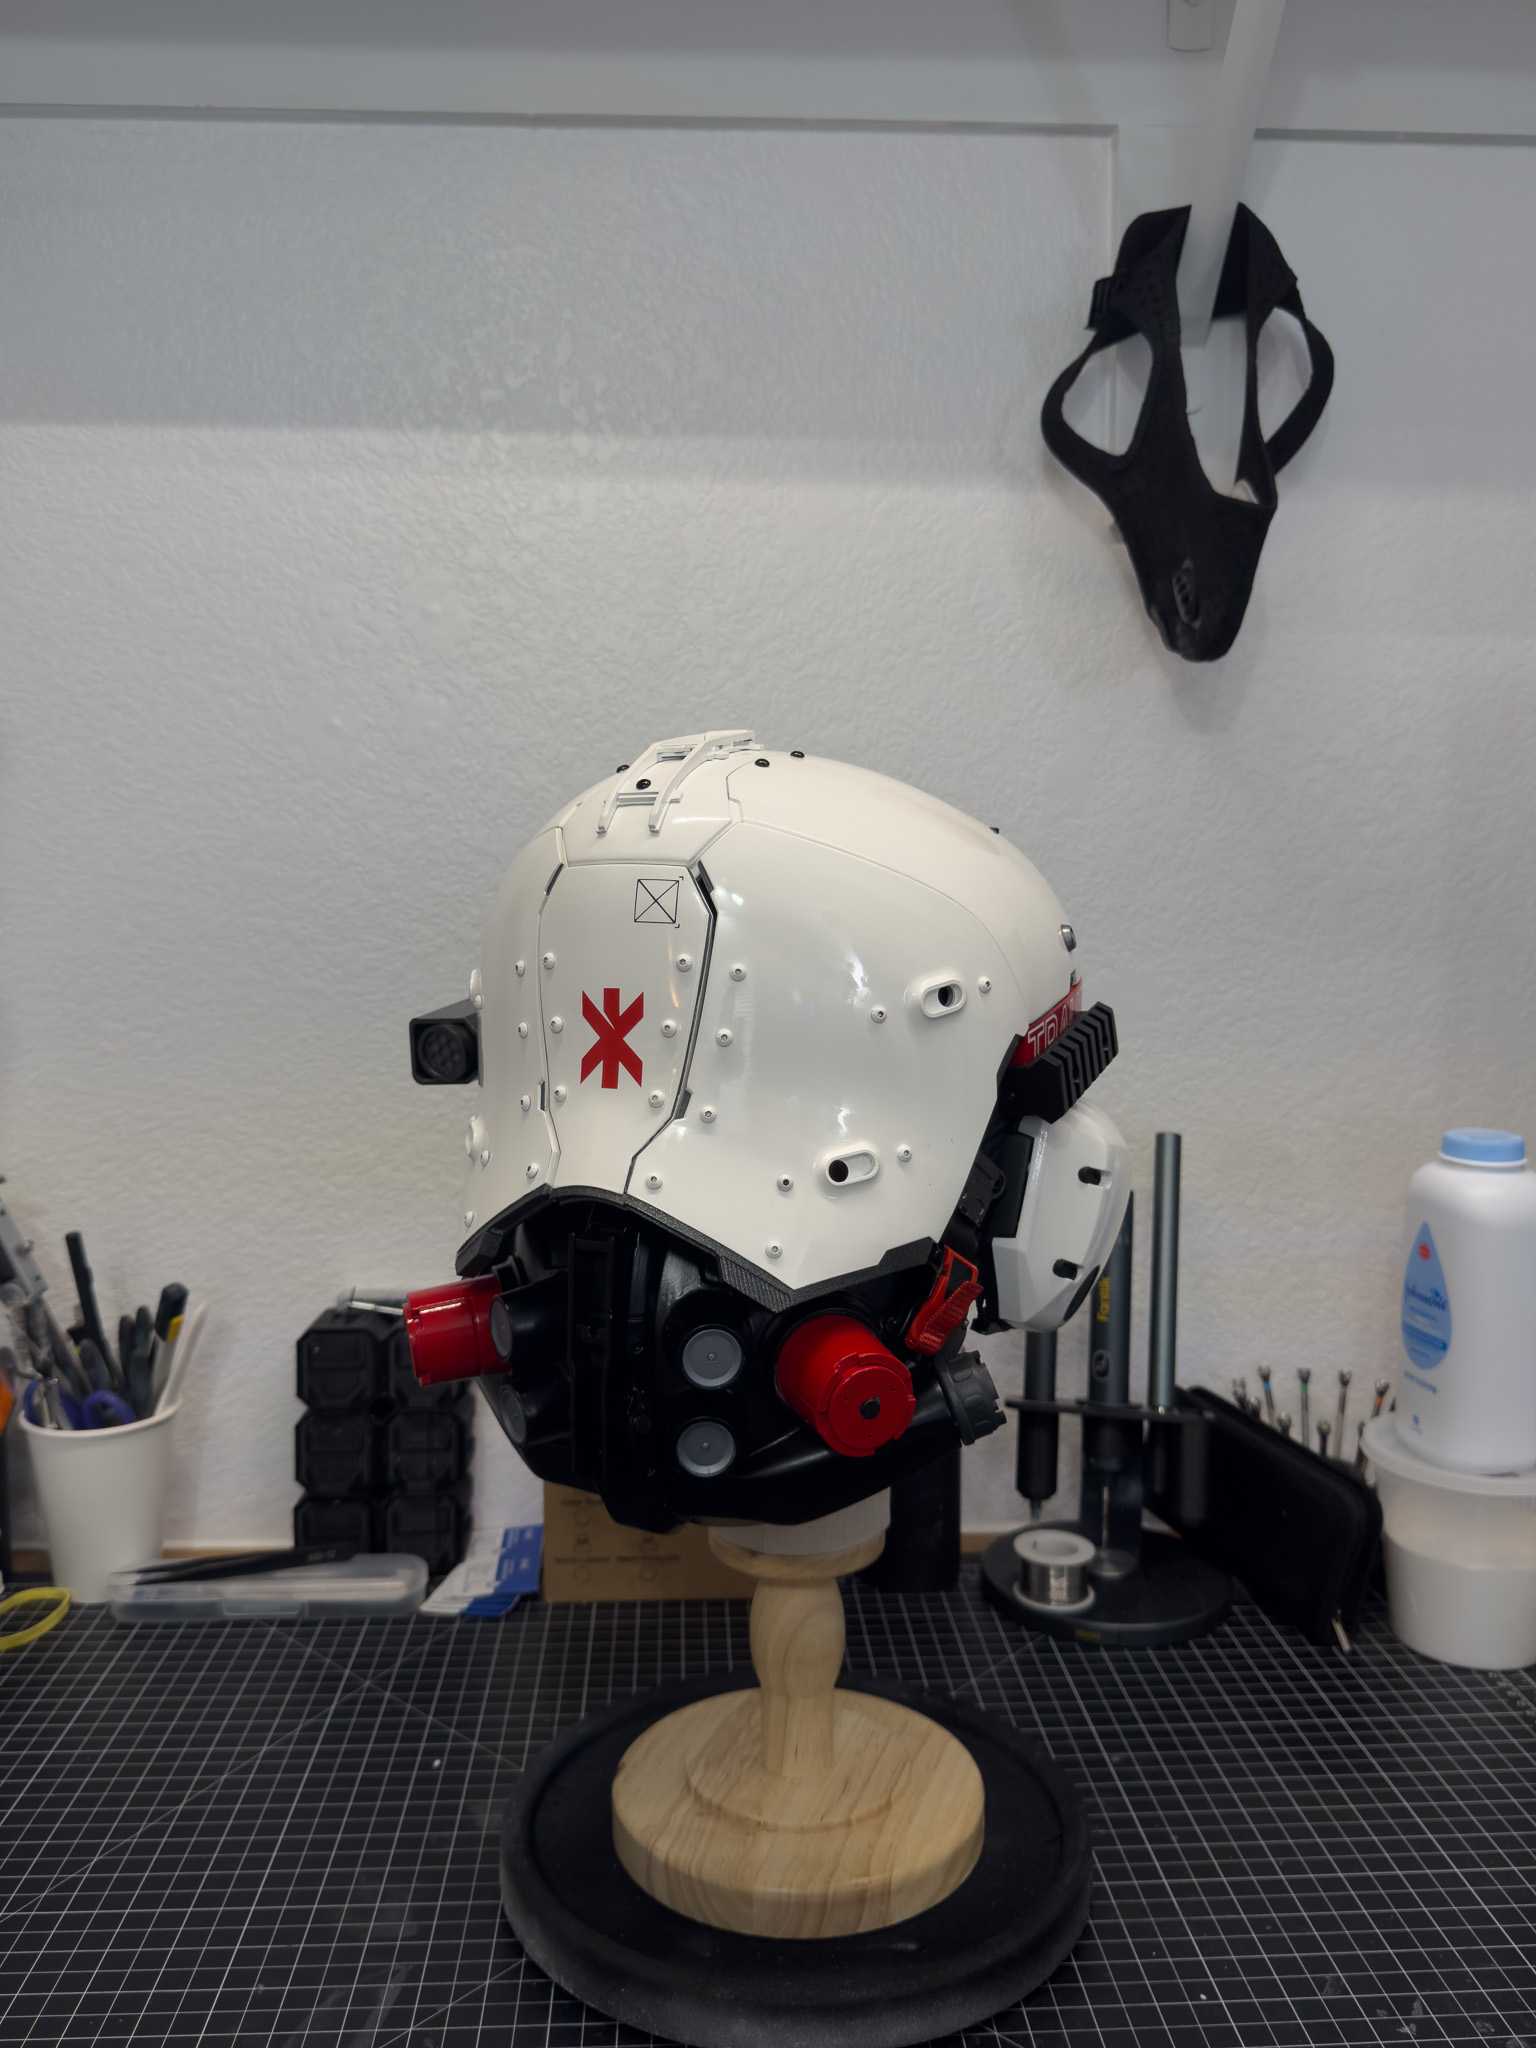
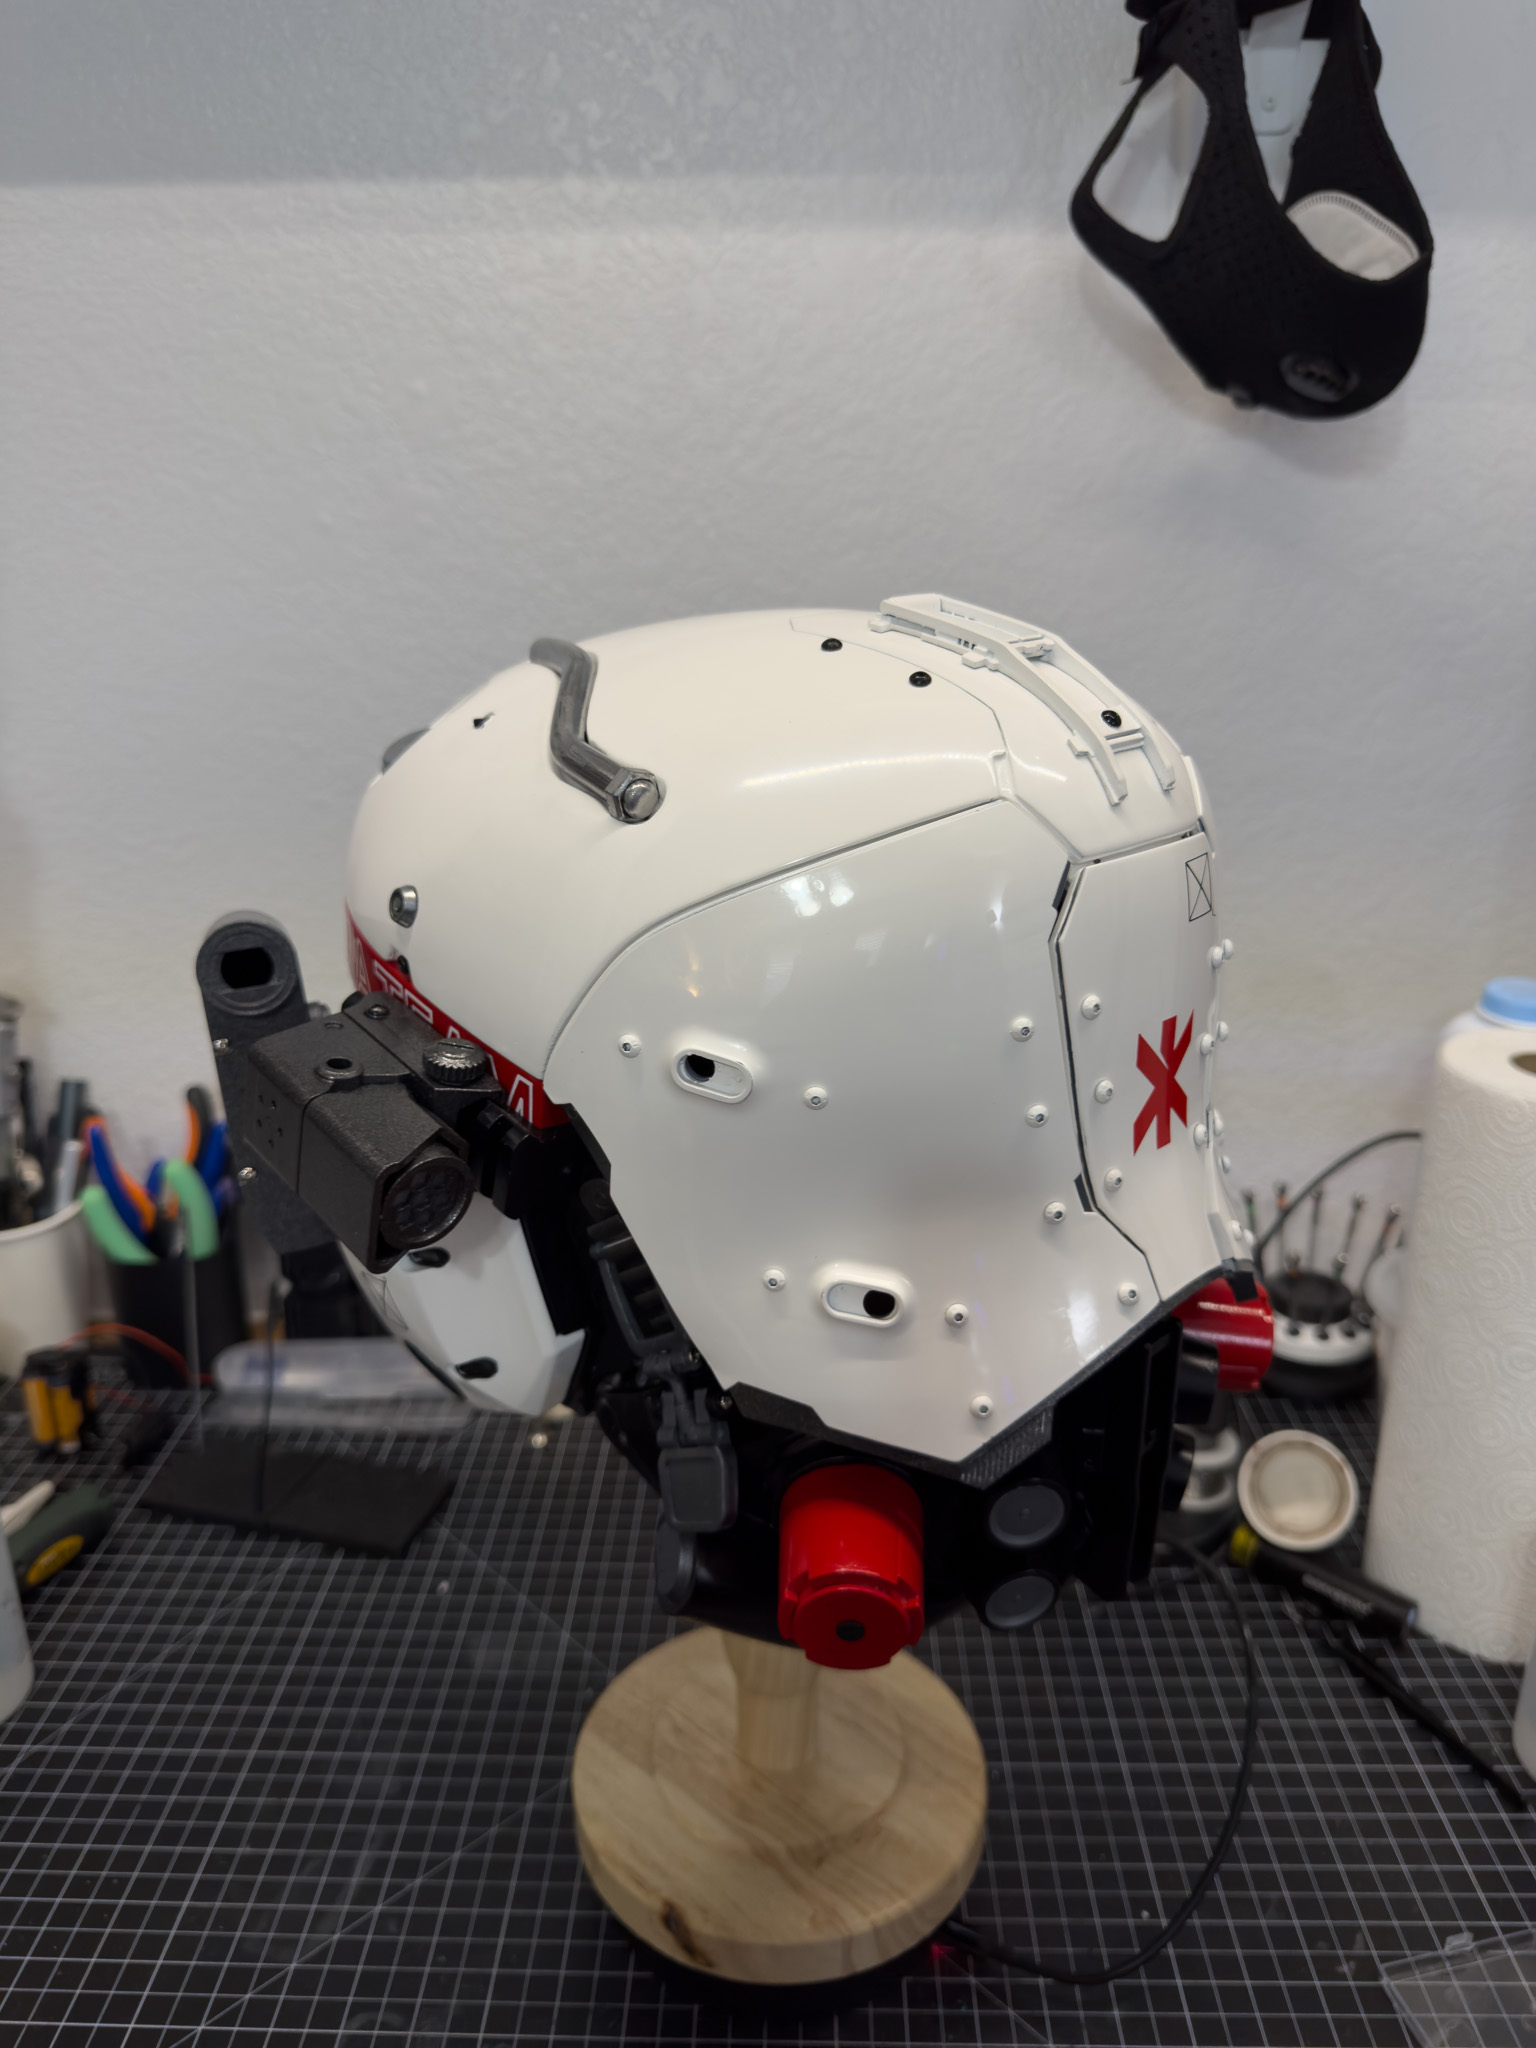
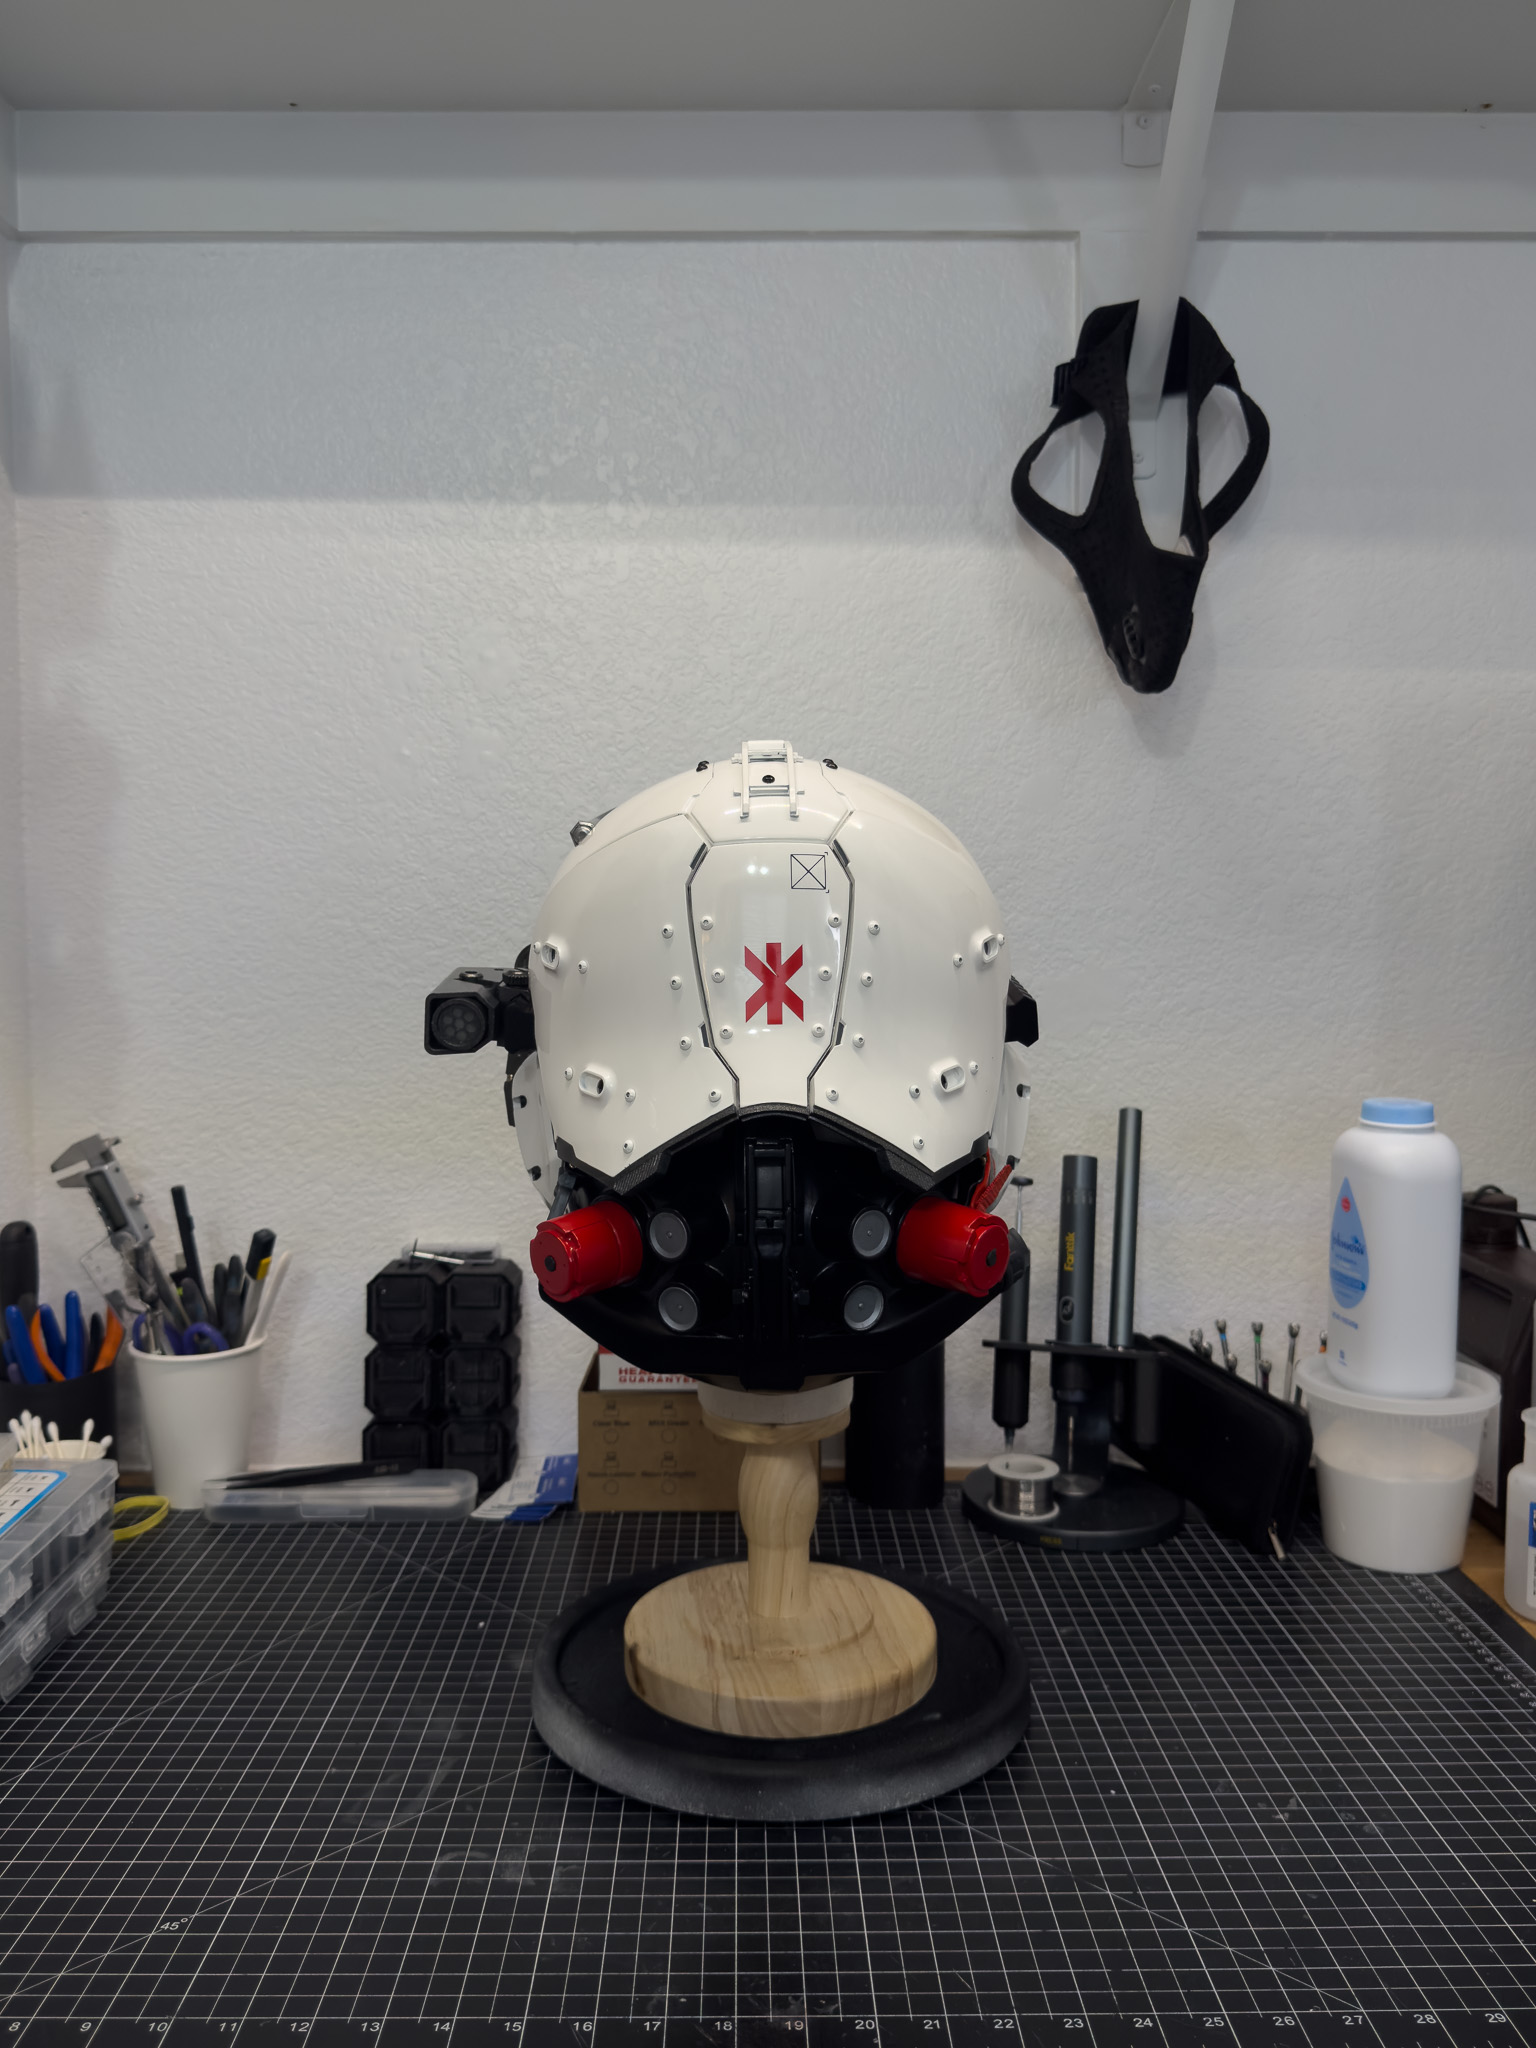
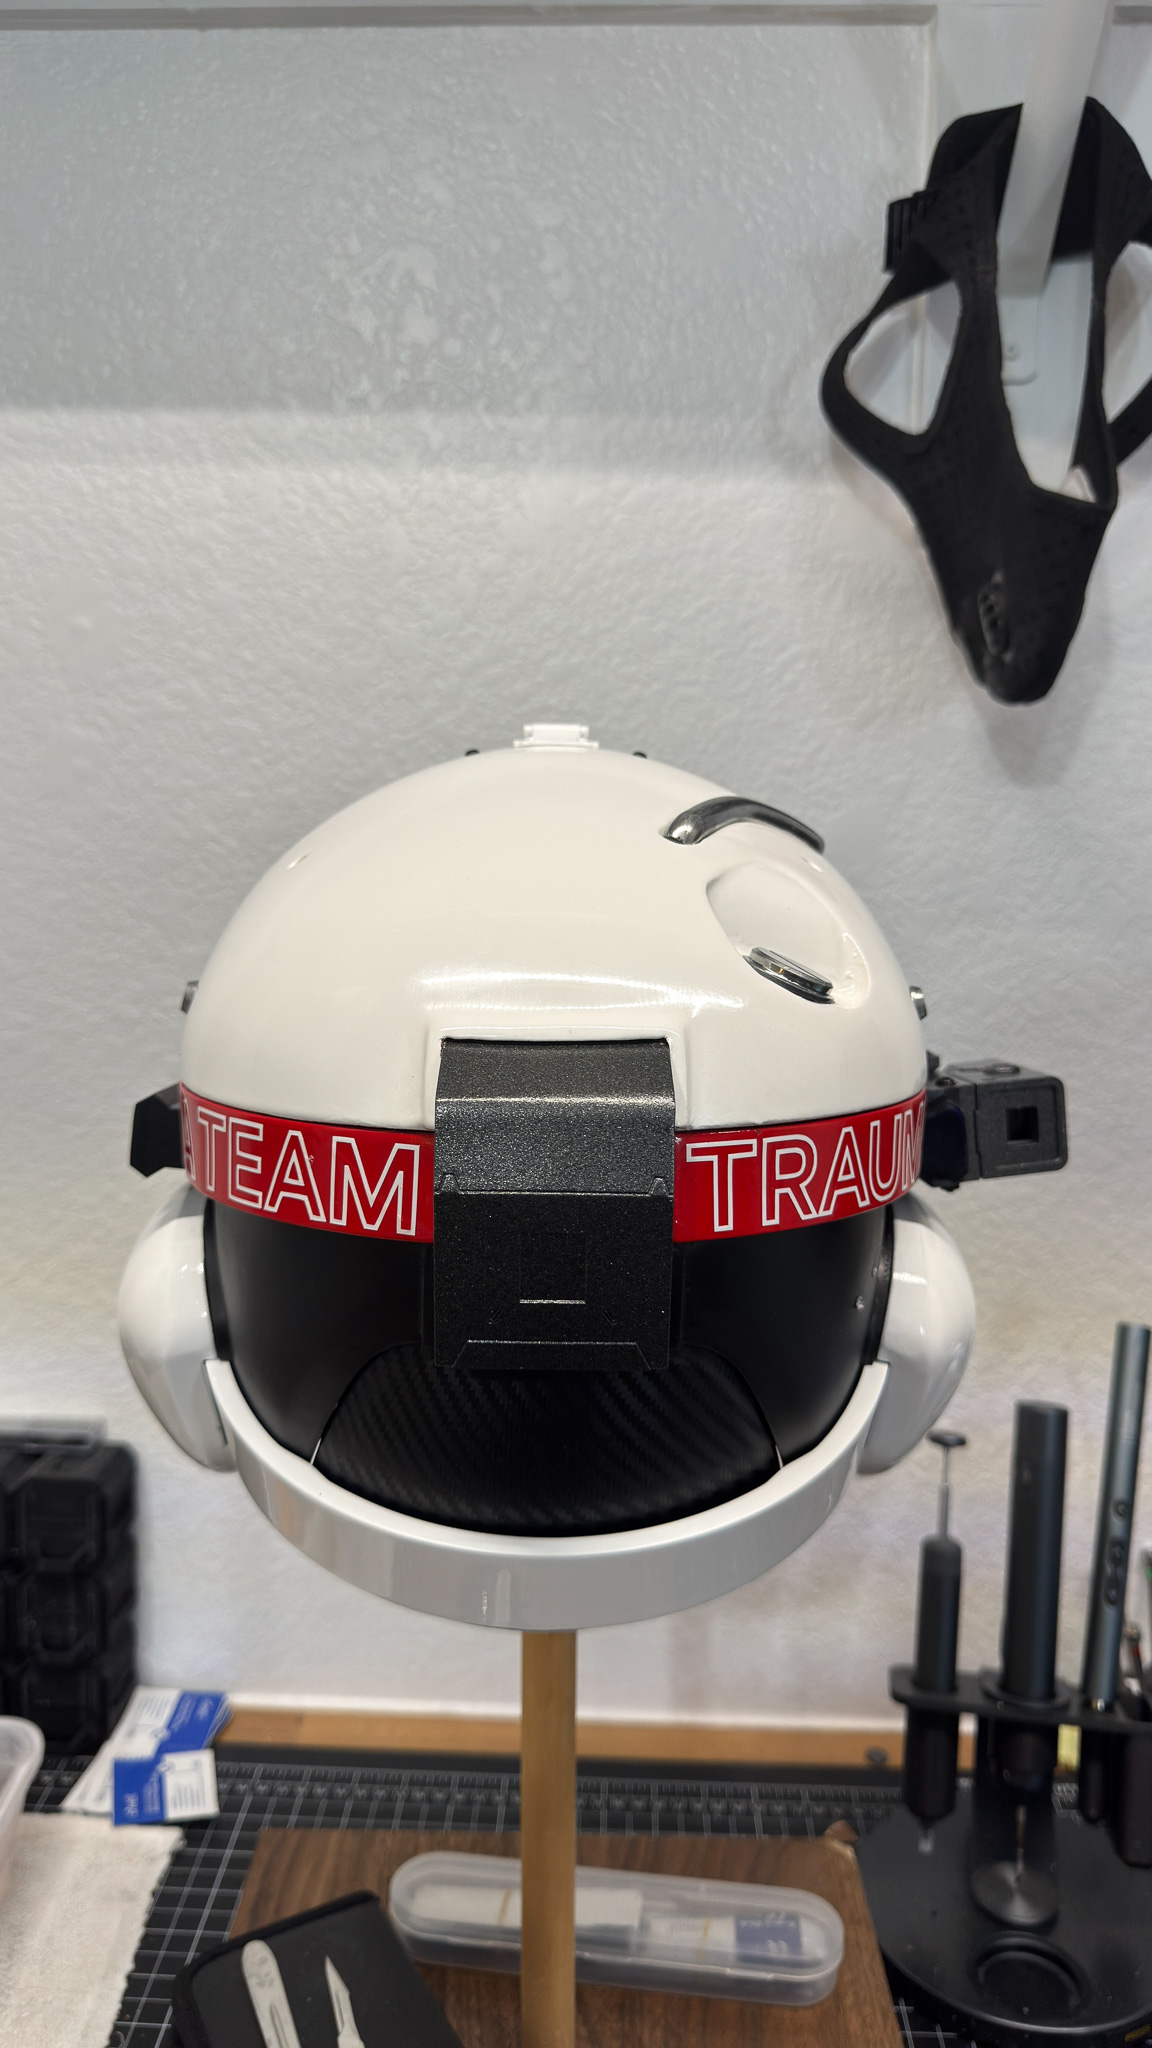
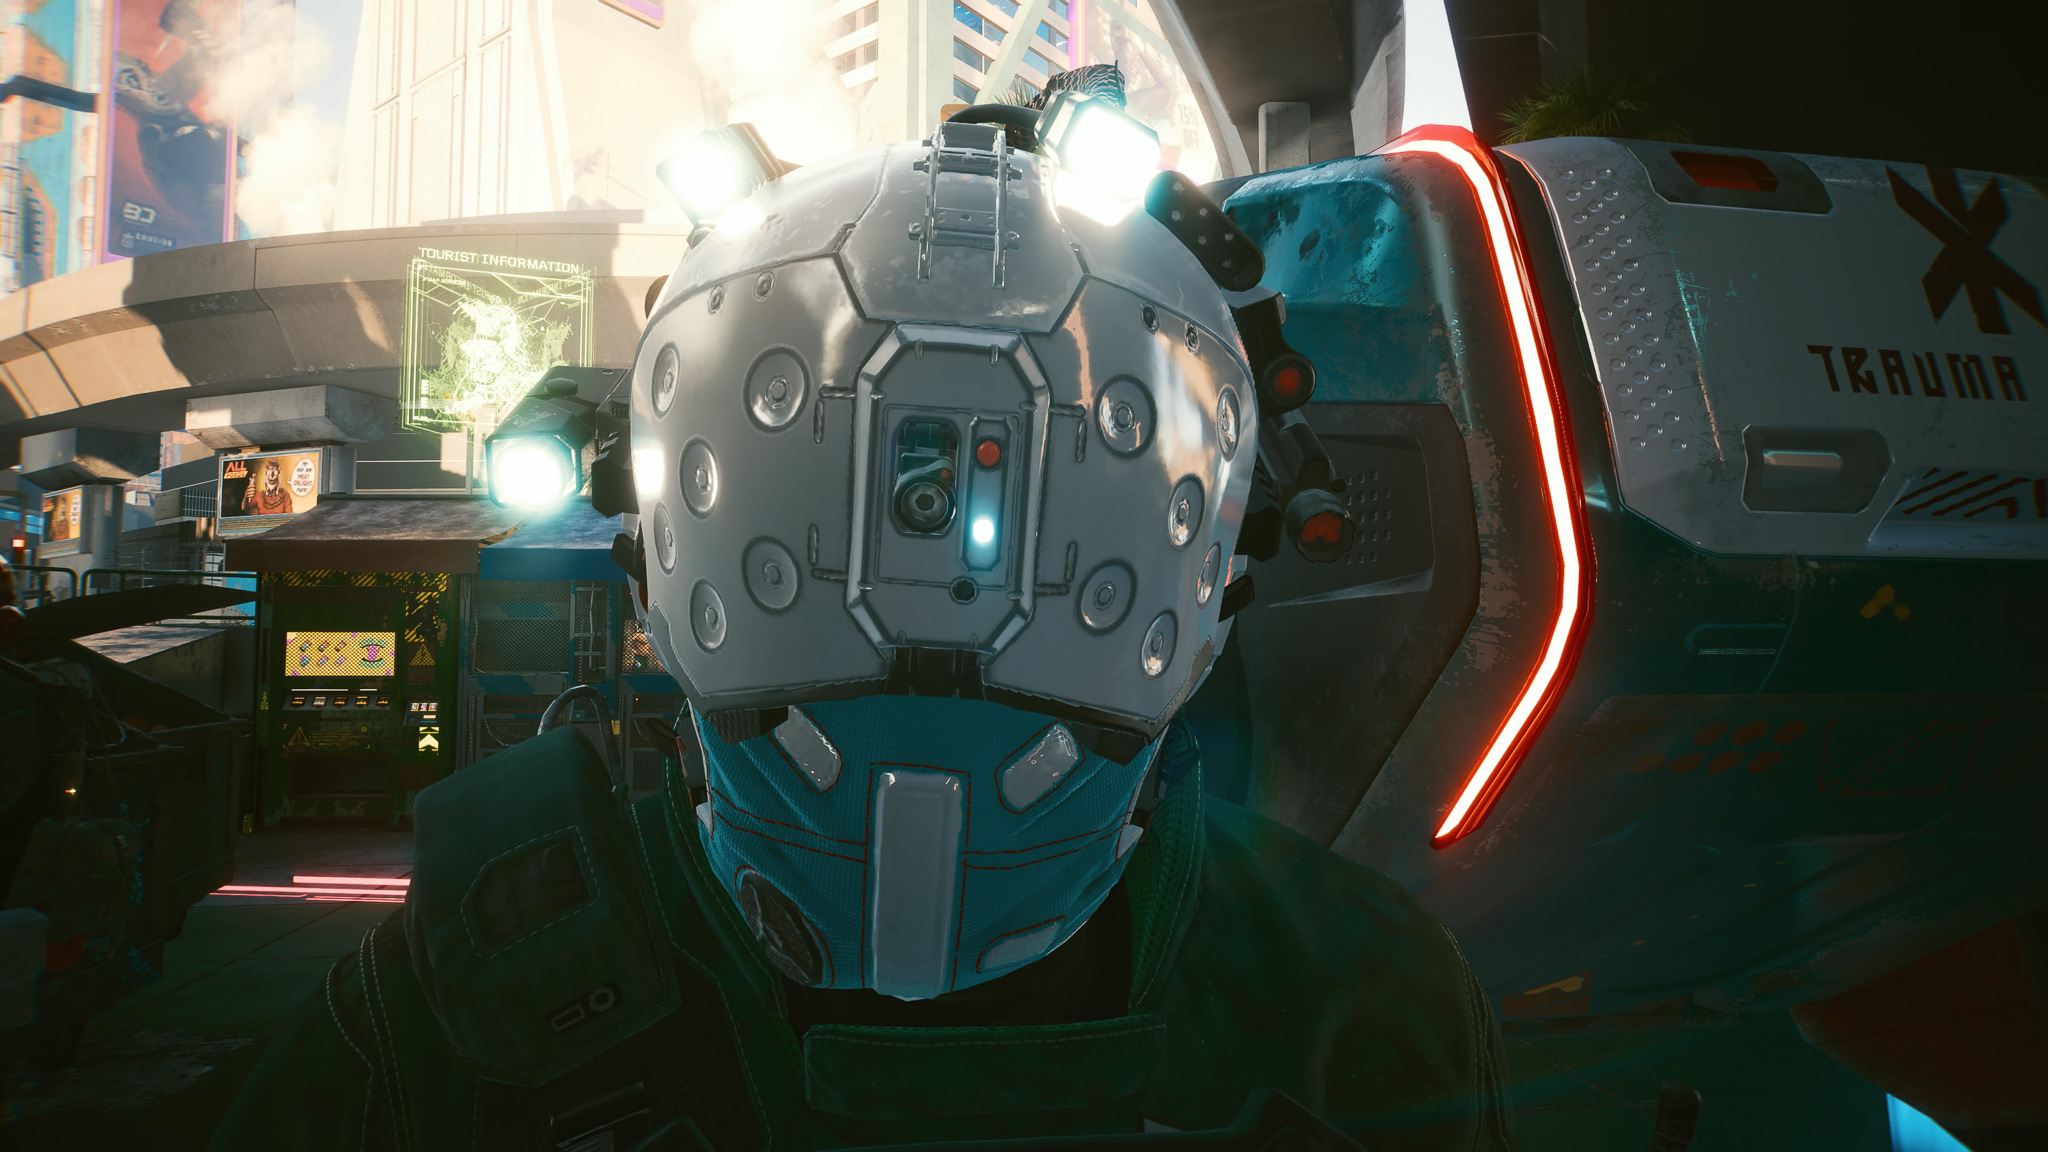
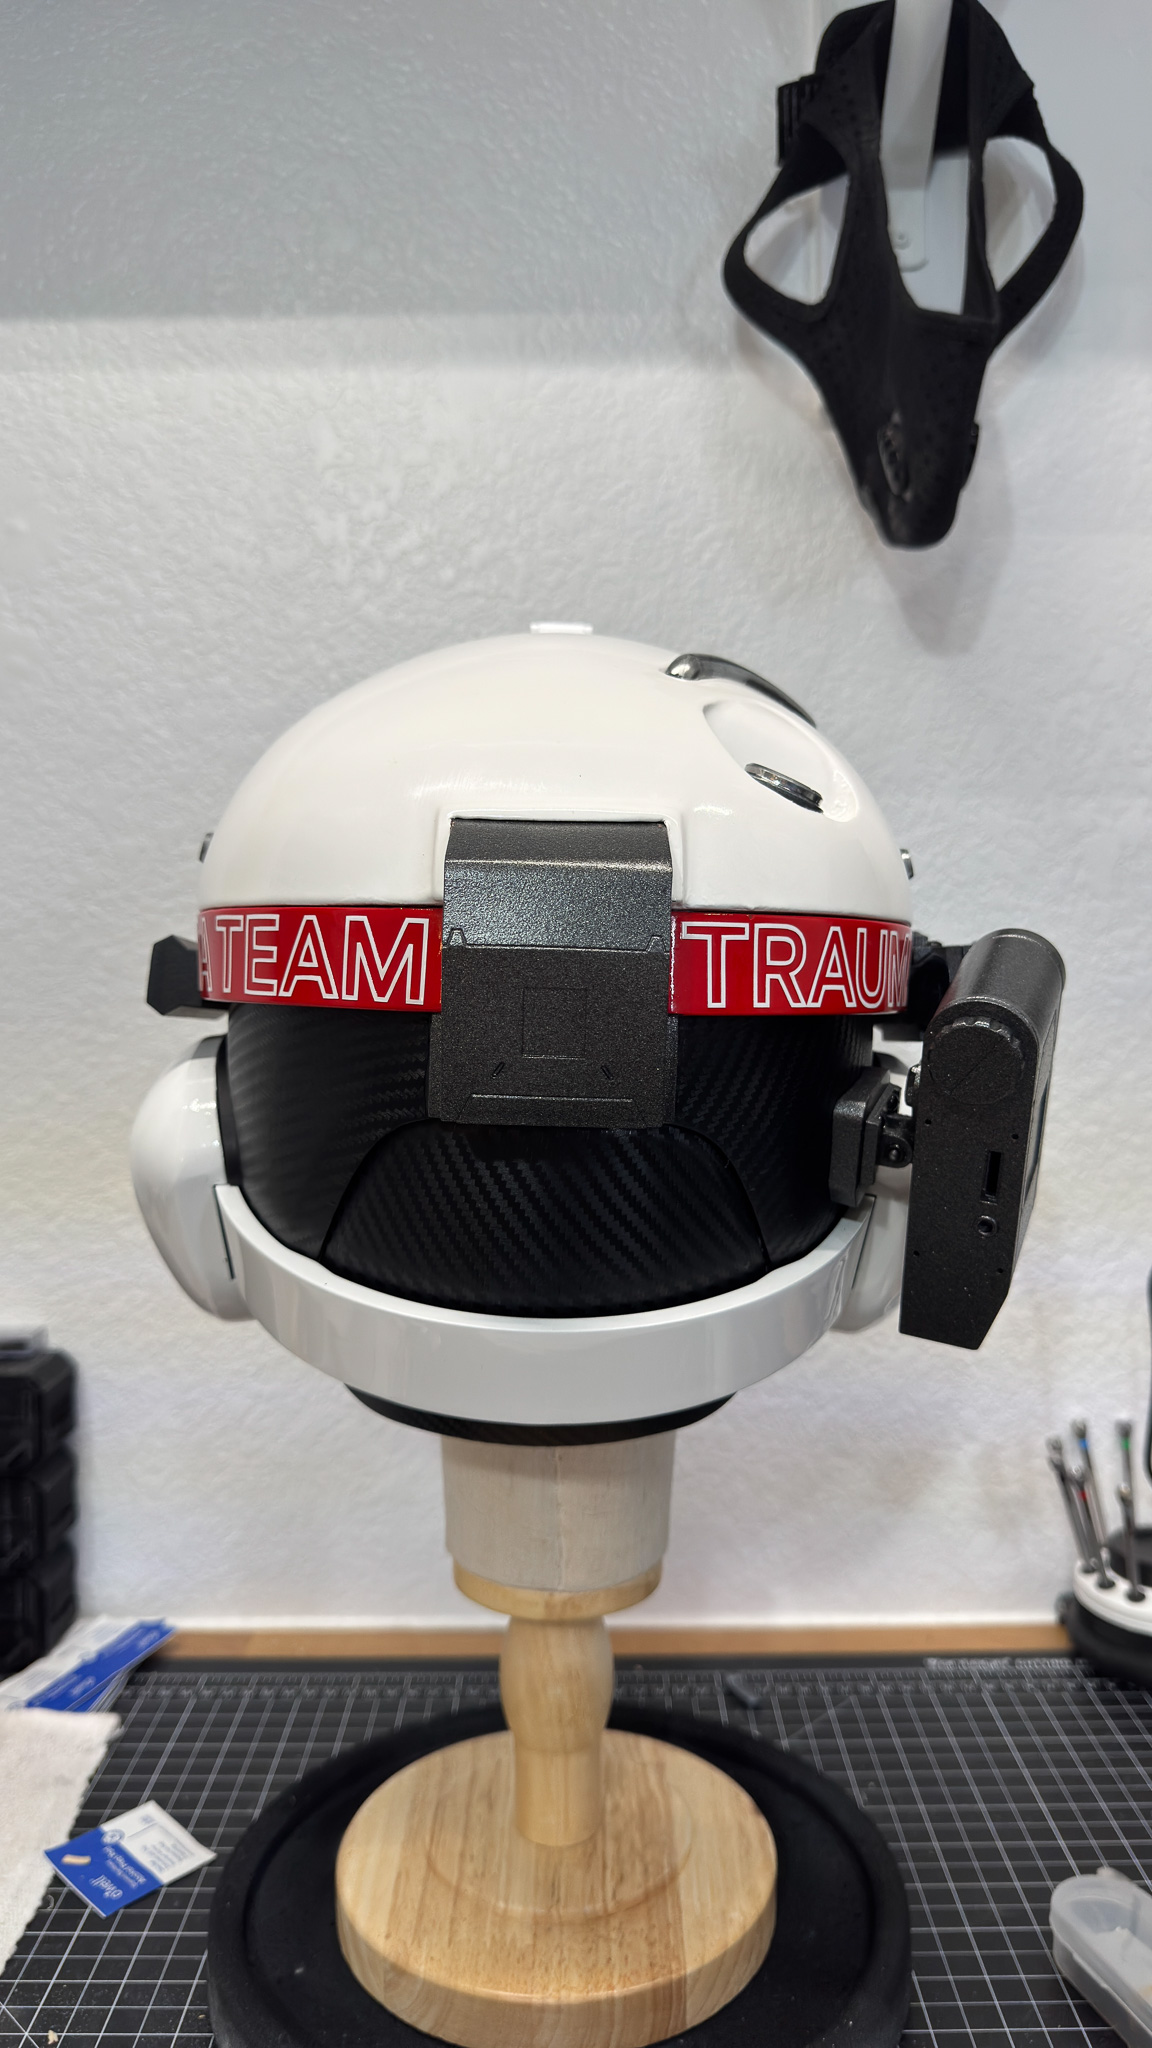
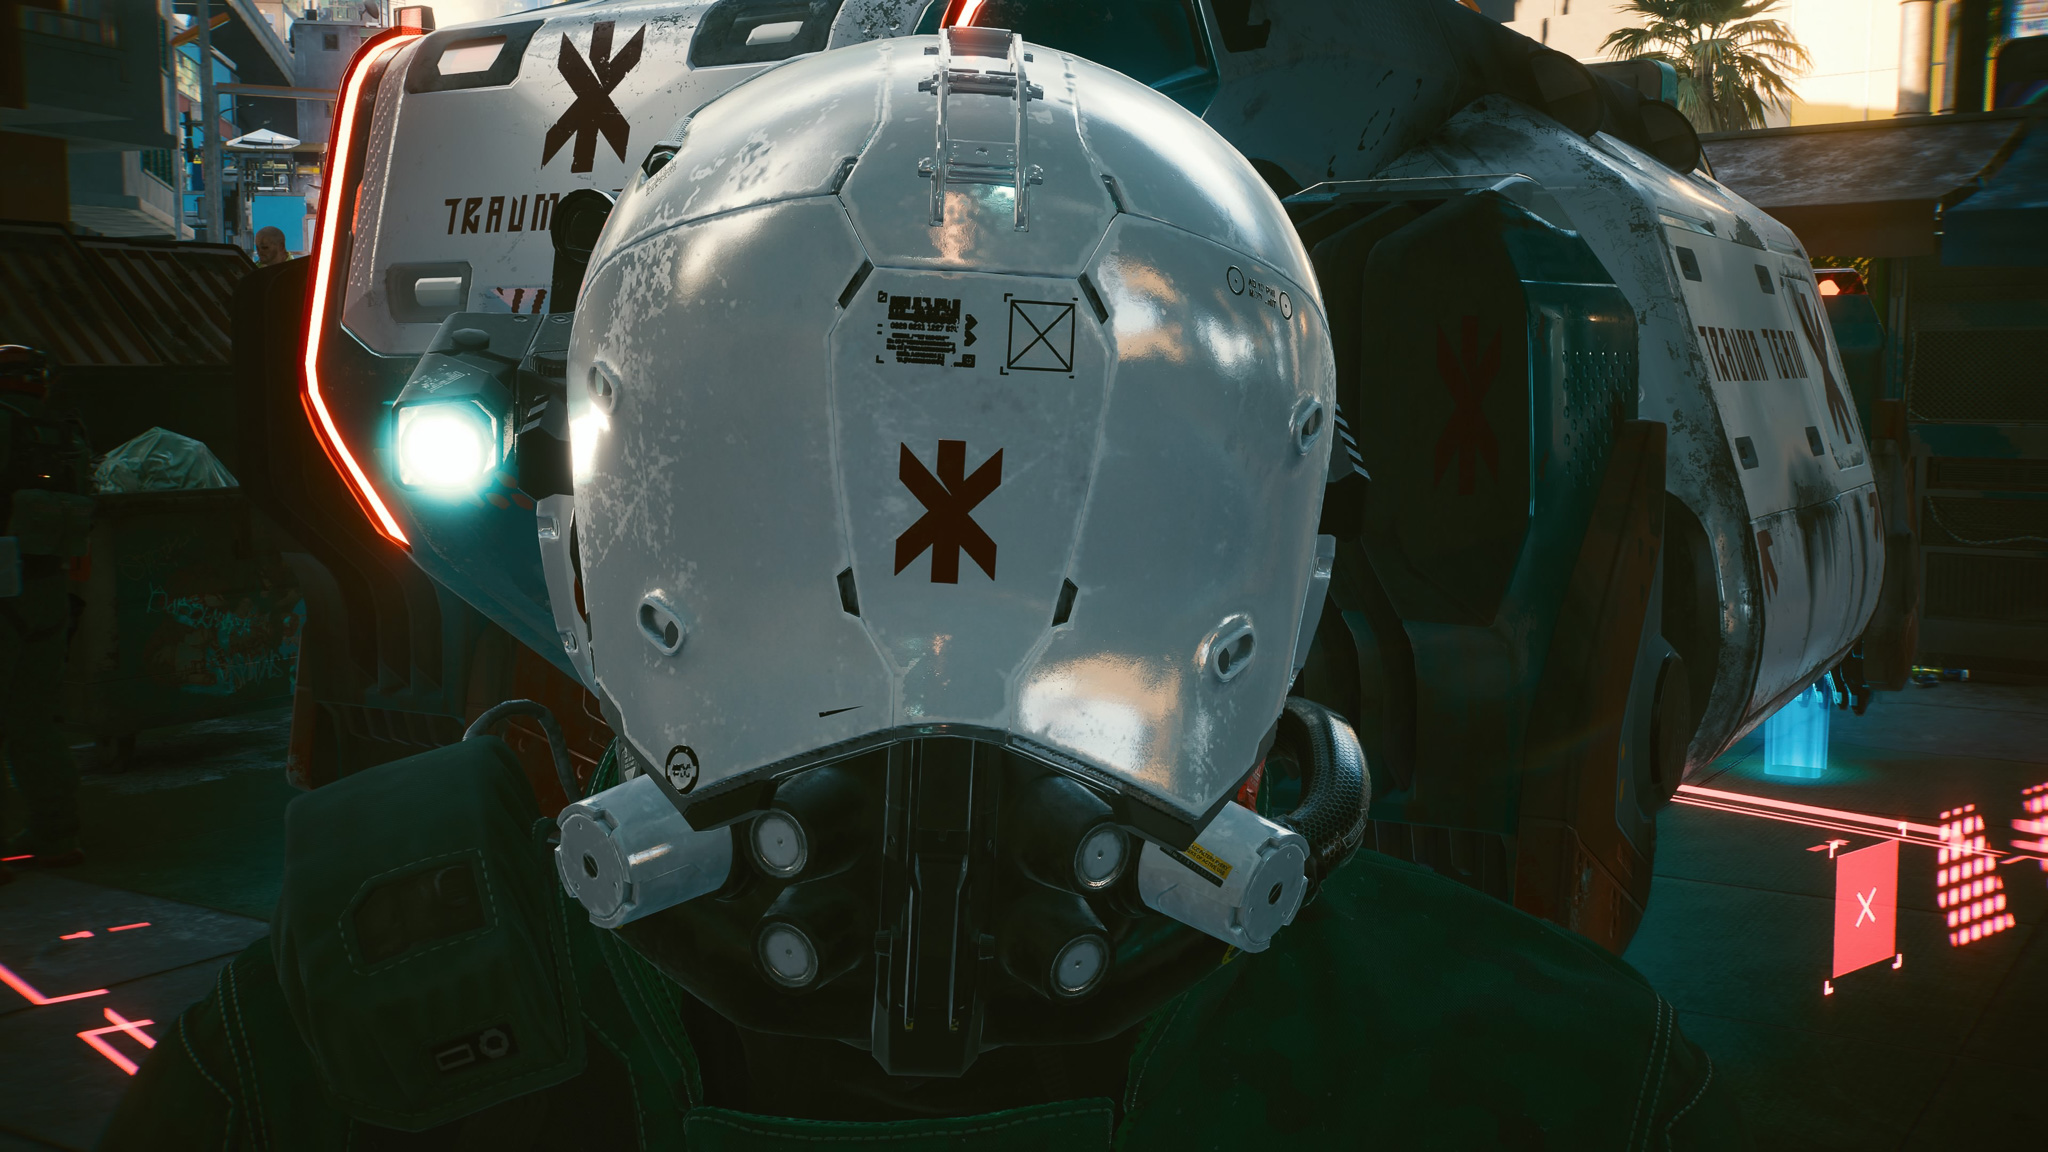
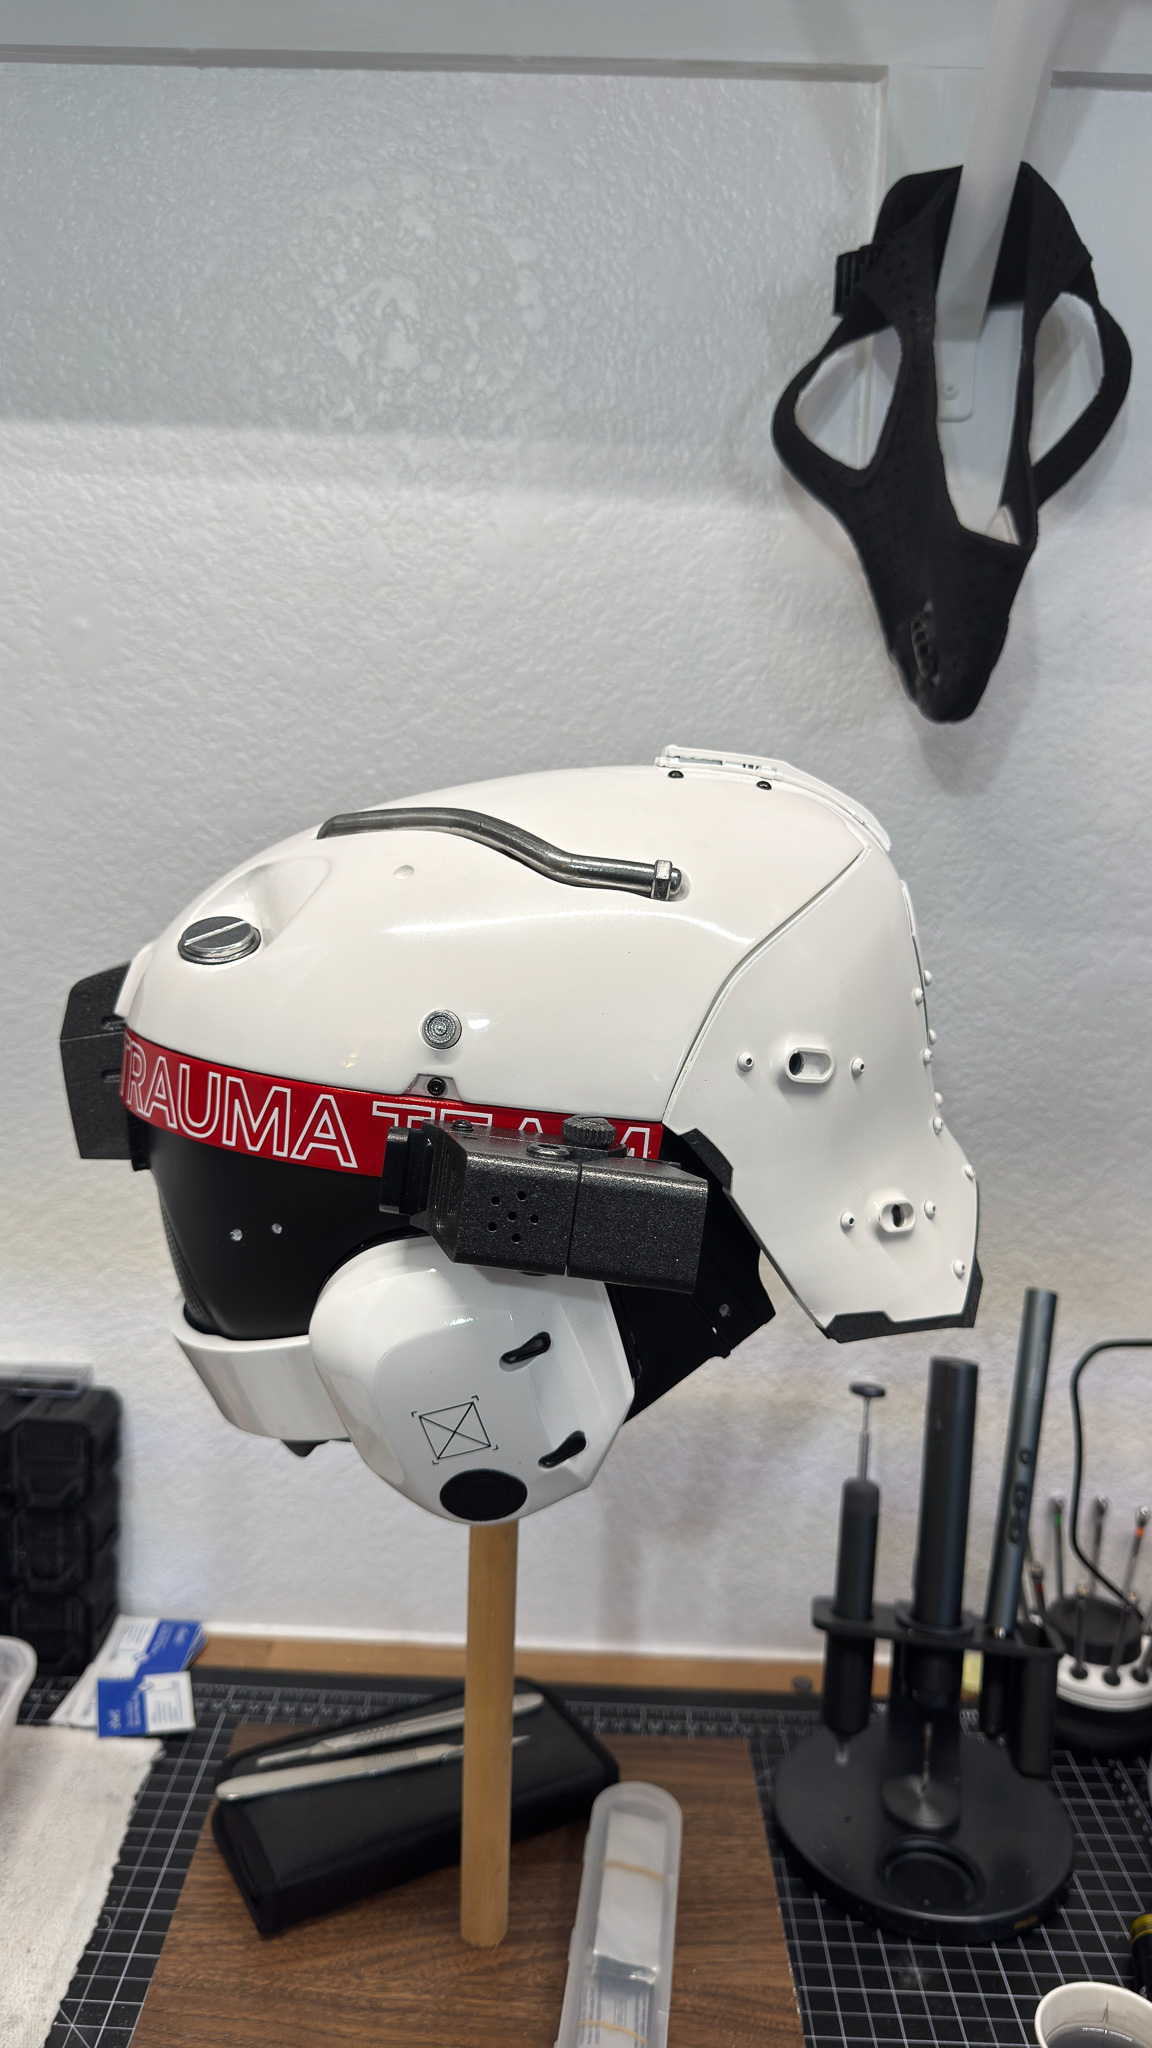
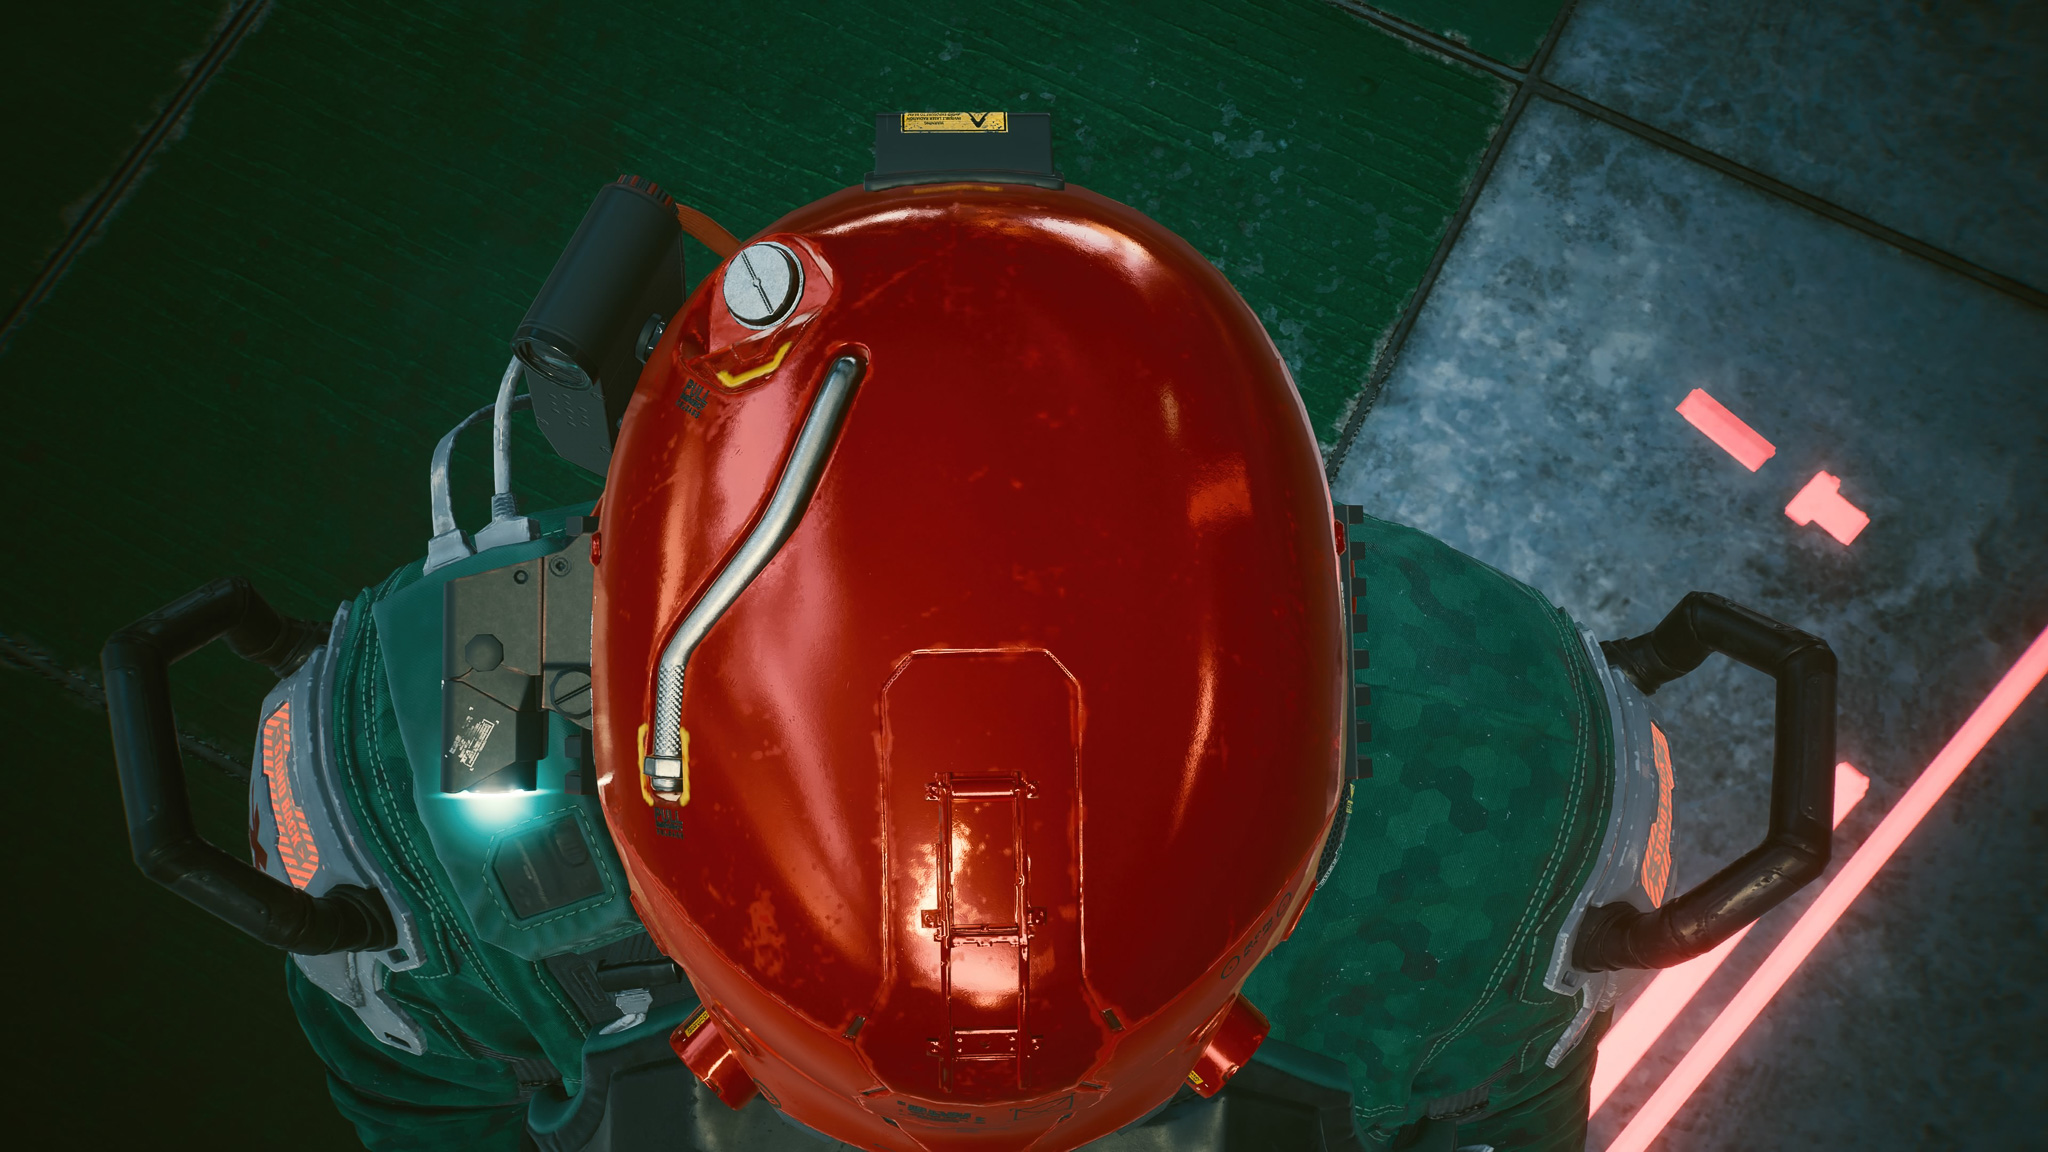
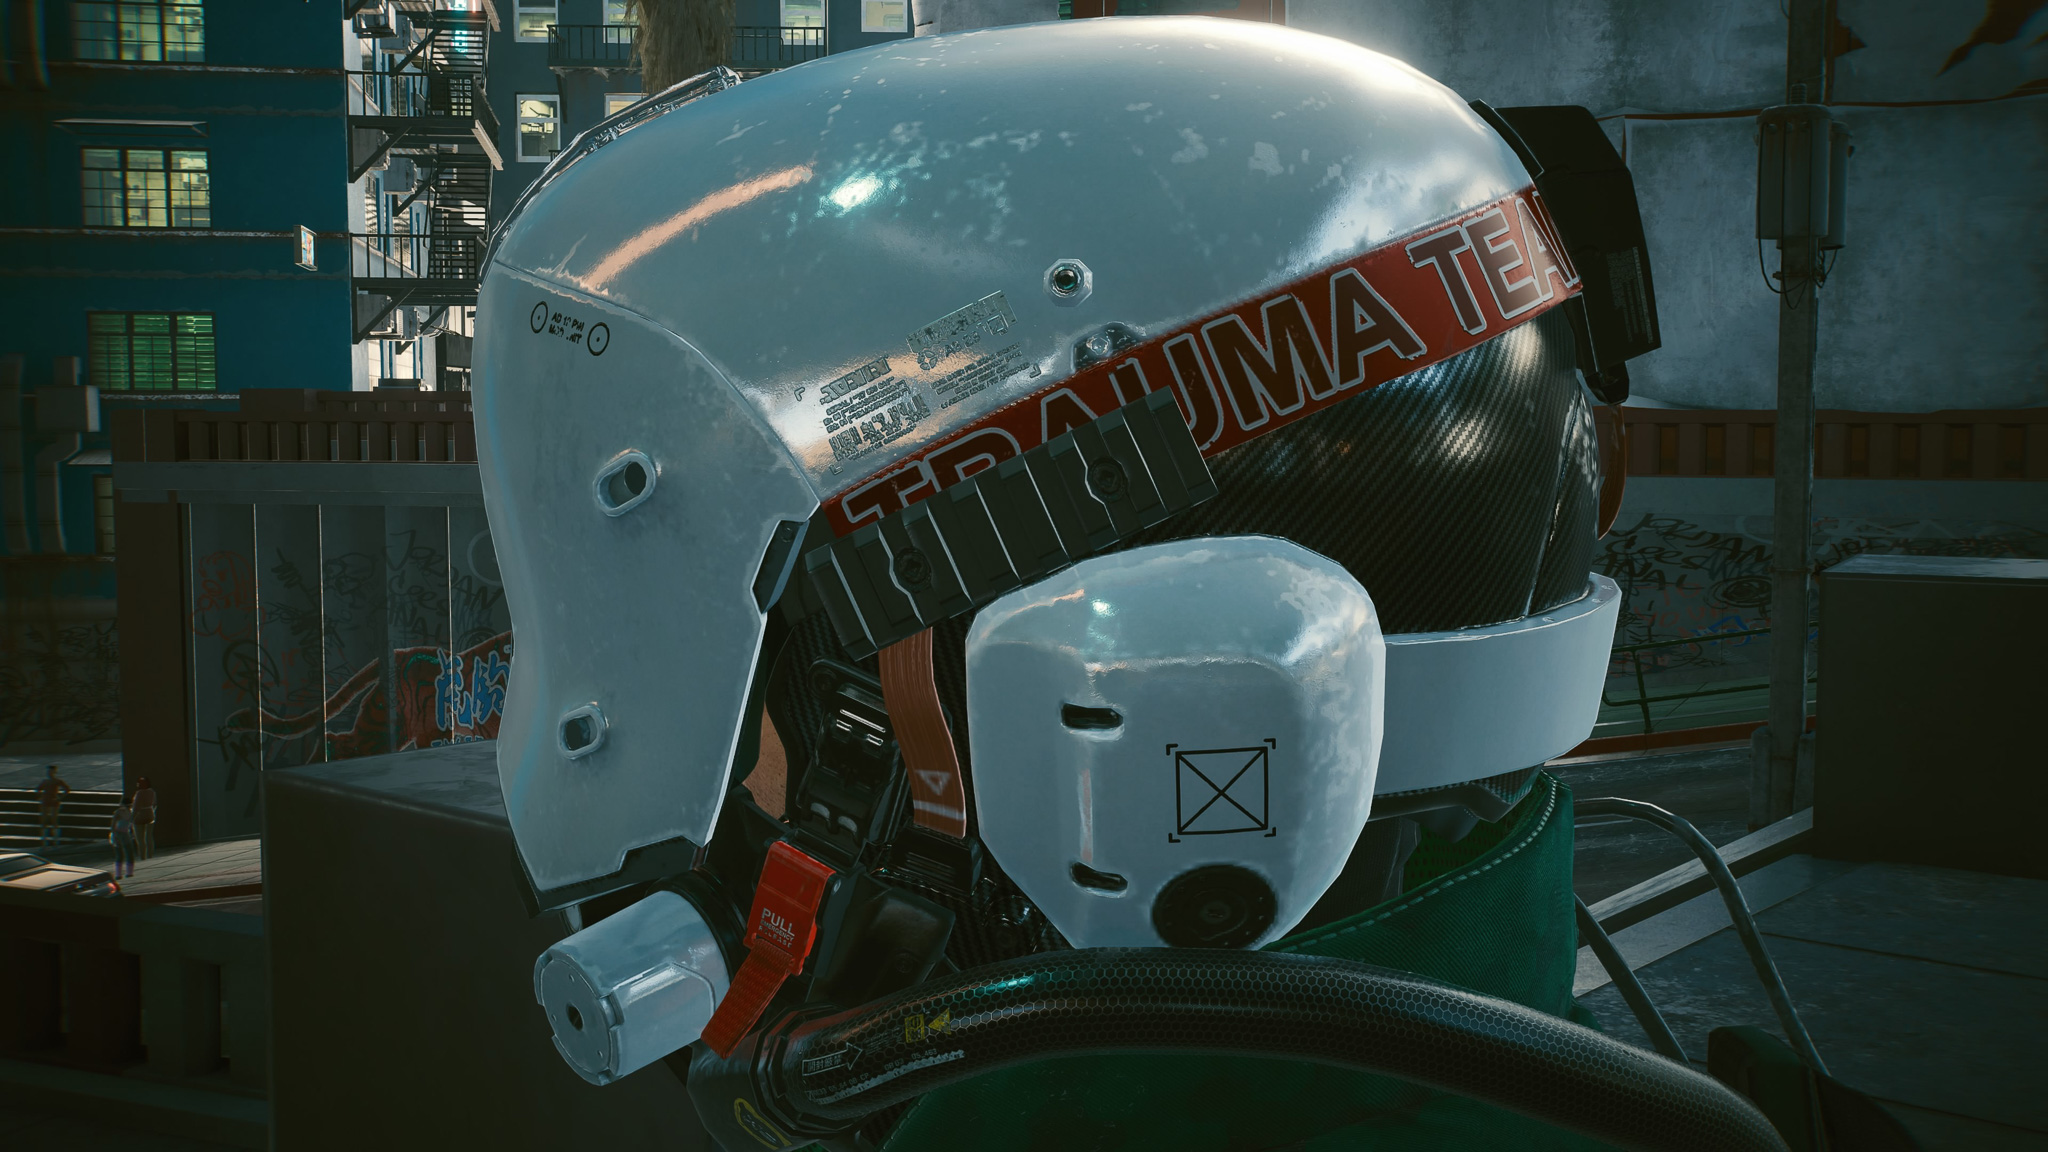
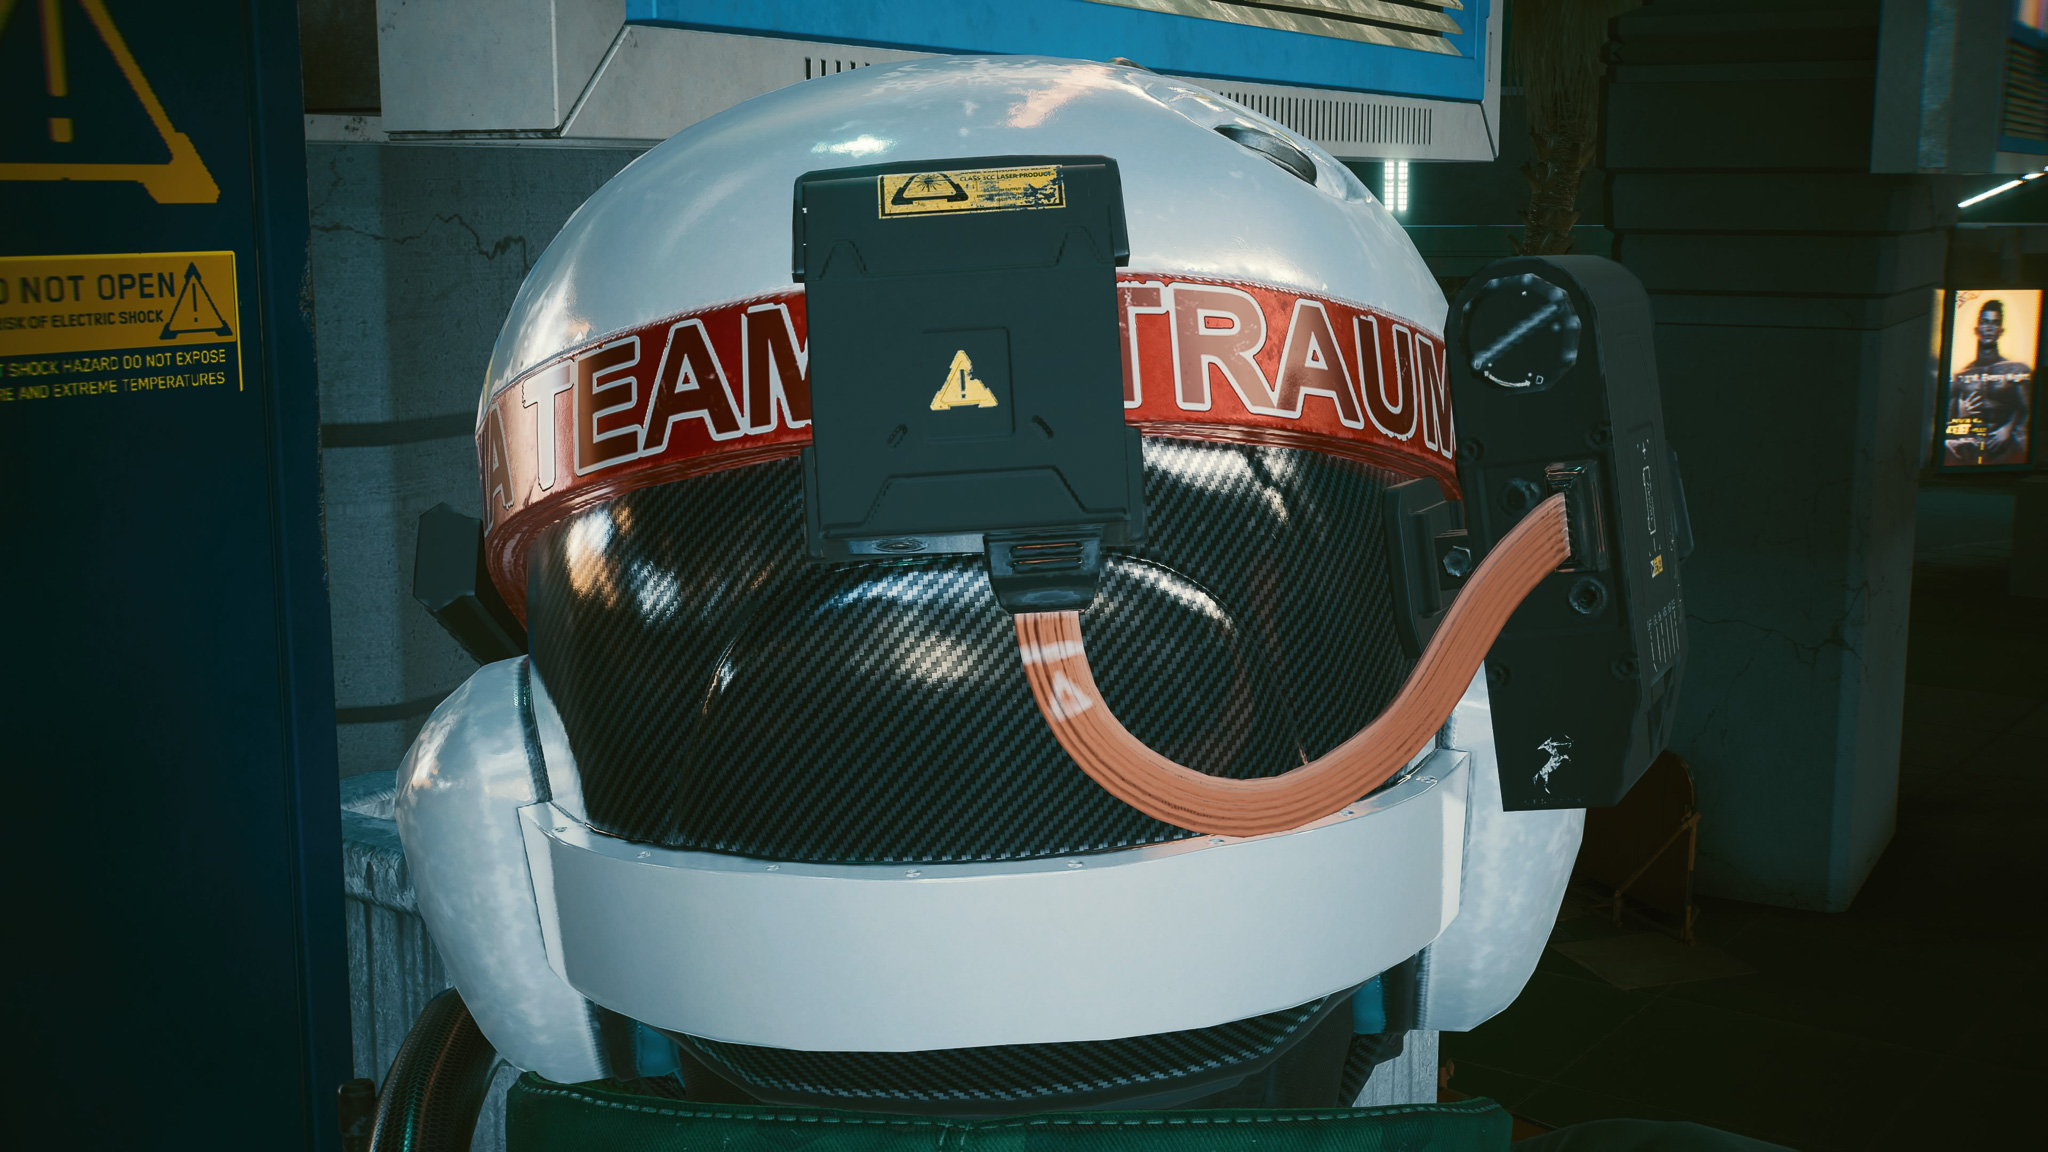
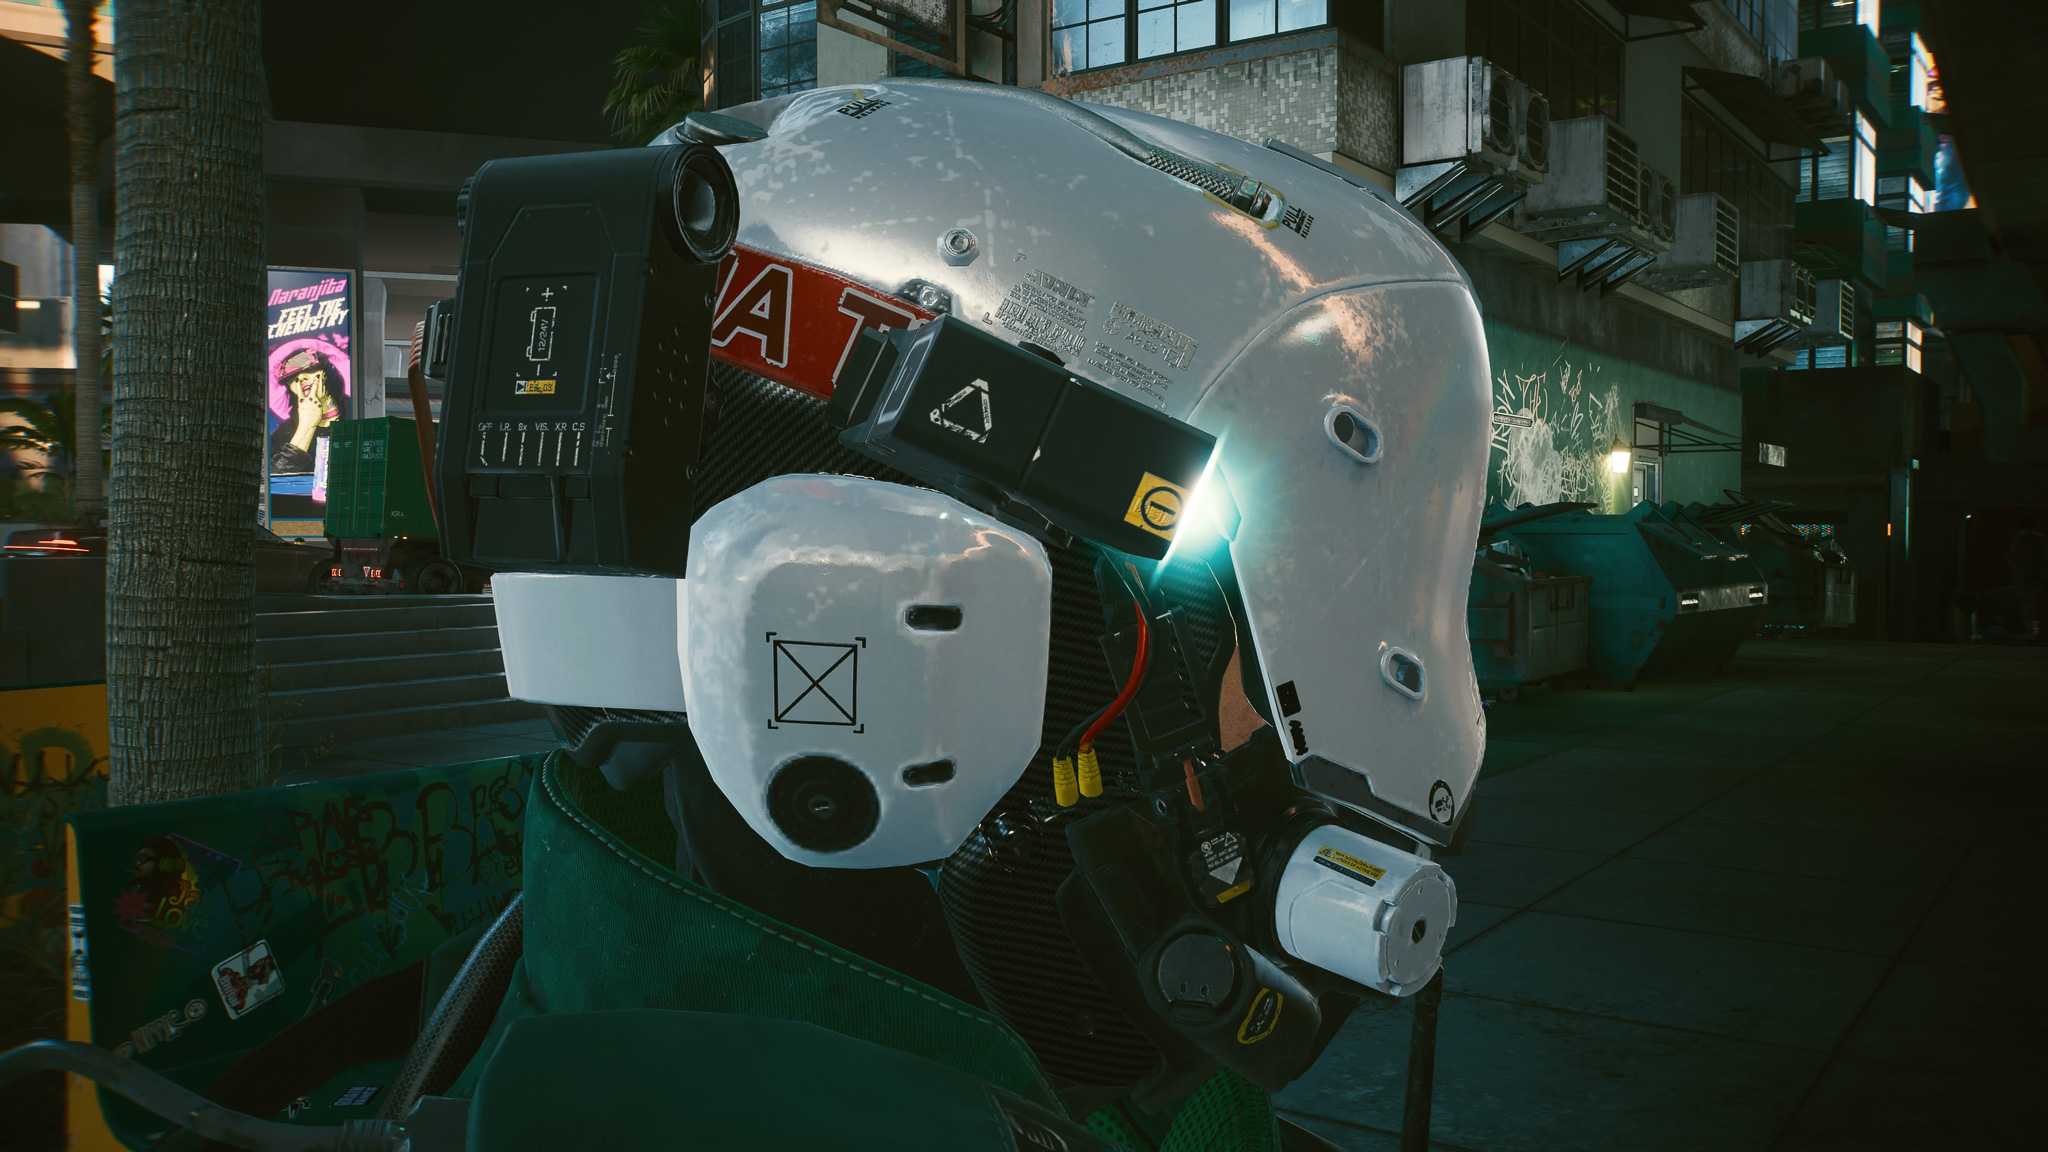
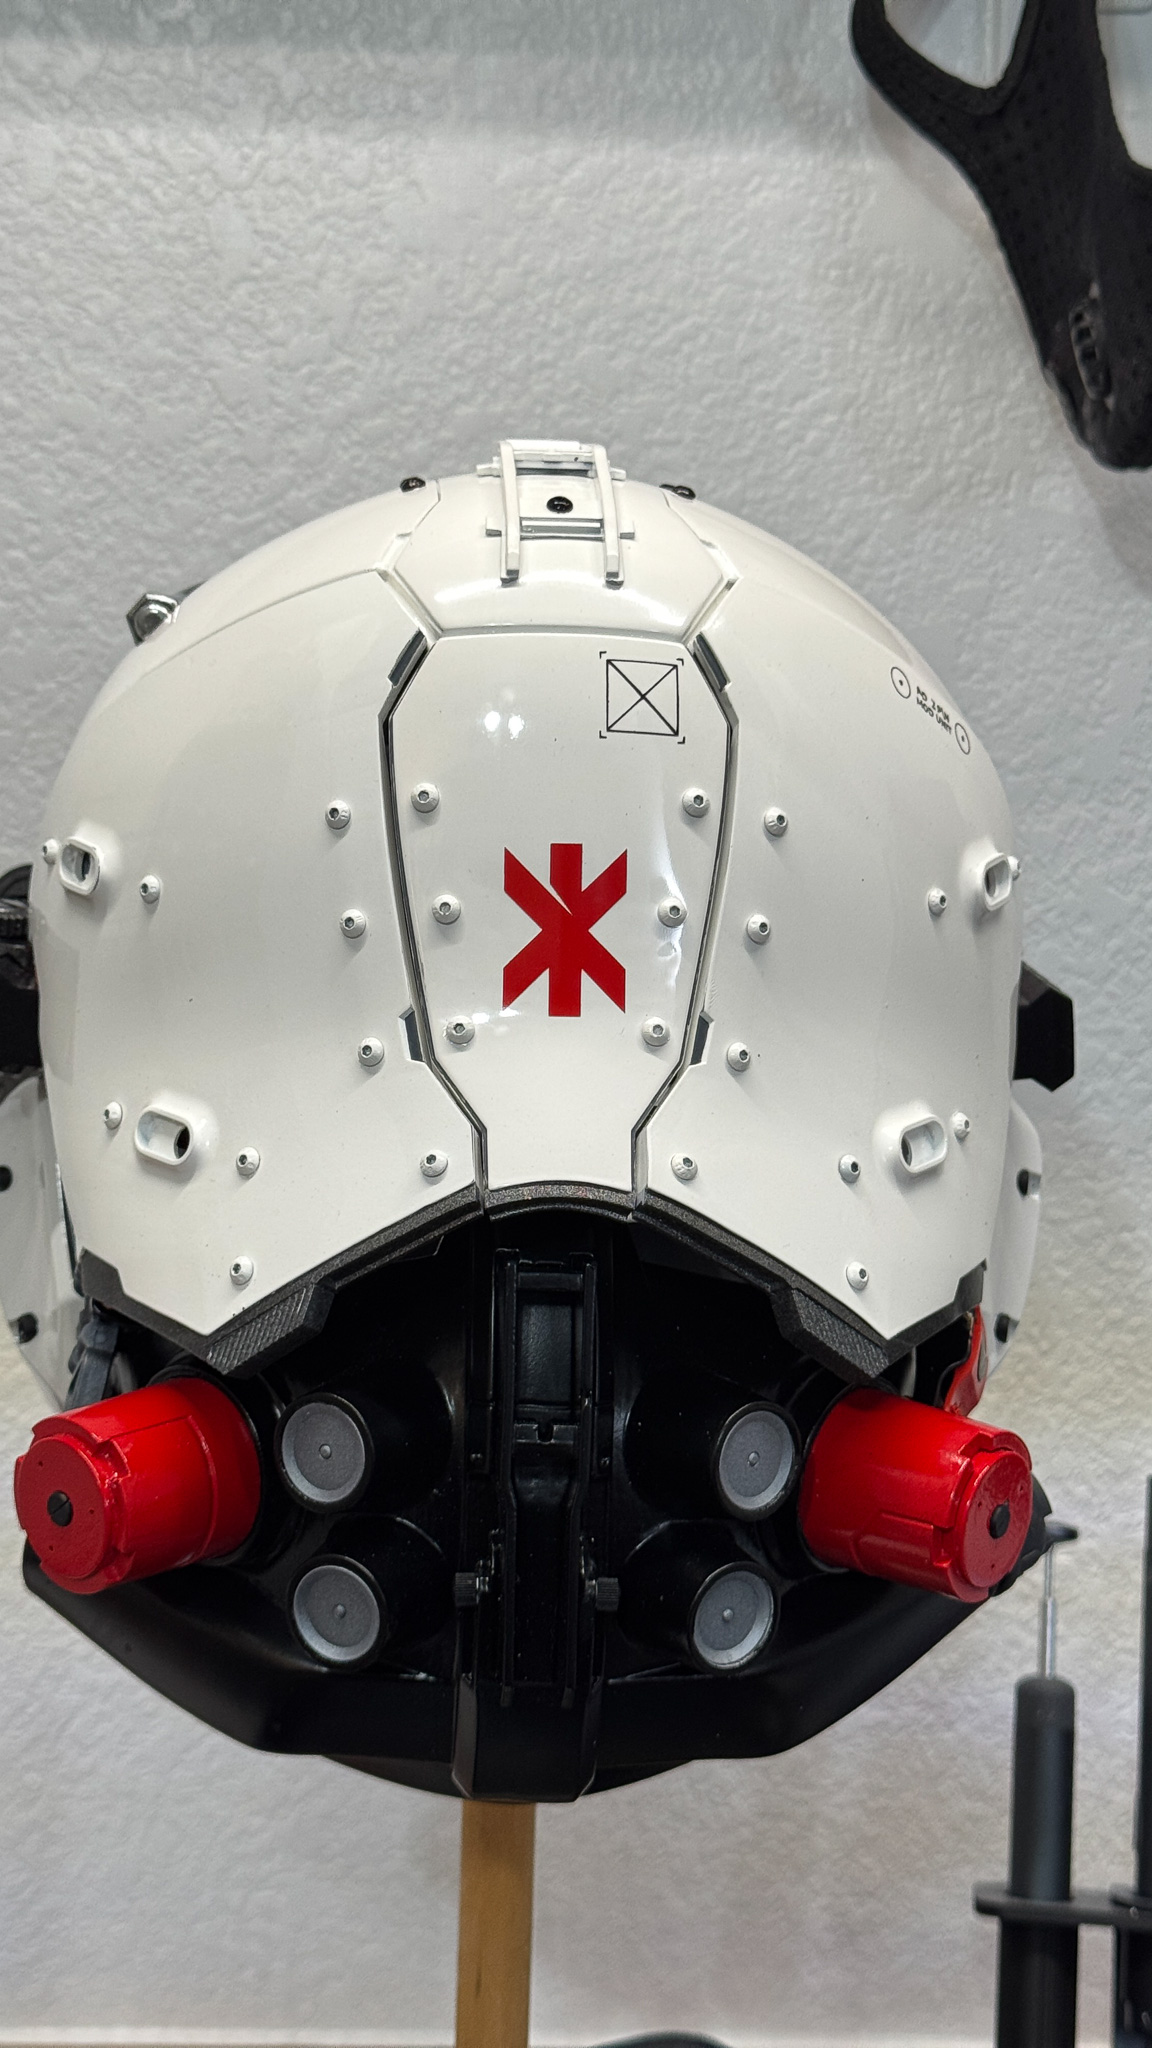
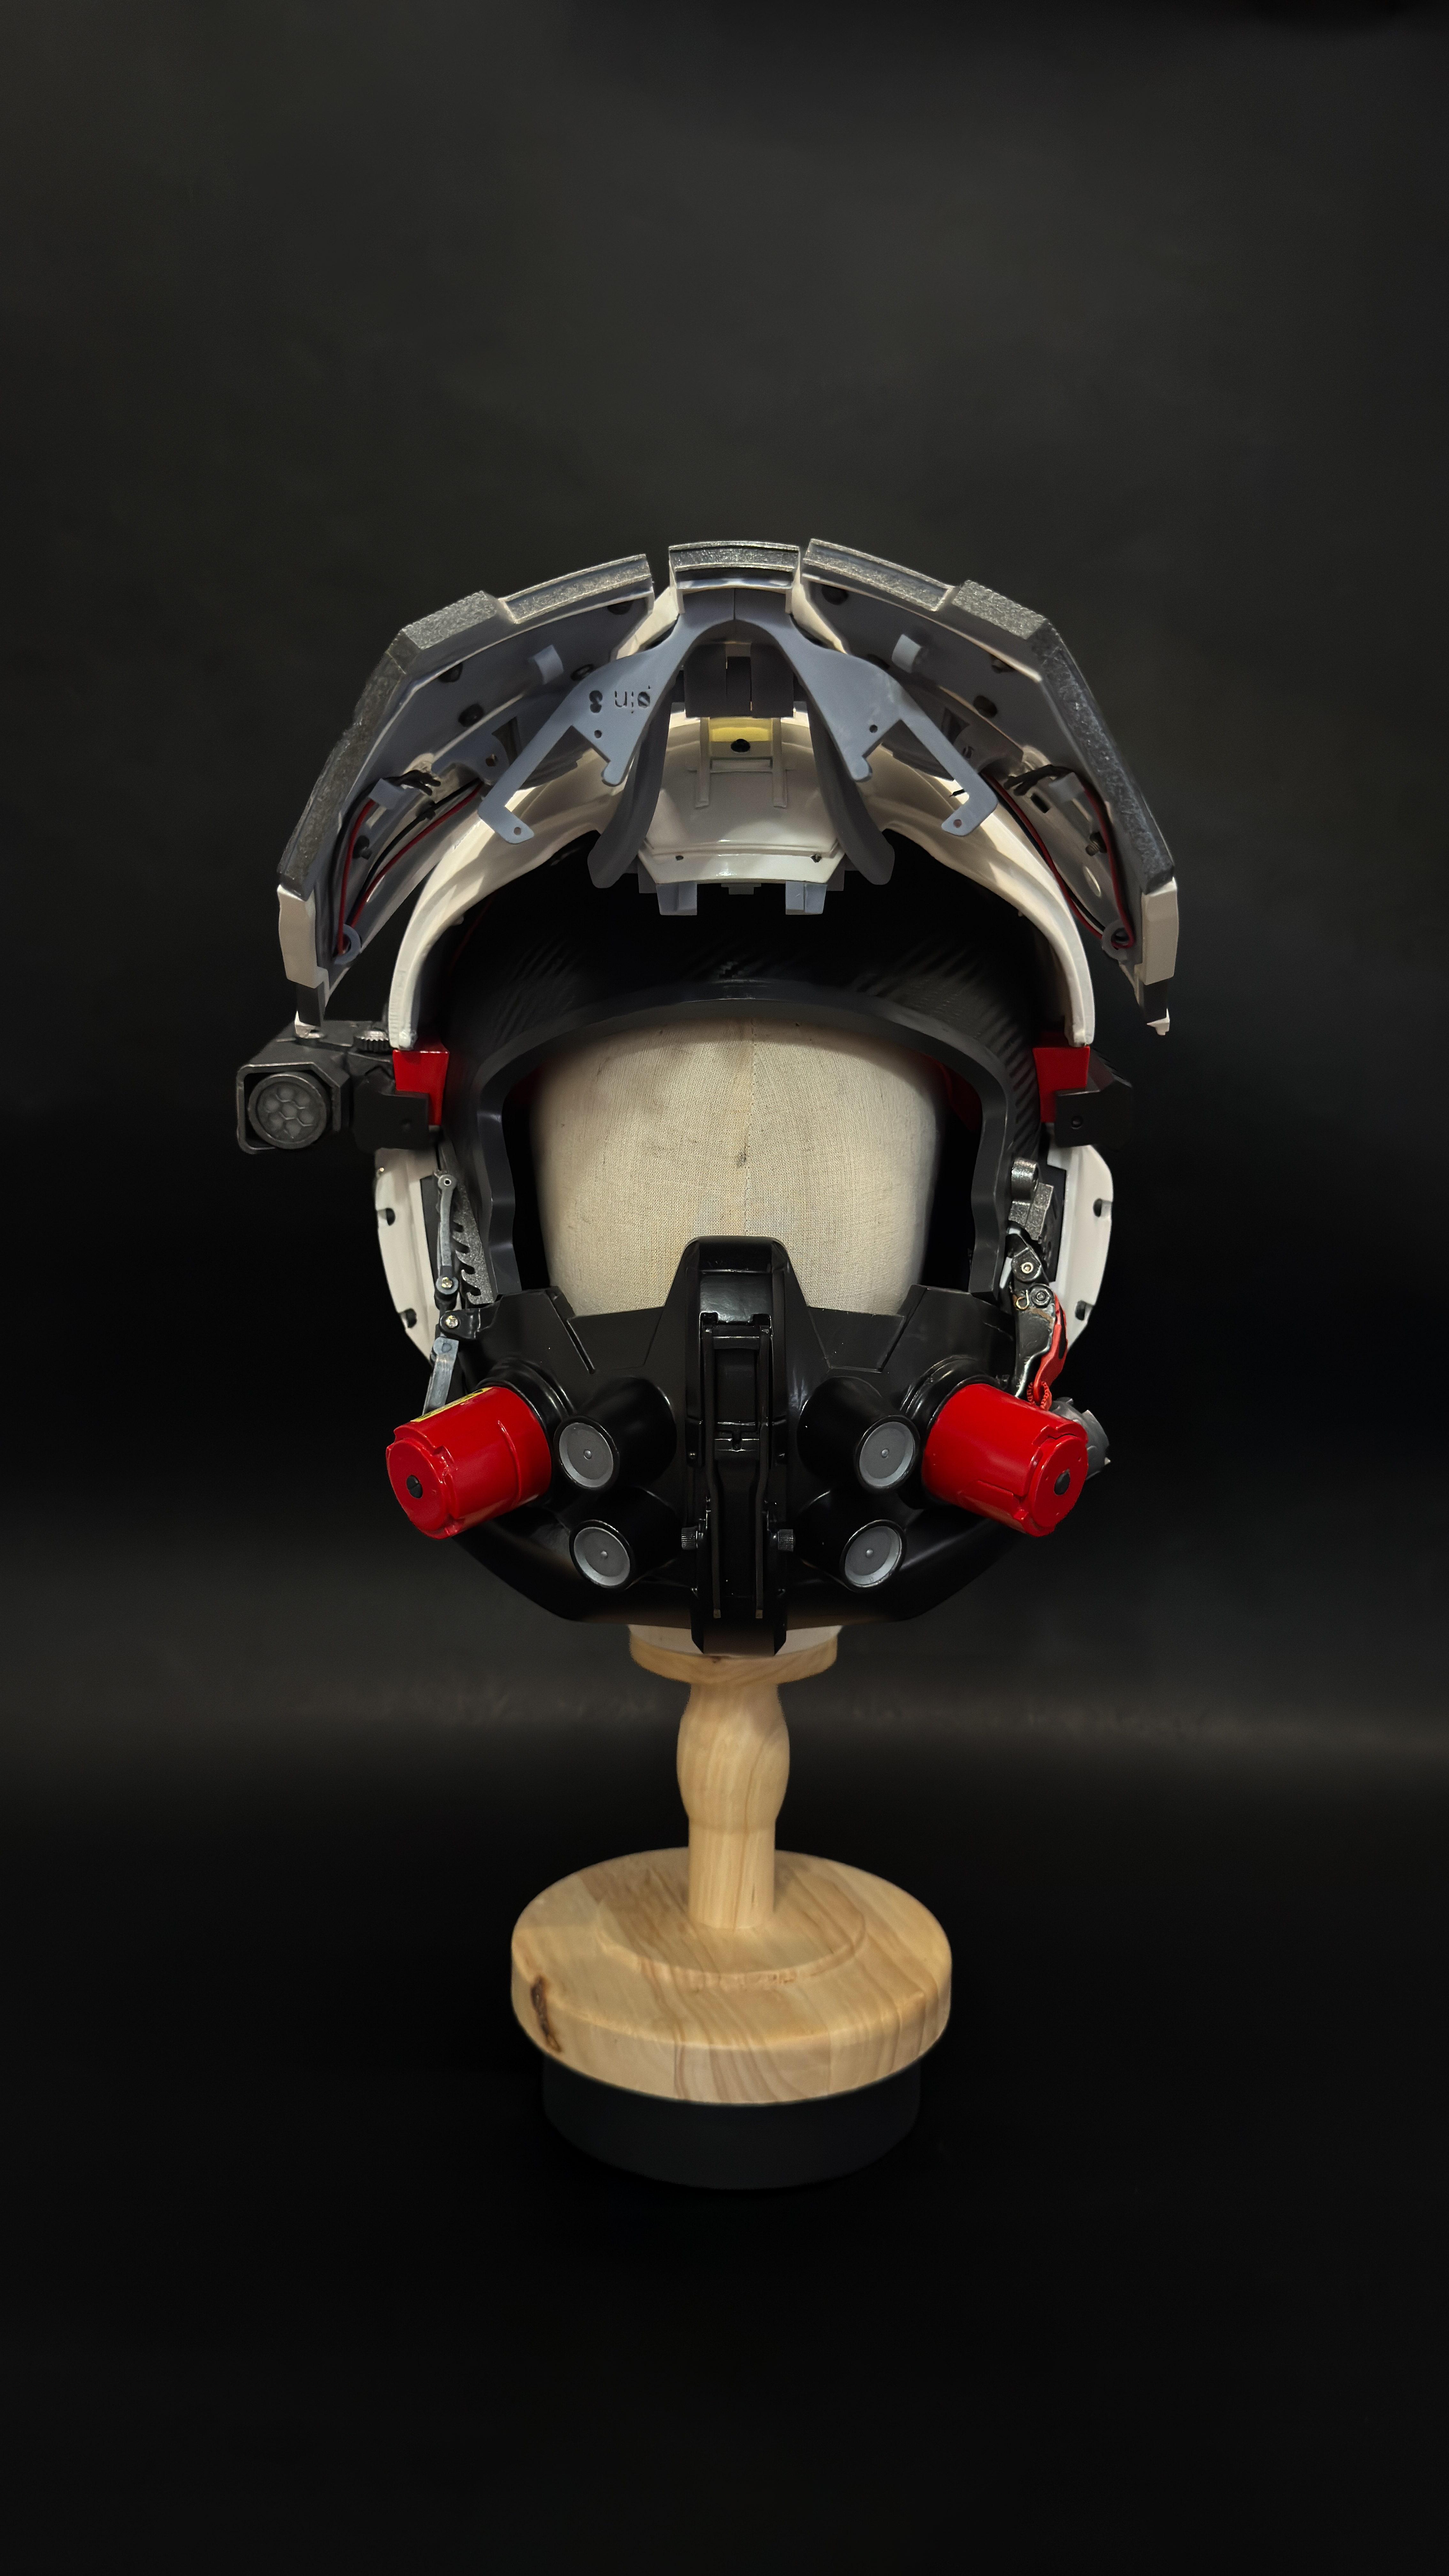
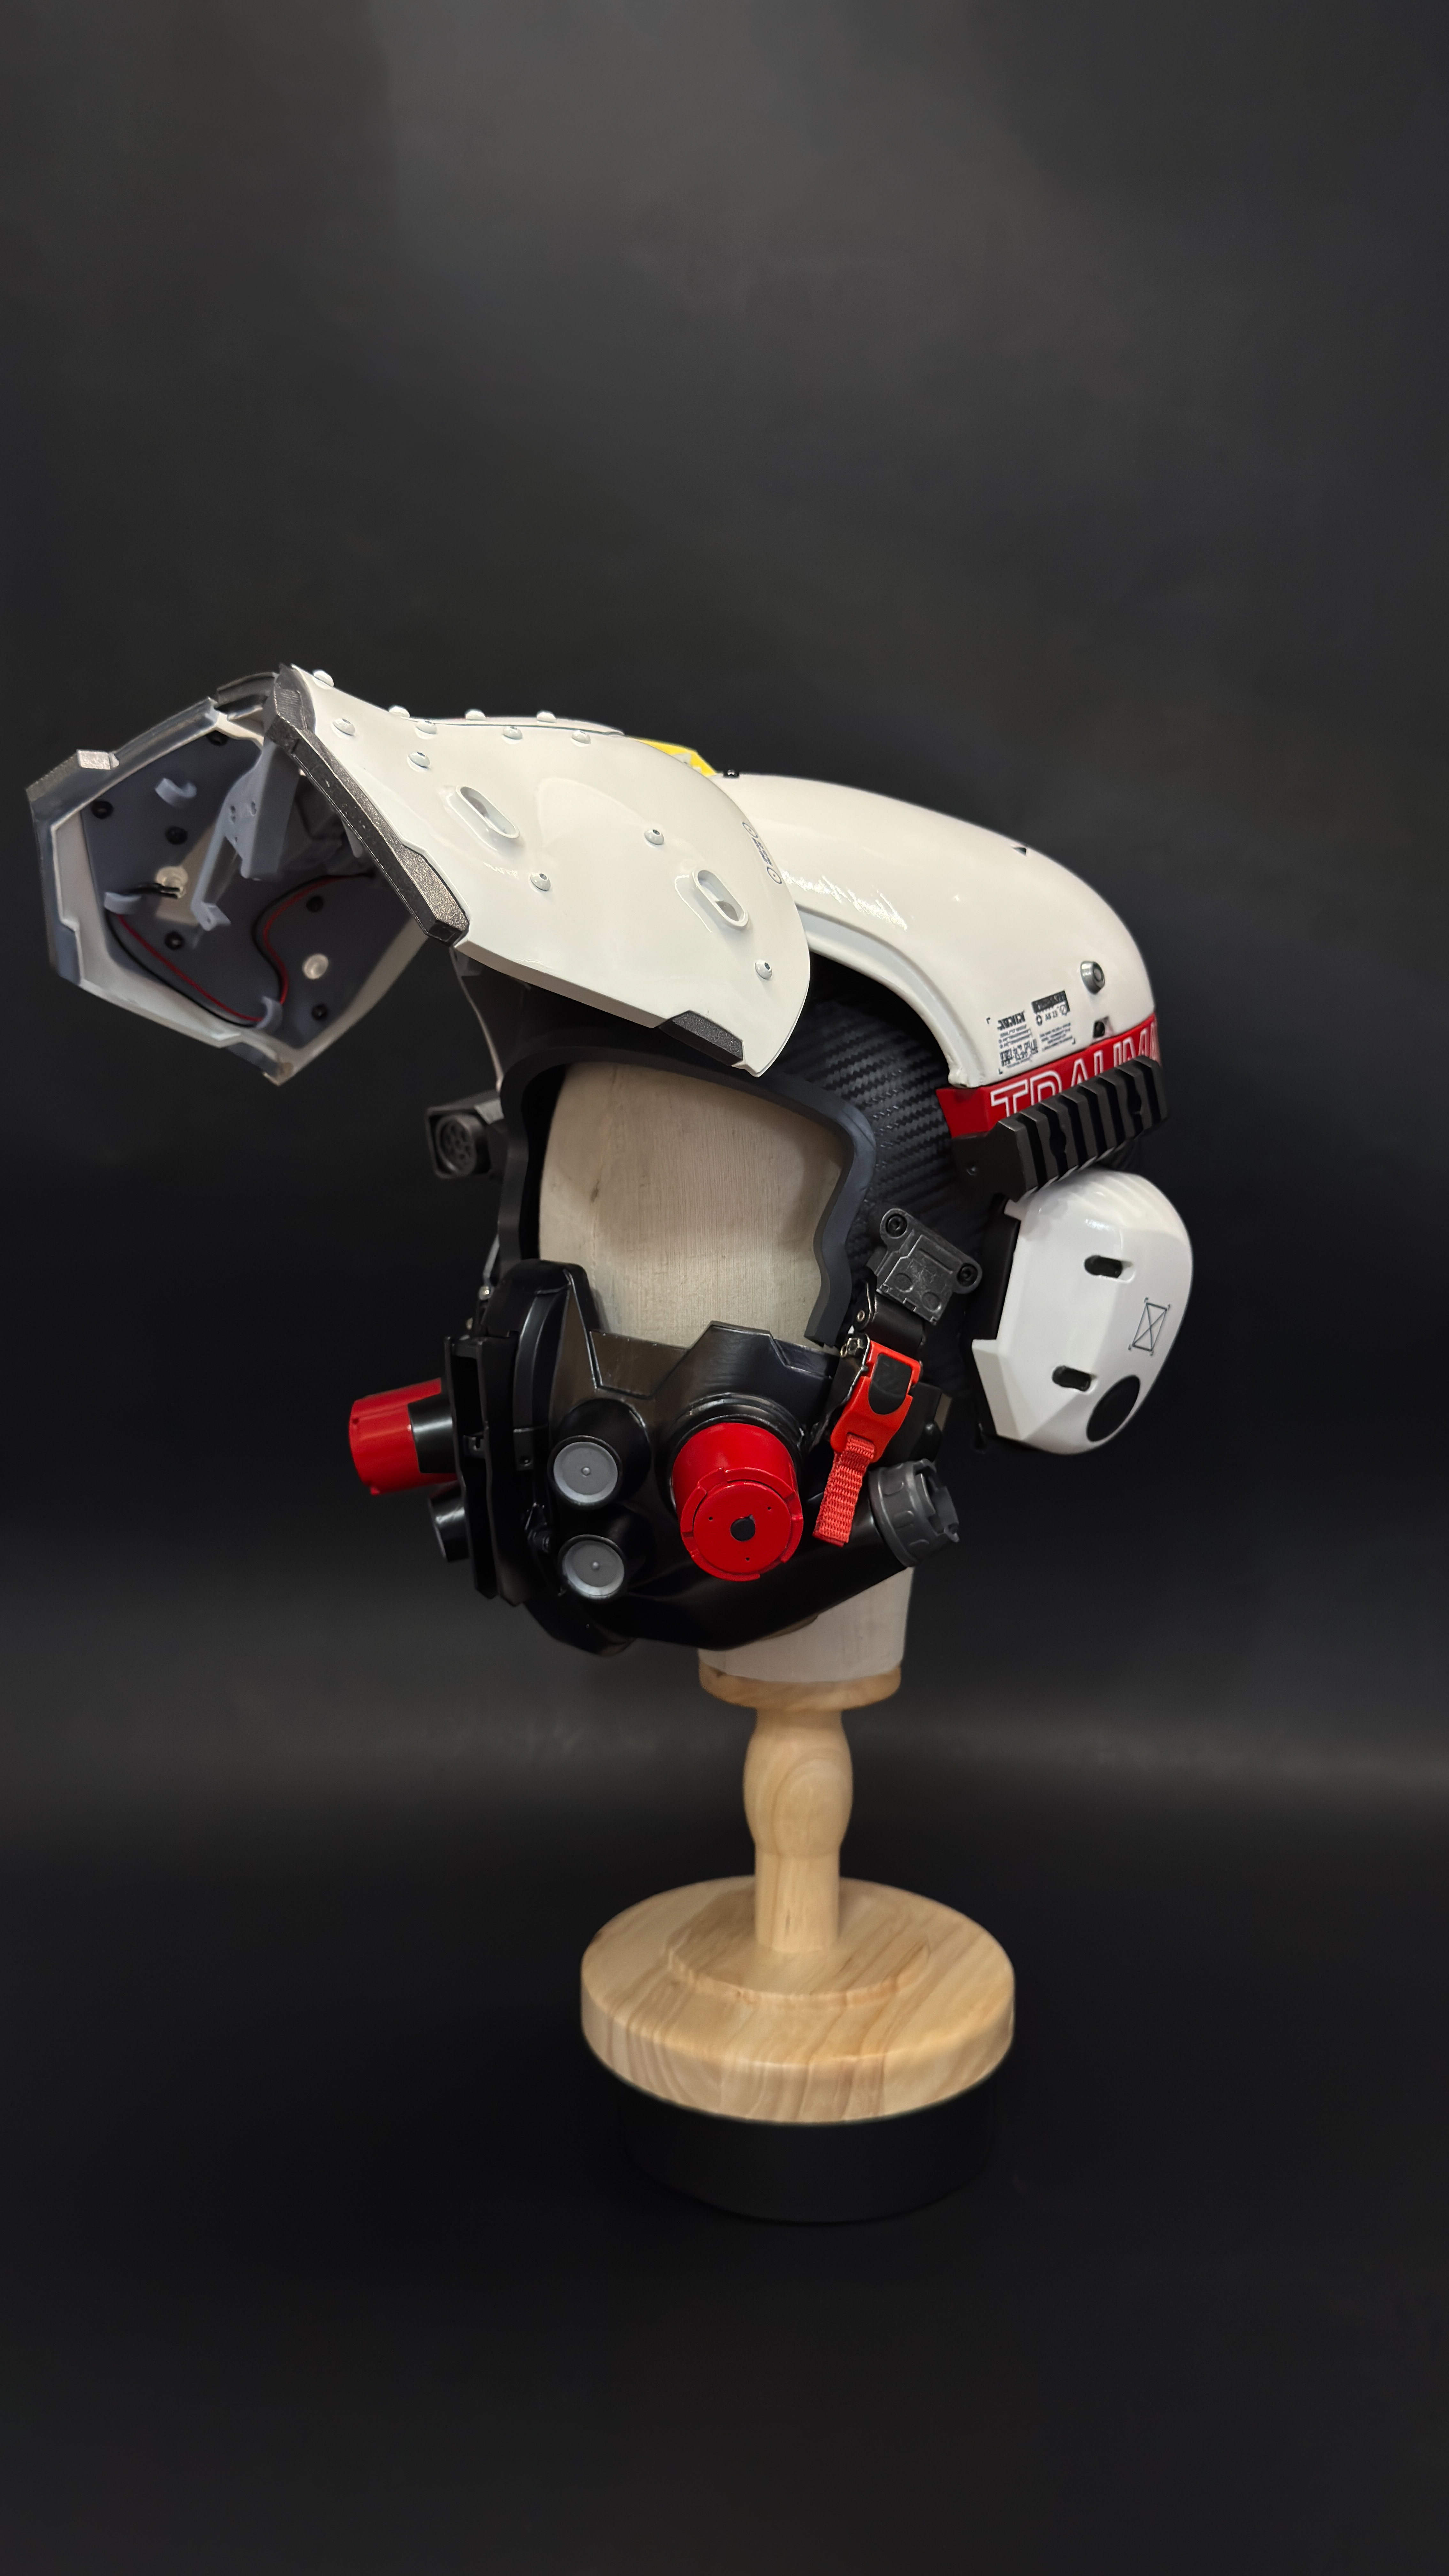
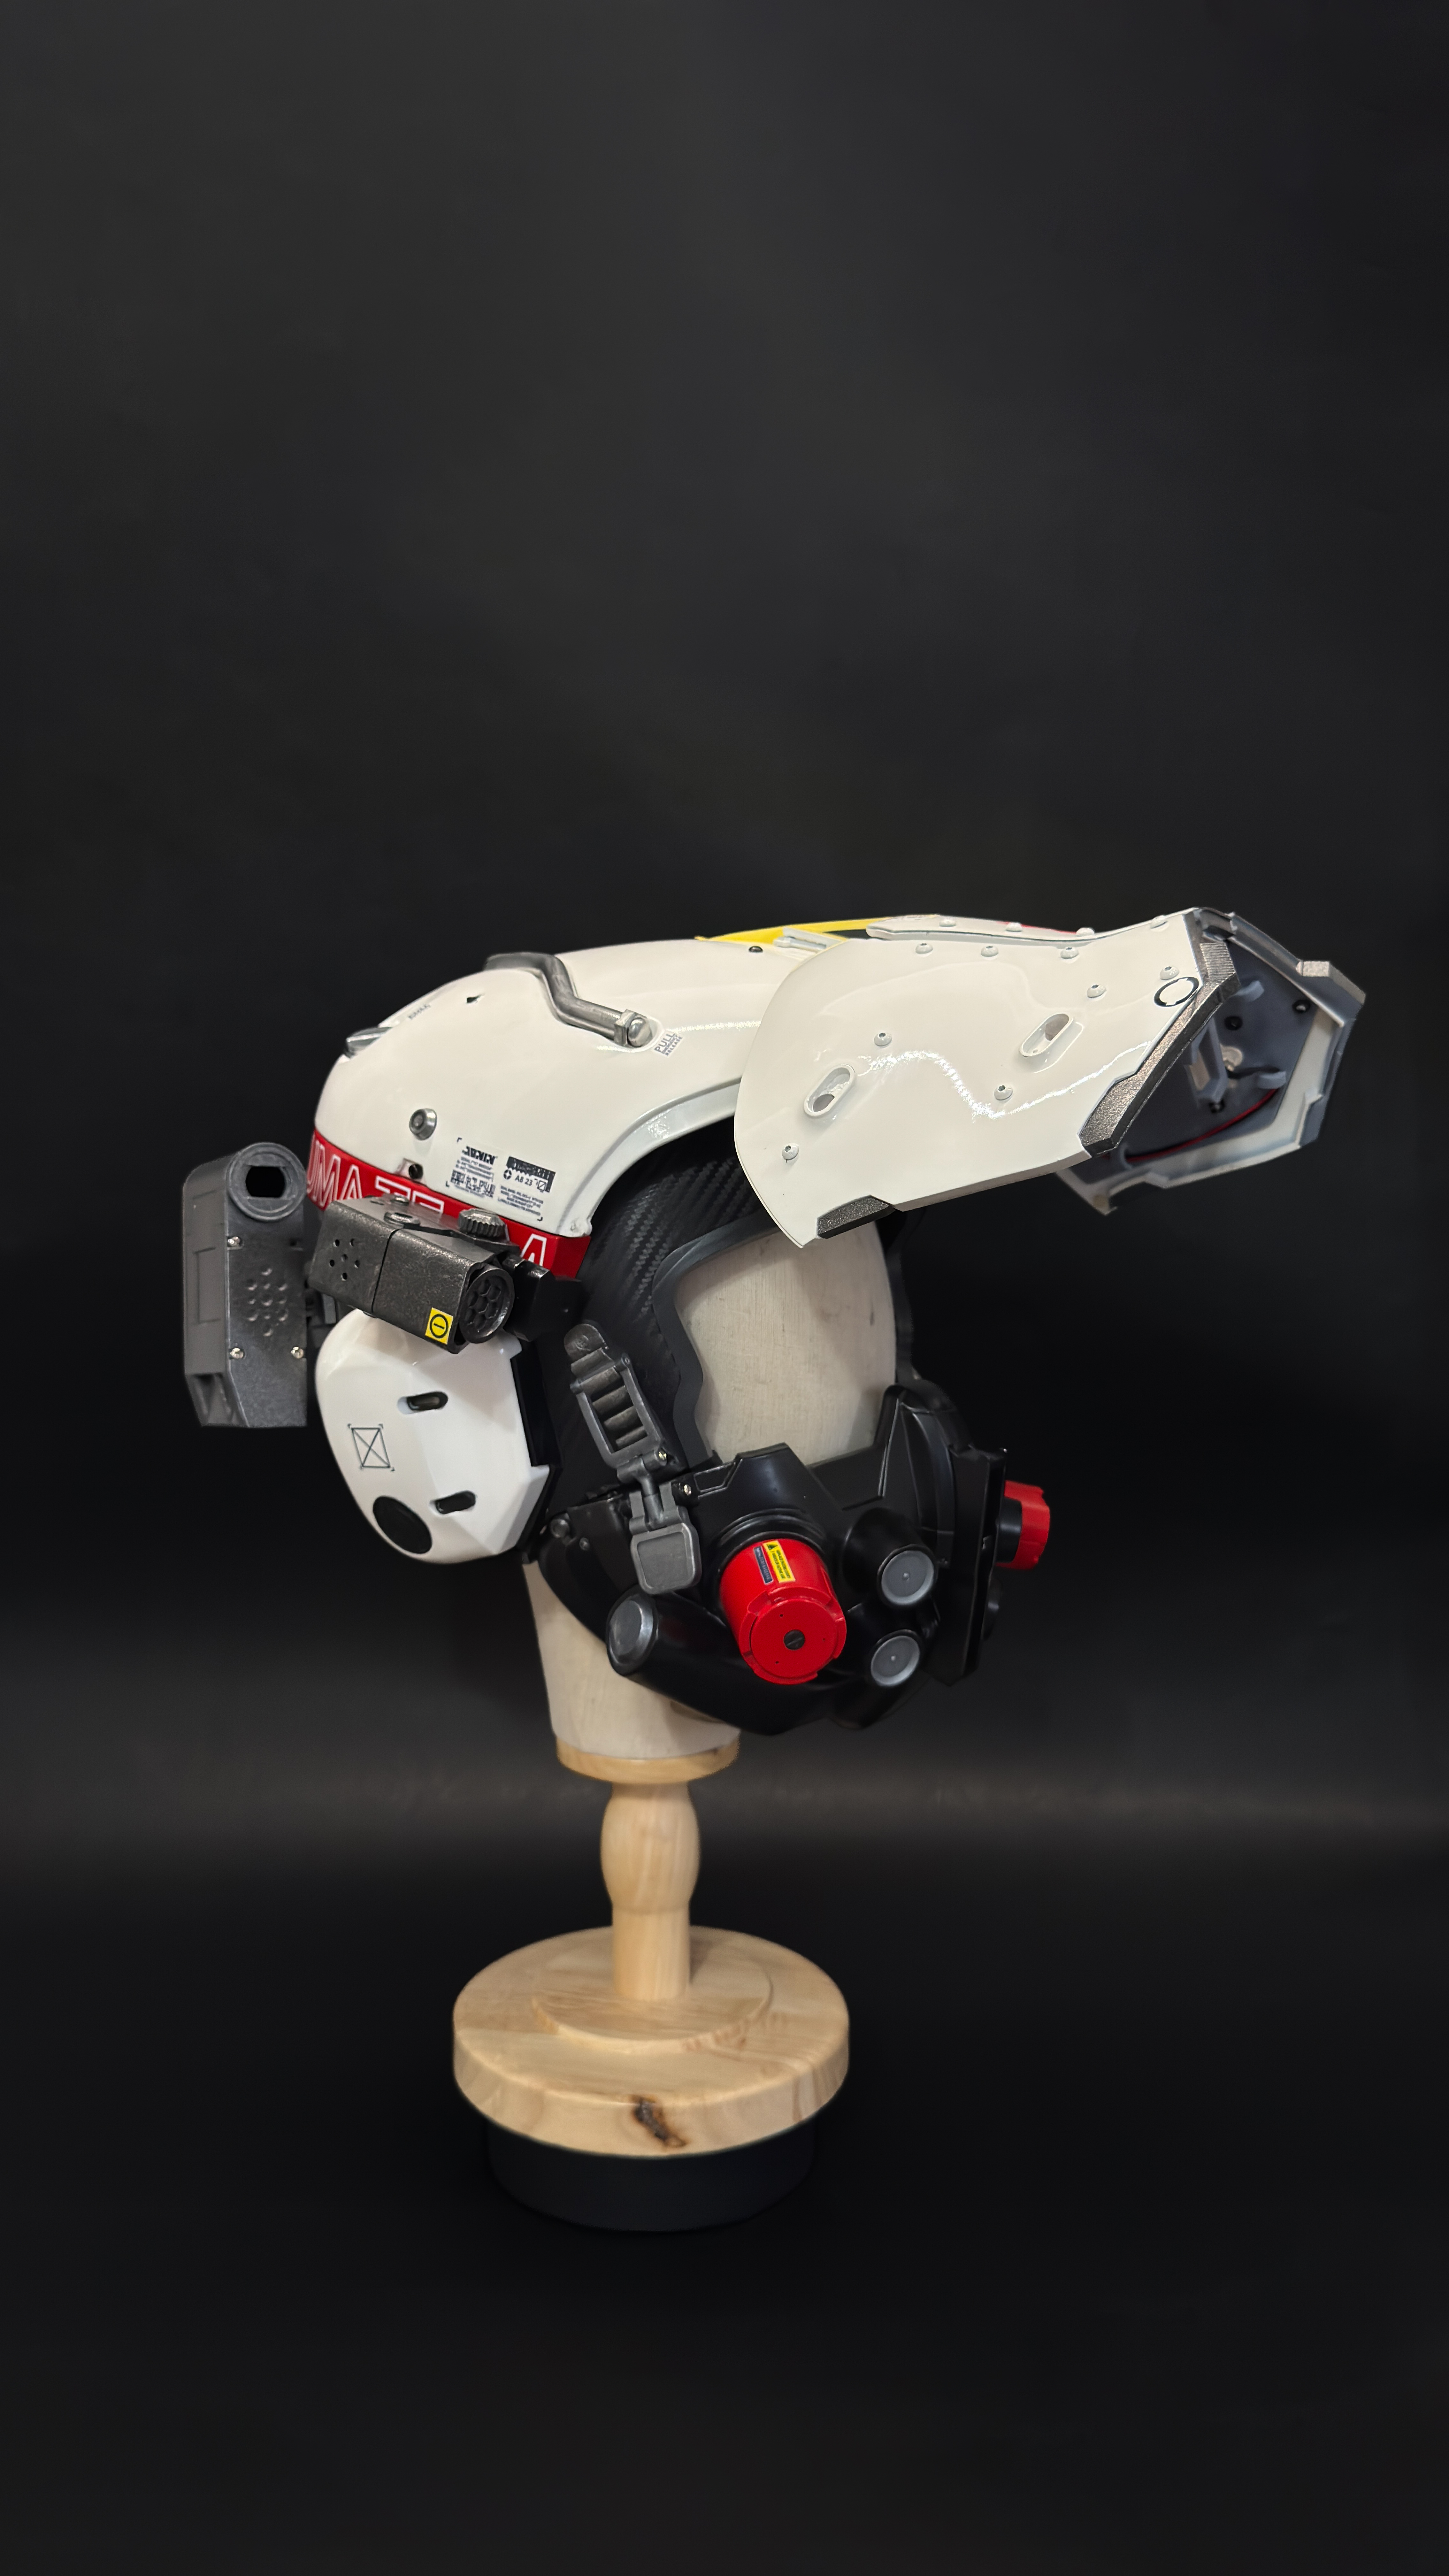
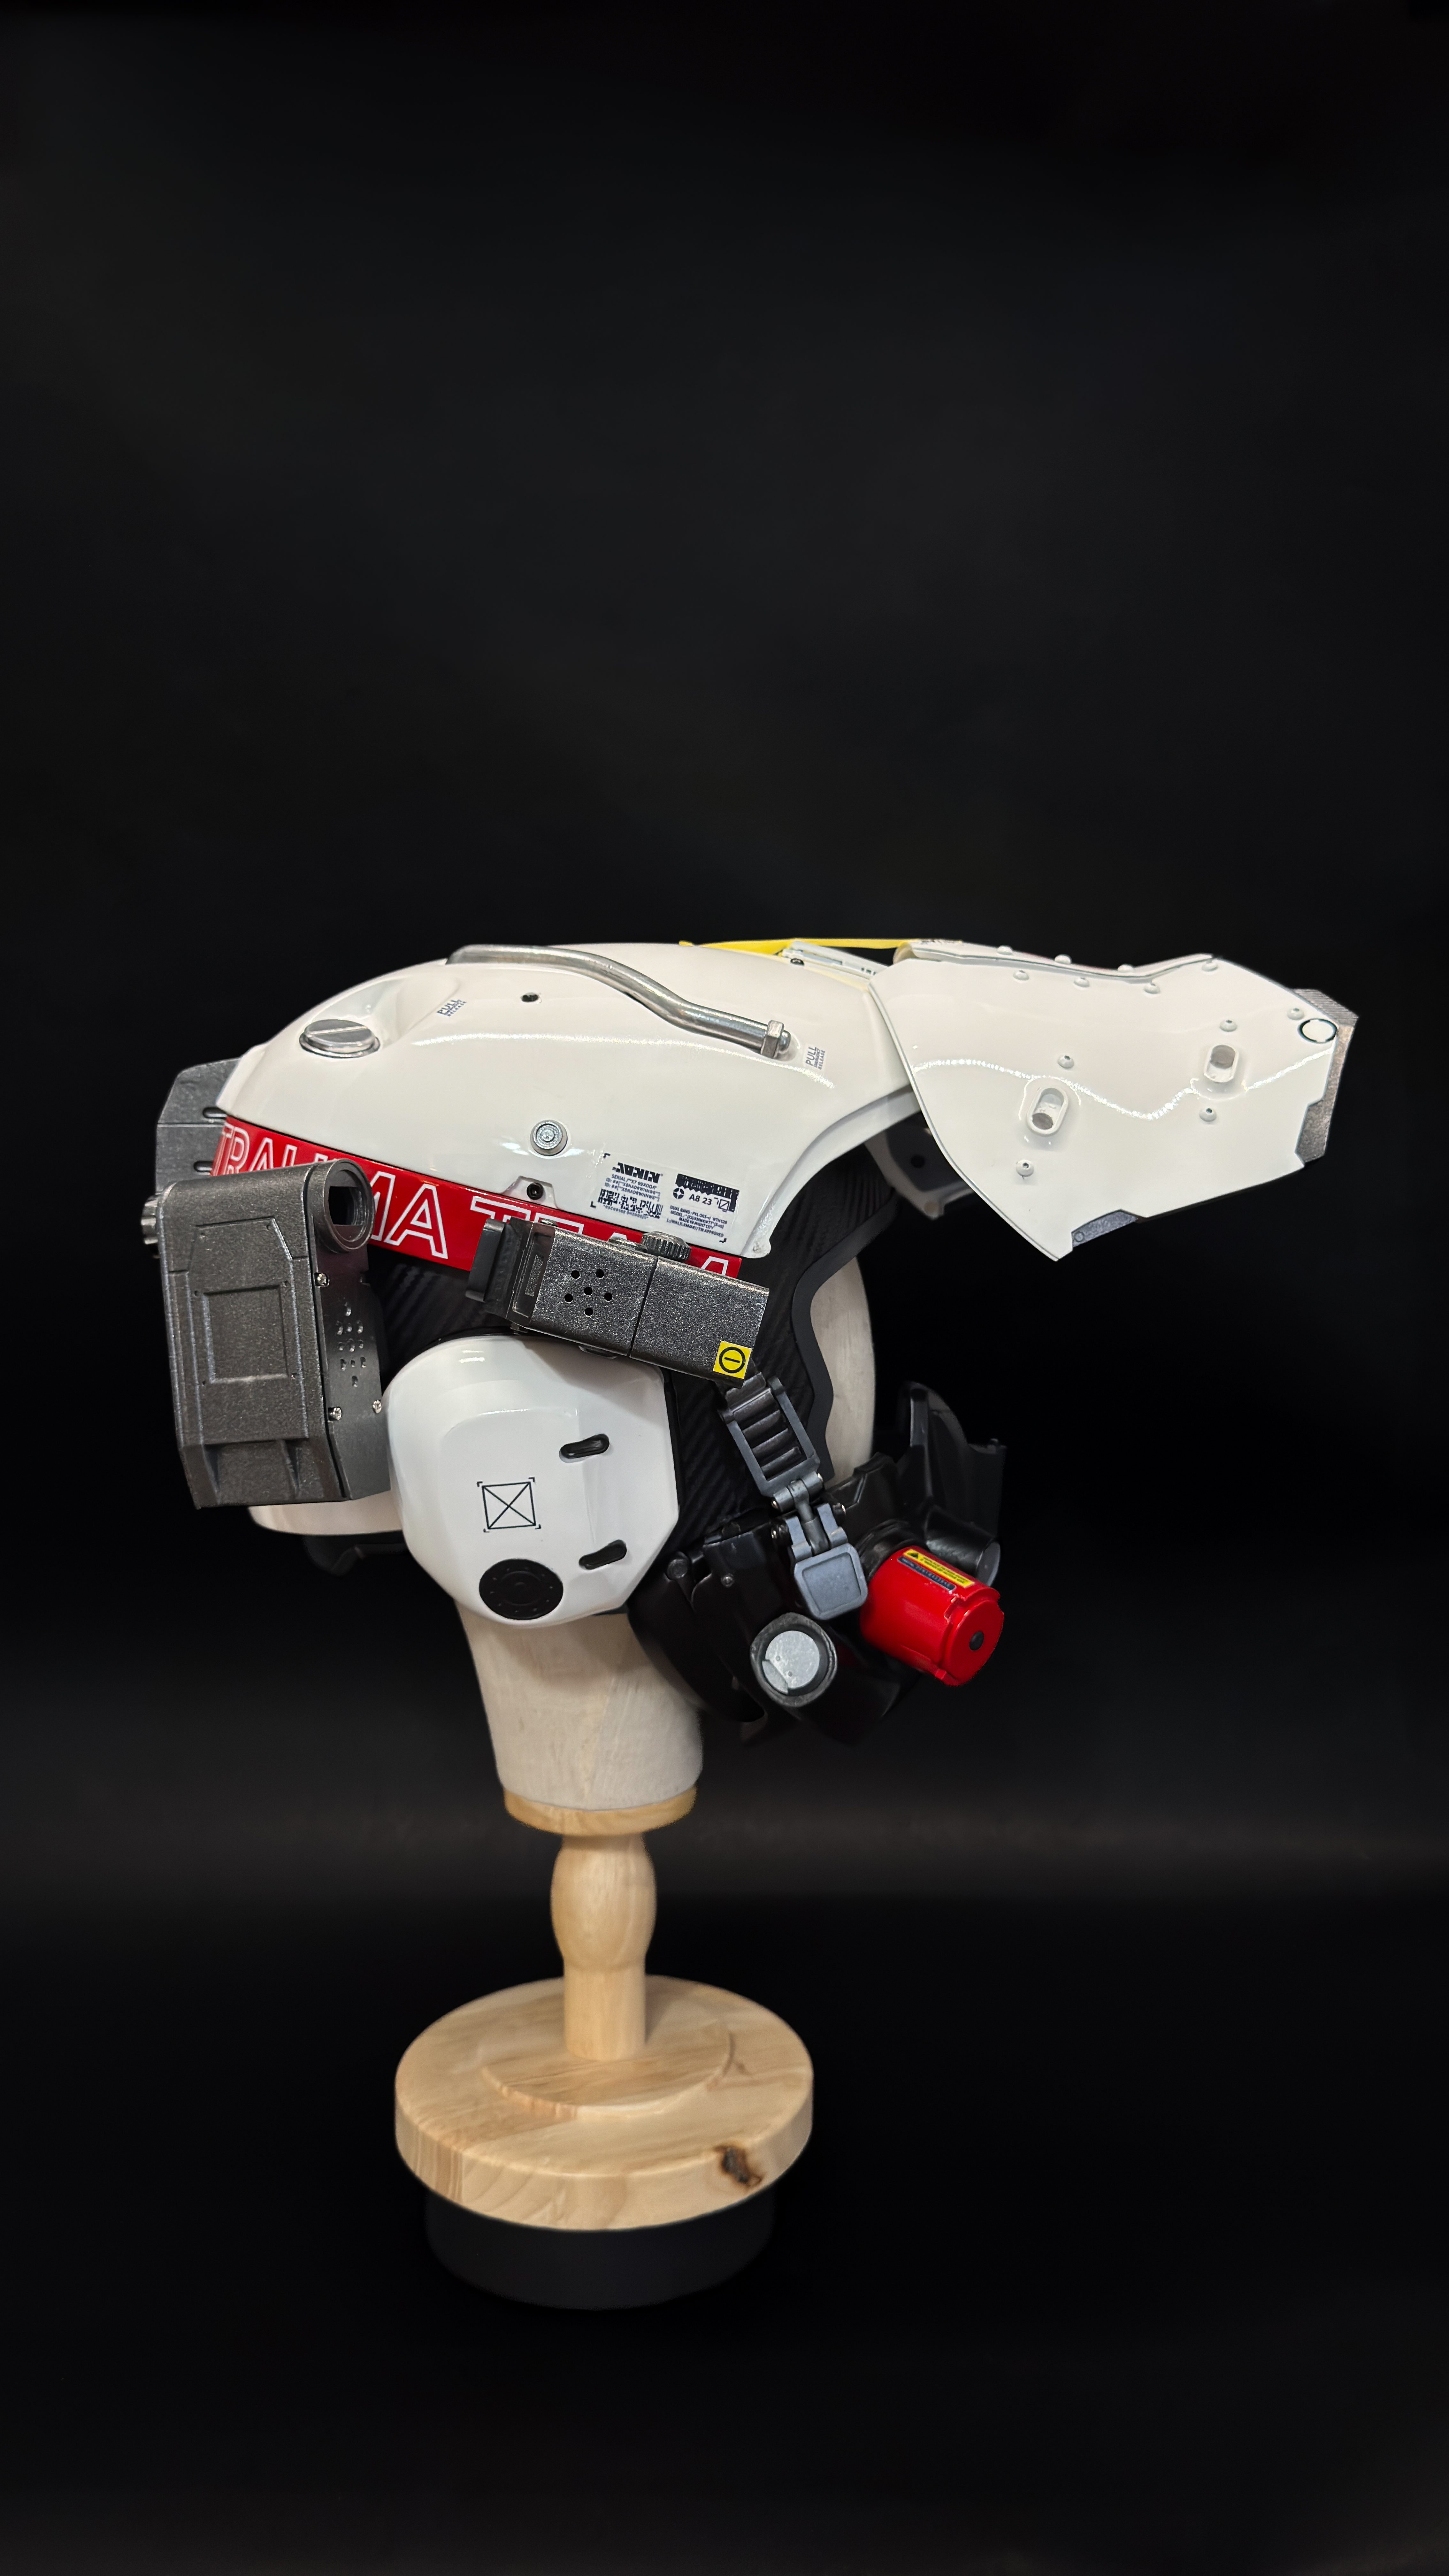
This is my Cyberpunk Trauma Team helmet build, a fully wearable helmet project with lighting, electronics, layered paint work, and eventually motorized face plates. The build is still actively being worked on, but it has already turned into one of the most technical prop projects I've worked on so far.
The goal with this build was never to just make a static shelf piece. I wanted it to feel like an actual wearable prop with moving parts, lighting, layered materials, and enough detail that it starts feeling less like a 3D print and more like something pulled straight out of the game.
Files Used
The files I purchased for this build can be found here:
The helmet files were created by PropsItYourself:
https://www.instagram.com/propsityourself
I did not design the helmet files themselves. Their build and file set were the main source of reference and inspiration for this project.
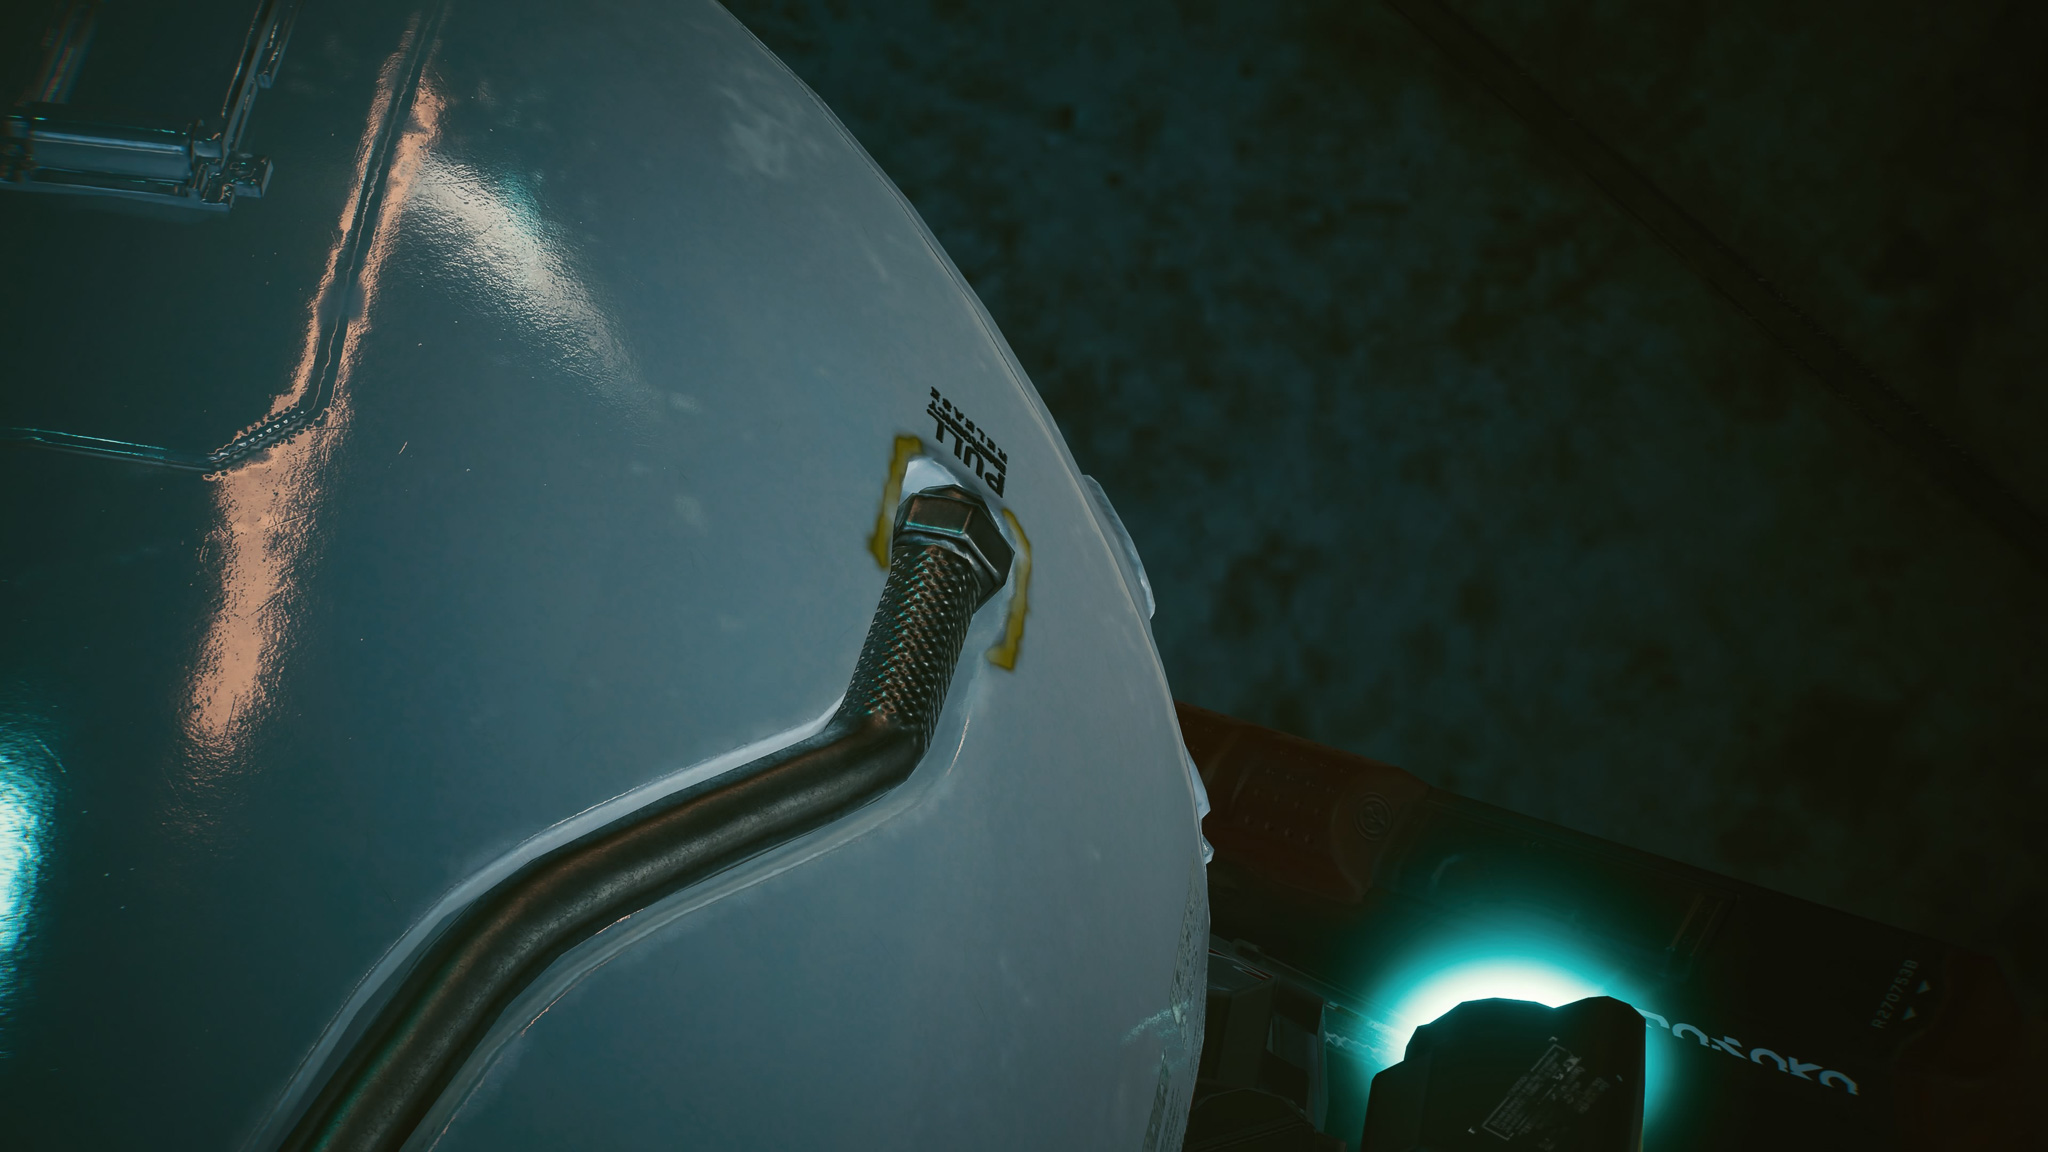
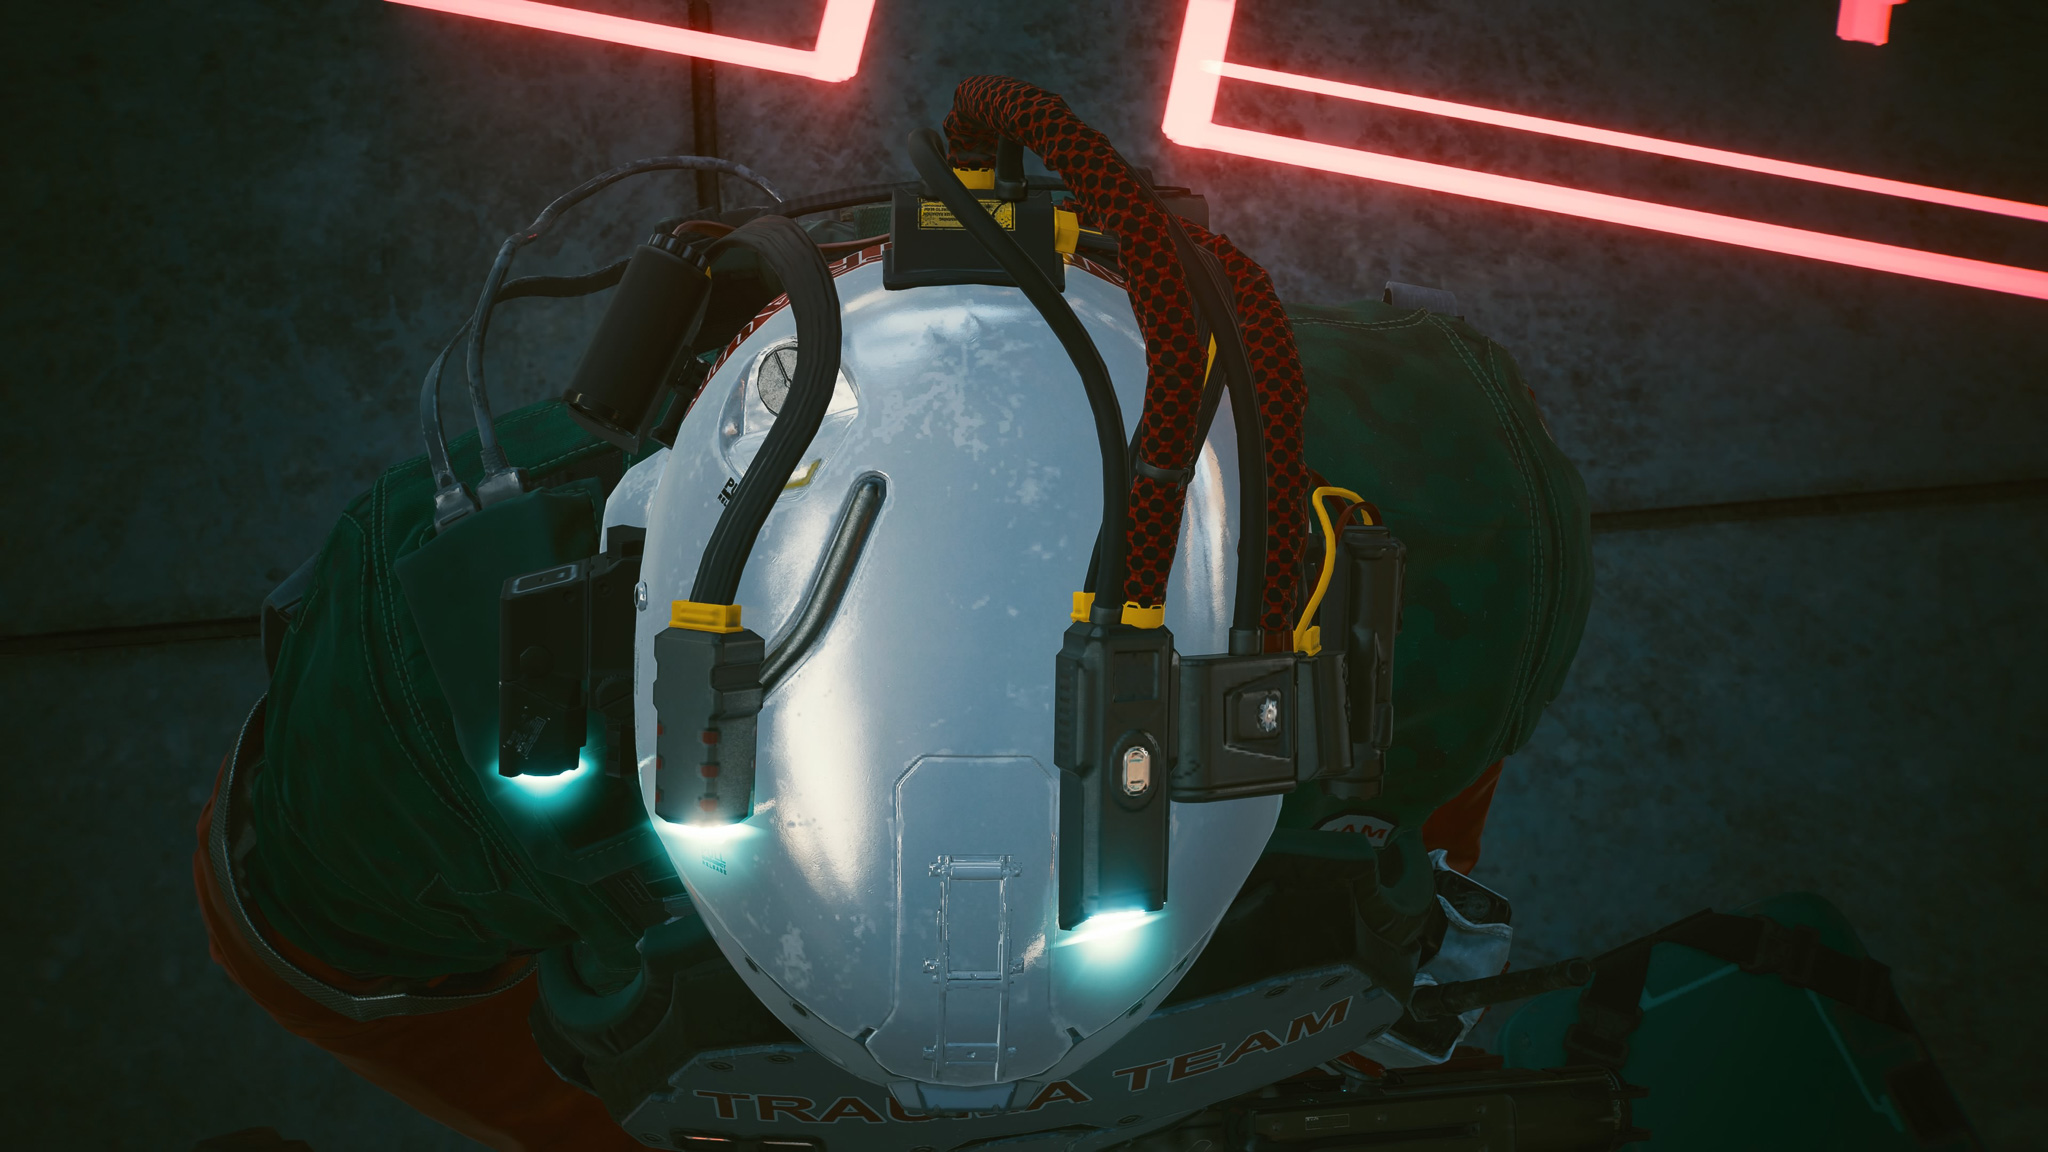
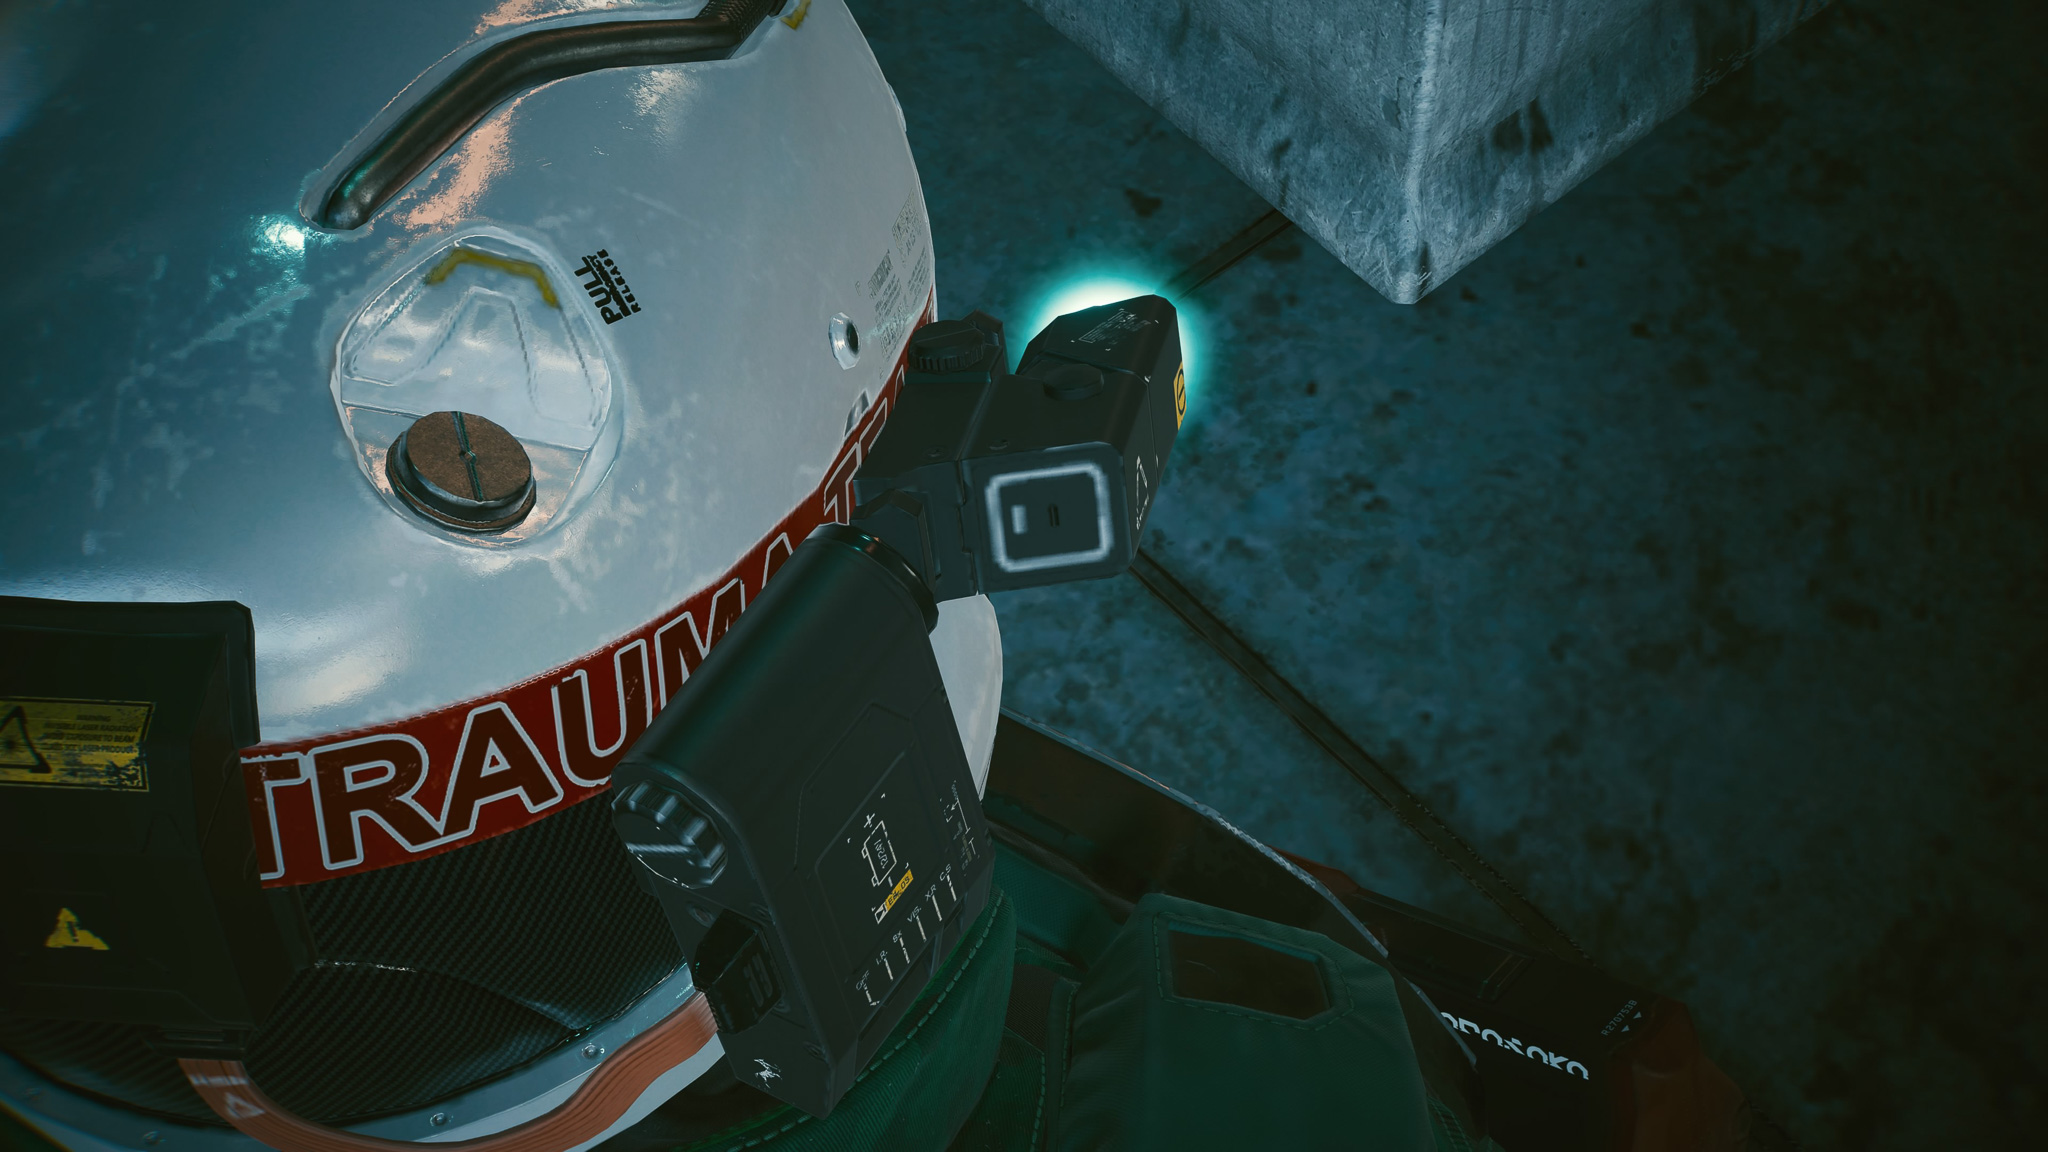
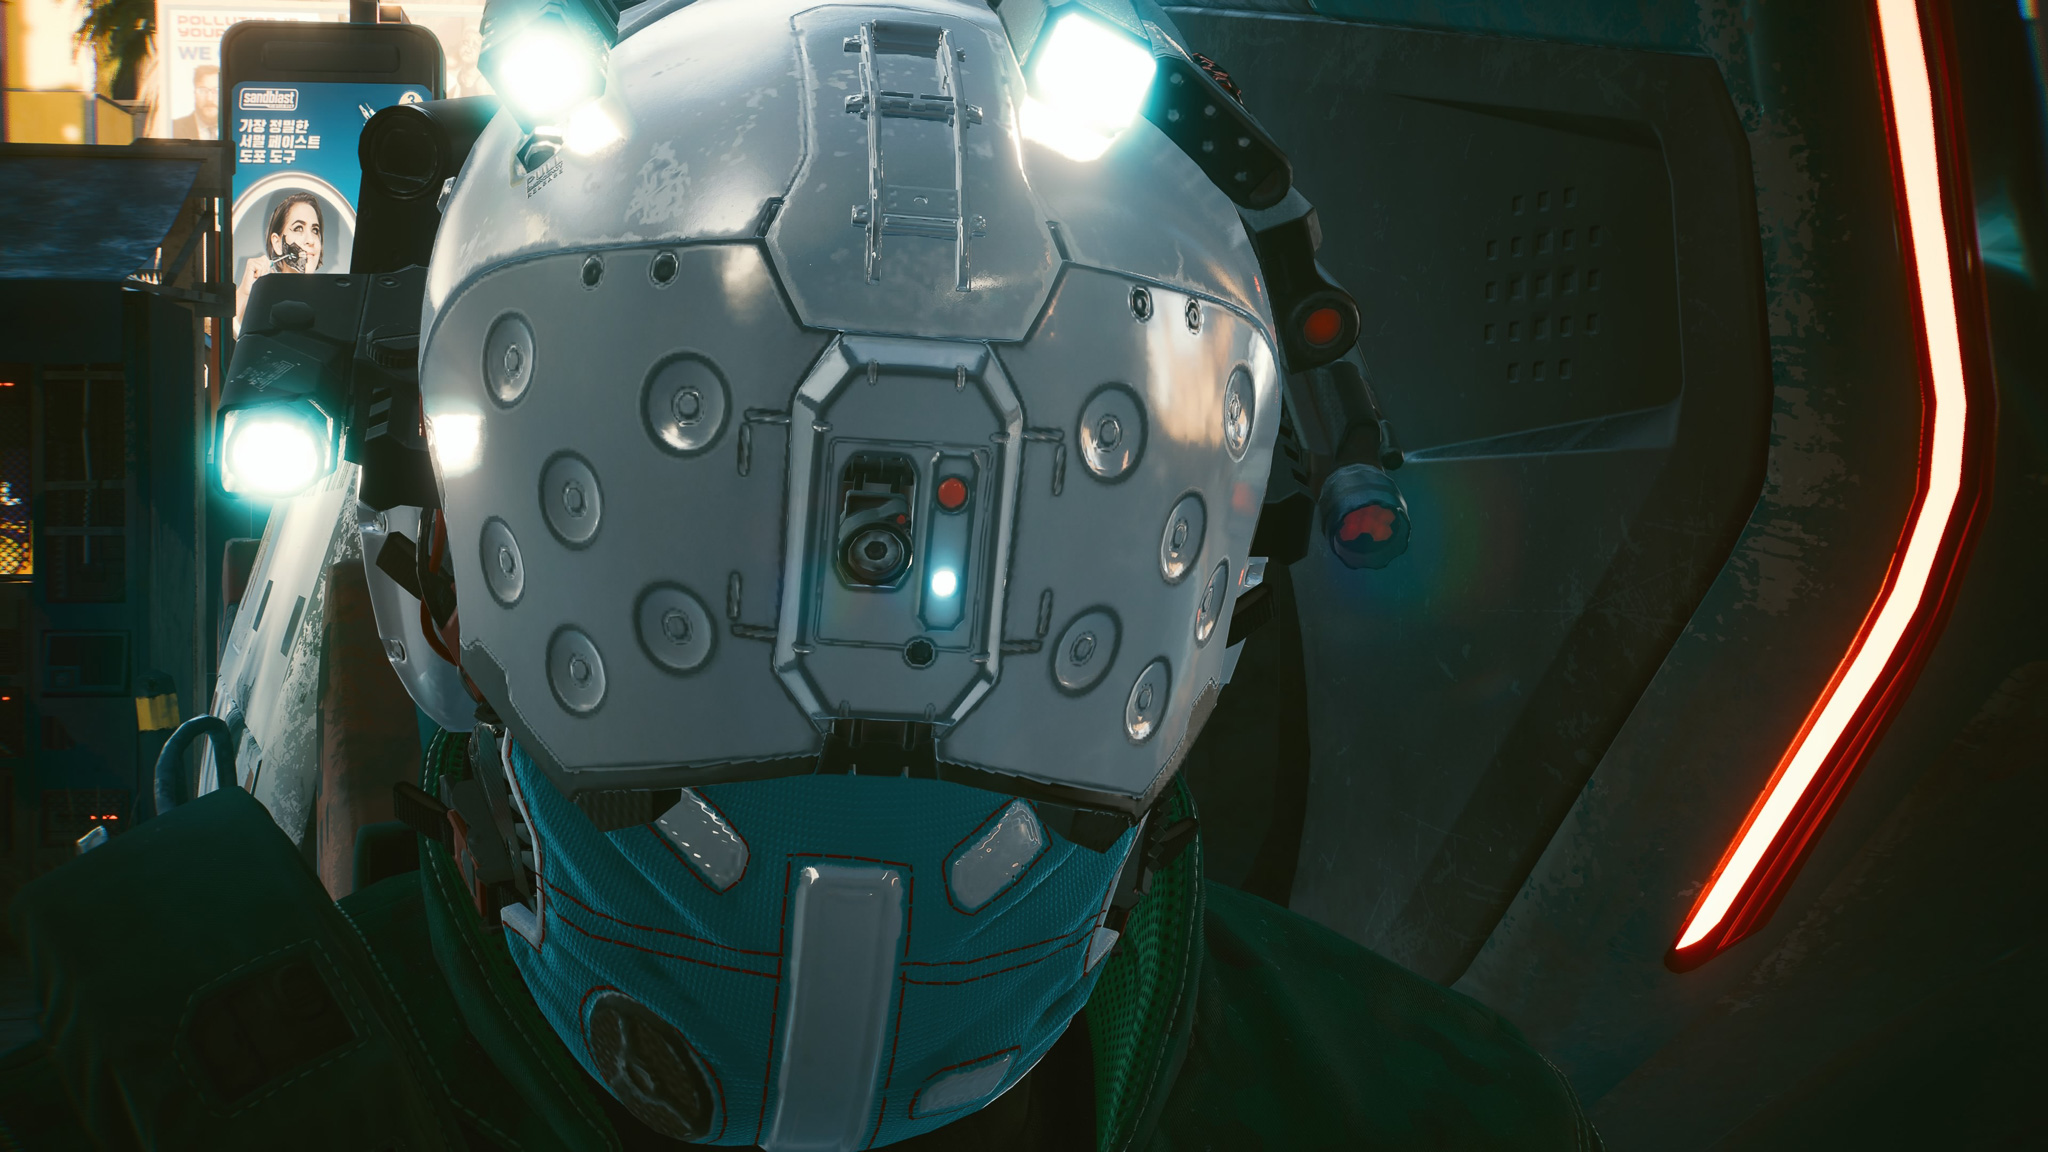
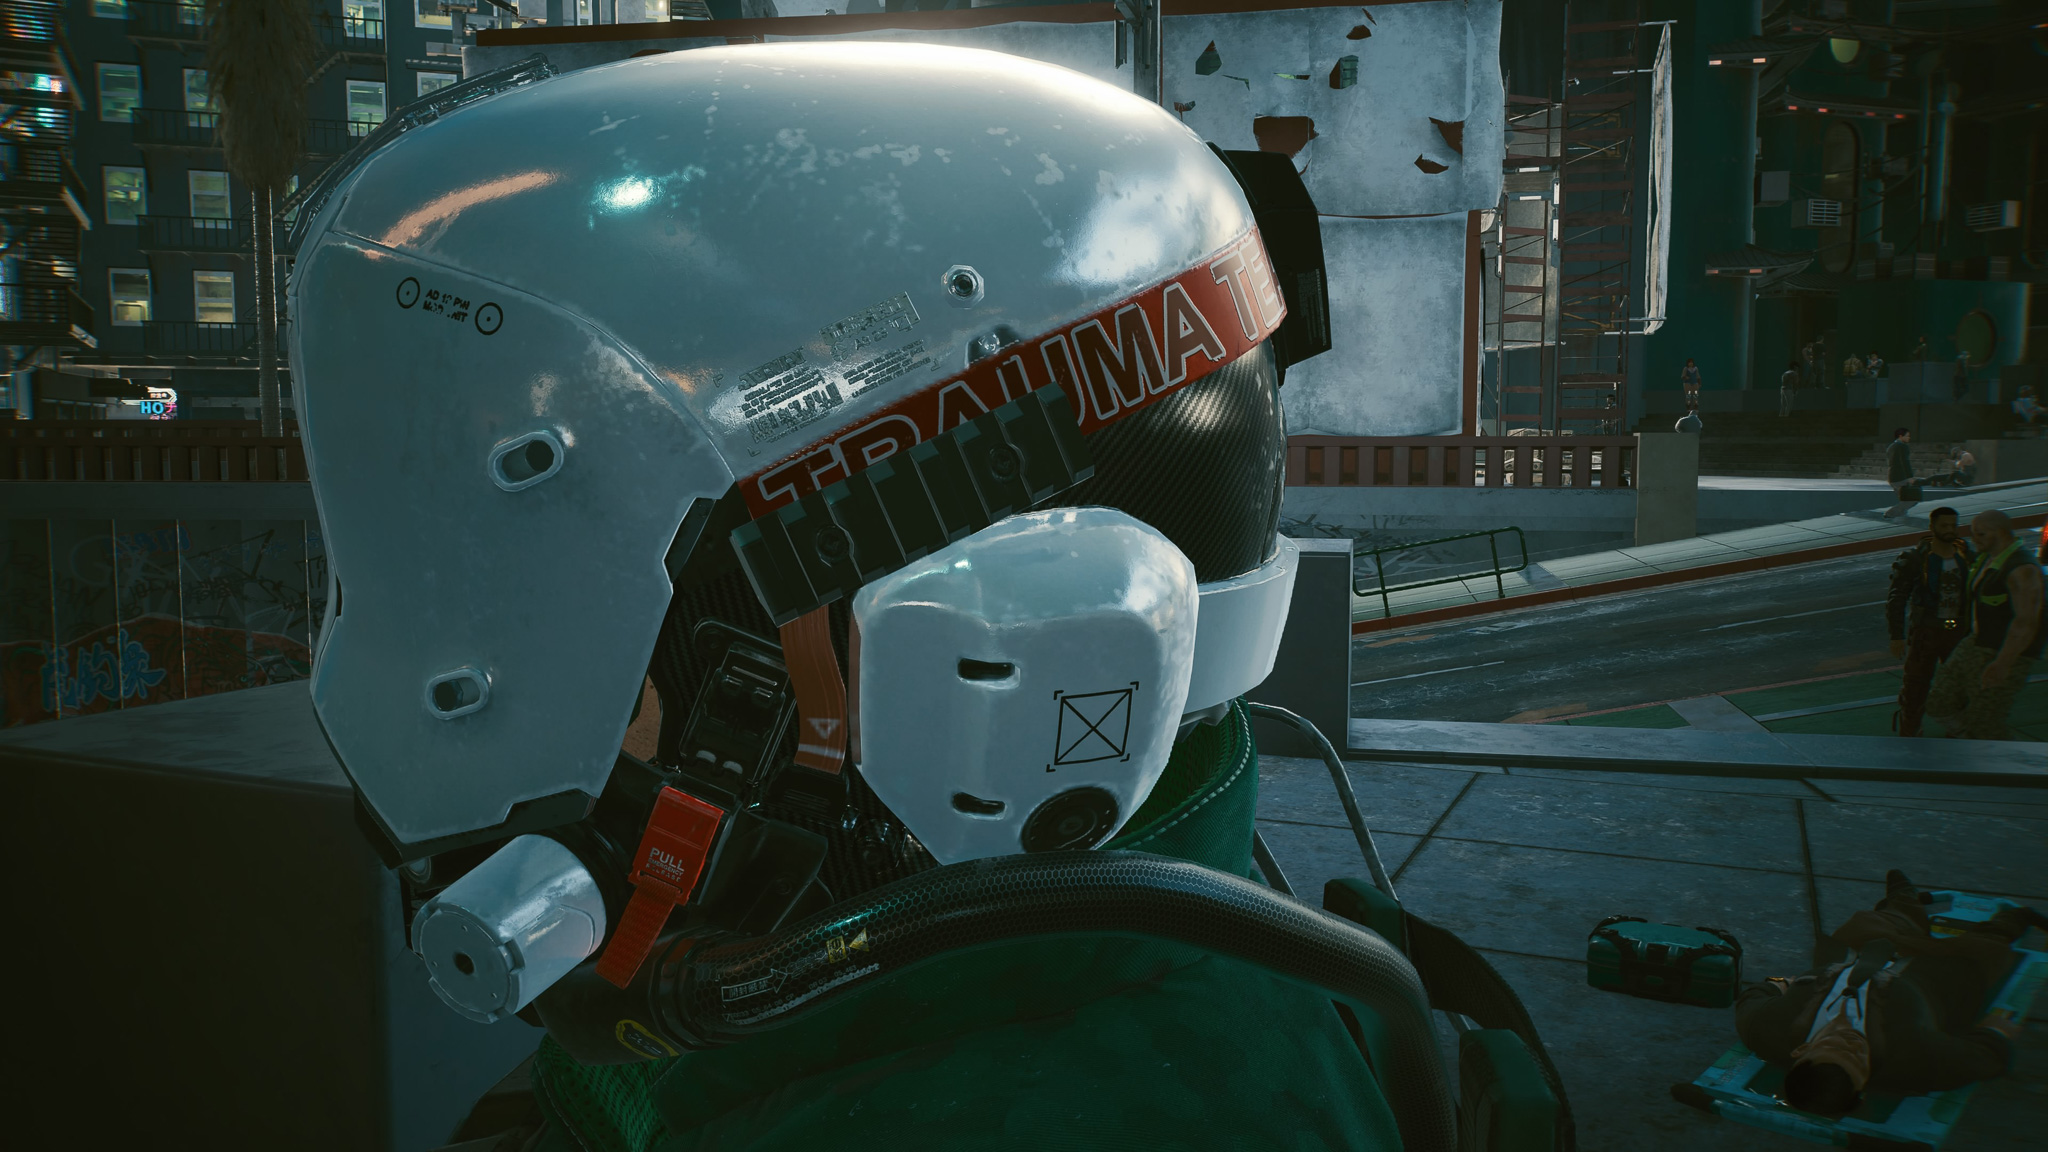
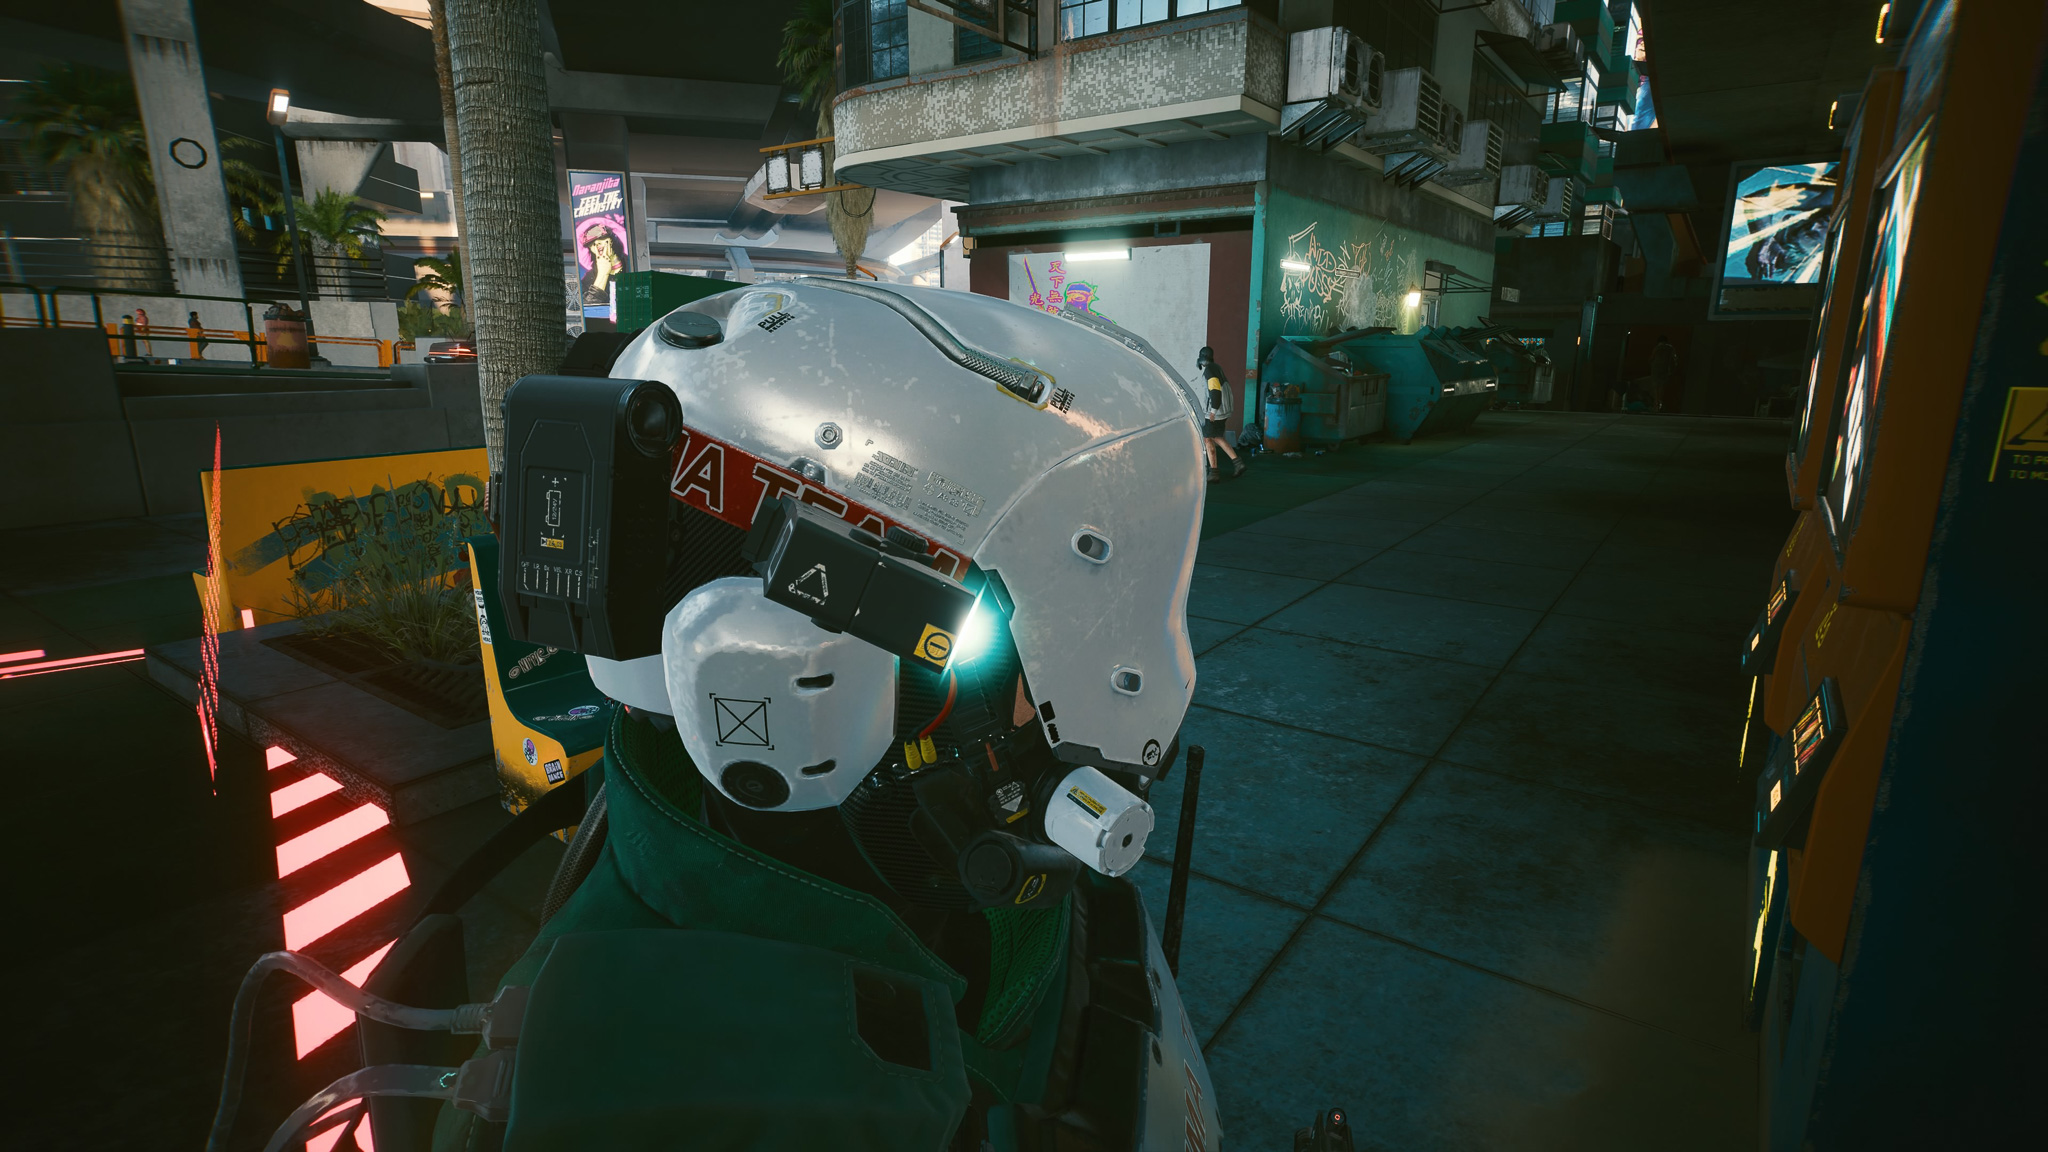
I also pulled additional game reference directly from Cyberpunk 2077 myself to study details, proportions, panel placement, graphics, and overall helmet construction while working on the build.
The creator did an awesome job designing the helmet to support multiple build styles, including a fully motorized version as well as a magnetized version depending on how complex you want to make the build.
The file set includes a huge amount of individual parts and was clearly designed with functionality in mind from the start.
The creator also sells a matching sticker pack for the helmet graphics and warning labels if you do not want to print your own decals.
Build Goal
The goal with this build was to accurately assemble and finish the helmet files while also integrating lighting and eventually motorized movement.
I did not design the helmet files themselves. The files and the original build by PropsItYourself were my main references during the project, along with additional game references I pulled directly from Cyberpunk 2077.
Most of my work on this project has been focused on printing, cleanup, assembly, paint work, electronics, fitment, and figuring out how to eventually integrate the motors and Arduino setup into the helmet.
I made a few small adjustments throughout the build process for fitment and assembly, but overall I wanted to stay as close to the original design and game references as possible.
Printing and Assembly
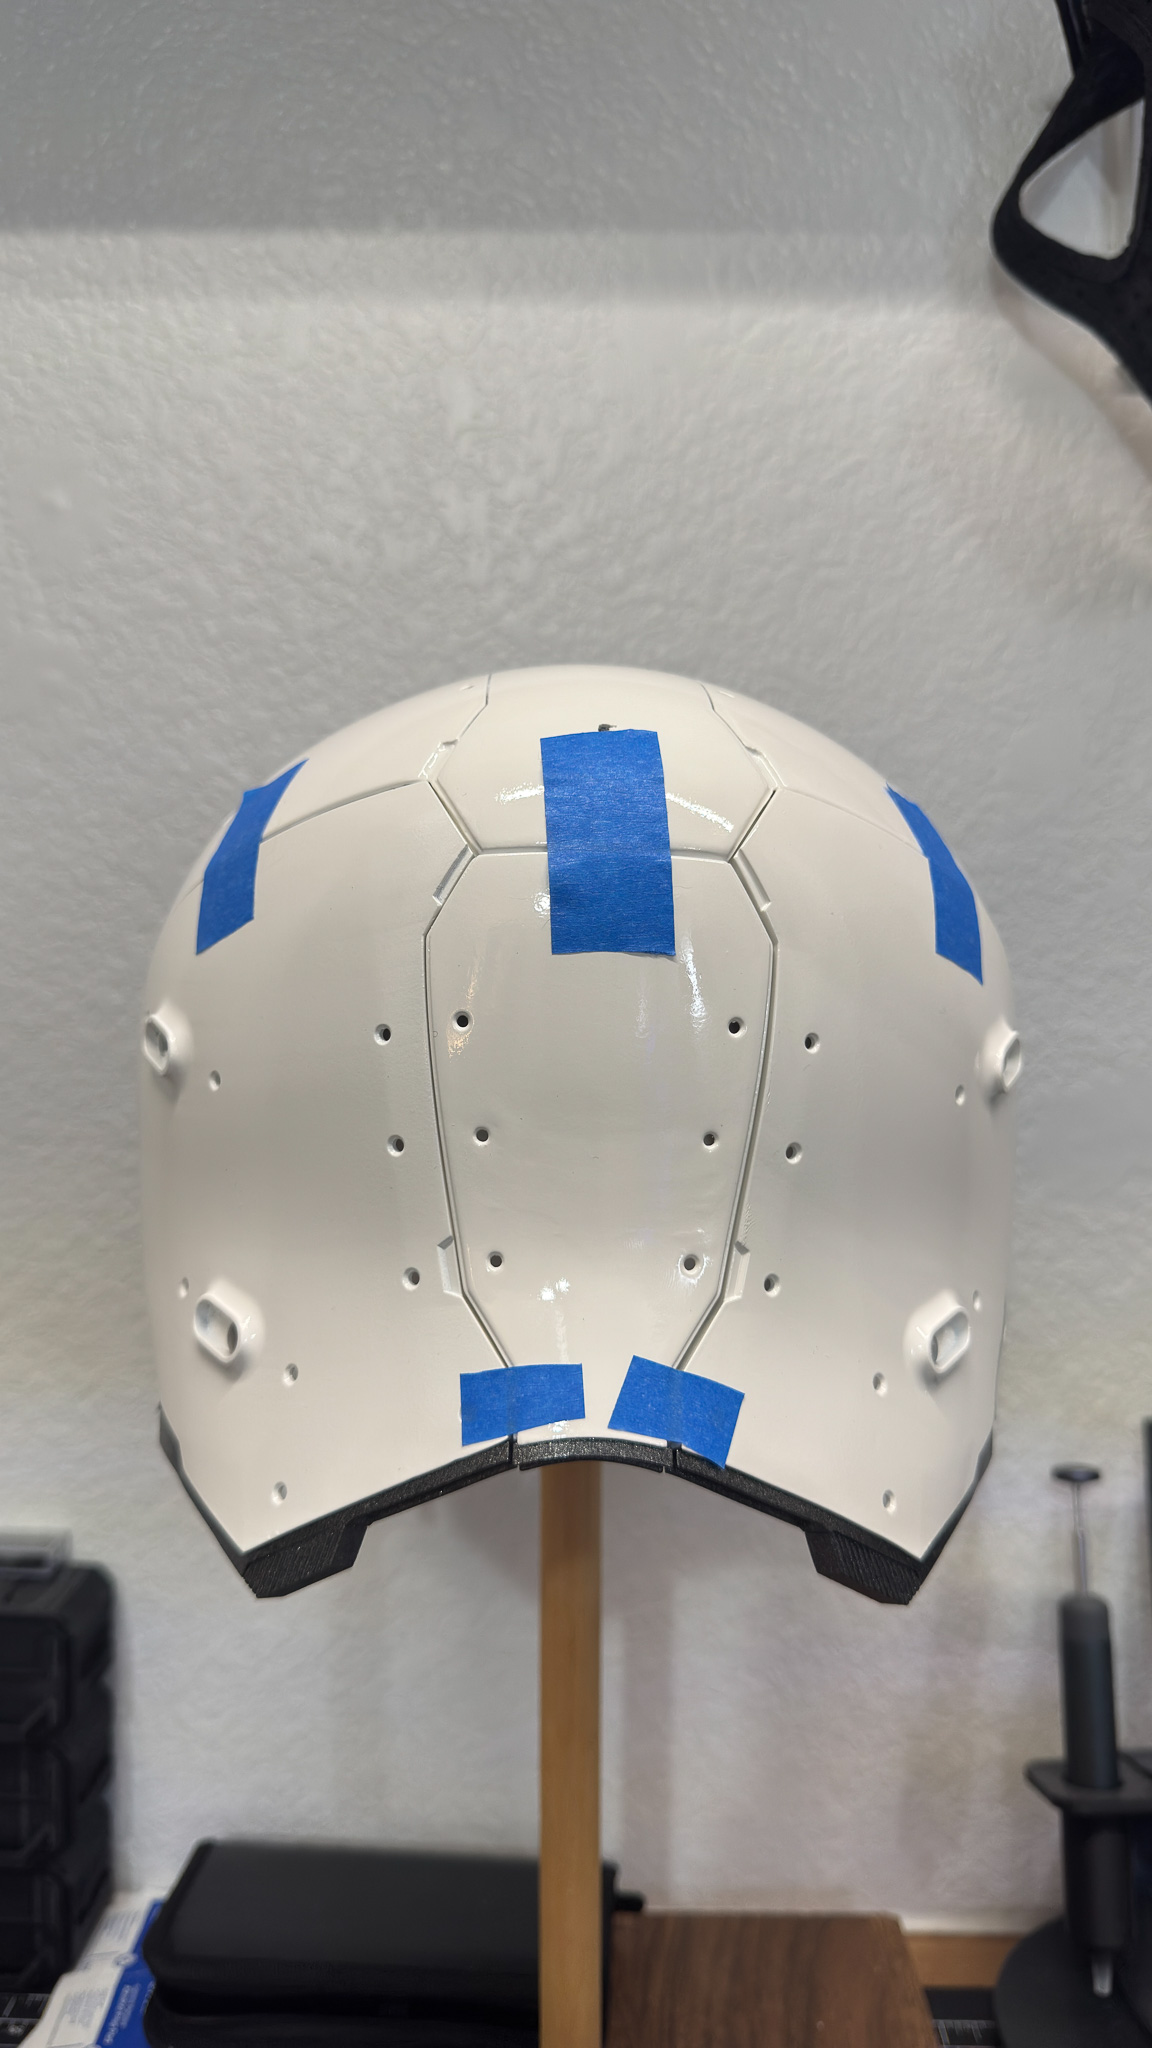
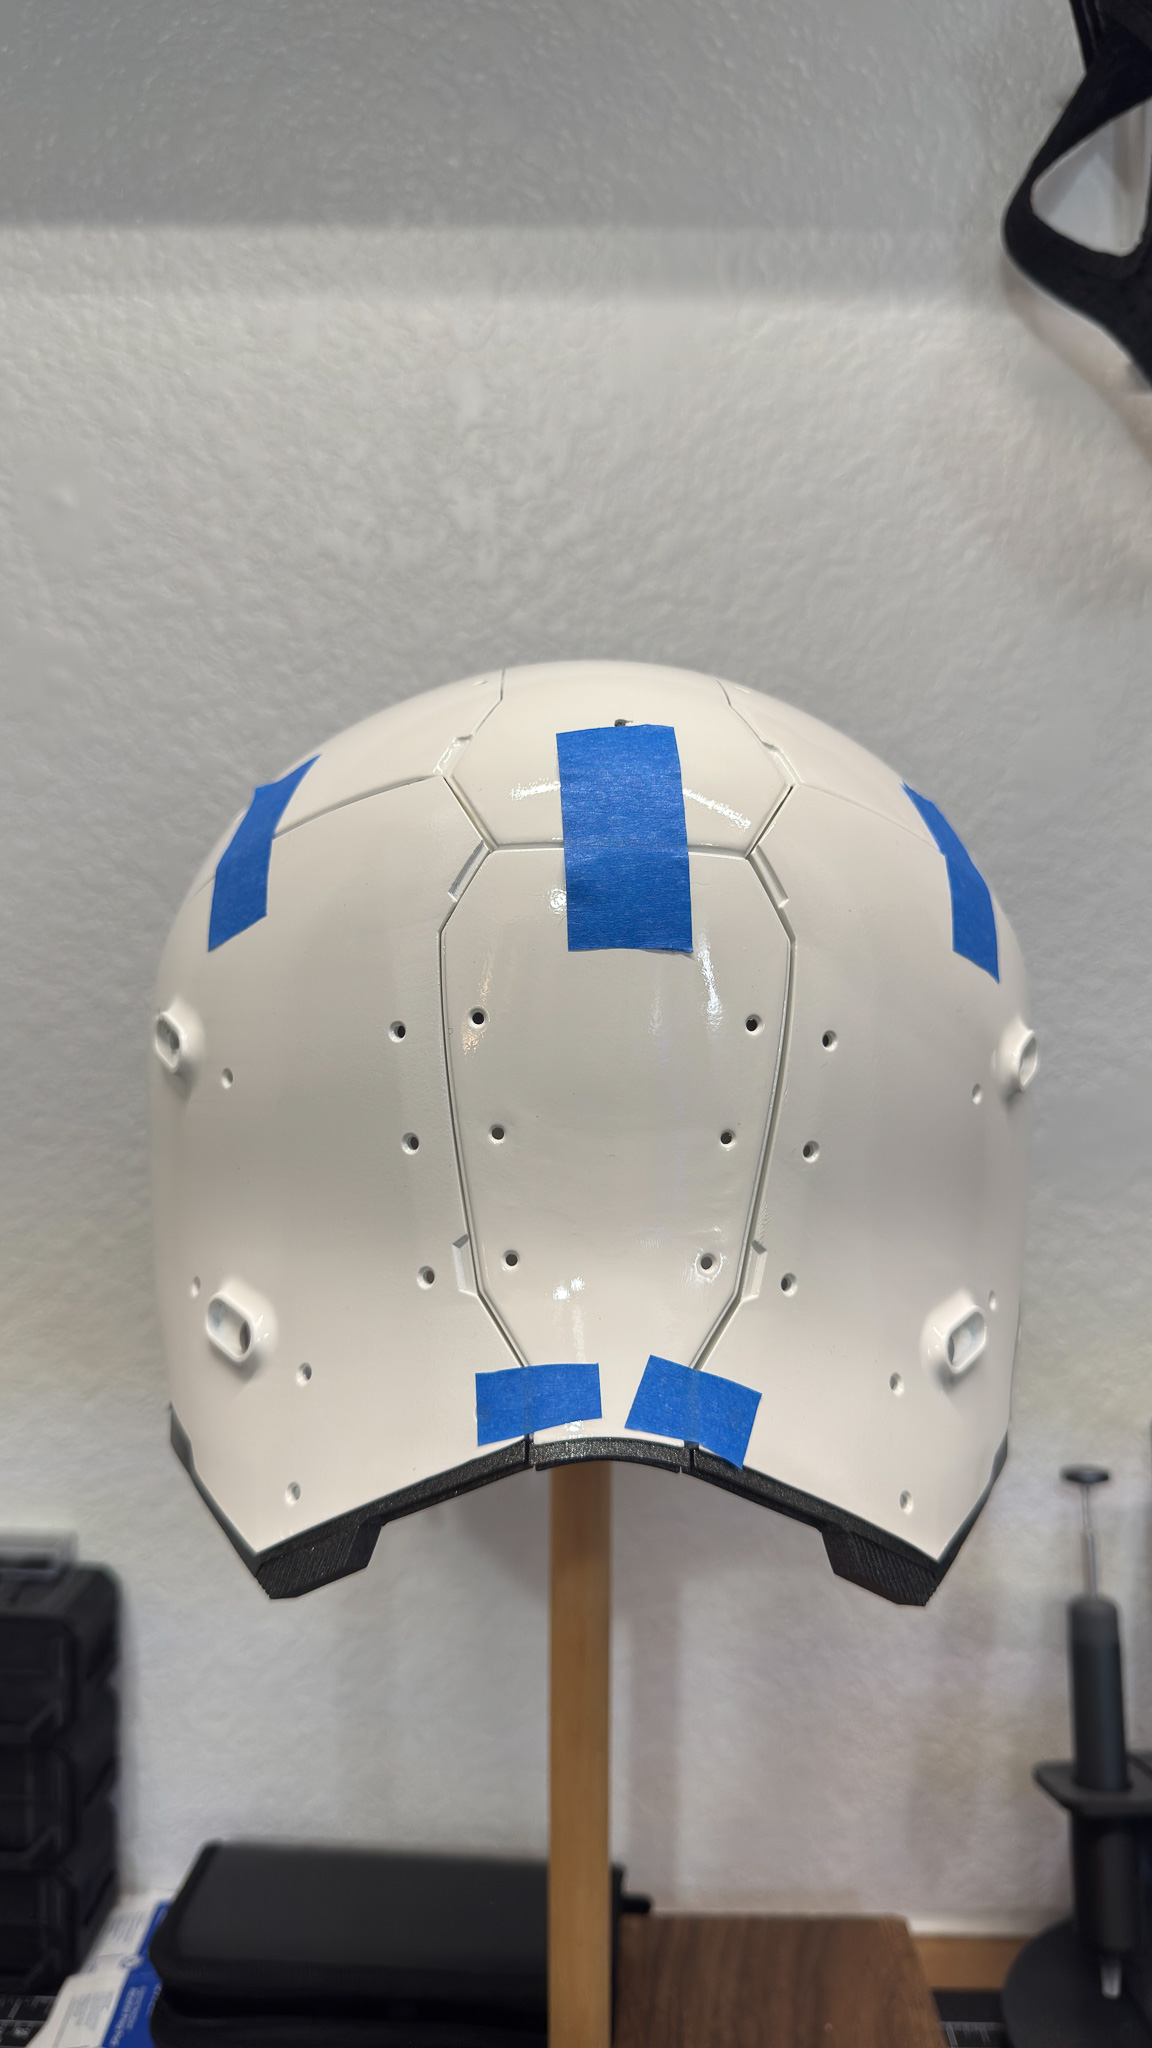
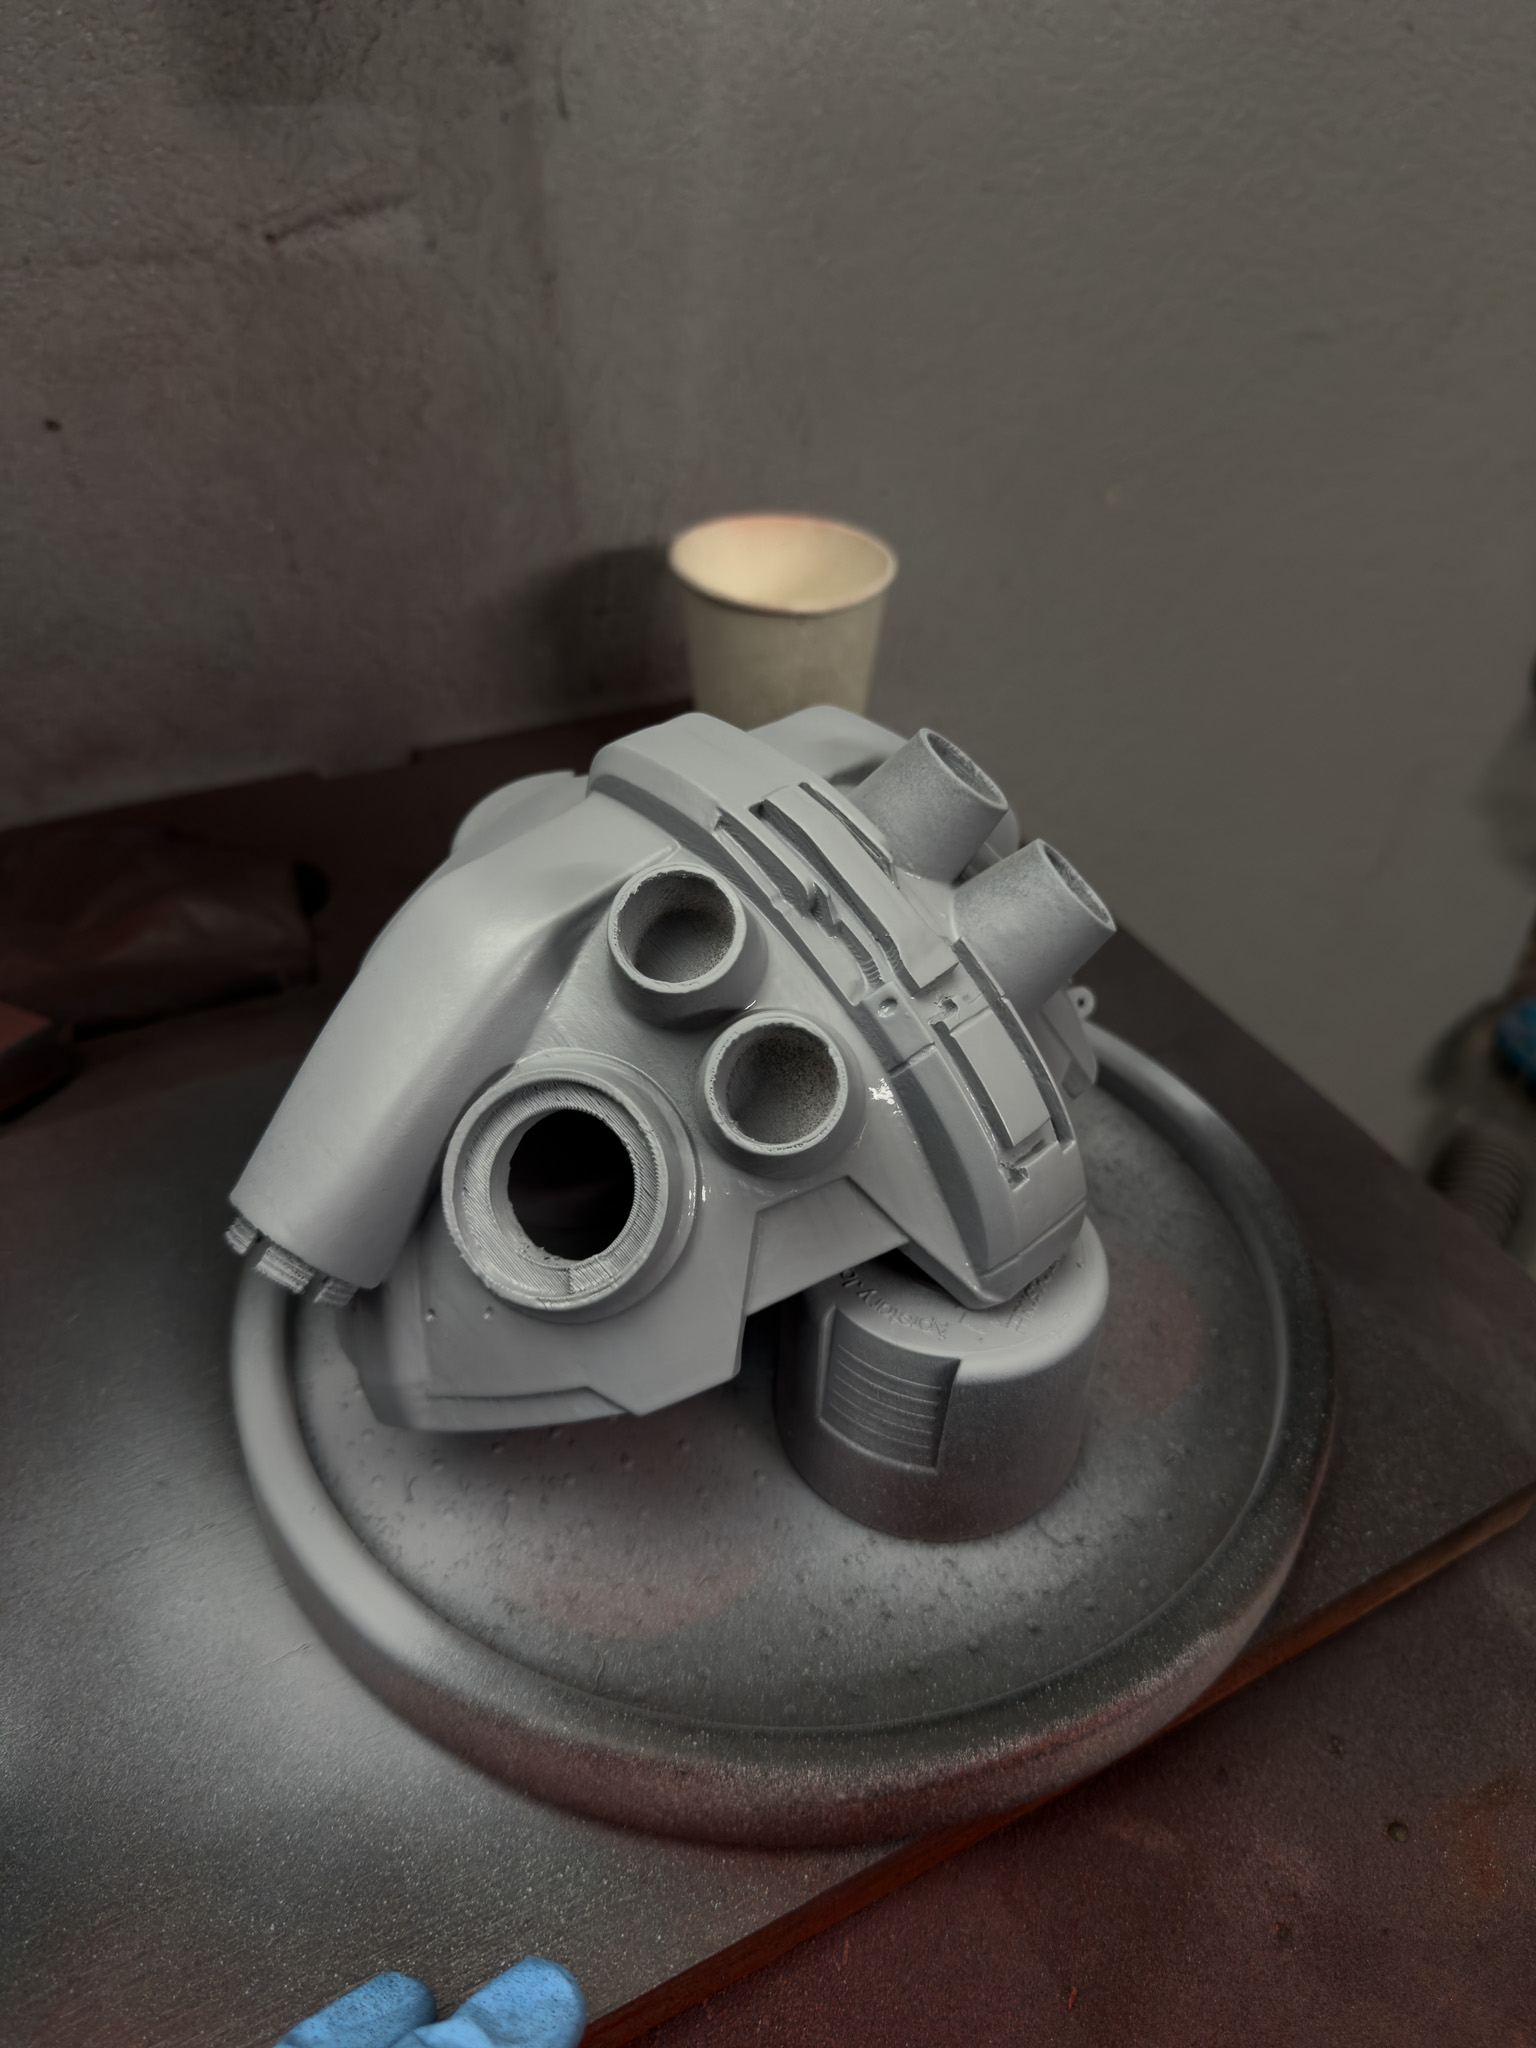
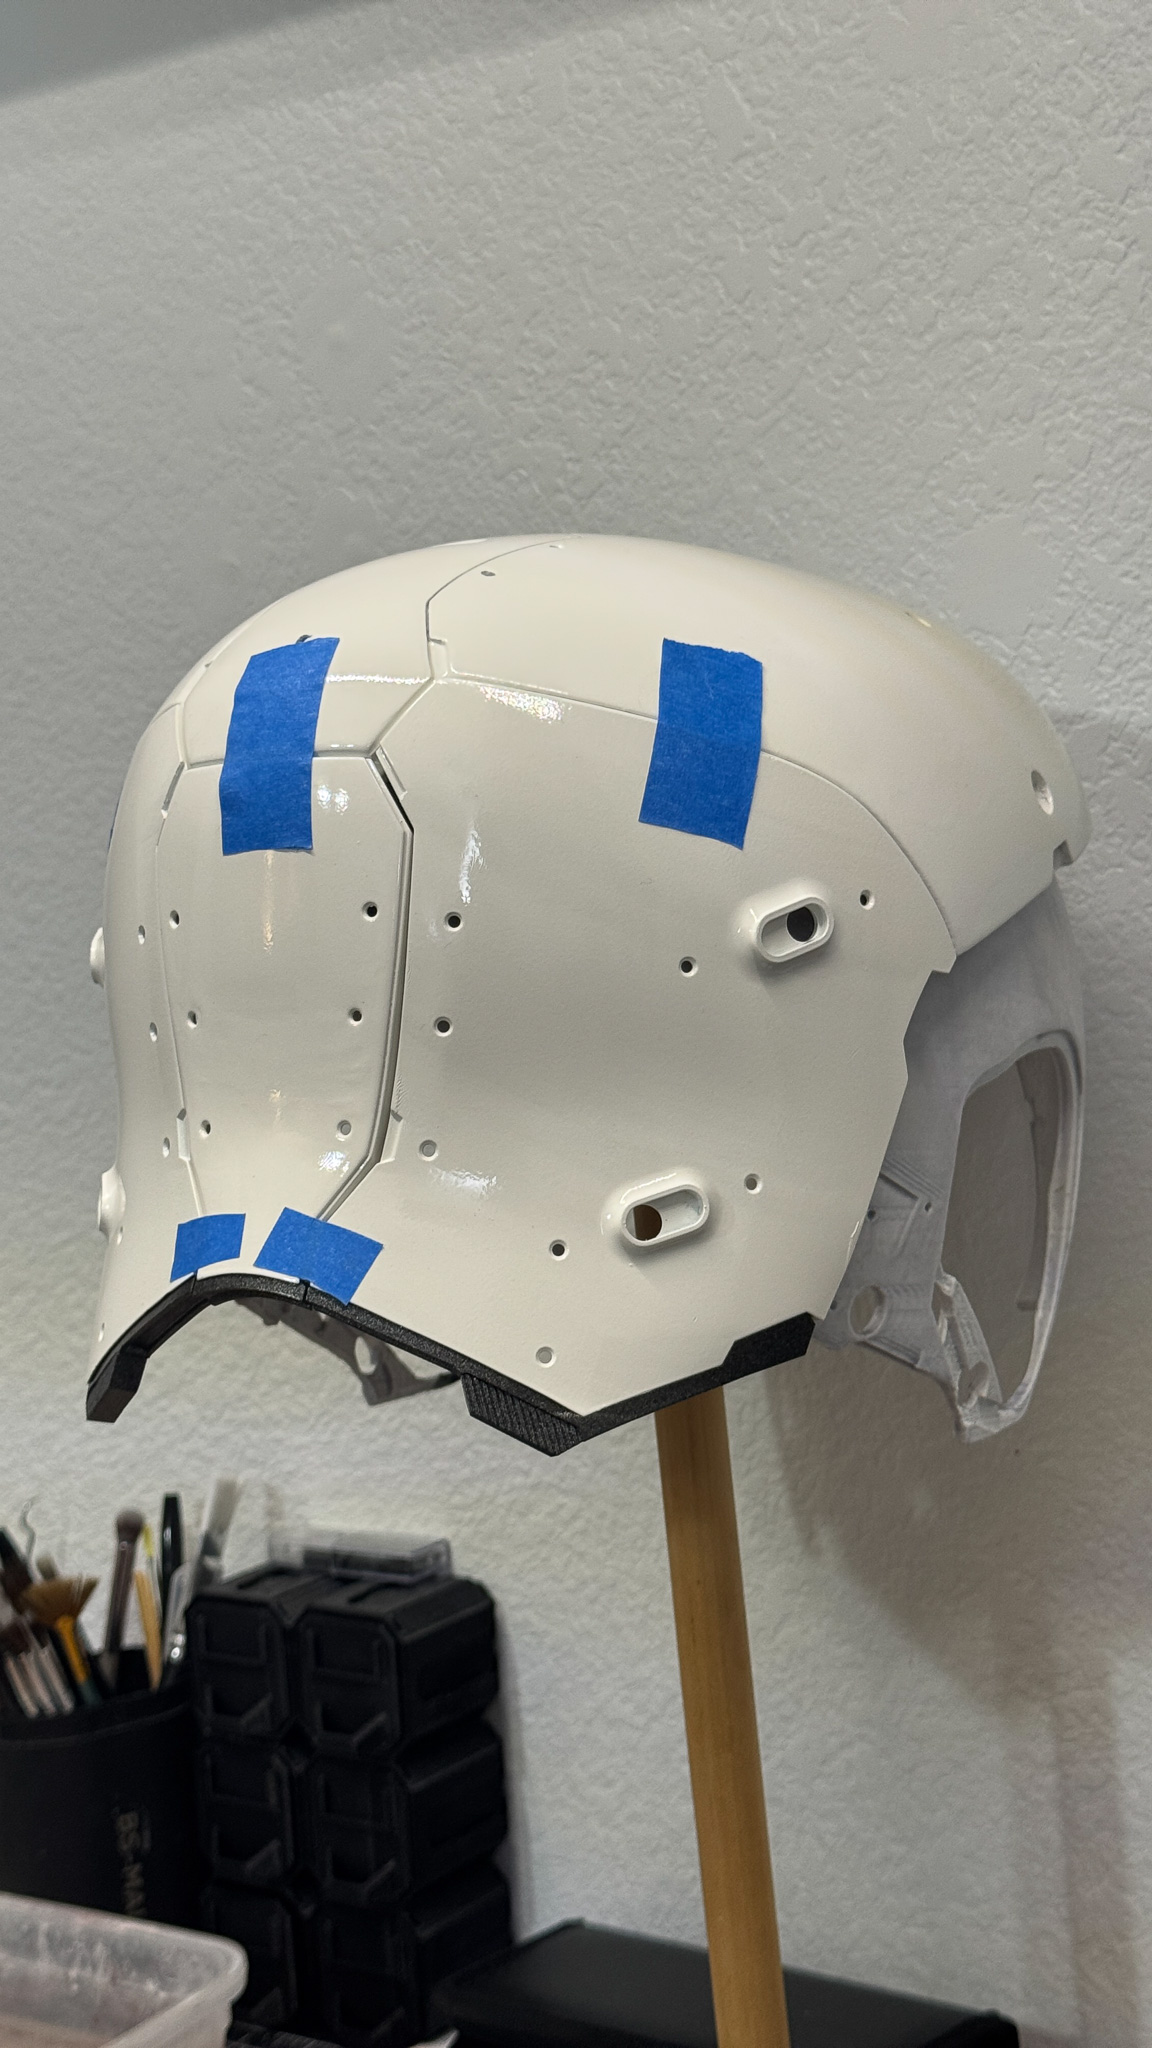
The helmet was printed in multiple sections and required a ton of cleanup, sanding, reworking, and test fitting throughout the entire build.
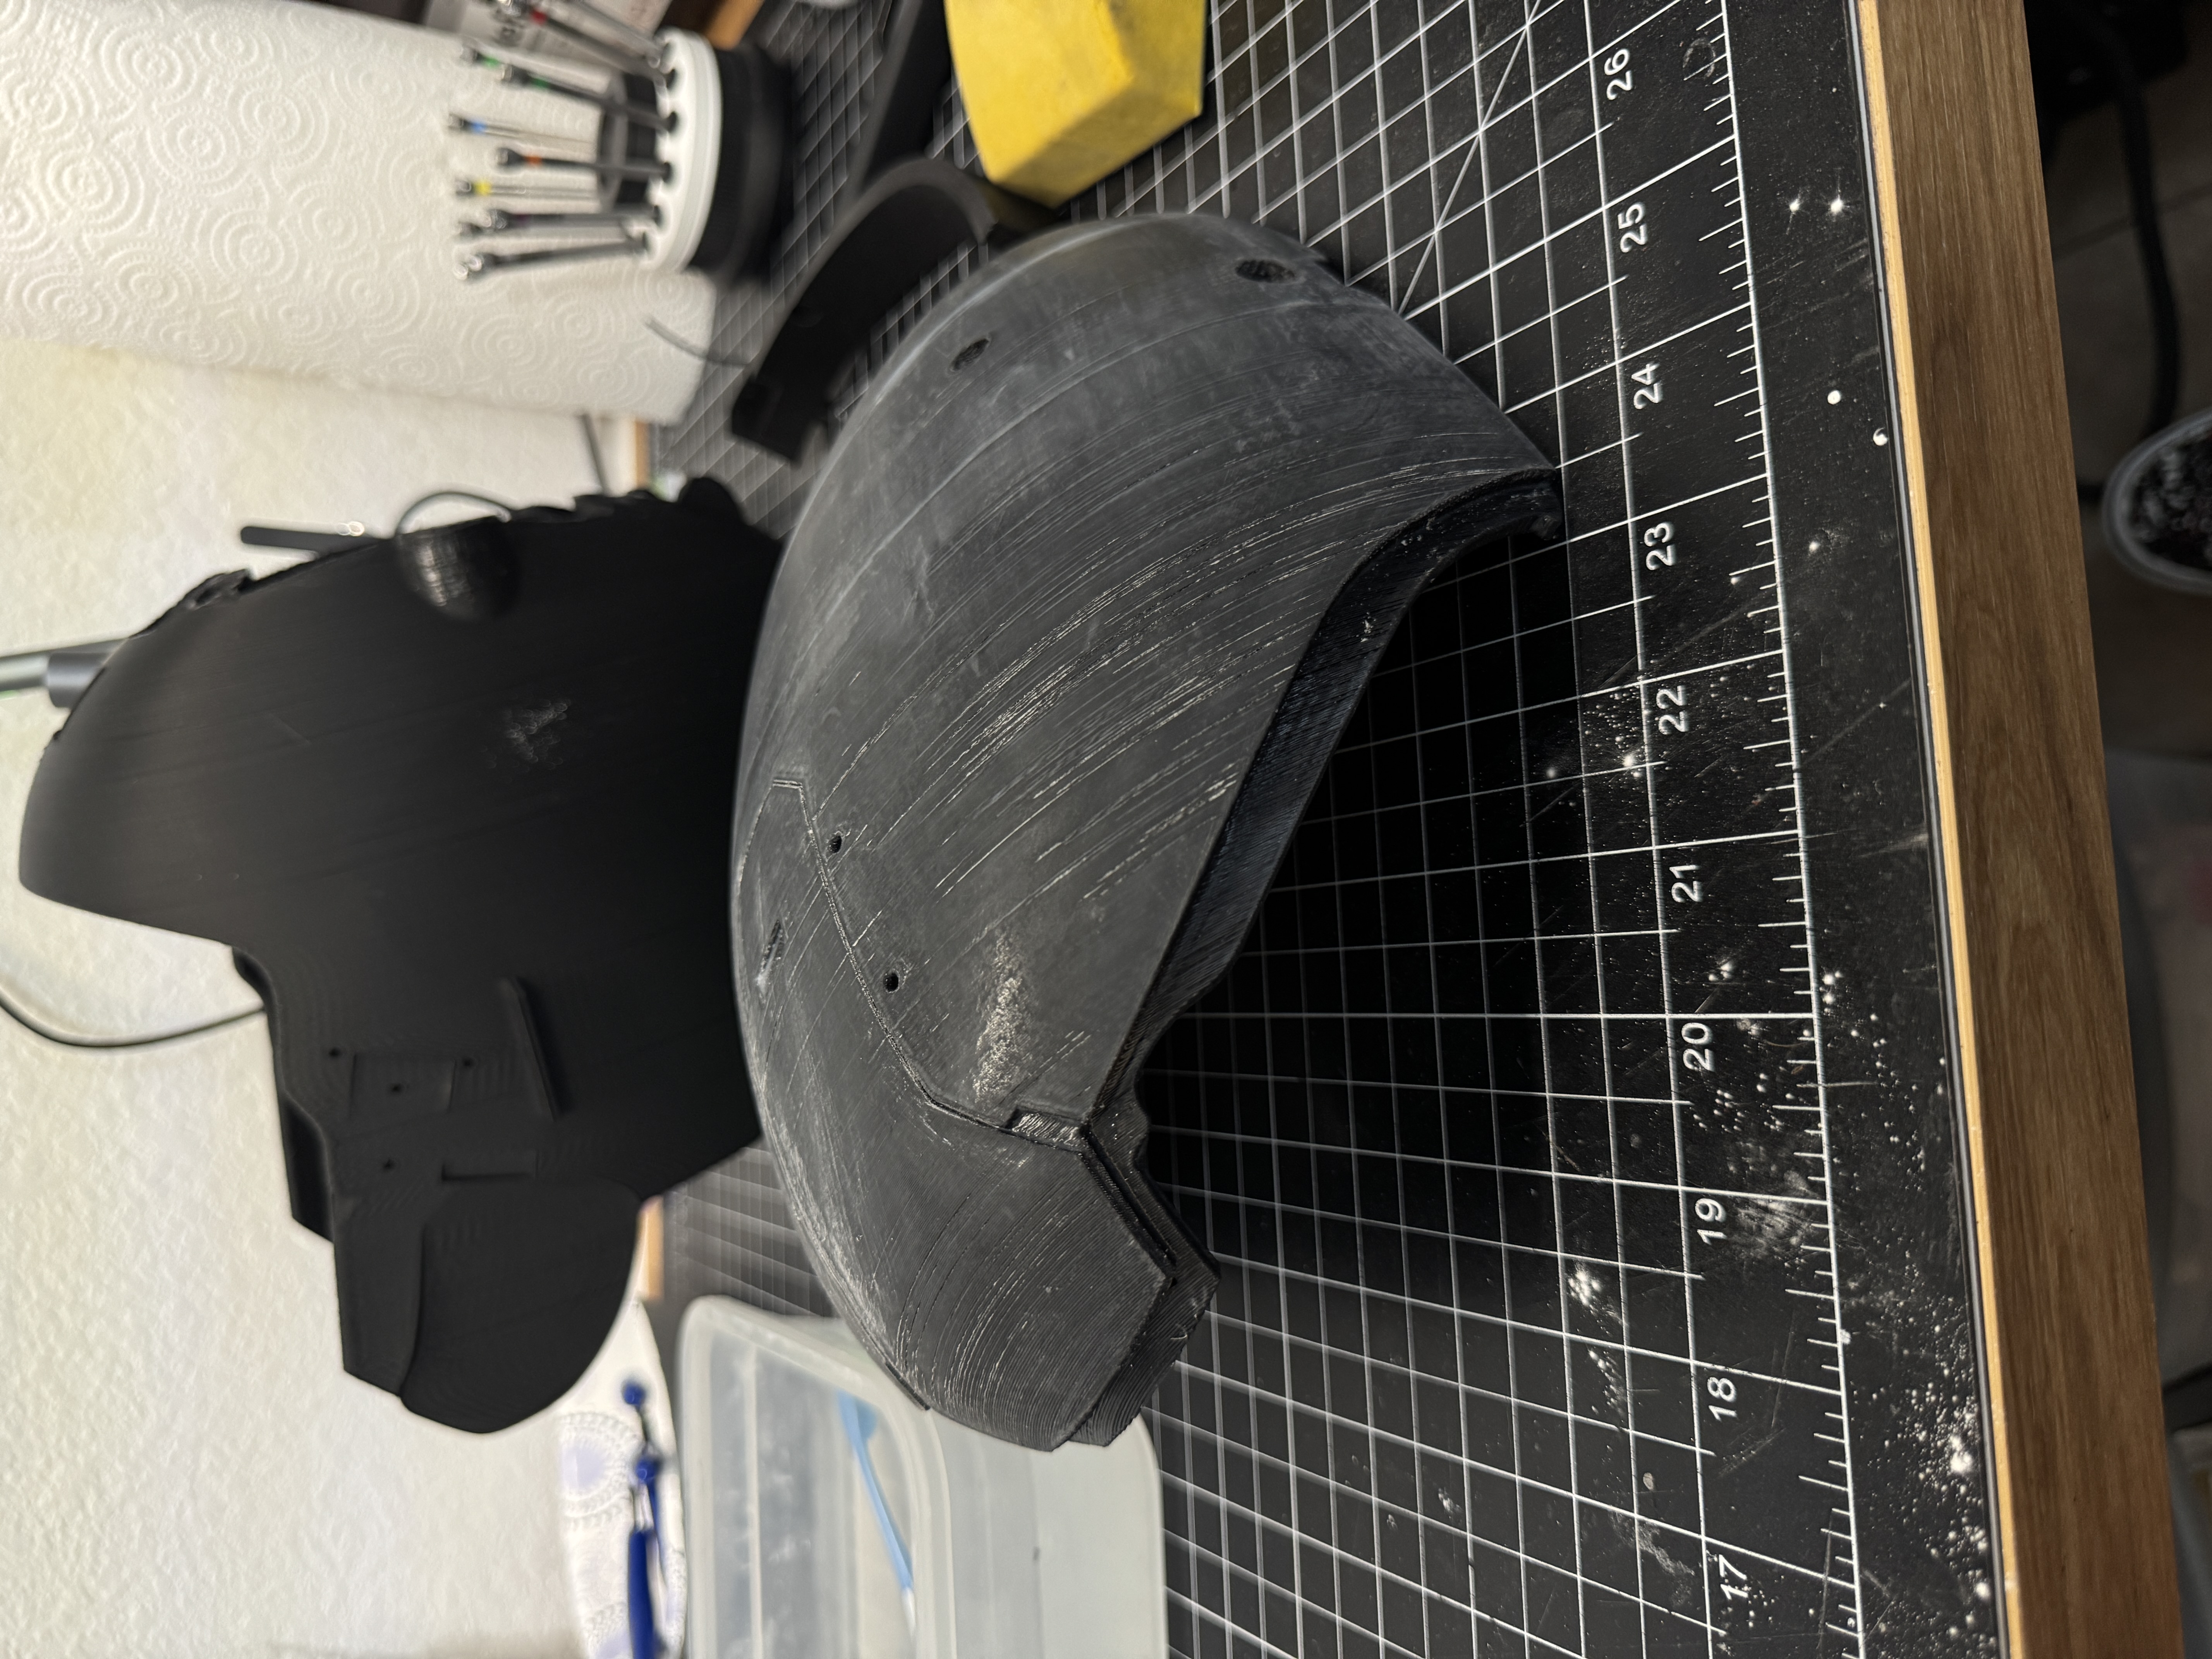
Some parts had to be completely reprinted after checking fitment or alignment. The face plates especially took a lot of trial and error because every panel has to line up correctly while still leaving enough room for future movement and electronics.
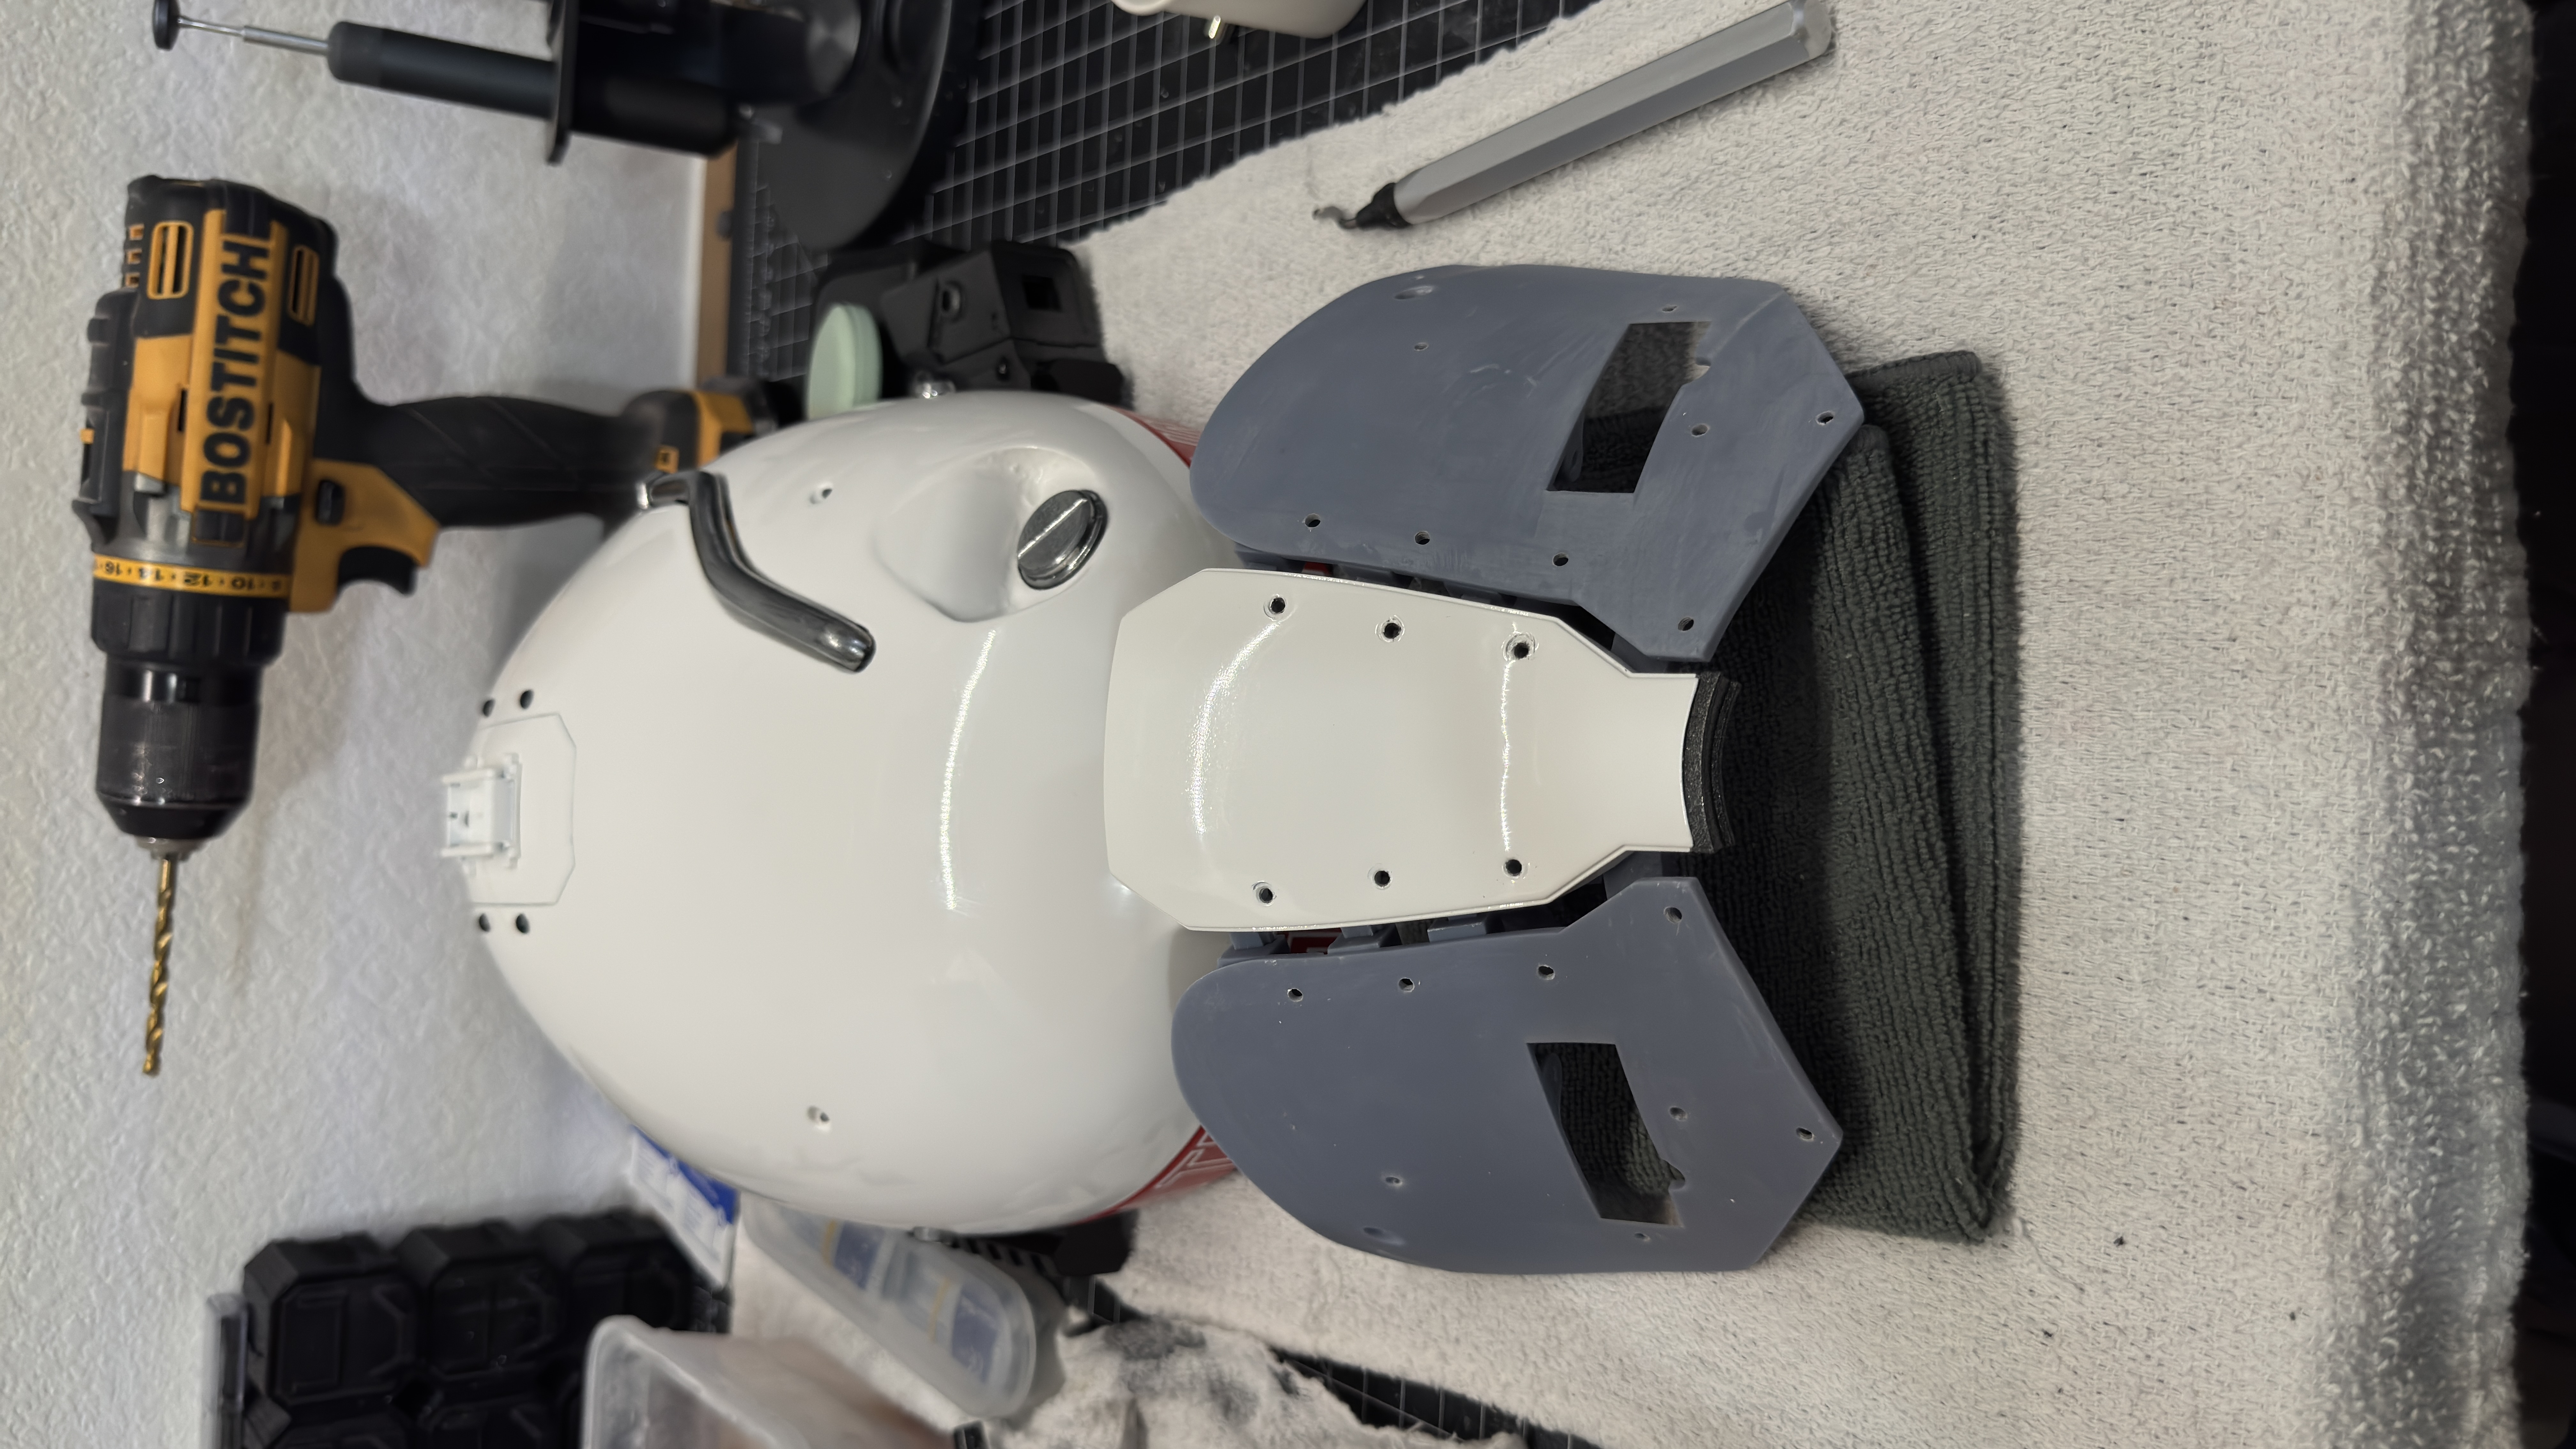
This is definitely one of those projects where the actual printing is only the beginning. Most of the work comes afterward.
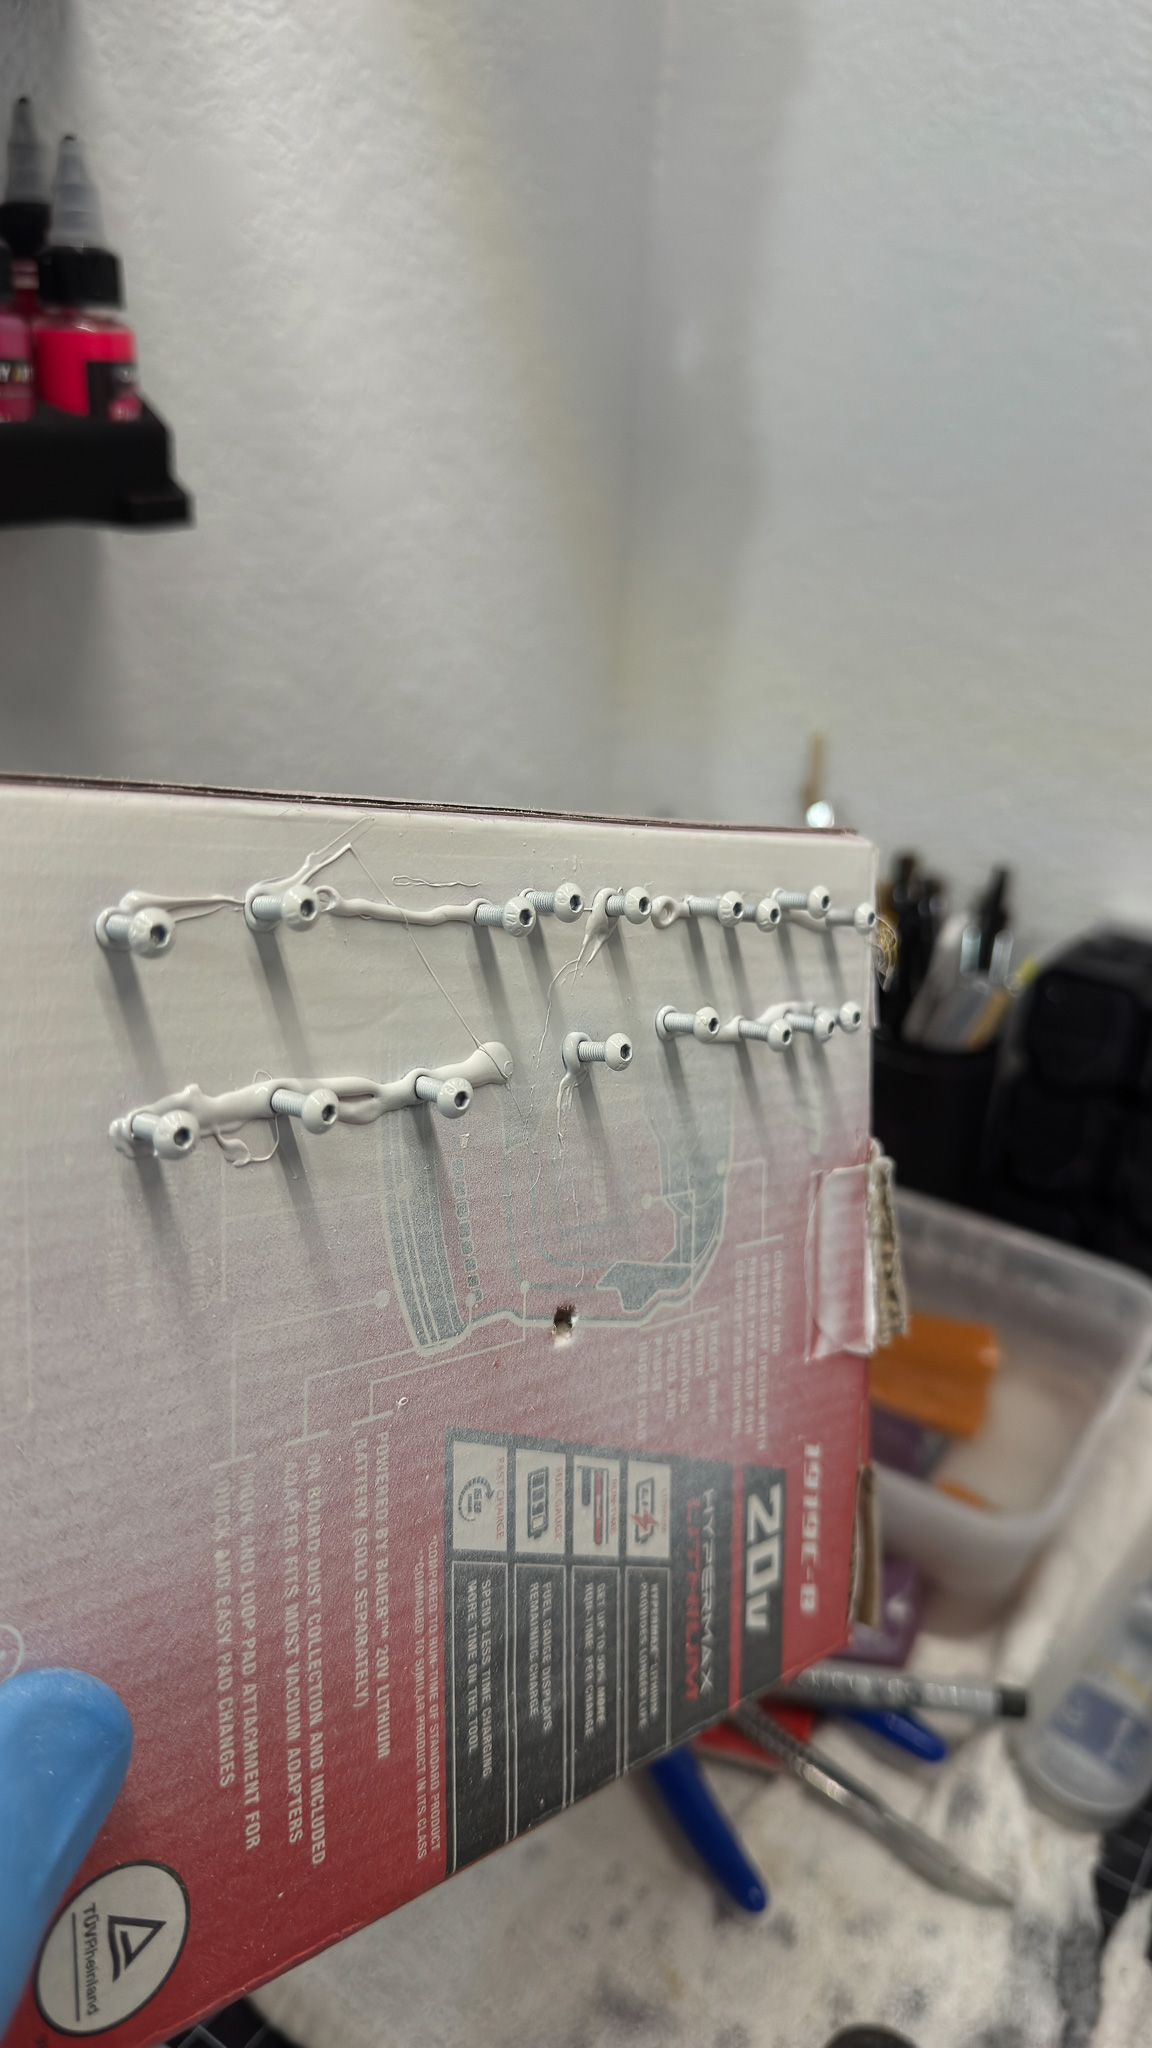
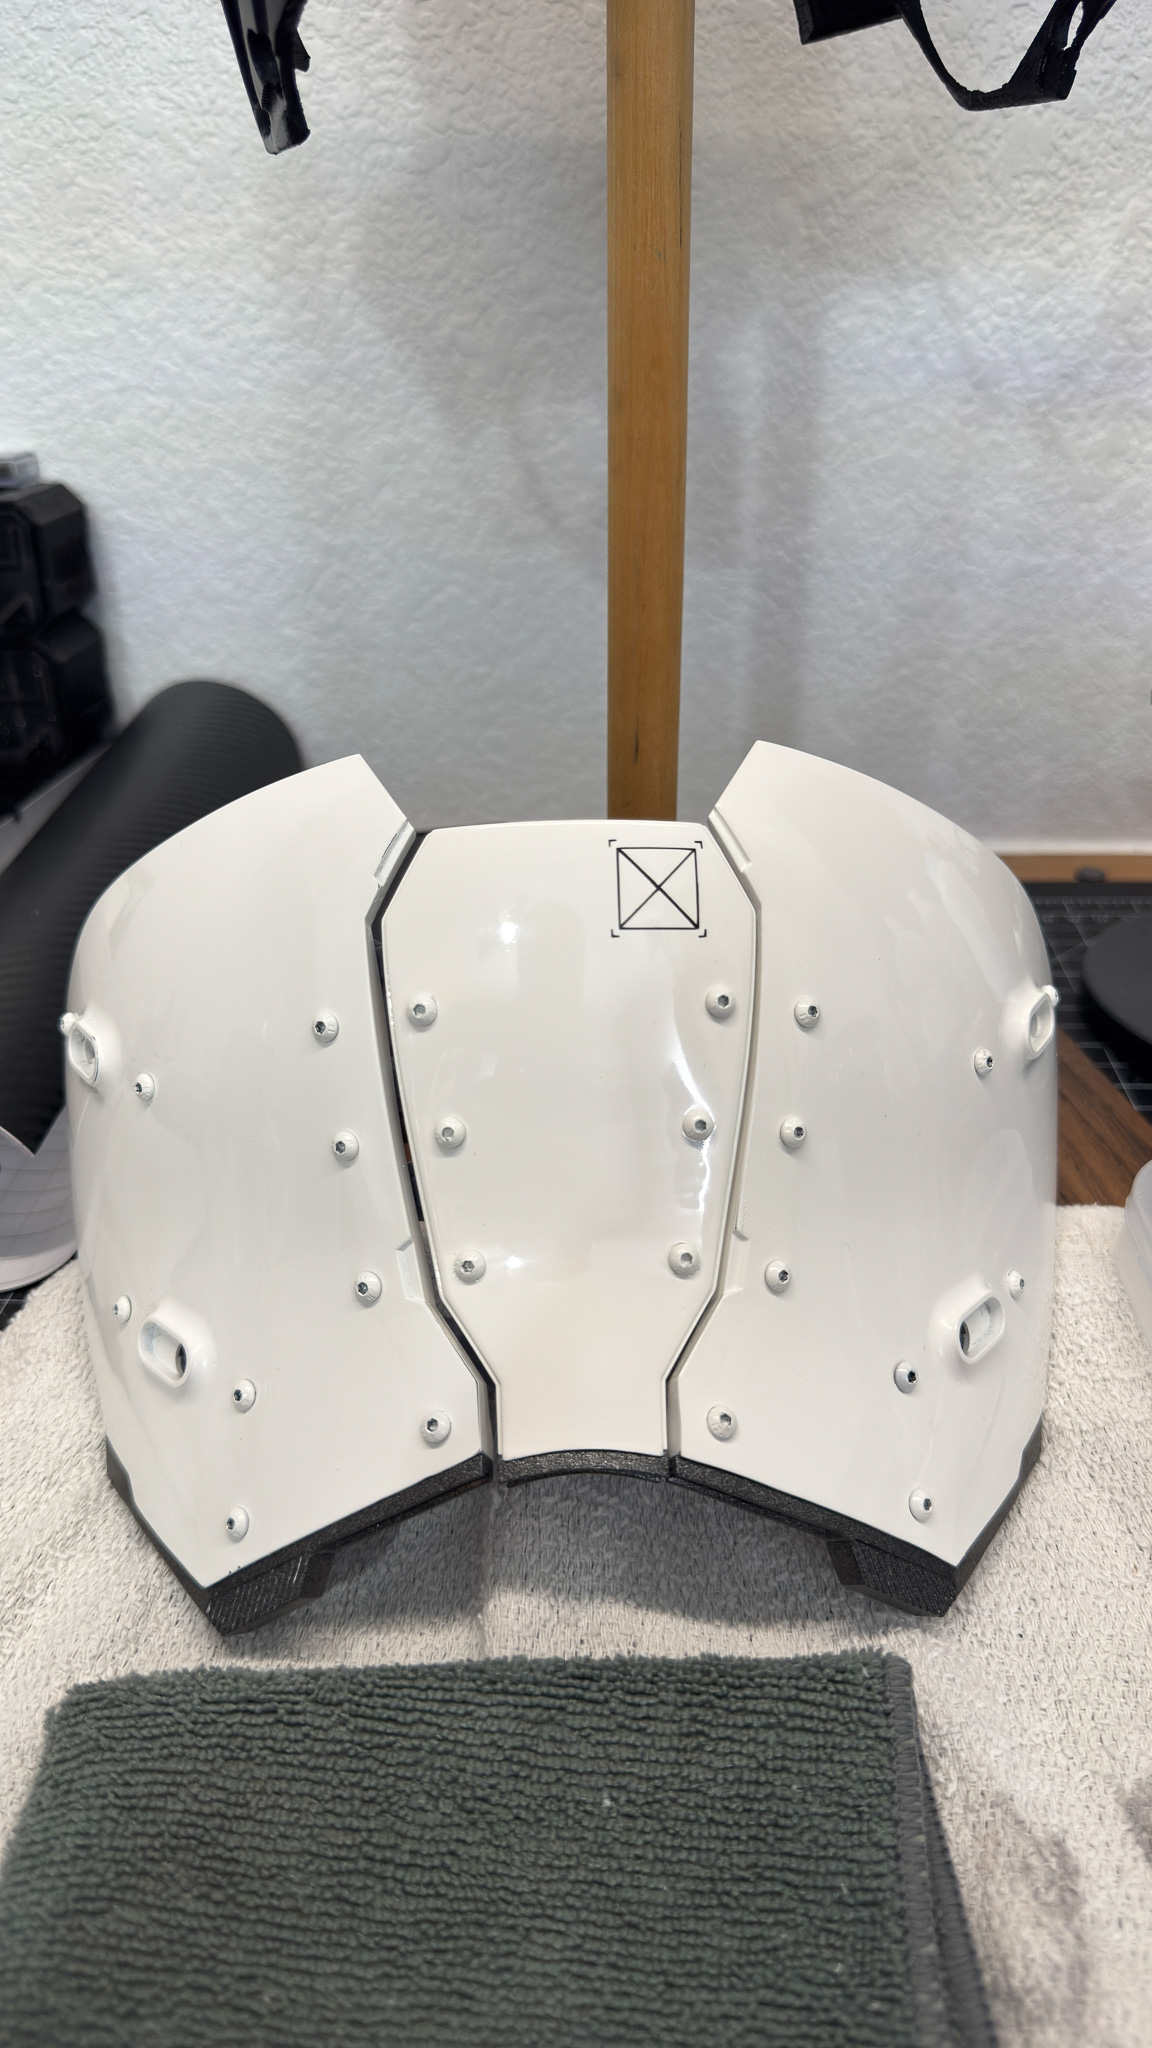
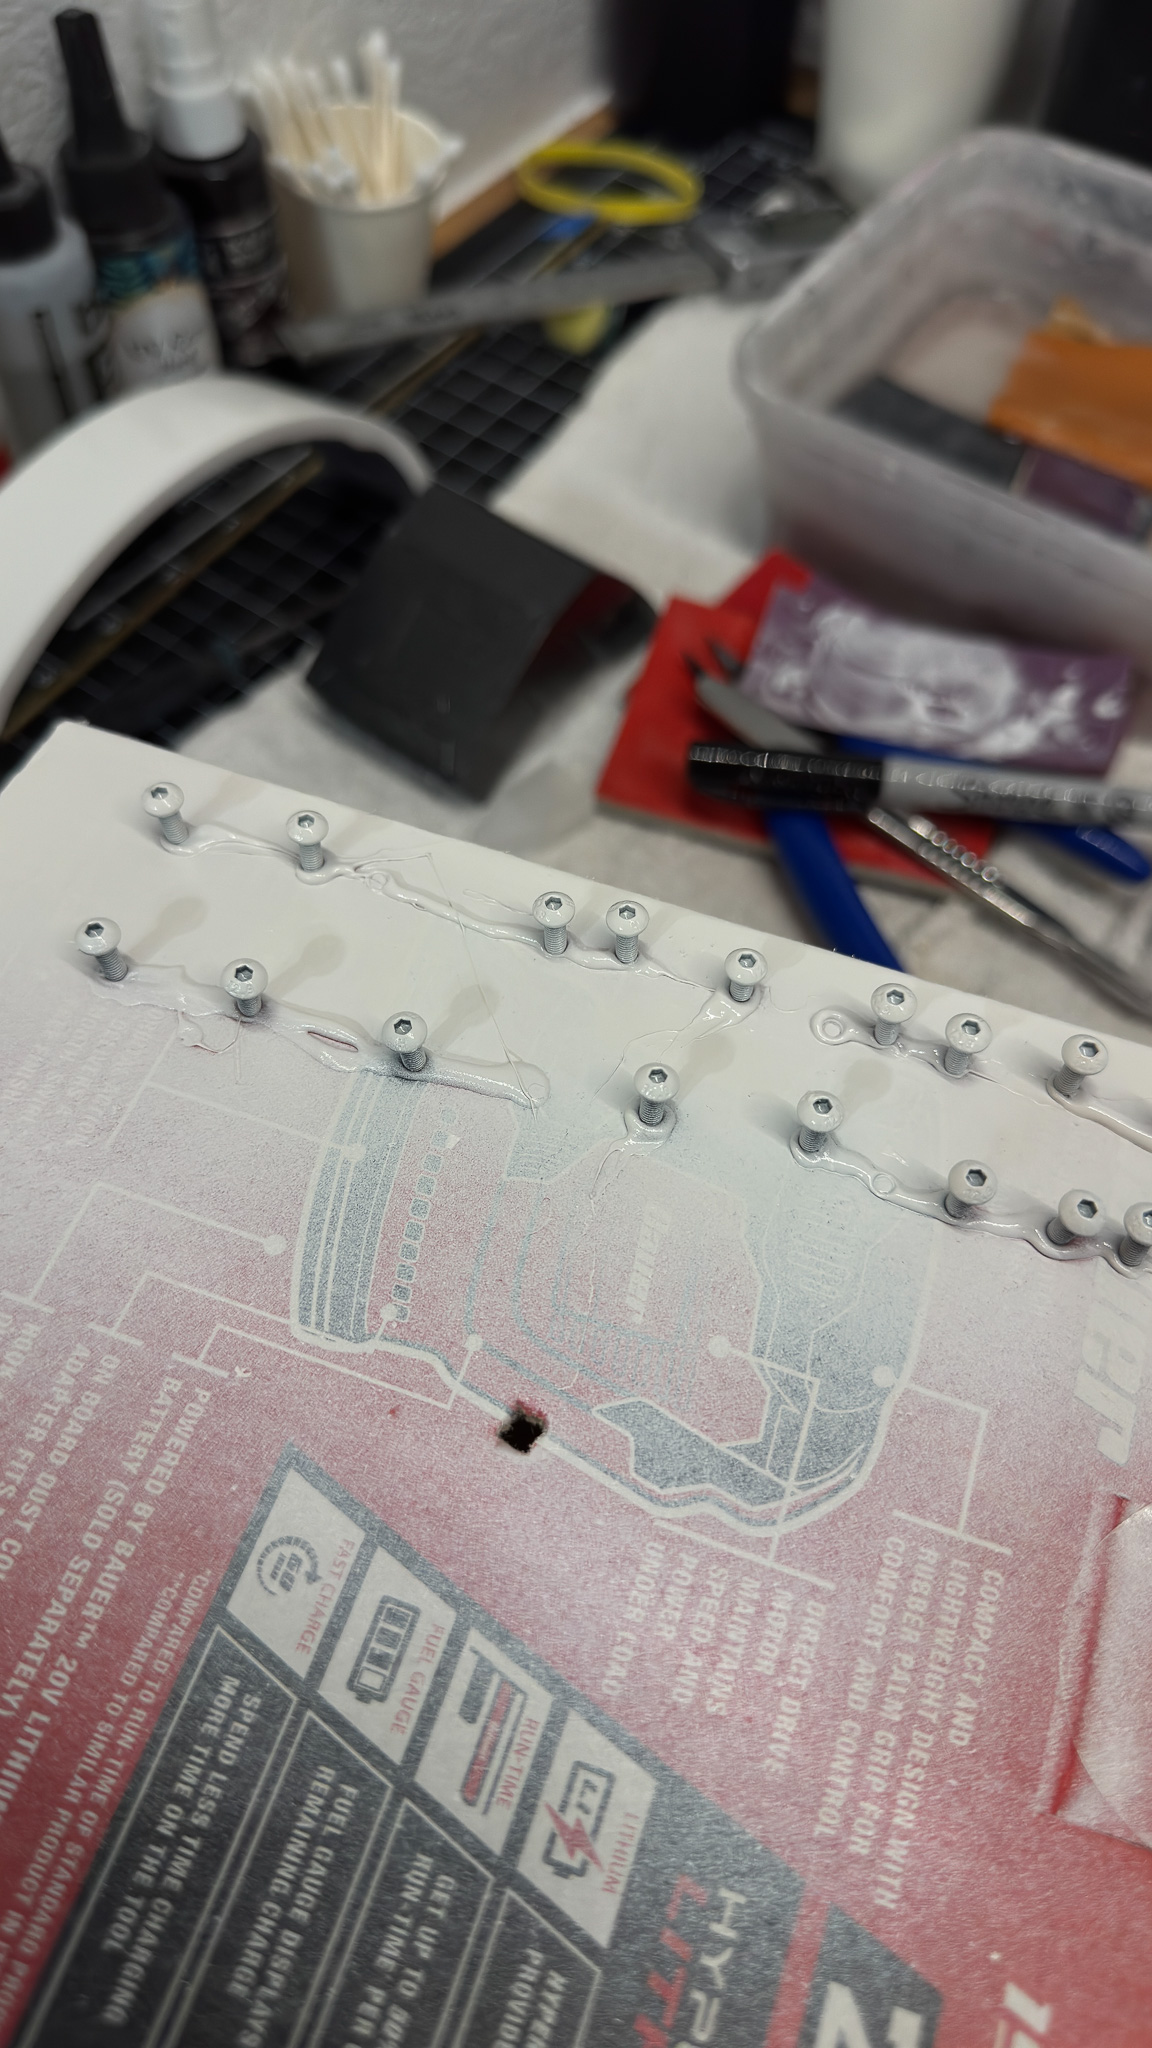
After printing, all the parts were cleaned up, supports removed, and surfaces sanded to prep for filler and primer. Several rounds of filler primer and sanding were needed to smooth out print lines and imperfections before paint.
Paint Process
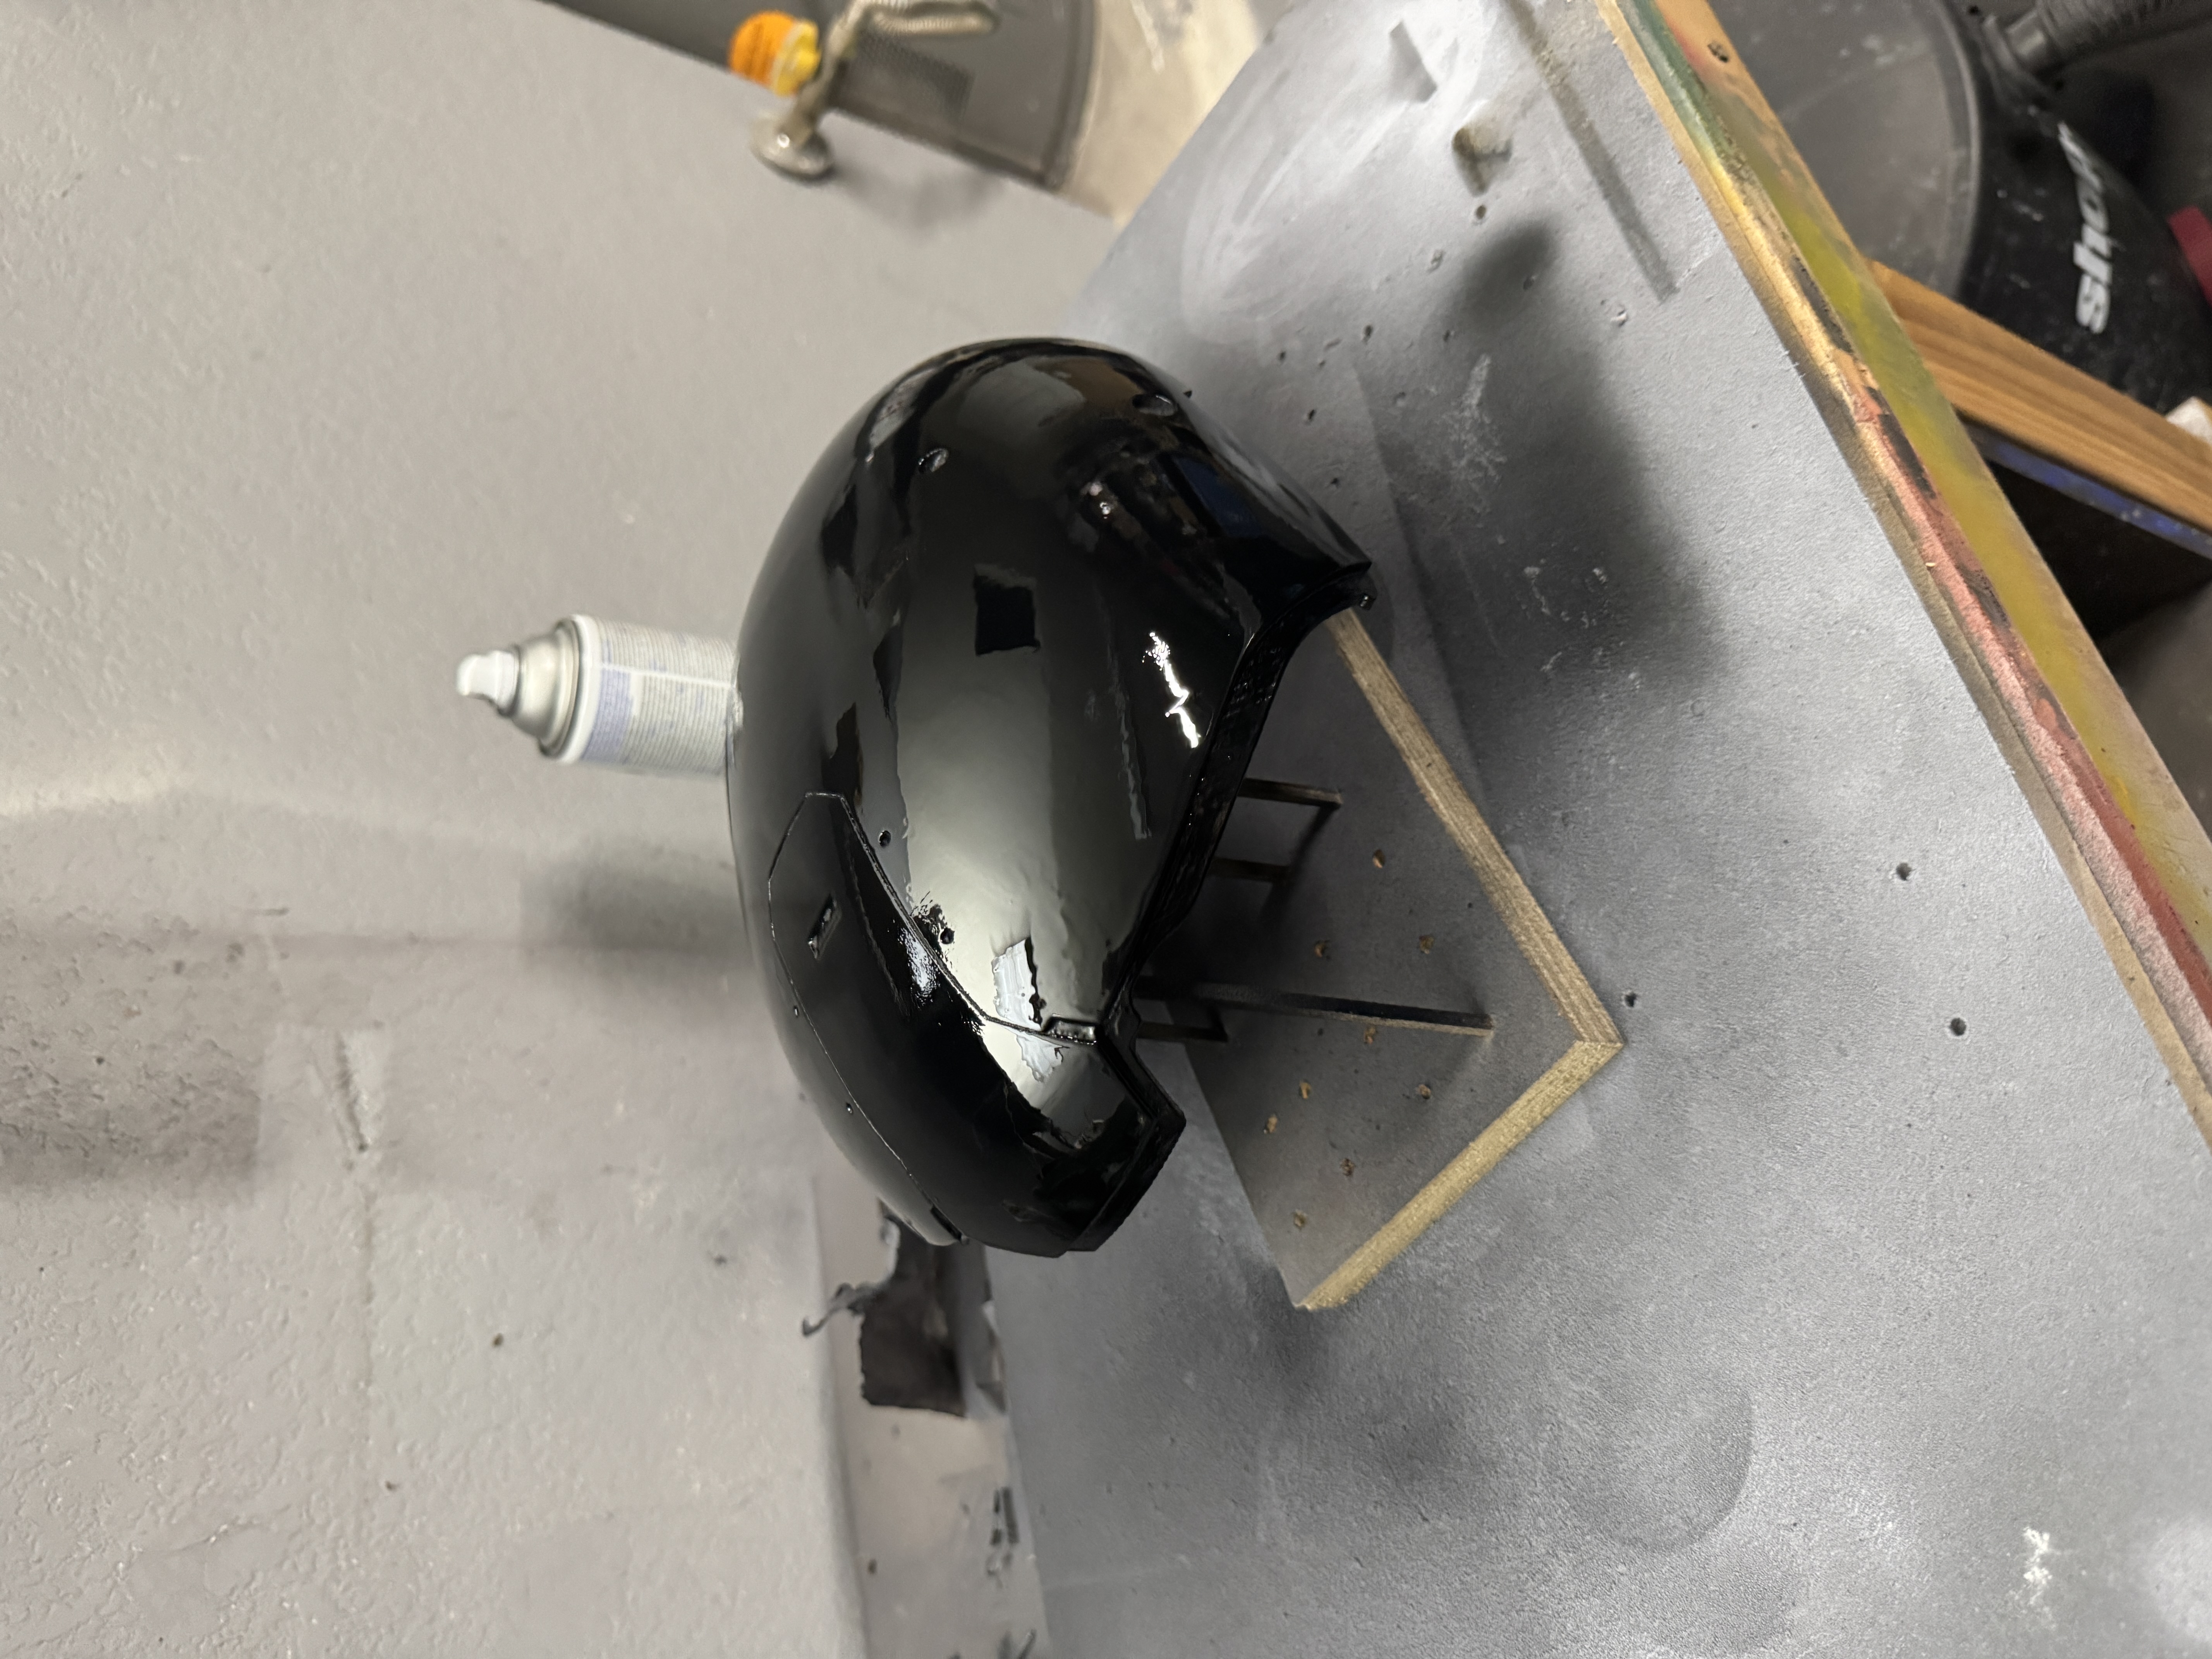
The paint process on this helmet took way longer than expected.
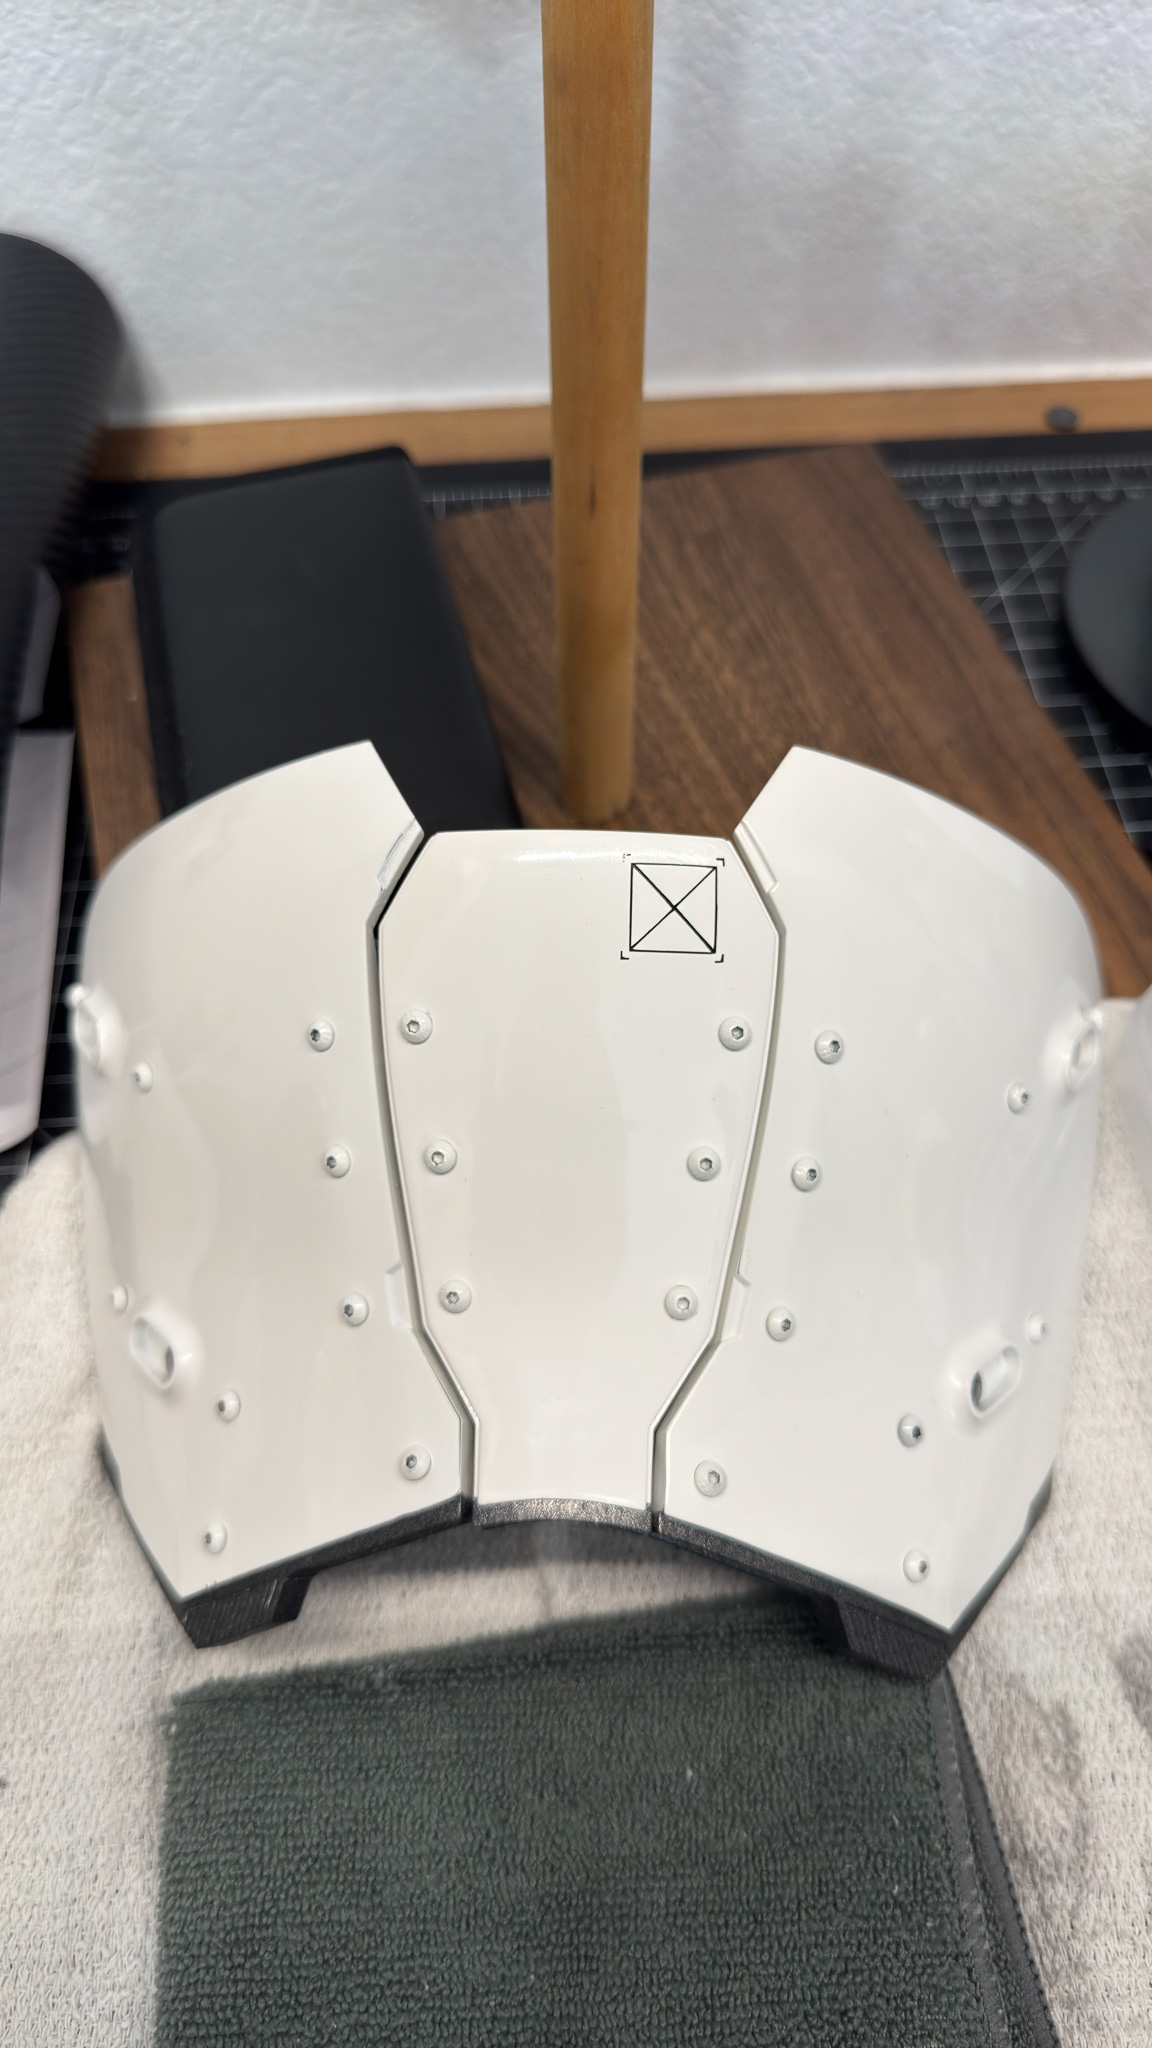
The white sections especially fought me hard and several pieces had to be stripped back and repainted before I could get the finish laying down smooth enough. But once everything finally started working together, the helmet really started looking less like a print and more like an actual prop piece.
The paints I used for the build were:
- MTN 94 Spray Paint - Vivid Red (9RV-3001)
- MTN 94 Spray Paint - Black (9RV-9011)
- MTN 94 Spray Paint - Anthracite Grey (9RV-7016)
- MTN 94 Spray Paint - White (9RV-9010)
- Krylon Fusion All-In-One Metallic Dark Metal Paint + Primer
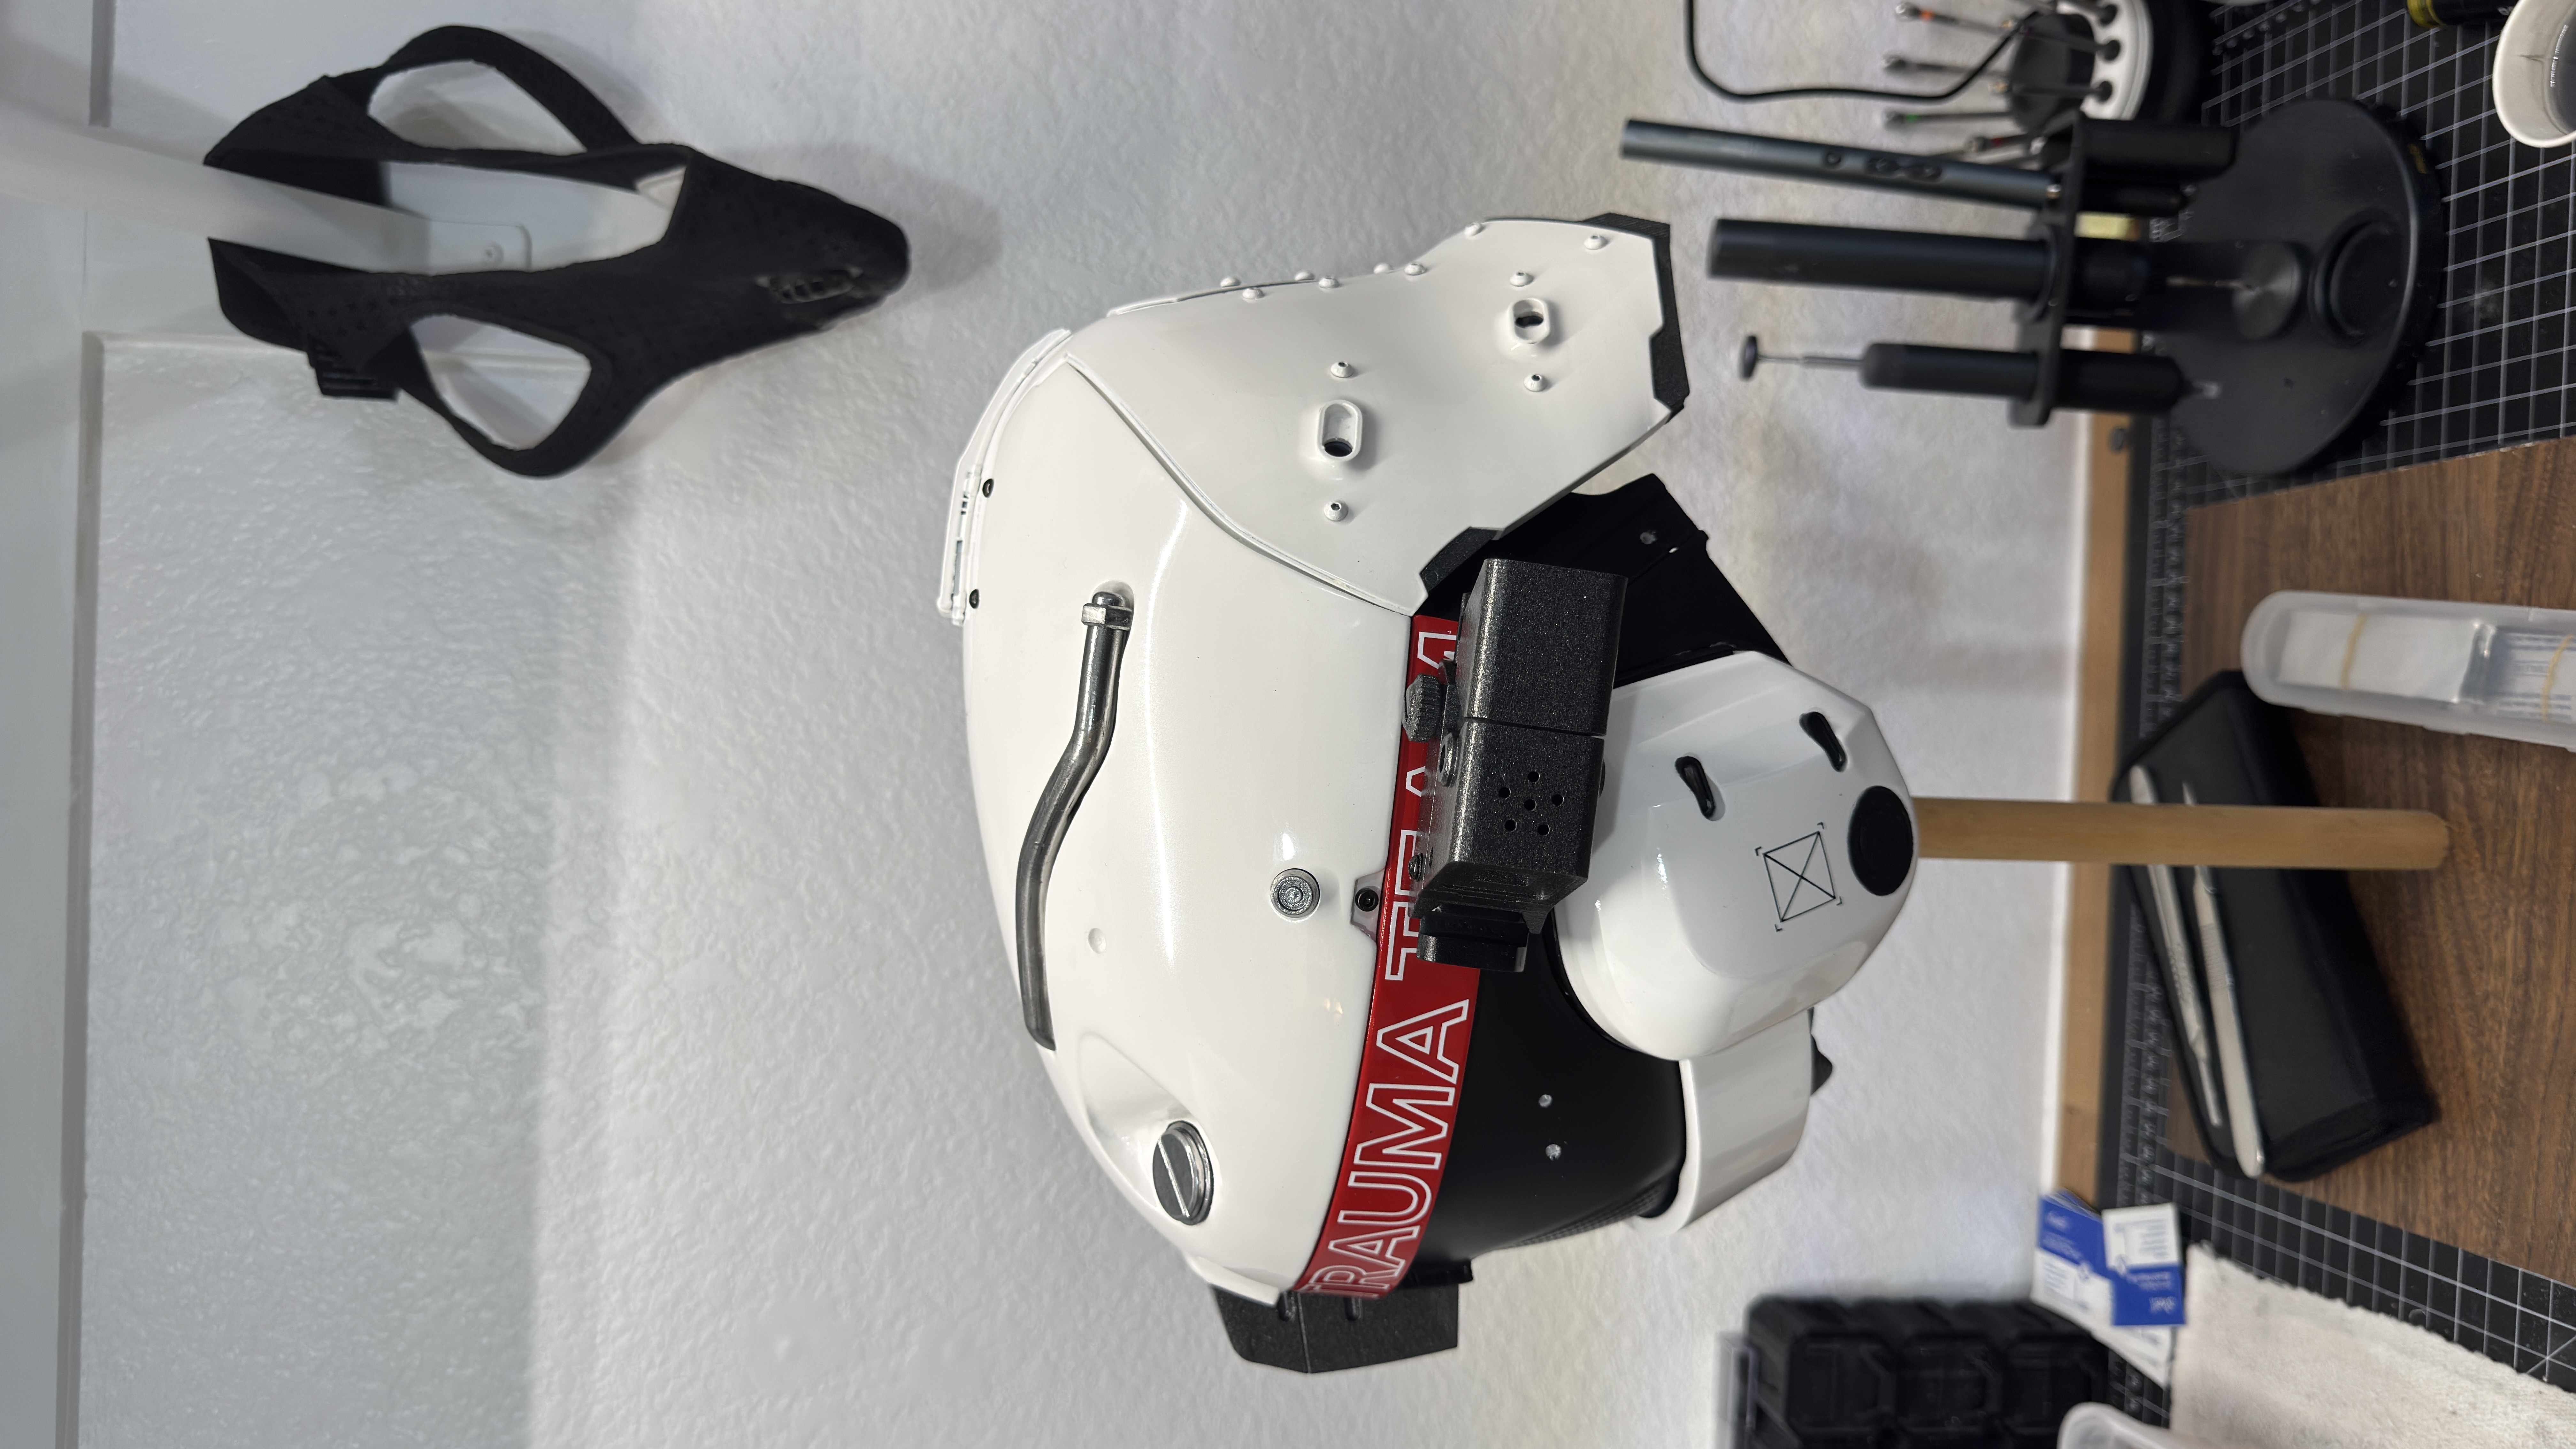
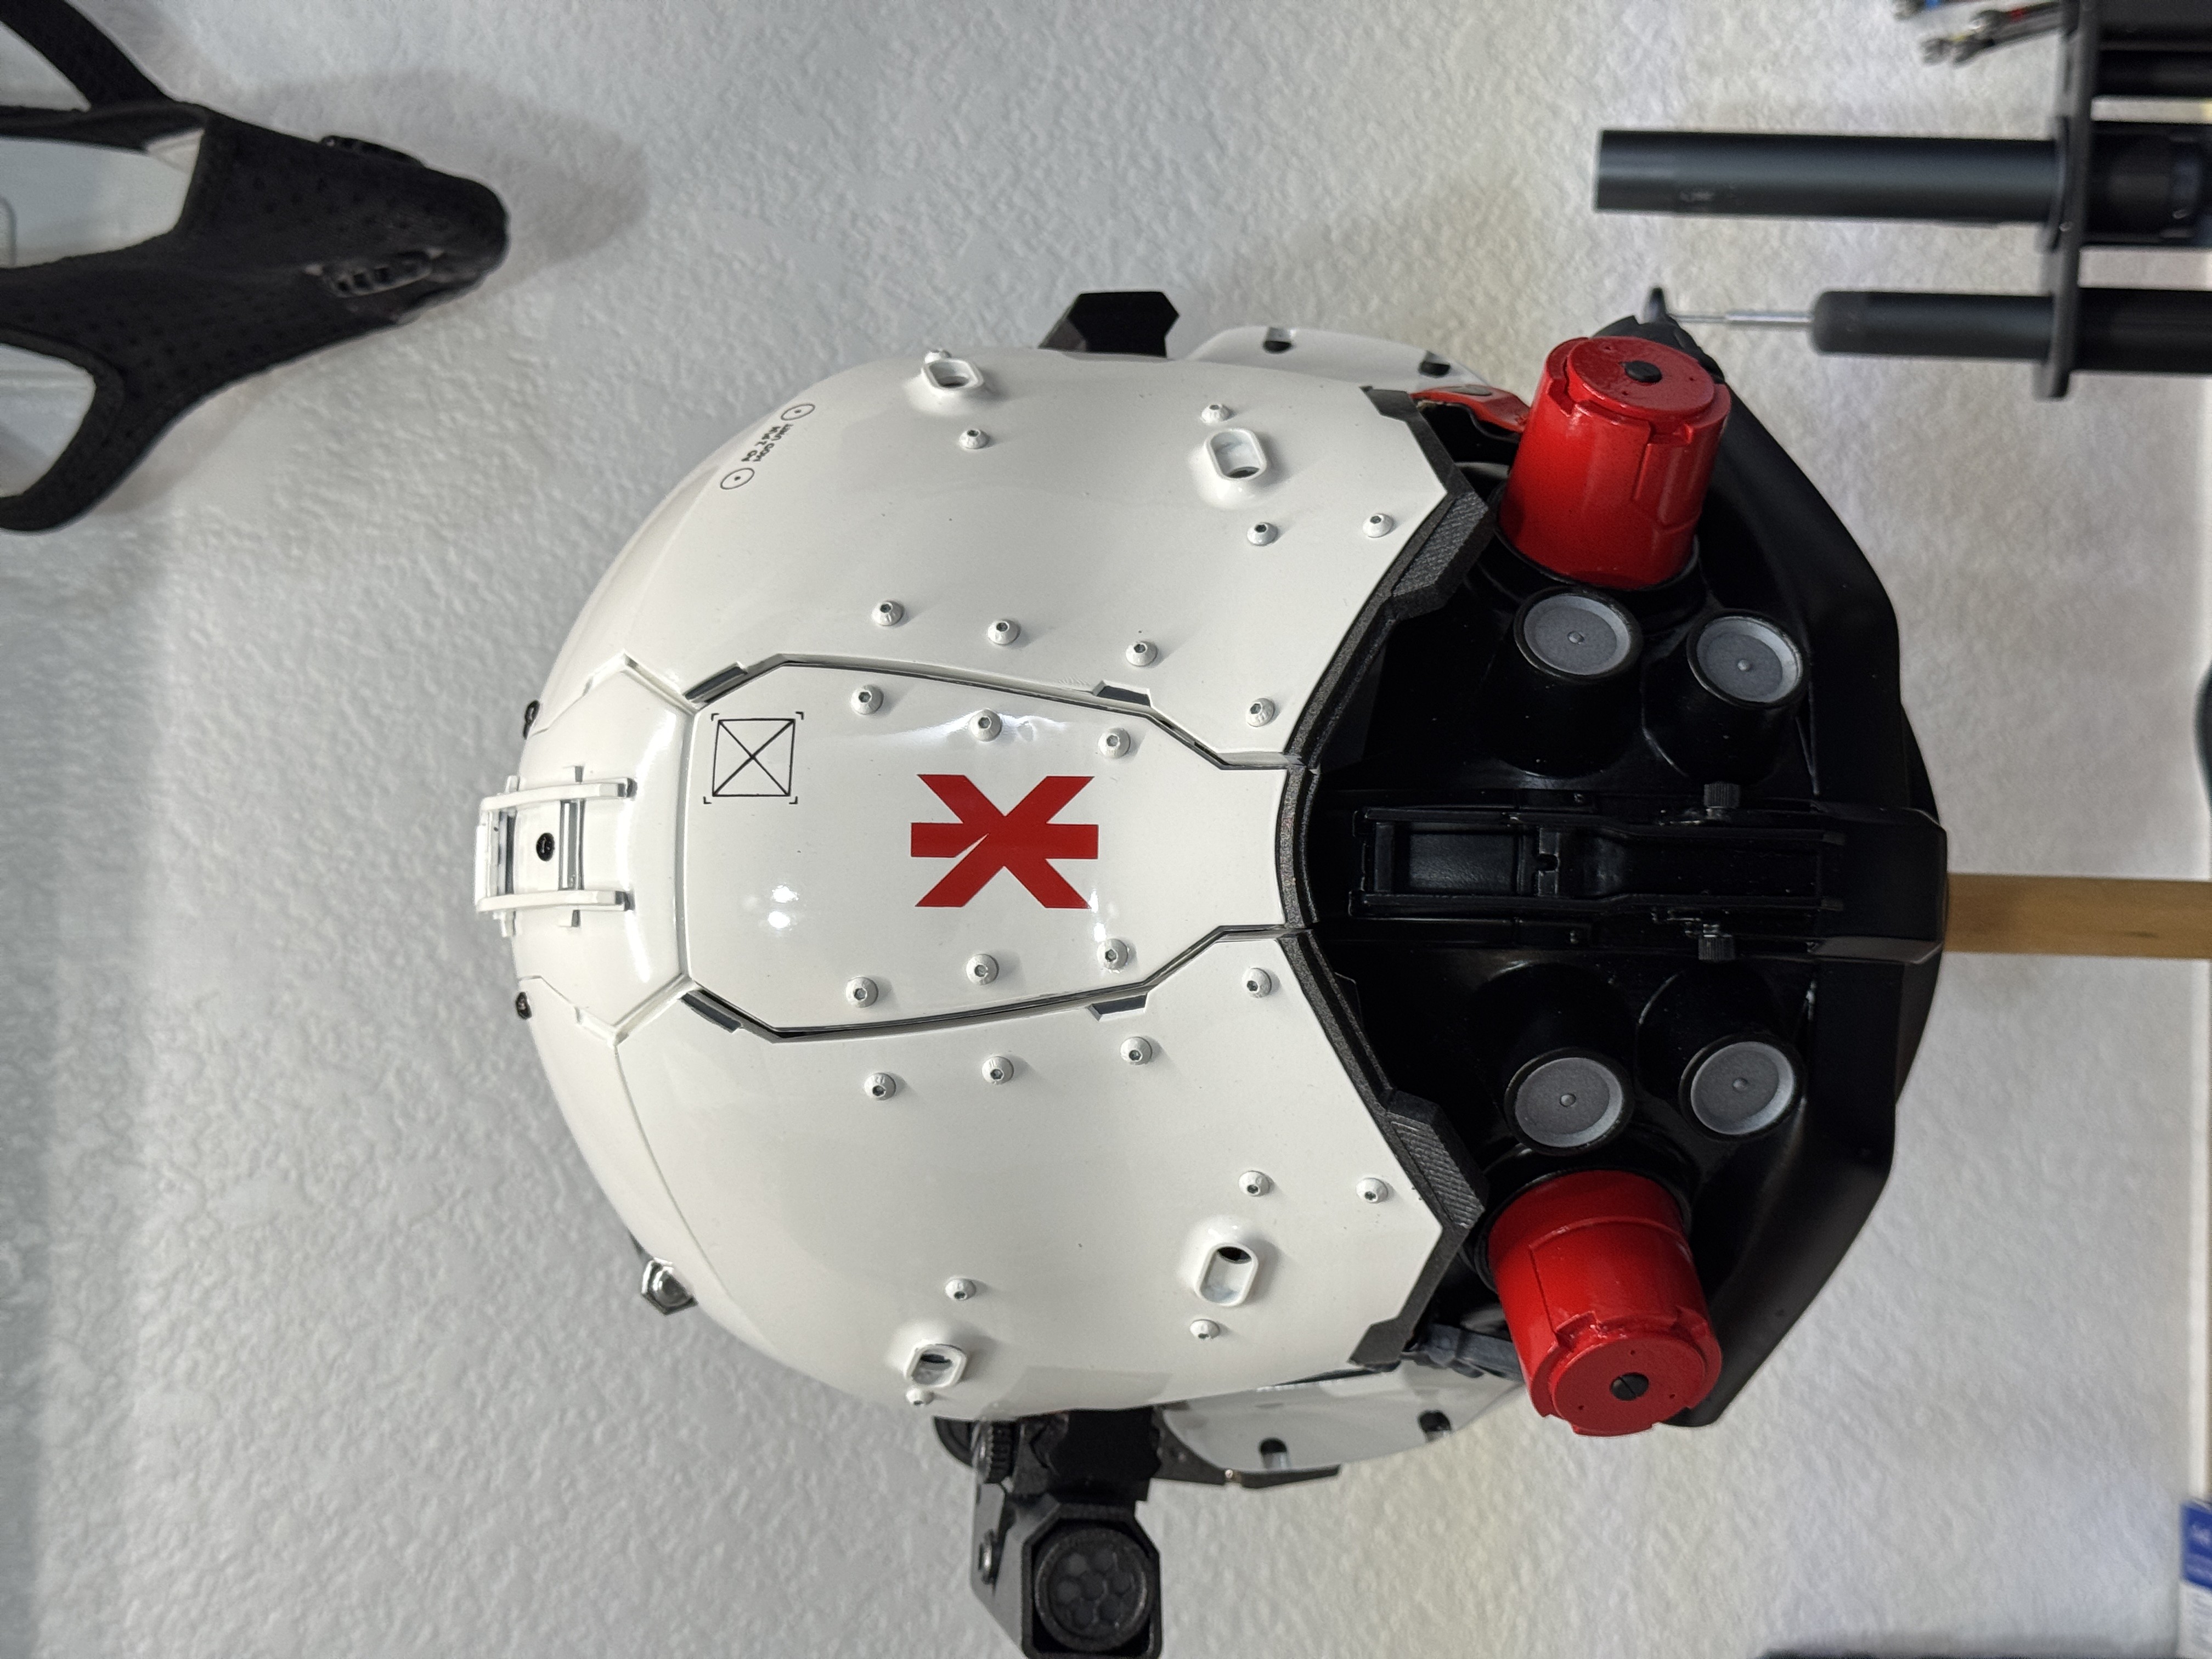
The MTN paints honestly worked great for this kind of project because they spray very evenly and build color nicely without getting overly thick too quickly.
The metallic dark metal paint was mainly used on internal mechanical sections and areas that needed more of a worn industrial look.
Once paint was complete, several areas were wet sanded and cleaned up further to help smooth out the final finish.
Carbon Fiber Wrap
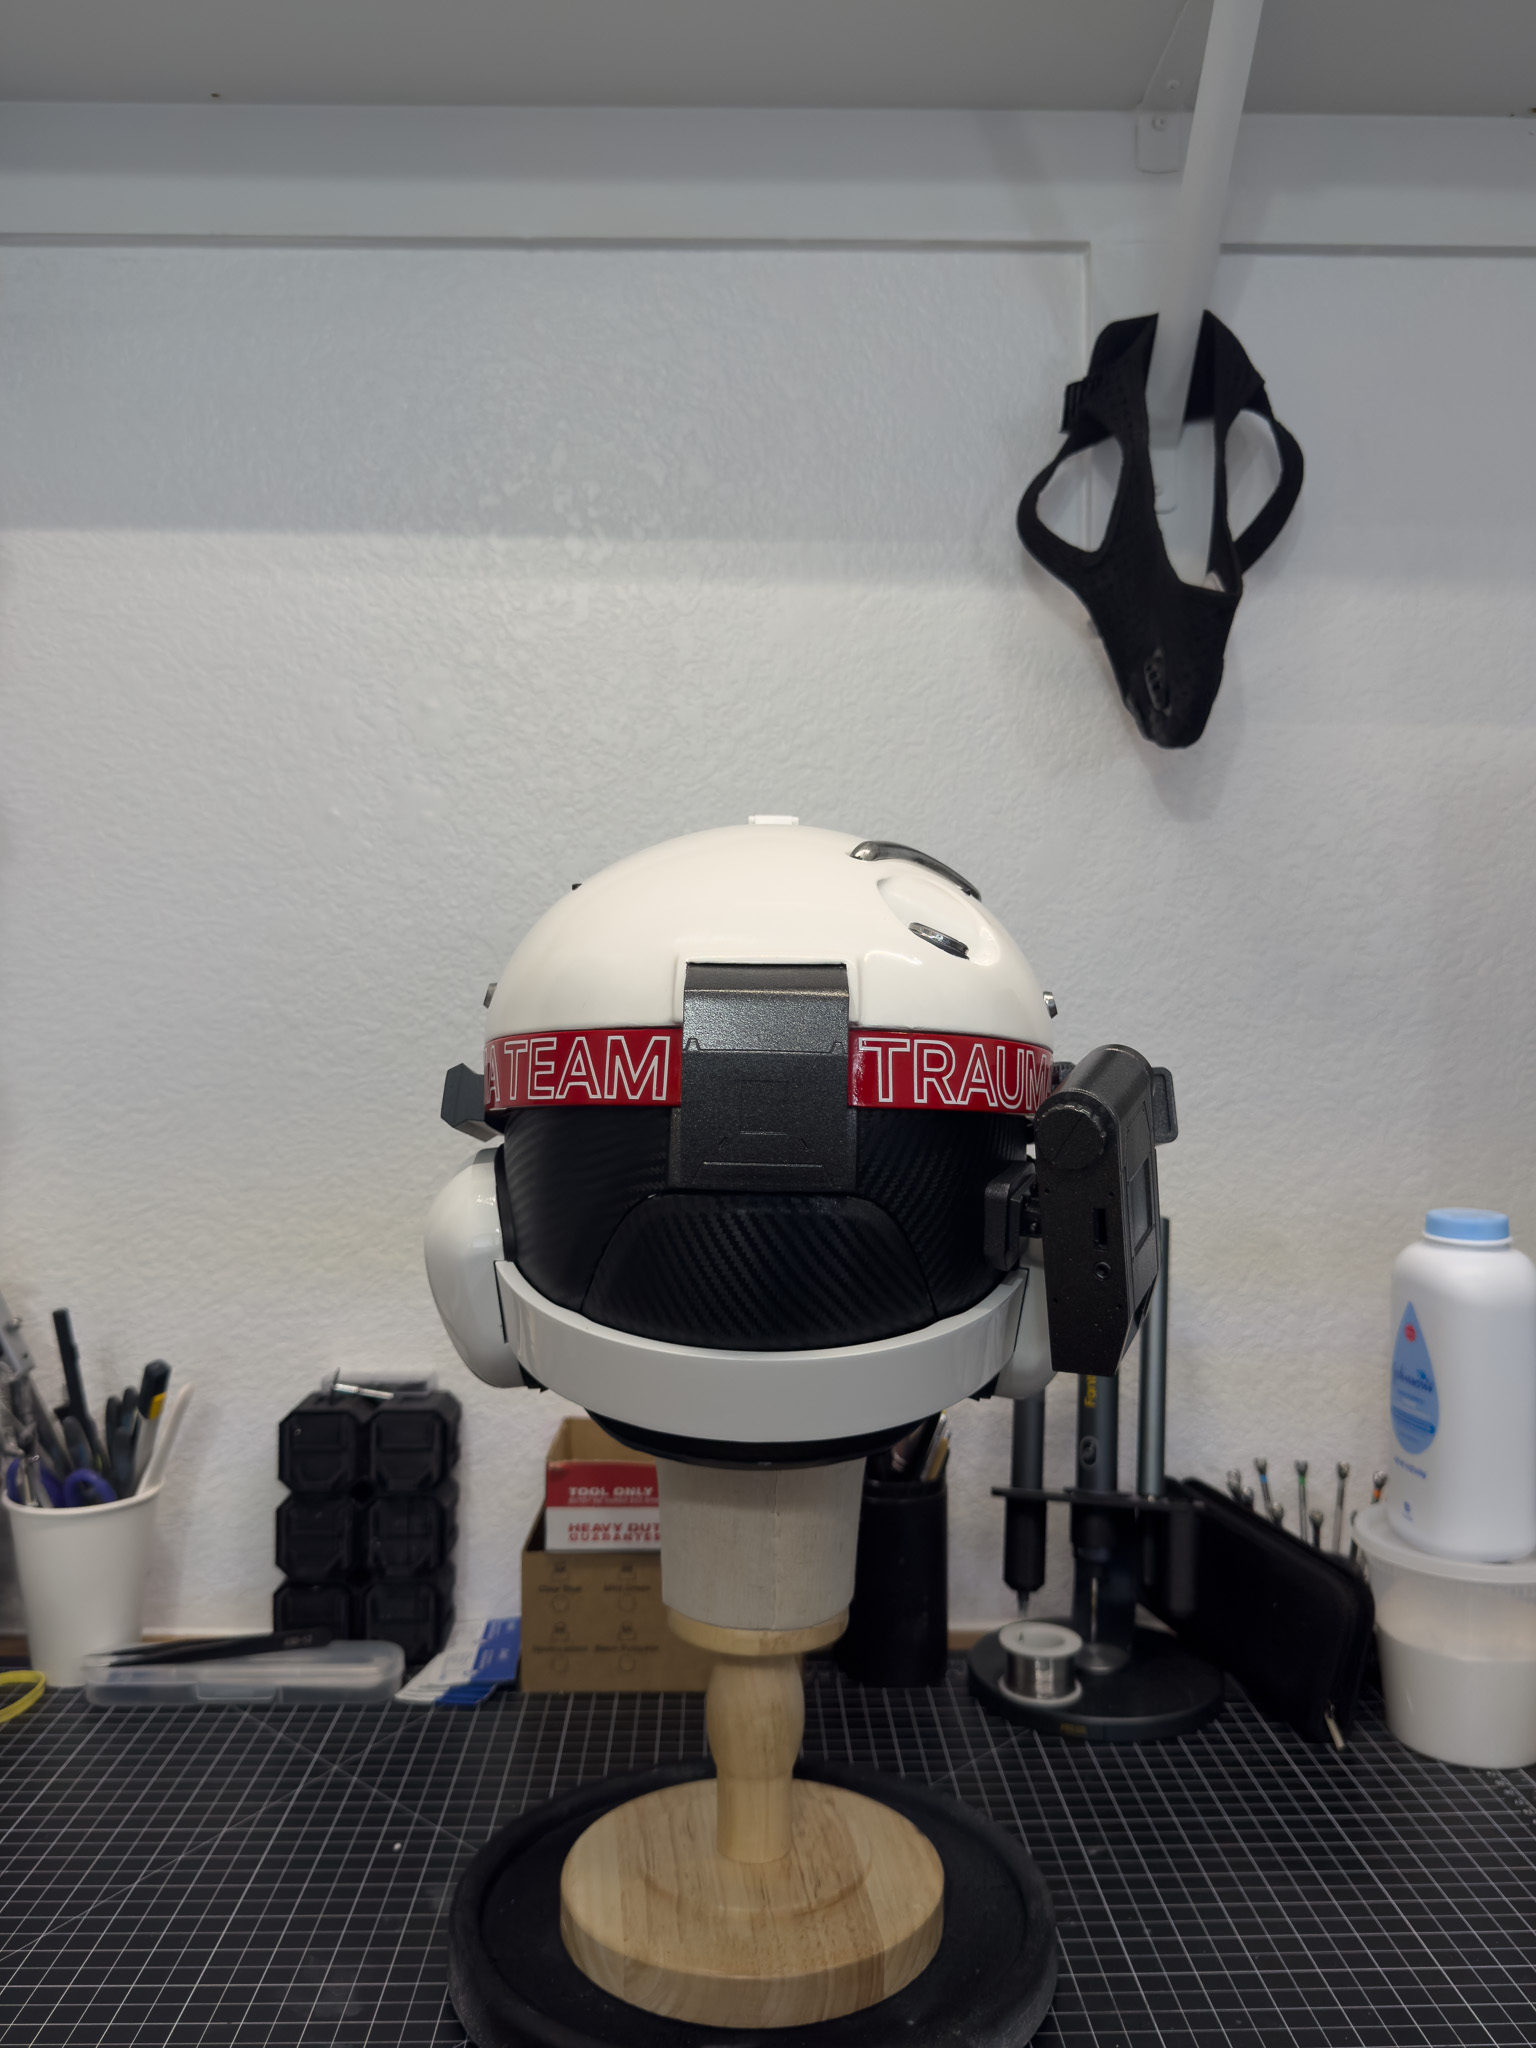
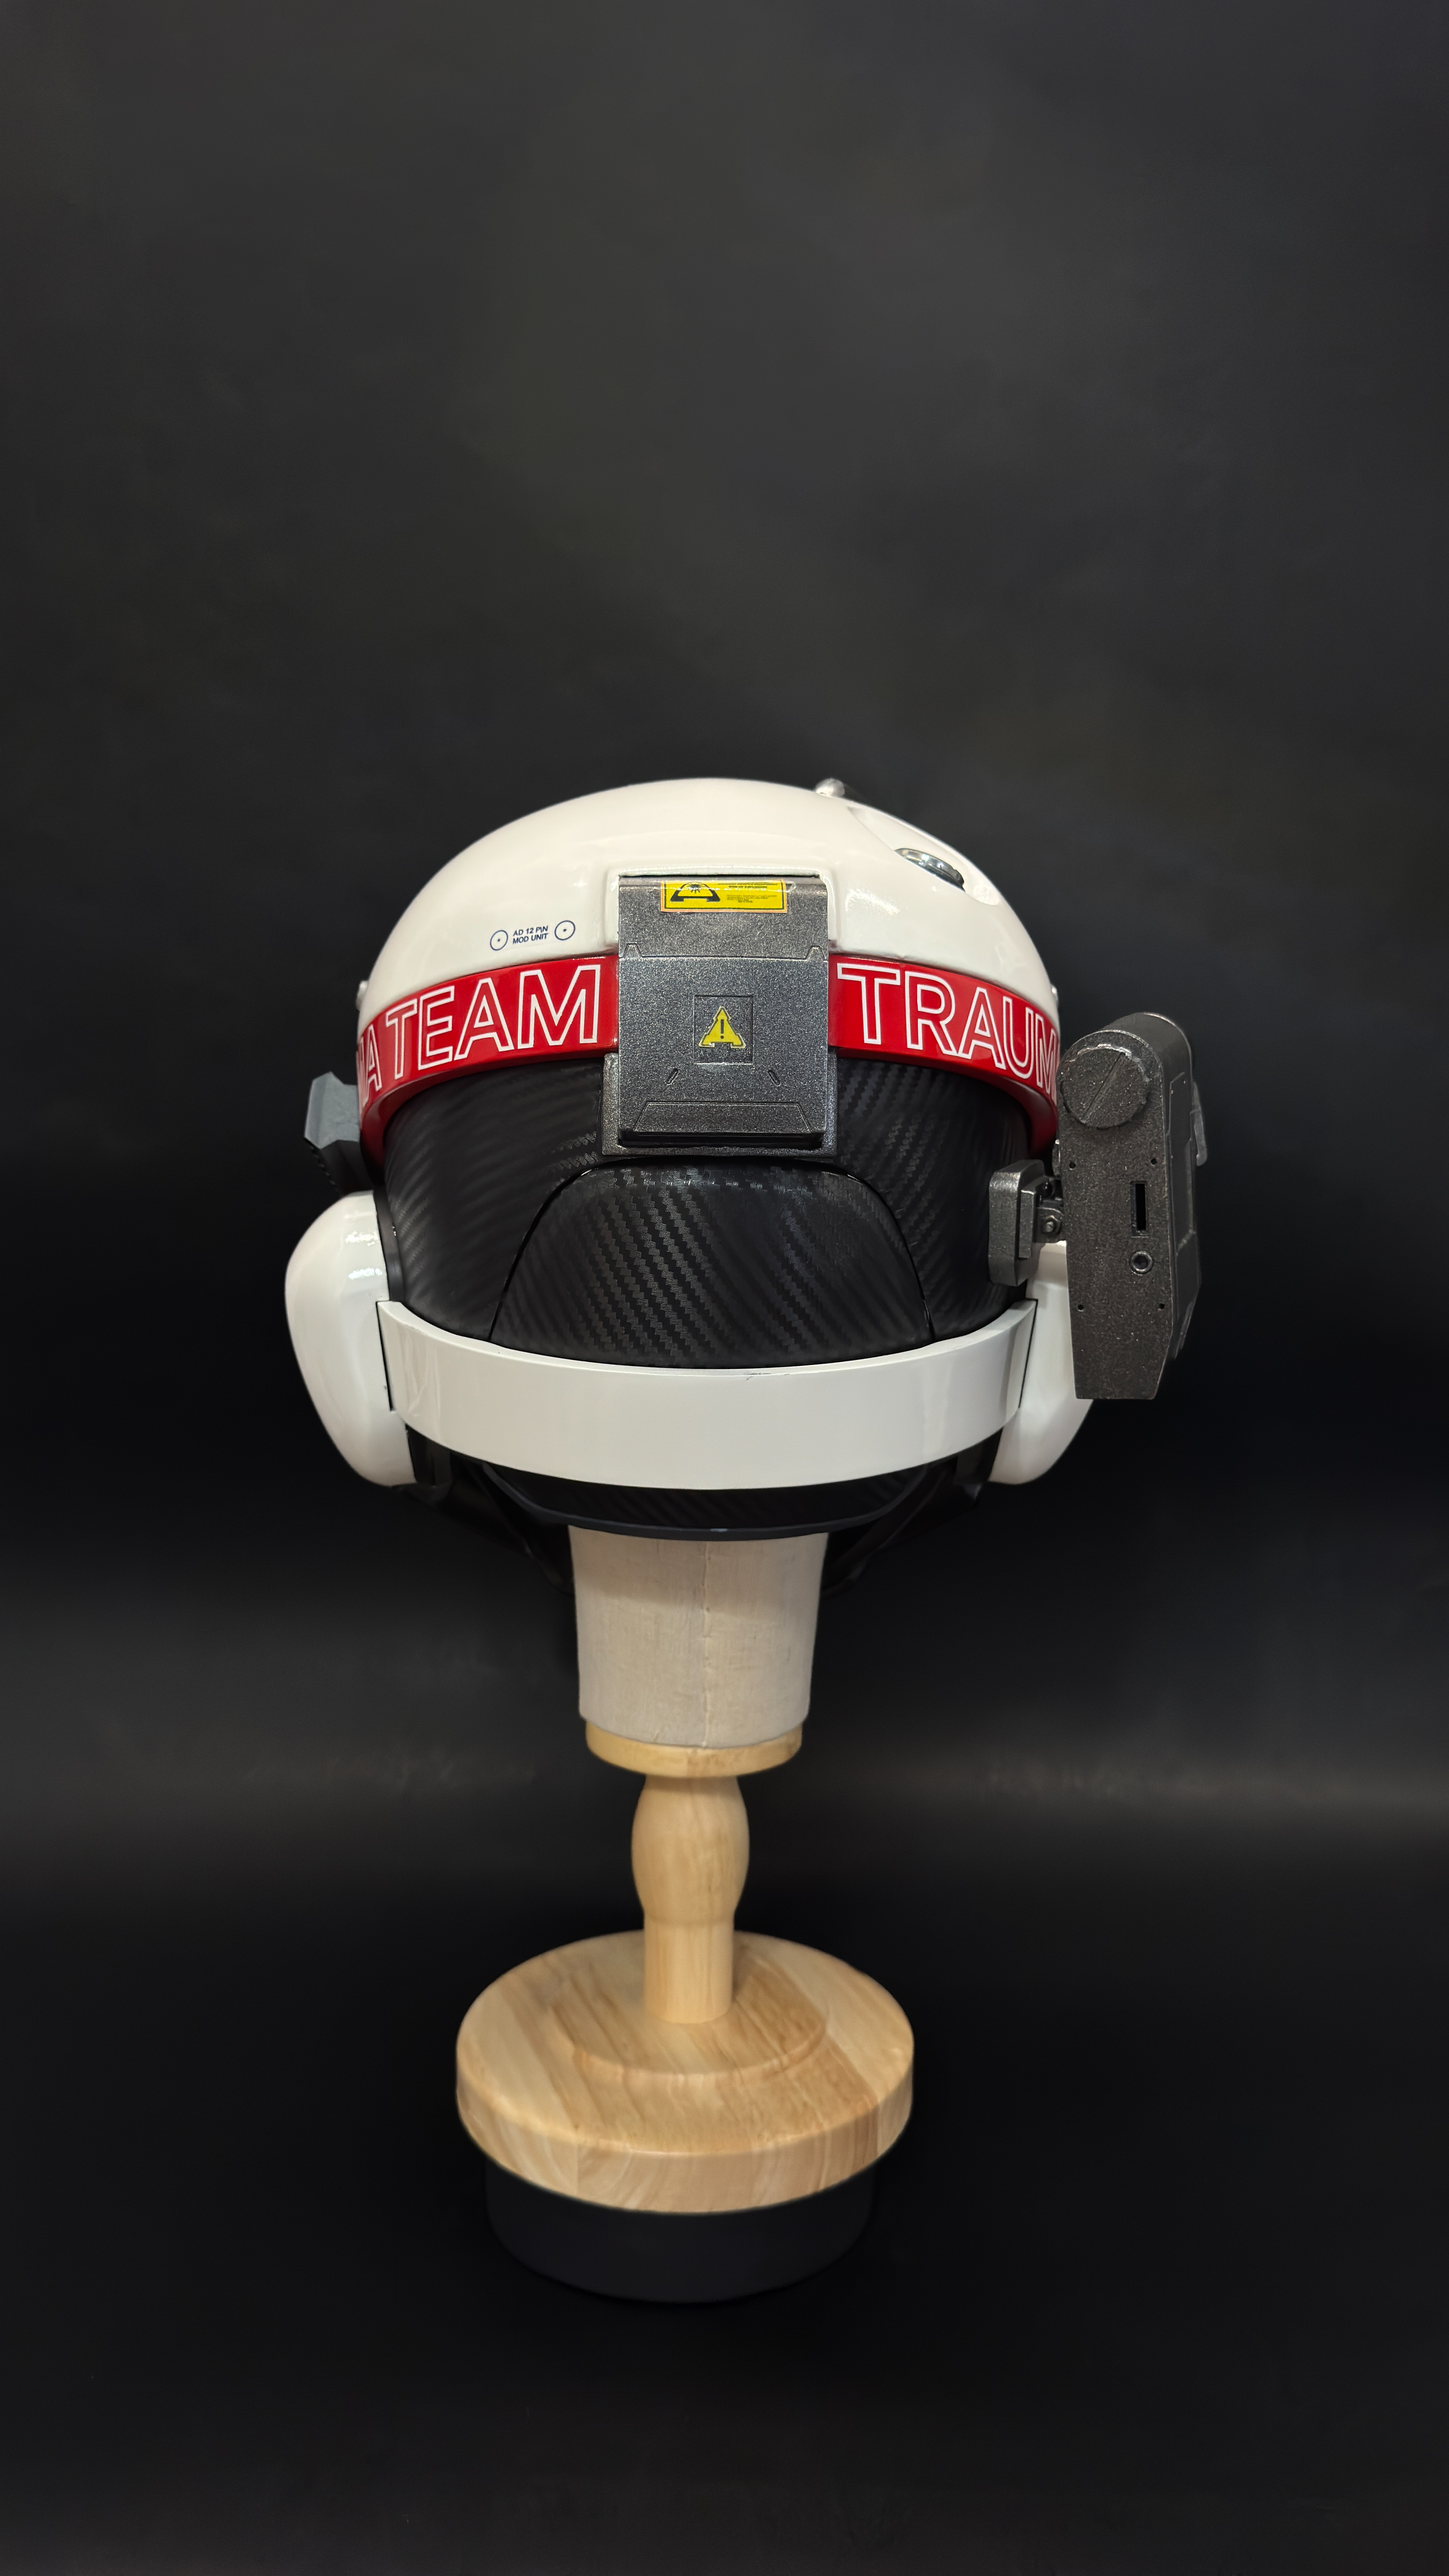
One of the details I added was carbon fiber vinyl wrapping around the base of the helmet.
That small detail helped break up the surfaces visually and gave the lower sections more of a manufactured look instead of everything just being painted plastic. Little material changes like that honestly make a huge difference on prop builds.
Decals and Graphics
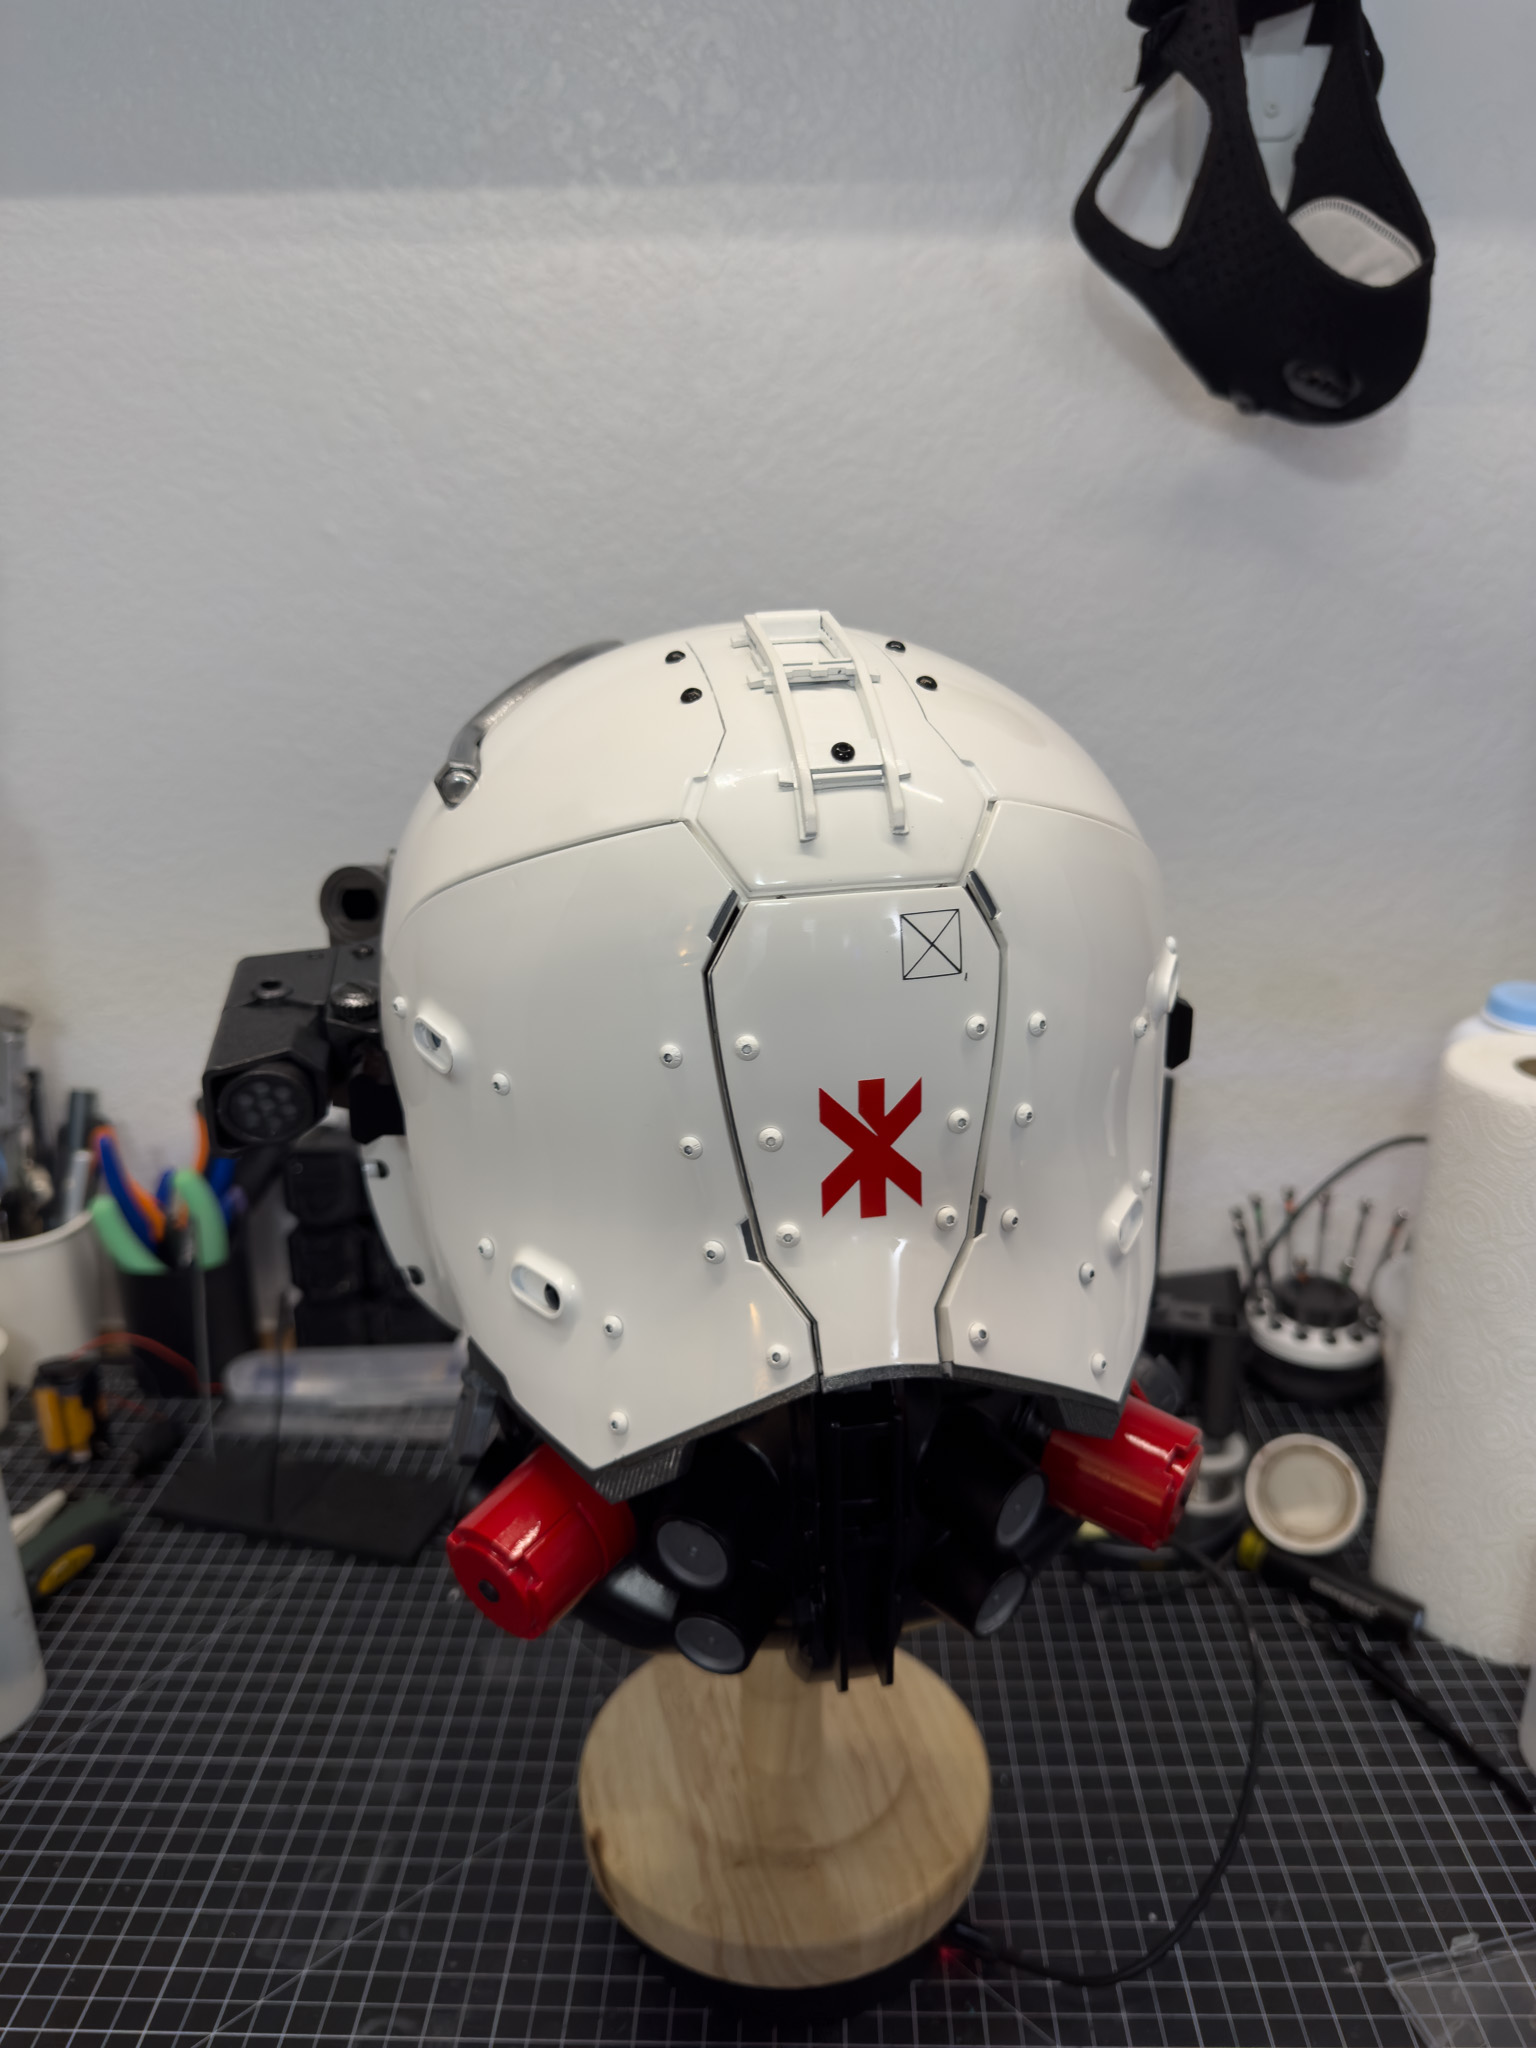
For the helmet graphics, I used clear waterslide decal paper.
The decals were printed using an Epson EcoTank printer in CMYK, then applied directly onto the painted surfaces before final finishing work.
The creator of the helmet files also sells a sticker pack version if you want pre made graphics instead of printing your own.
The decals honestly helped bring the whole build together because the warning labels, logos, and small details make the helmet feel way more believable.
Electronics and Lighting
Right now the helmet has no working lighting yet, but the servo systems are still being worked on.
The eventual plan is to fully integrate motors and an Arduino setup to control the face plates mechanically. A lot of this project has been a learning experience because this was my first real deep dive into electronics, soldering, wiring, and mechanical movement systems.
Trying to fit electronics, lighting, wiring, and eventually motors into a wearable helmet shell while still keeping everything clean internally has honestly been one of the hardest parts of the build.
Front Faceplate
The visor and front shell sections went through several prototype stages.
I printed multiple test pieces while trying to dial in the fitment, mounting points, proportions, and clearances around the face plates. Some of those pieces were purely test parts that never made it into the final build.
That is honestly one of the biggest things I've learned with prop building. Sometimes you have to treat early prints as prototypes and not final parts.
Current Status
The build is still actively being worked on.
Right now the helmet has lighting installed and most of the shell assembled, but I still need to:
- Install and tune the motors
- Finish integrating the Arduino setup
- Finalize the movement system
- Continue refining internal wiring and electronics
- Finish some additional cleanup and detailing
Even unfinished, this project has already pushed me into a lot of areas I had never really explored before.
Supply List
Some of the main materials and supplies used during the build:
- MTN 94 spray paints
- Krylon metallic spray paint
- Clear decal paper
- Epson EcoTank printer
- Carbon fiber vinyl wrap
- Sandpaper from rough grit through 2500 grit
- Filler primer
- Resin printed helmet files
- Arduino components and electronics
- LEDs and wiring supplies
Here are some of the other things needed from amazon:
Final Thoughts
This build has been a huge learning experience from both the prop side and the electronics side.
There were definitely a lot of moments where parts had to be completely redone, repainted, or reworked, but honestly that is part of what makes projects like this fun. Every failed print or problem usually teaches you something that makes the next step better.
Seeing the lighting, paint, decals, and overall shape finally start coming together made all the troubleshooting worth it.
Once the motors and movement systems are fully installed, this thing is going to be insane.
Project Status
90%In Progress
Techniques
Materials
PLA+, Bondo, Filler Primer, Acrylics, LEDs, Arduino, Carbon Fiber Wrap
Complete Build Gallery
All documentation photos from the build process.