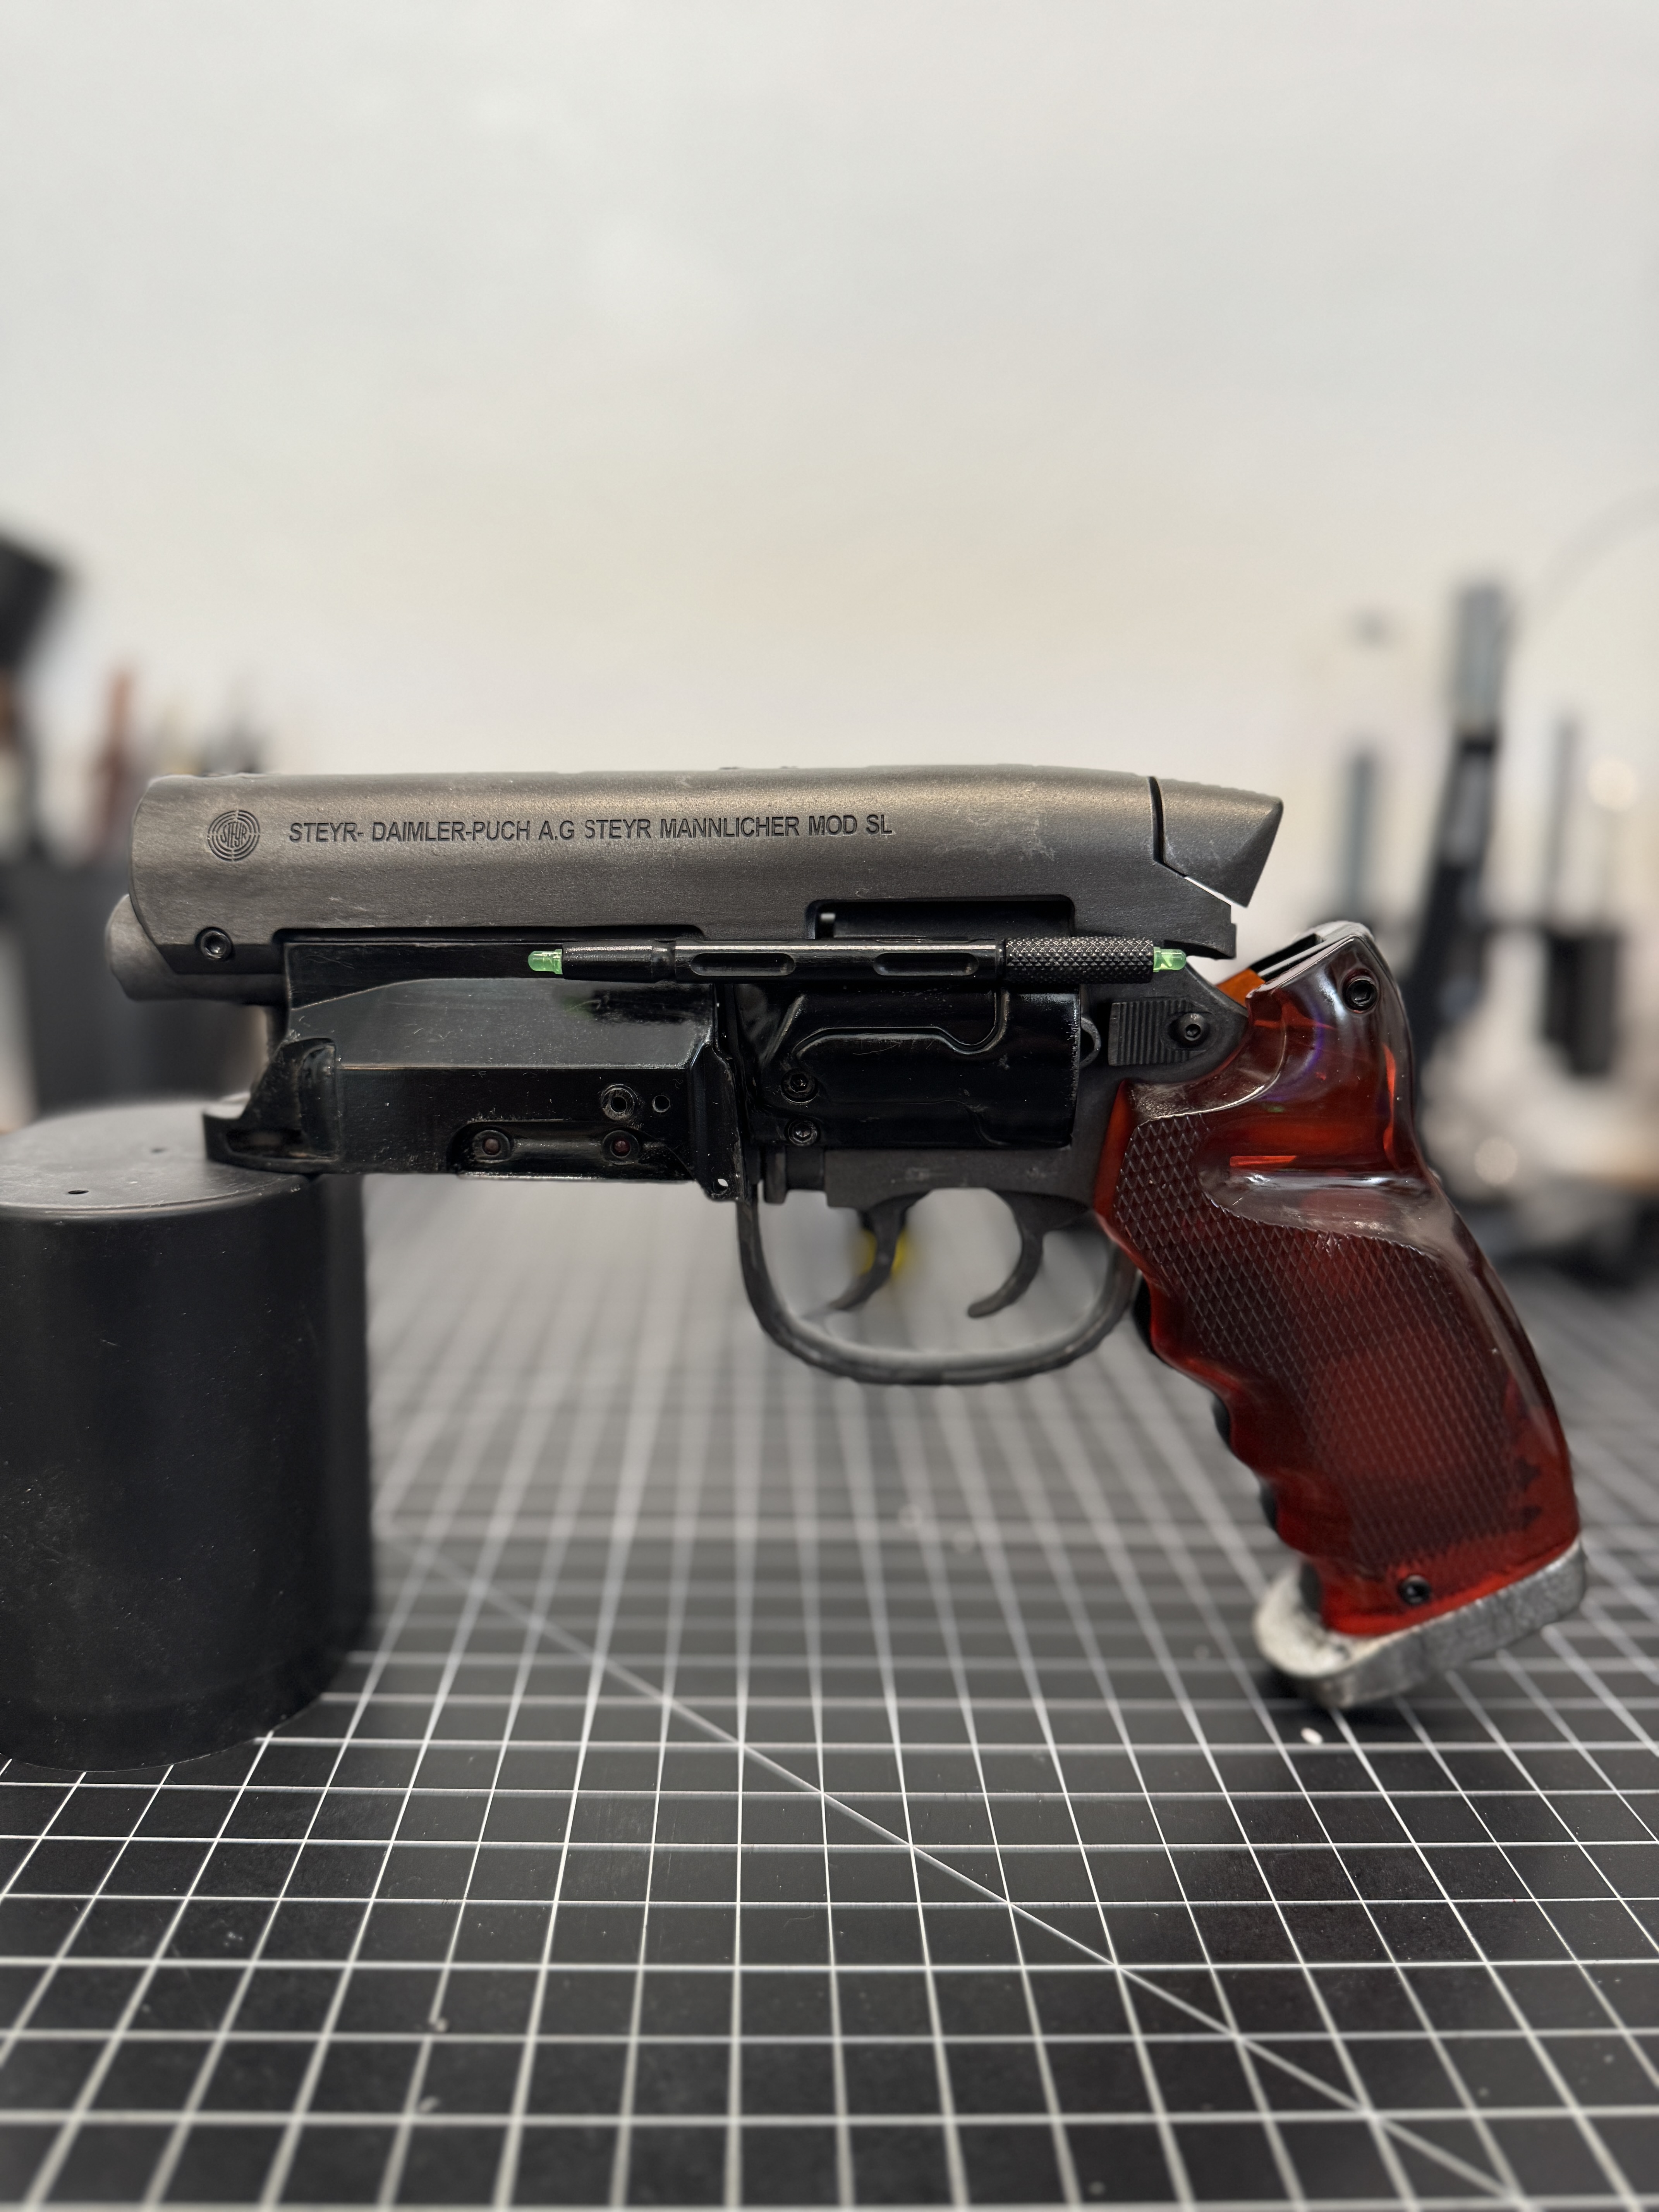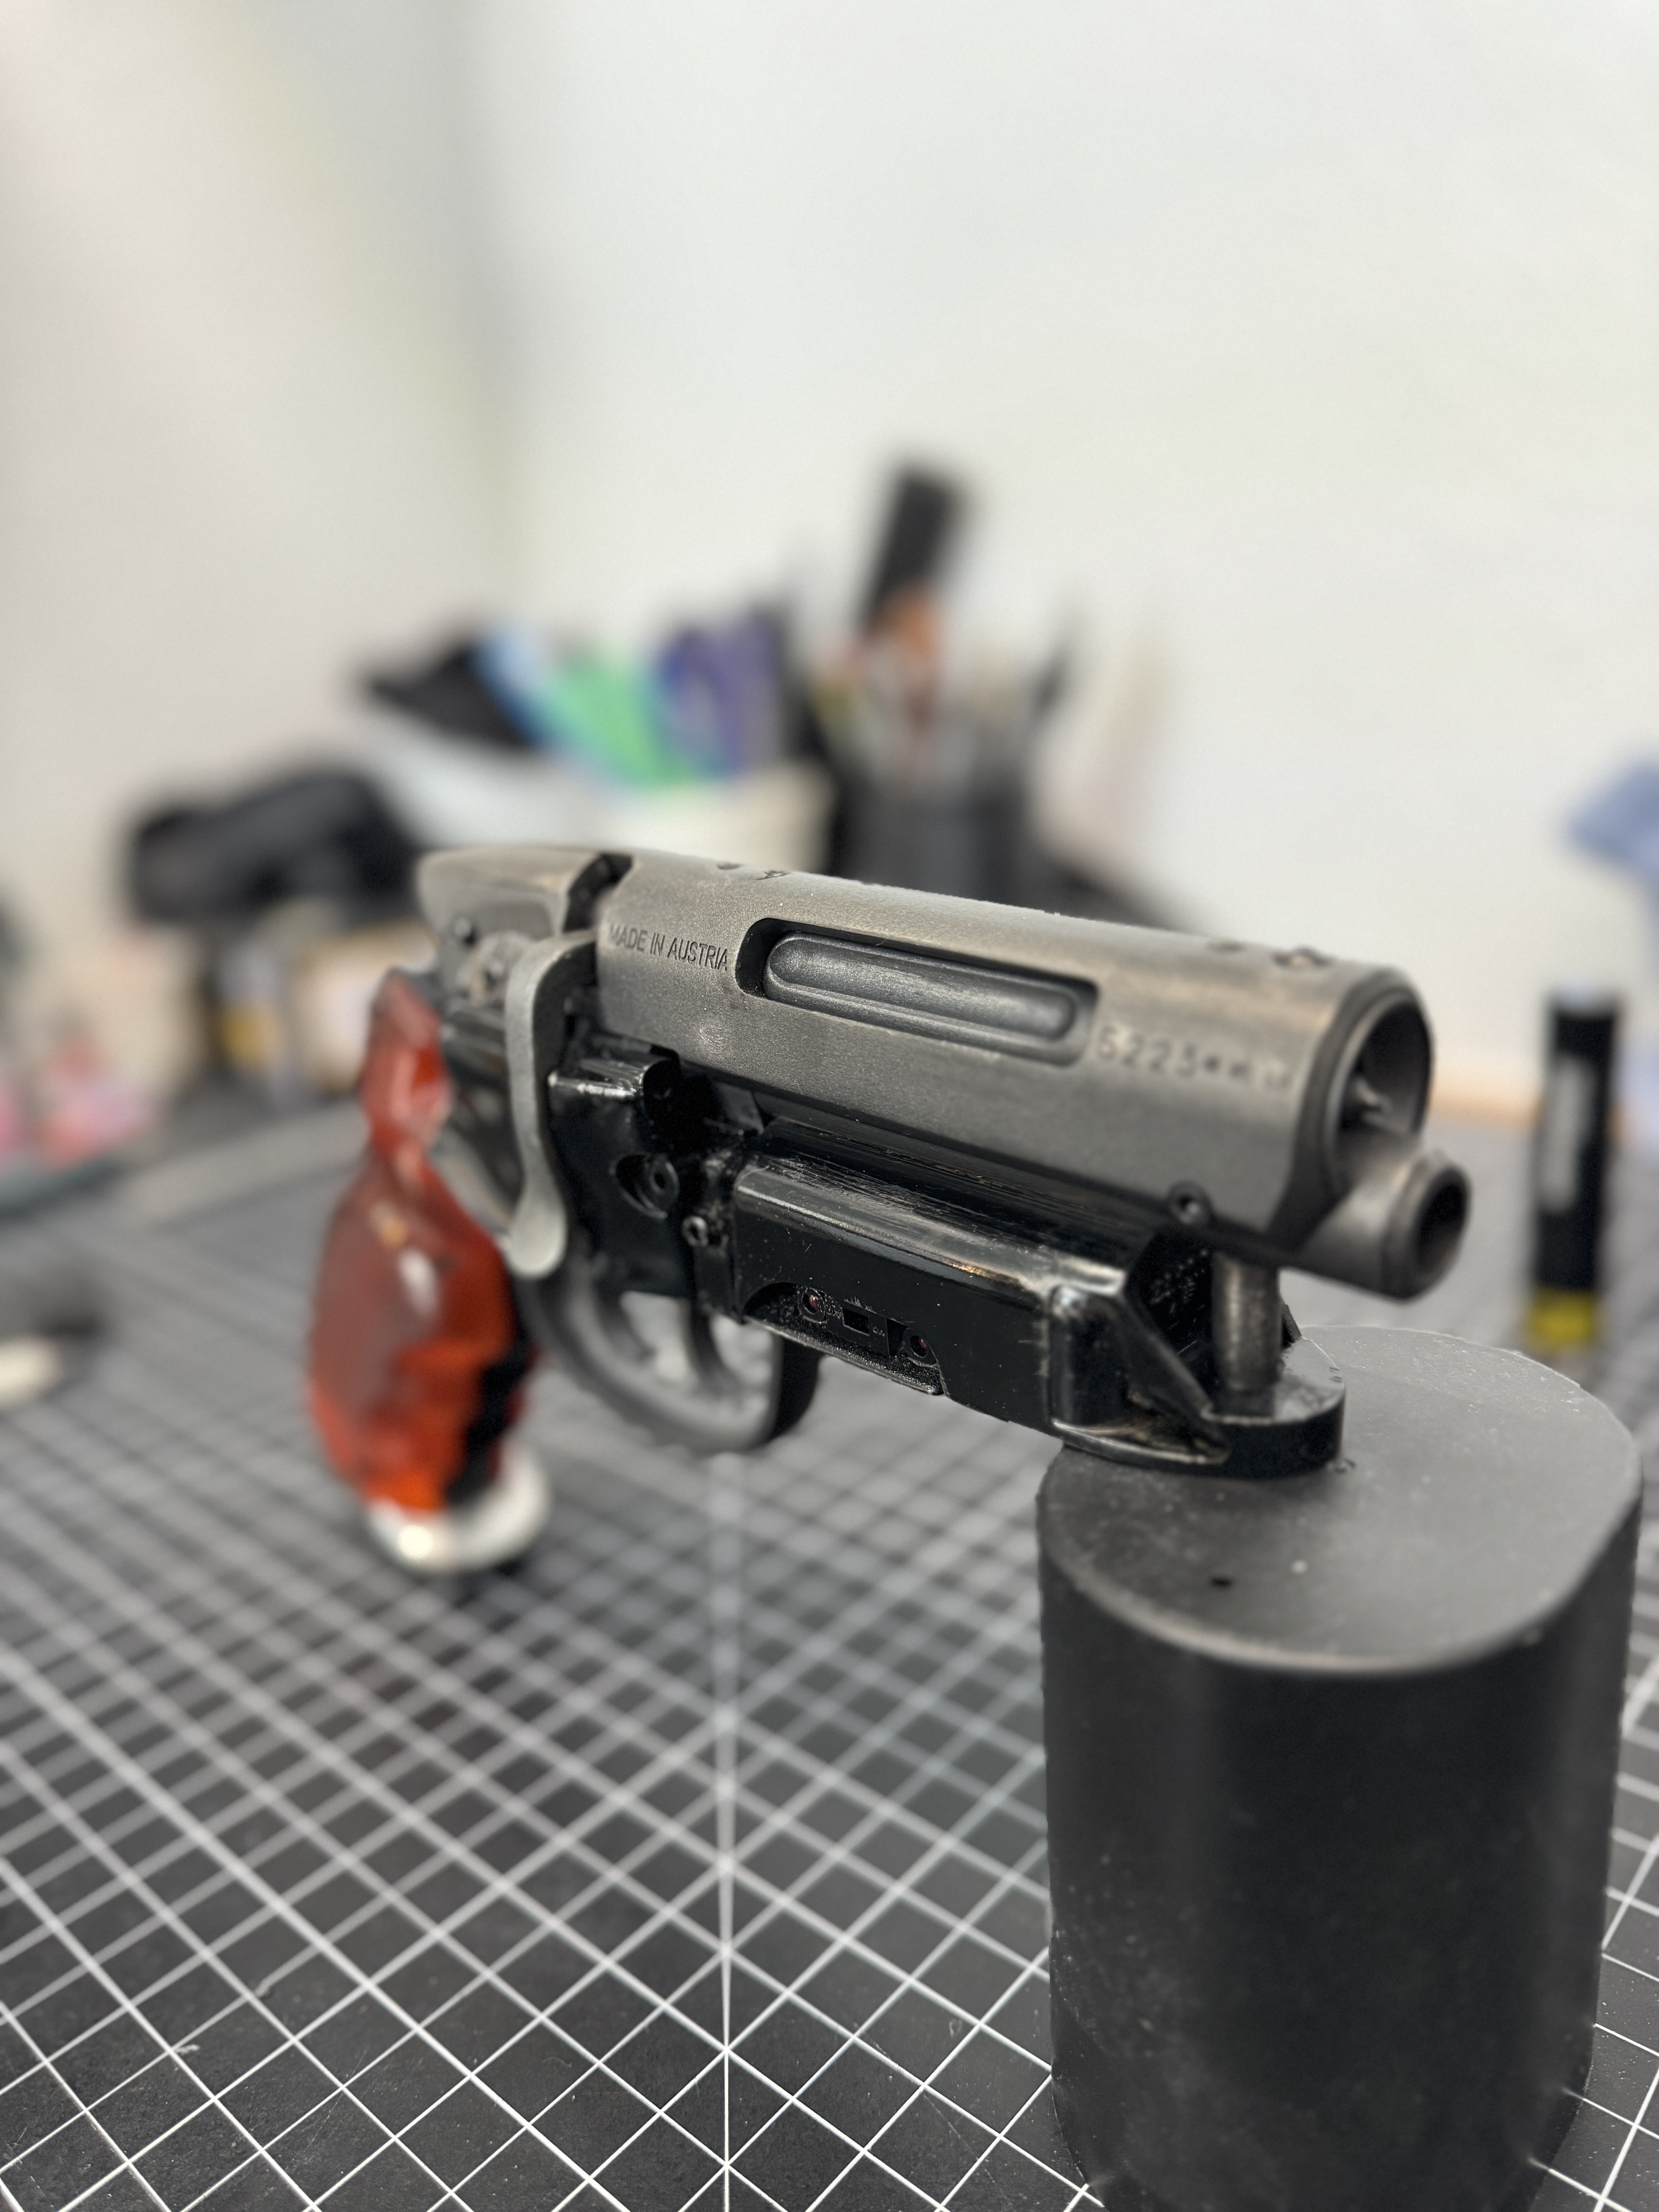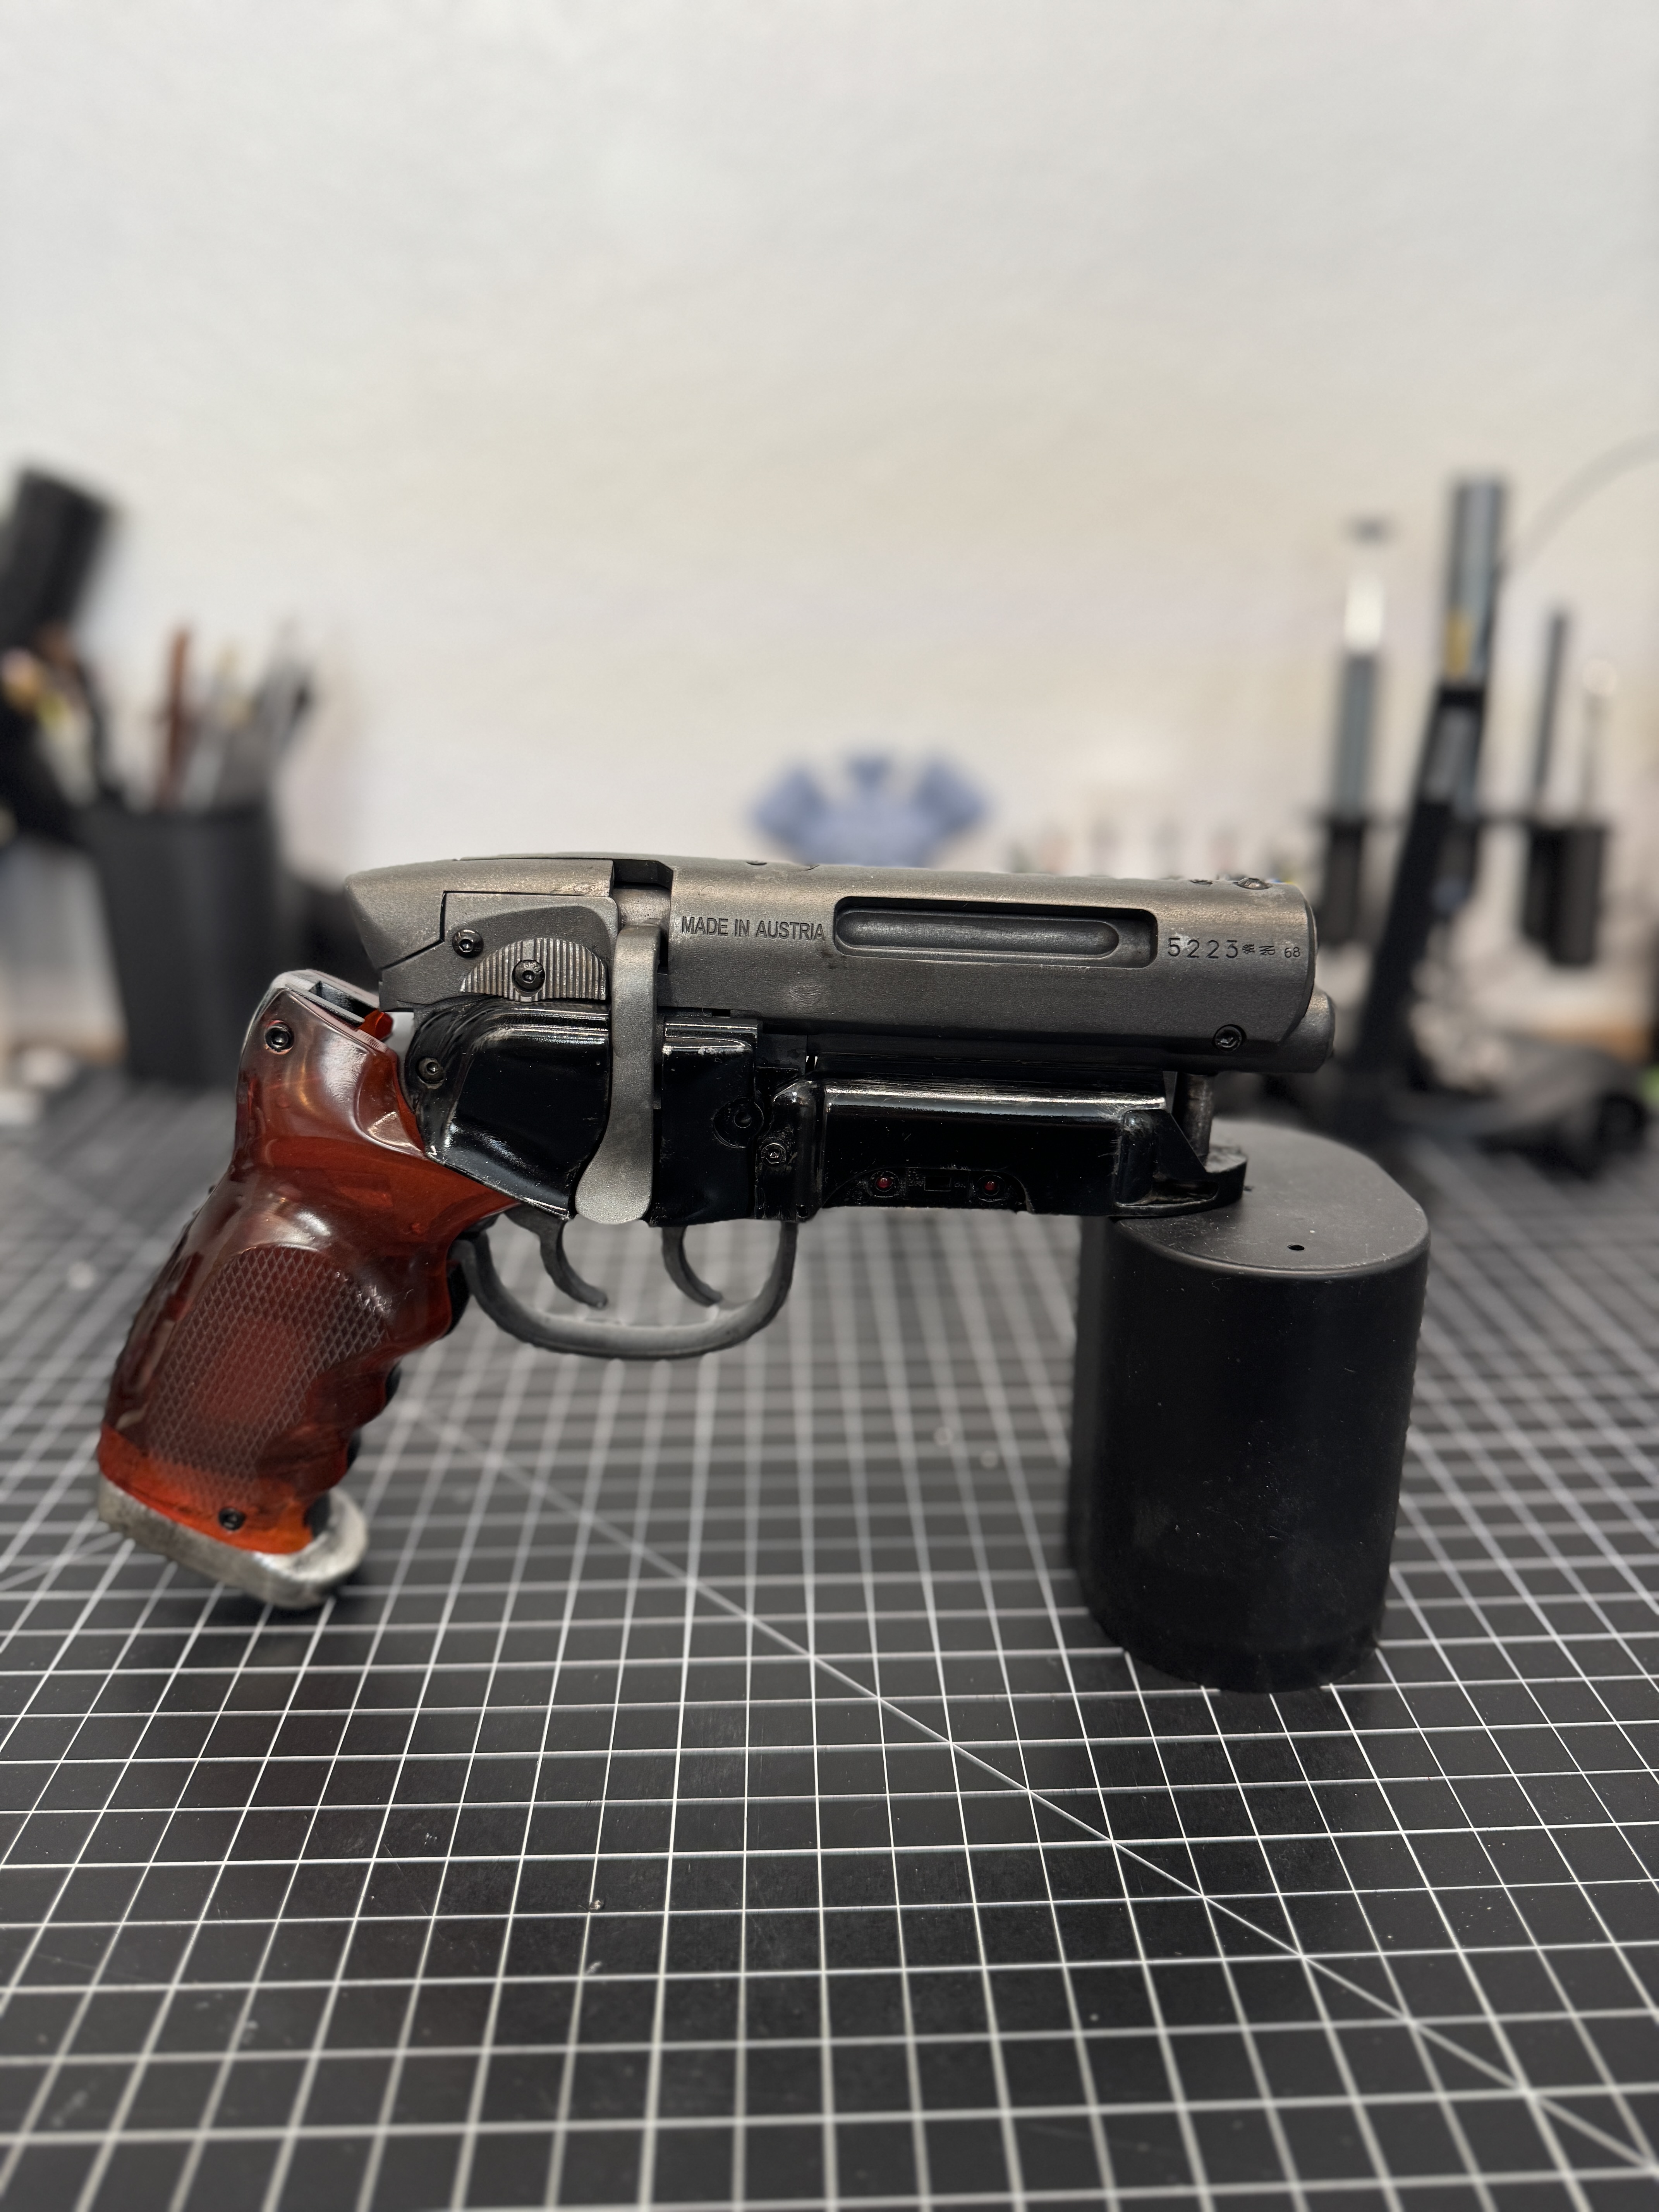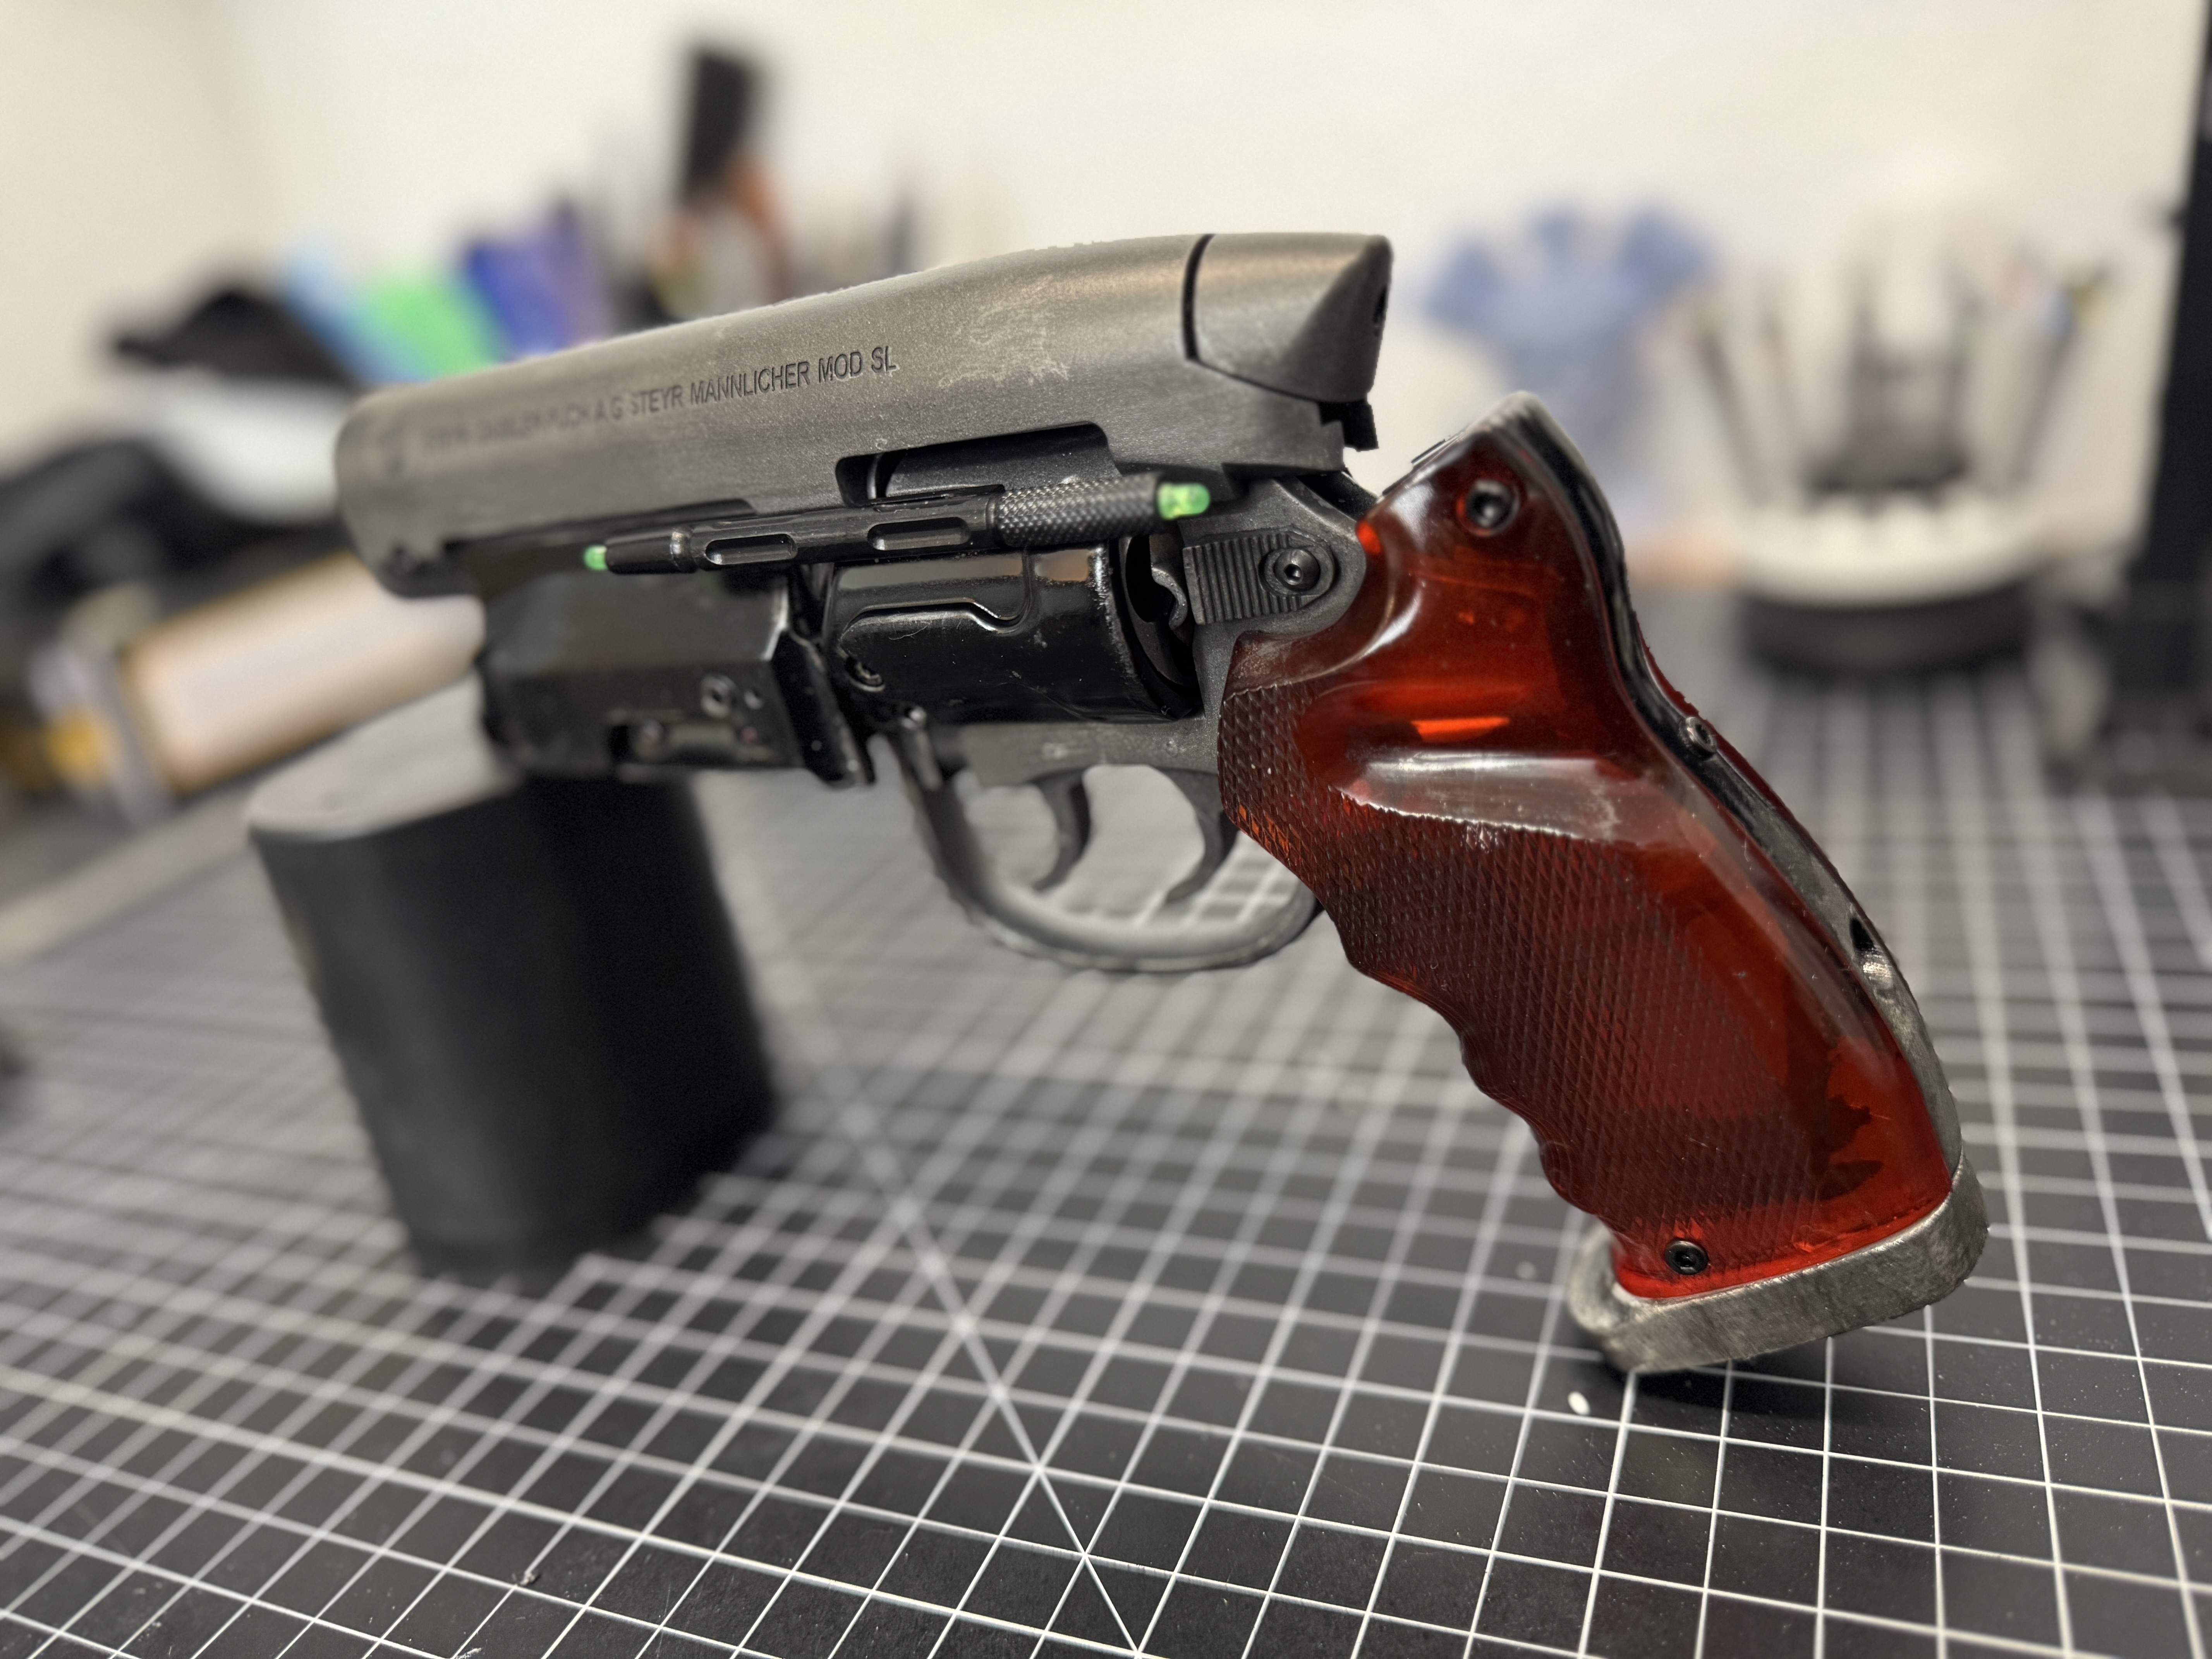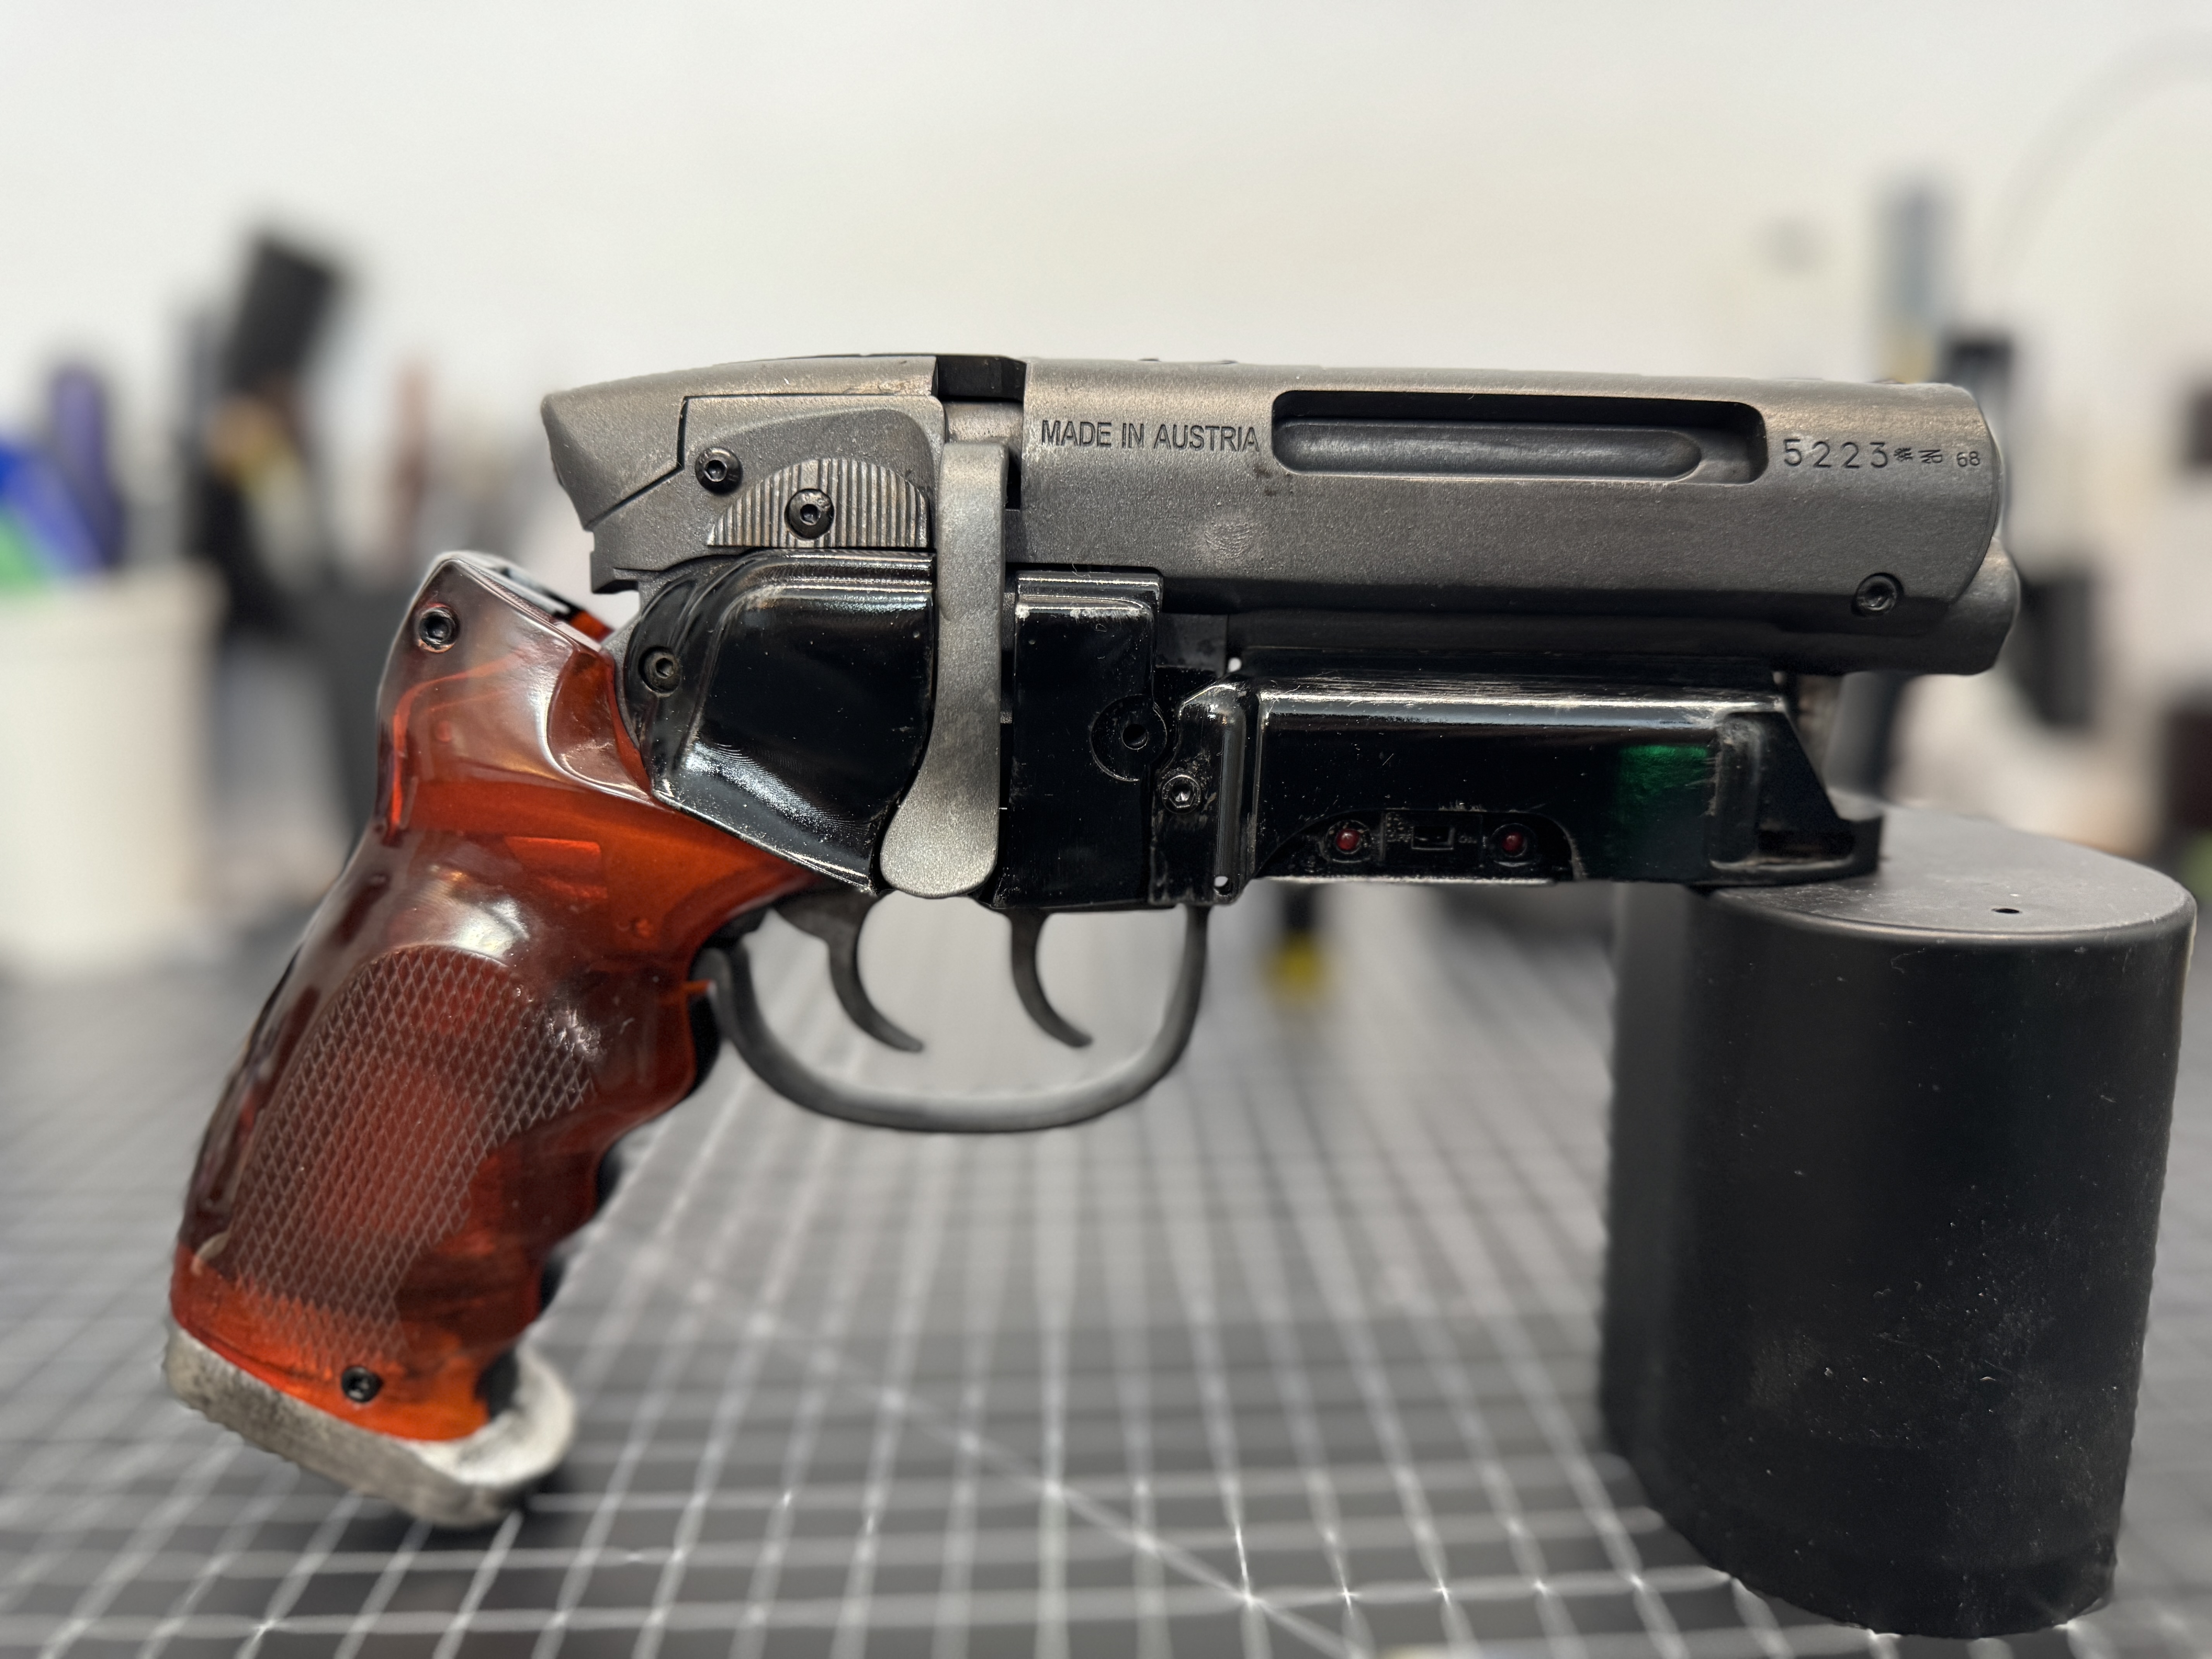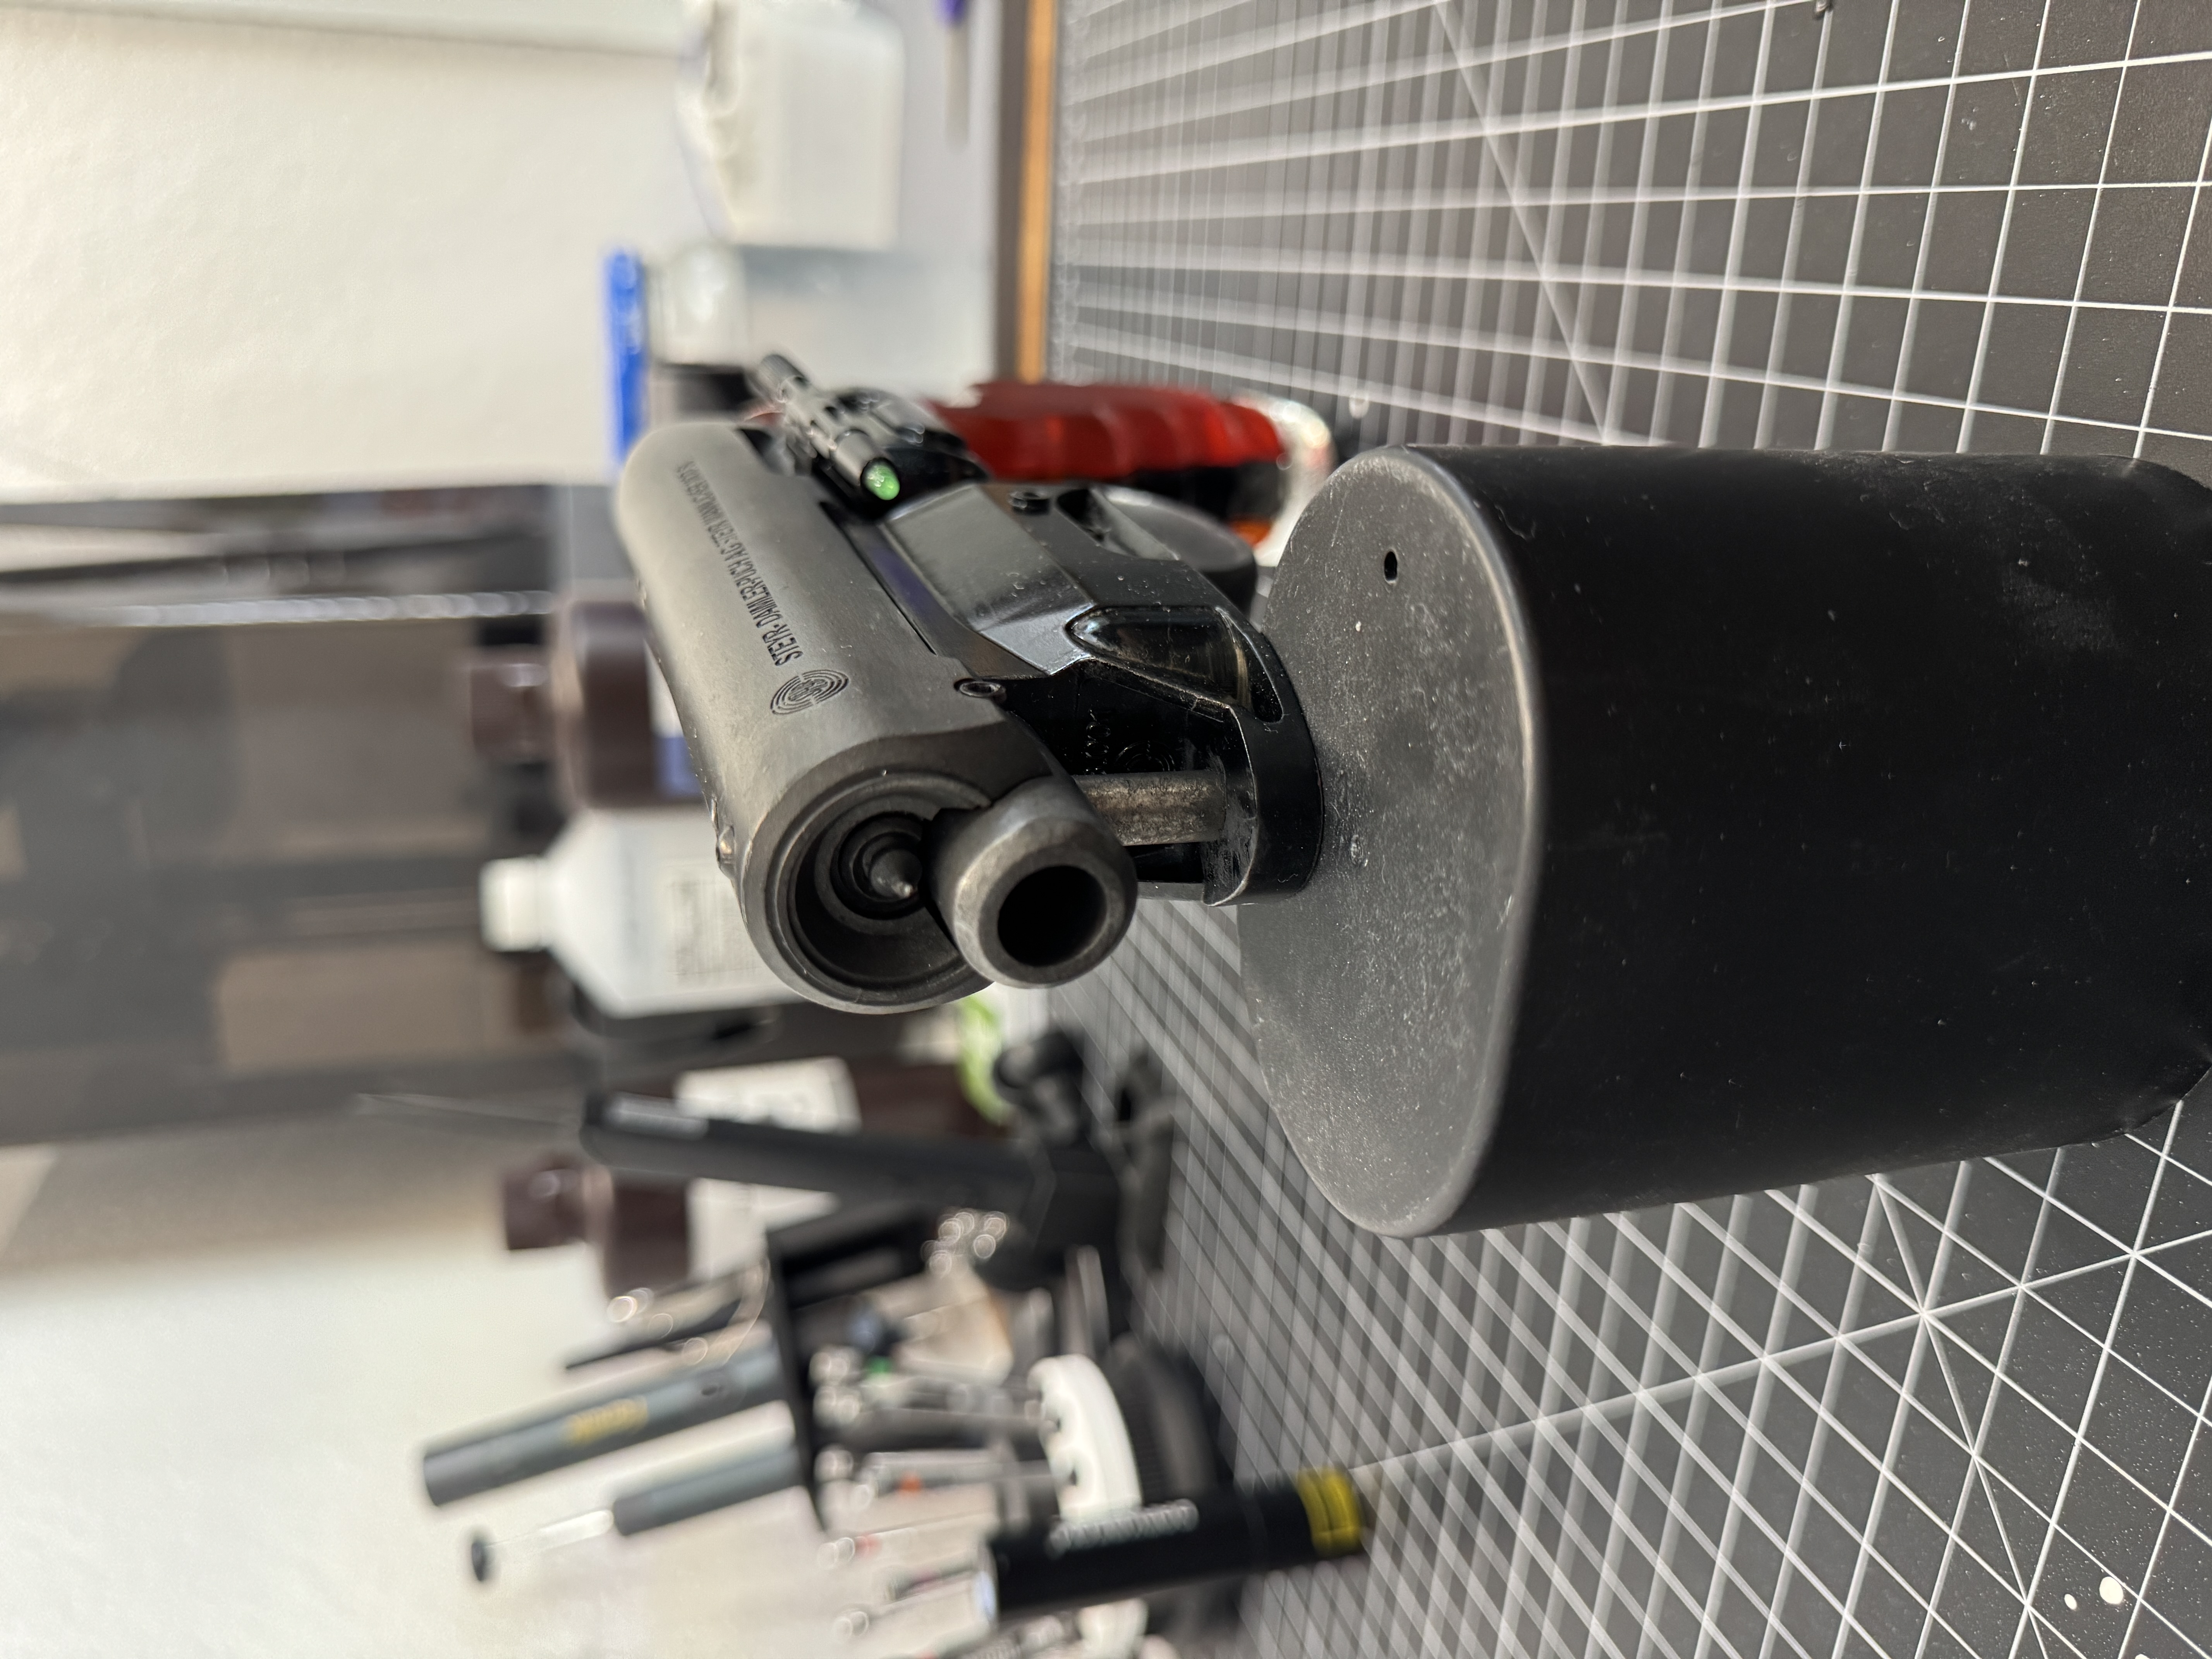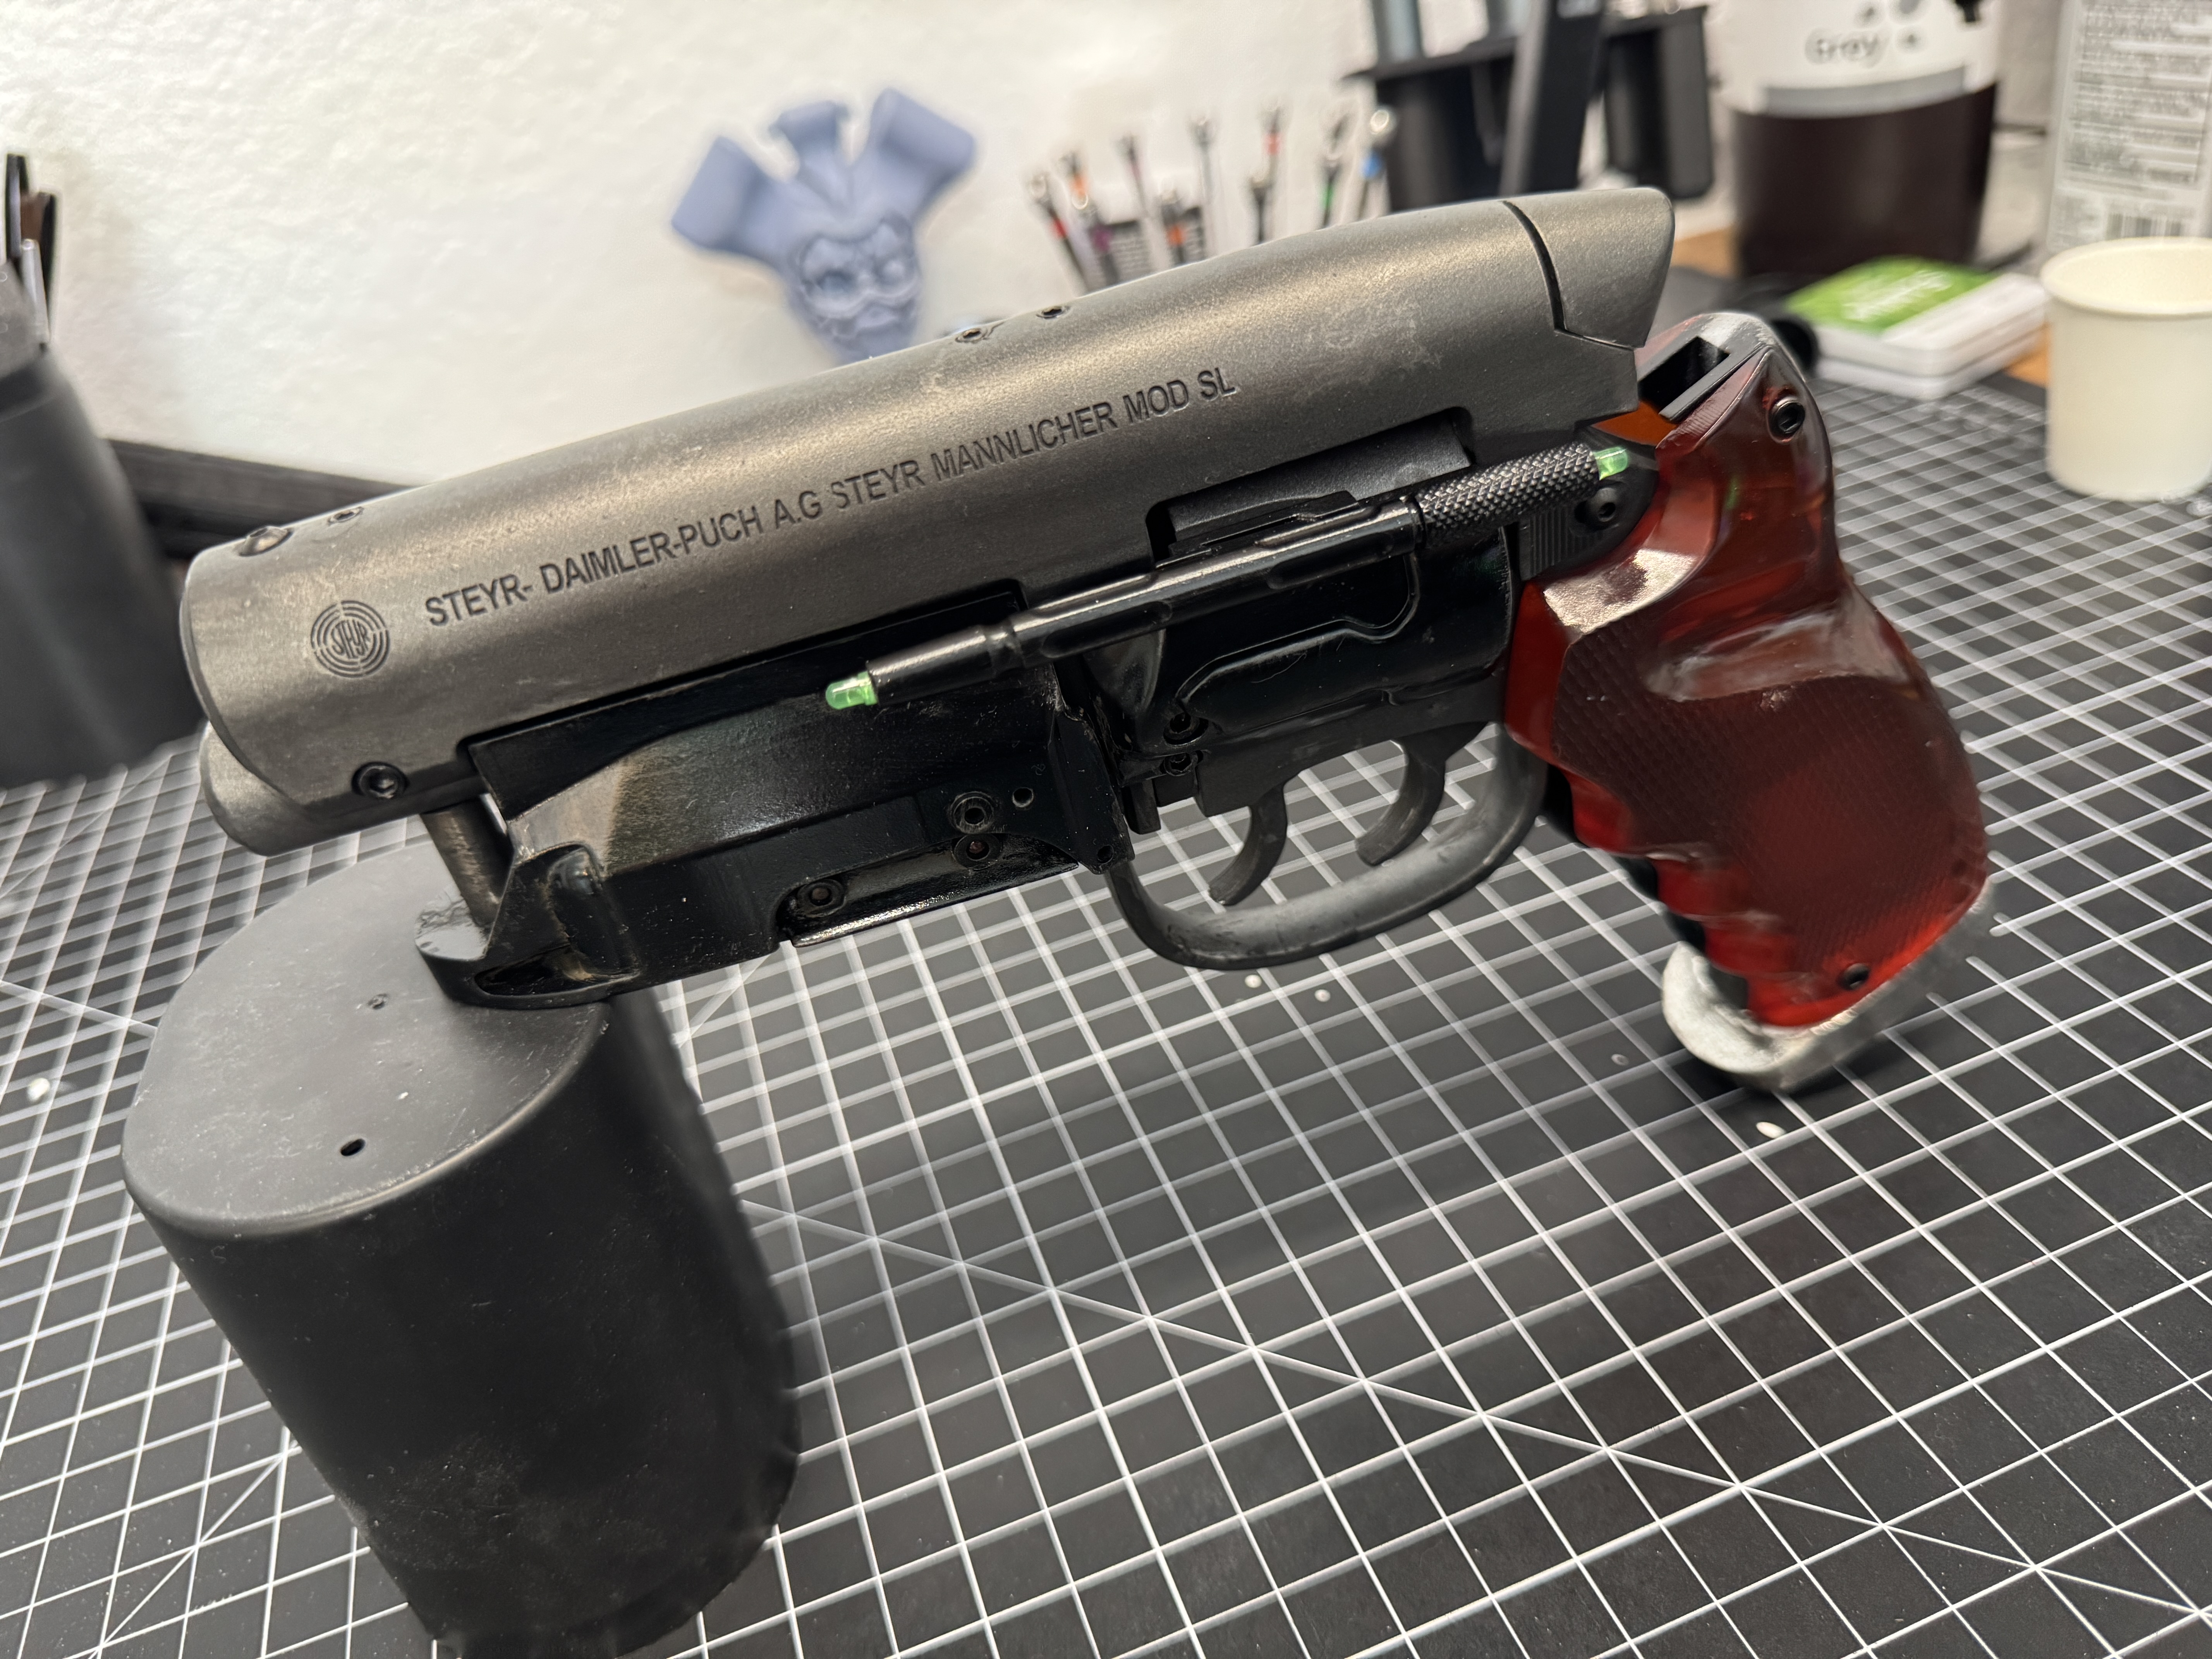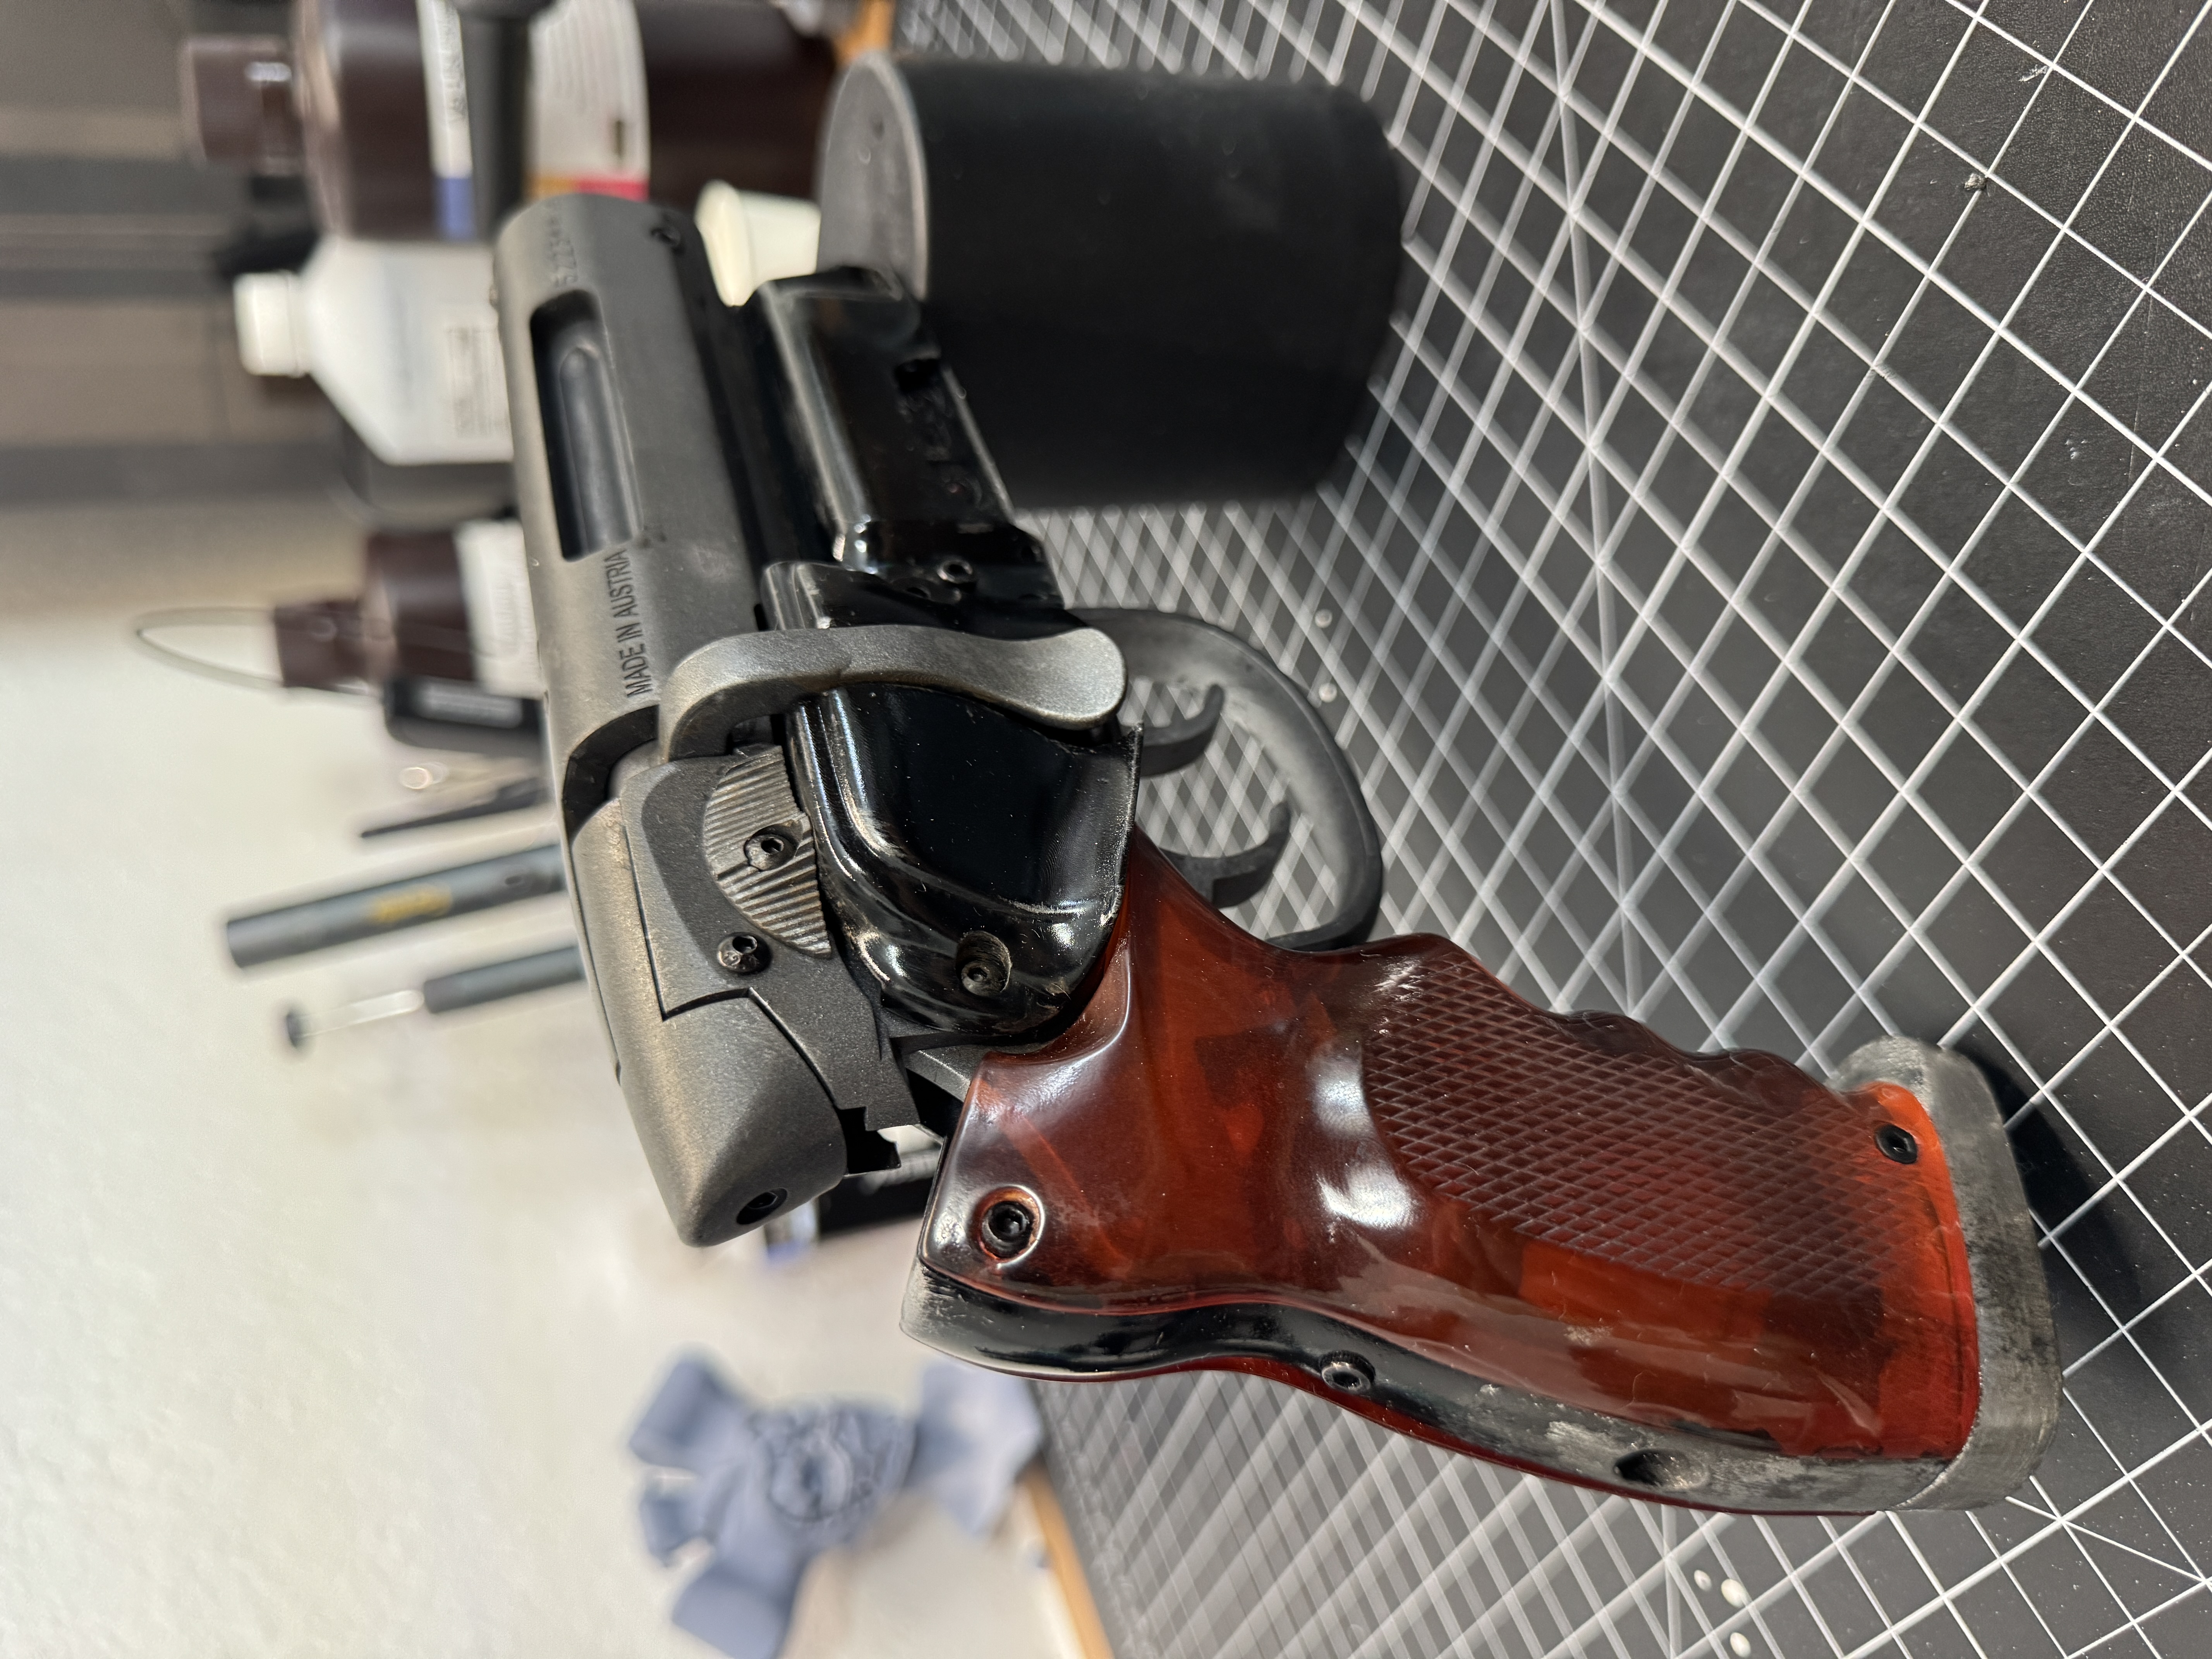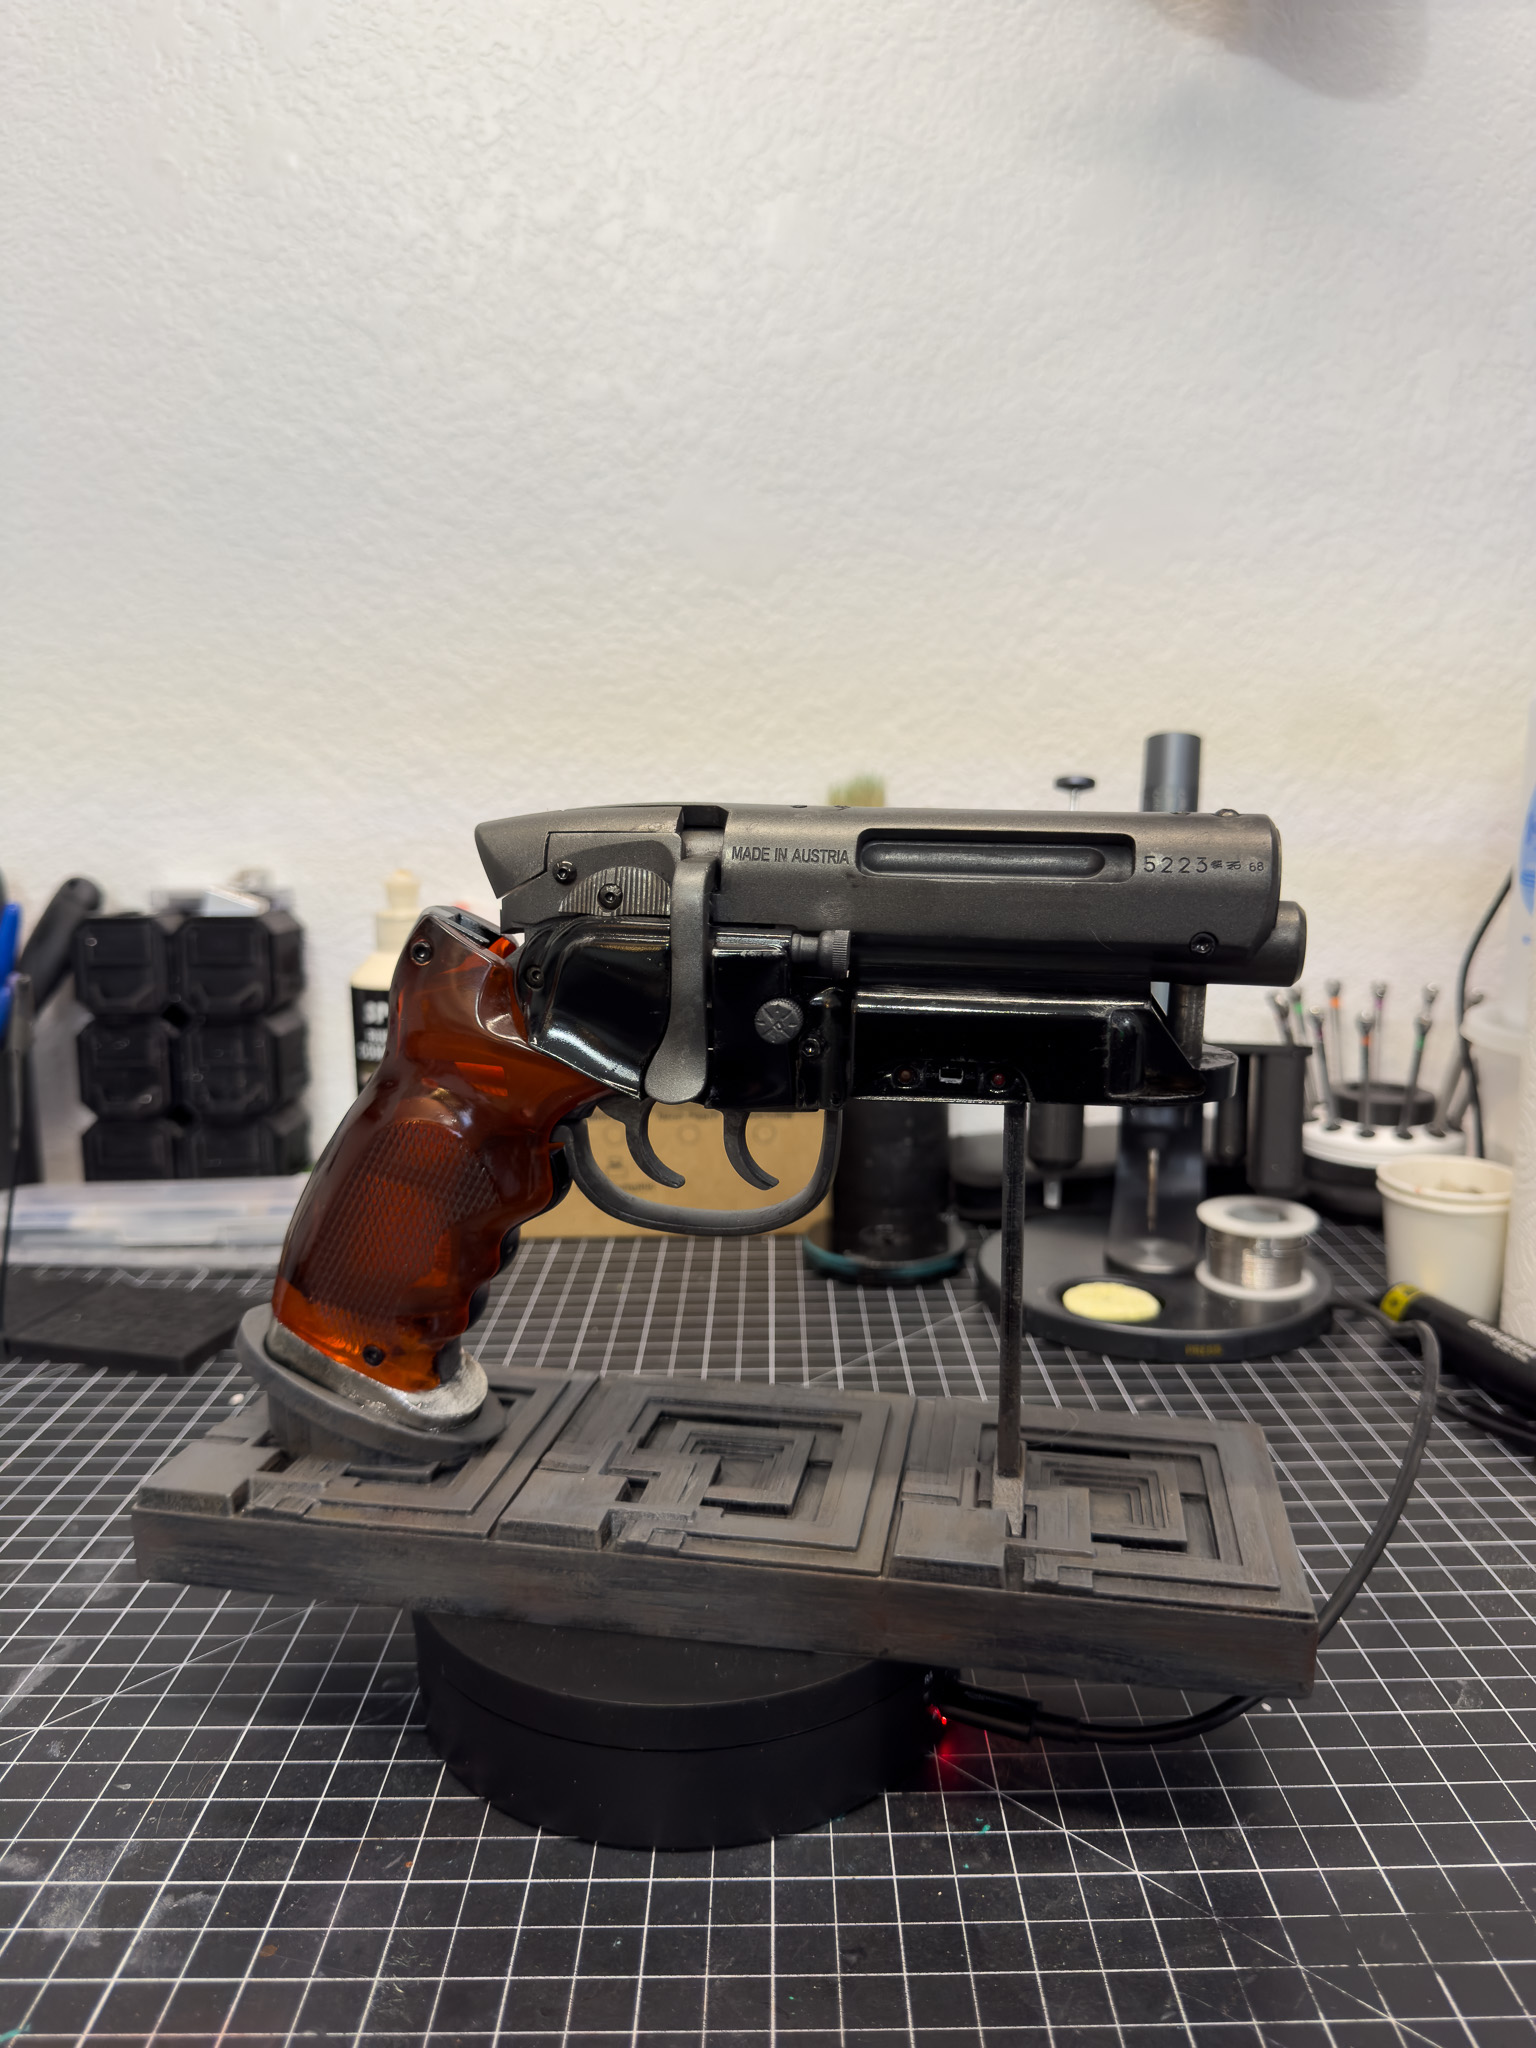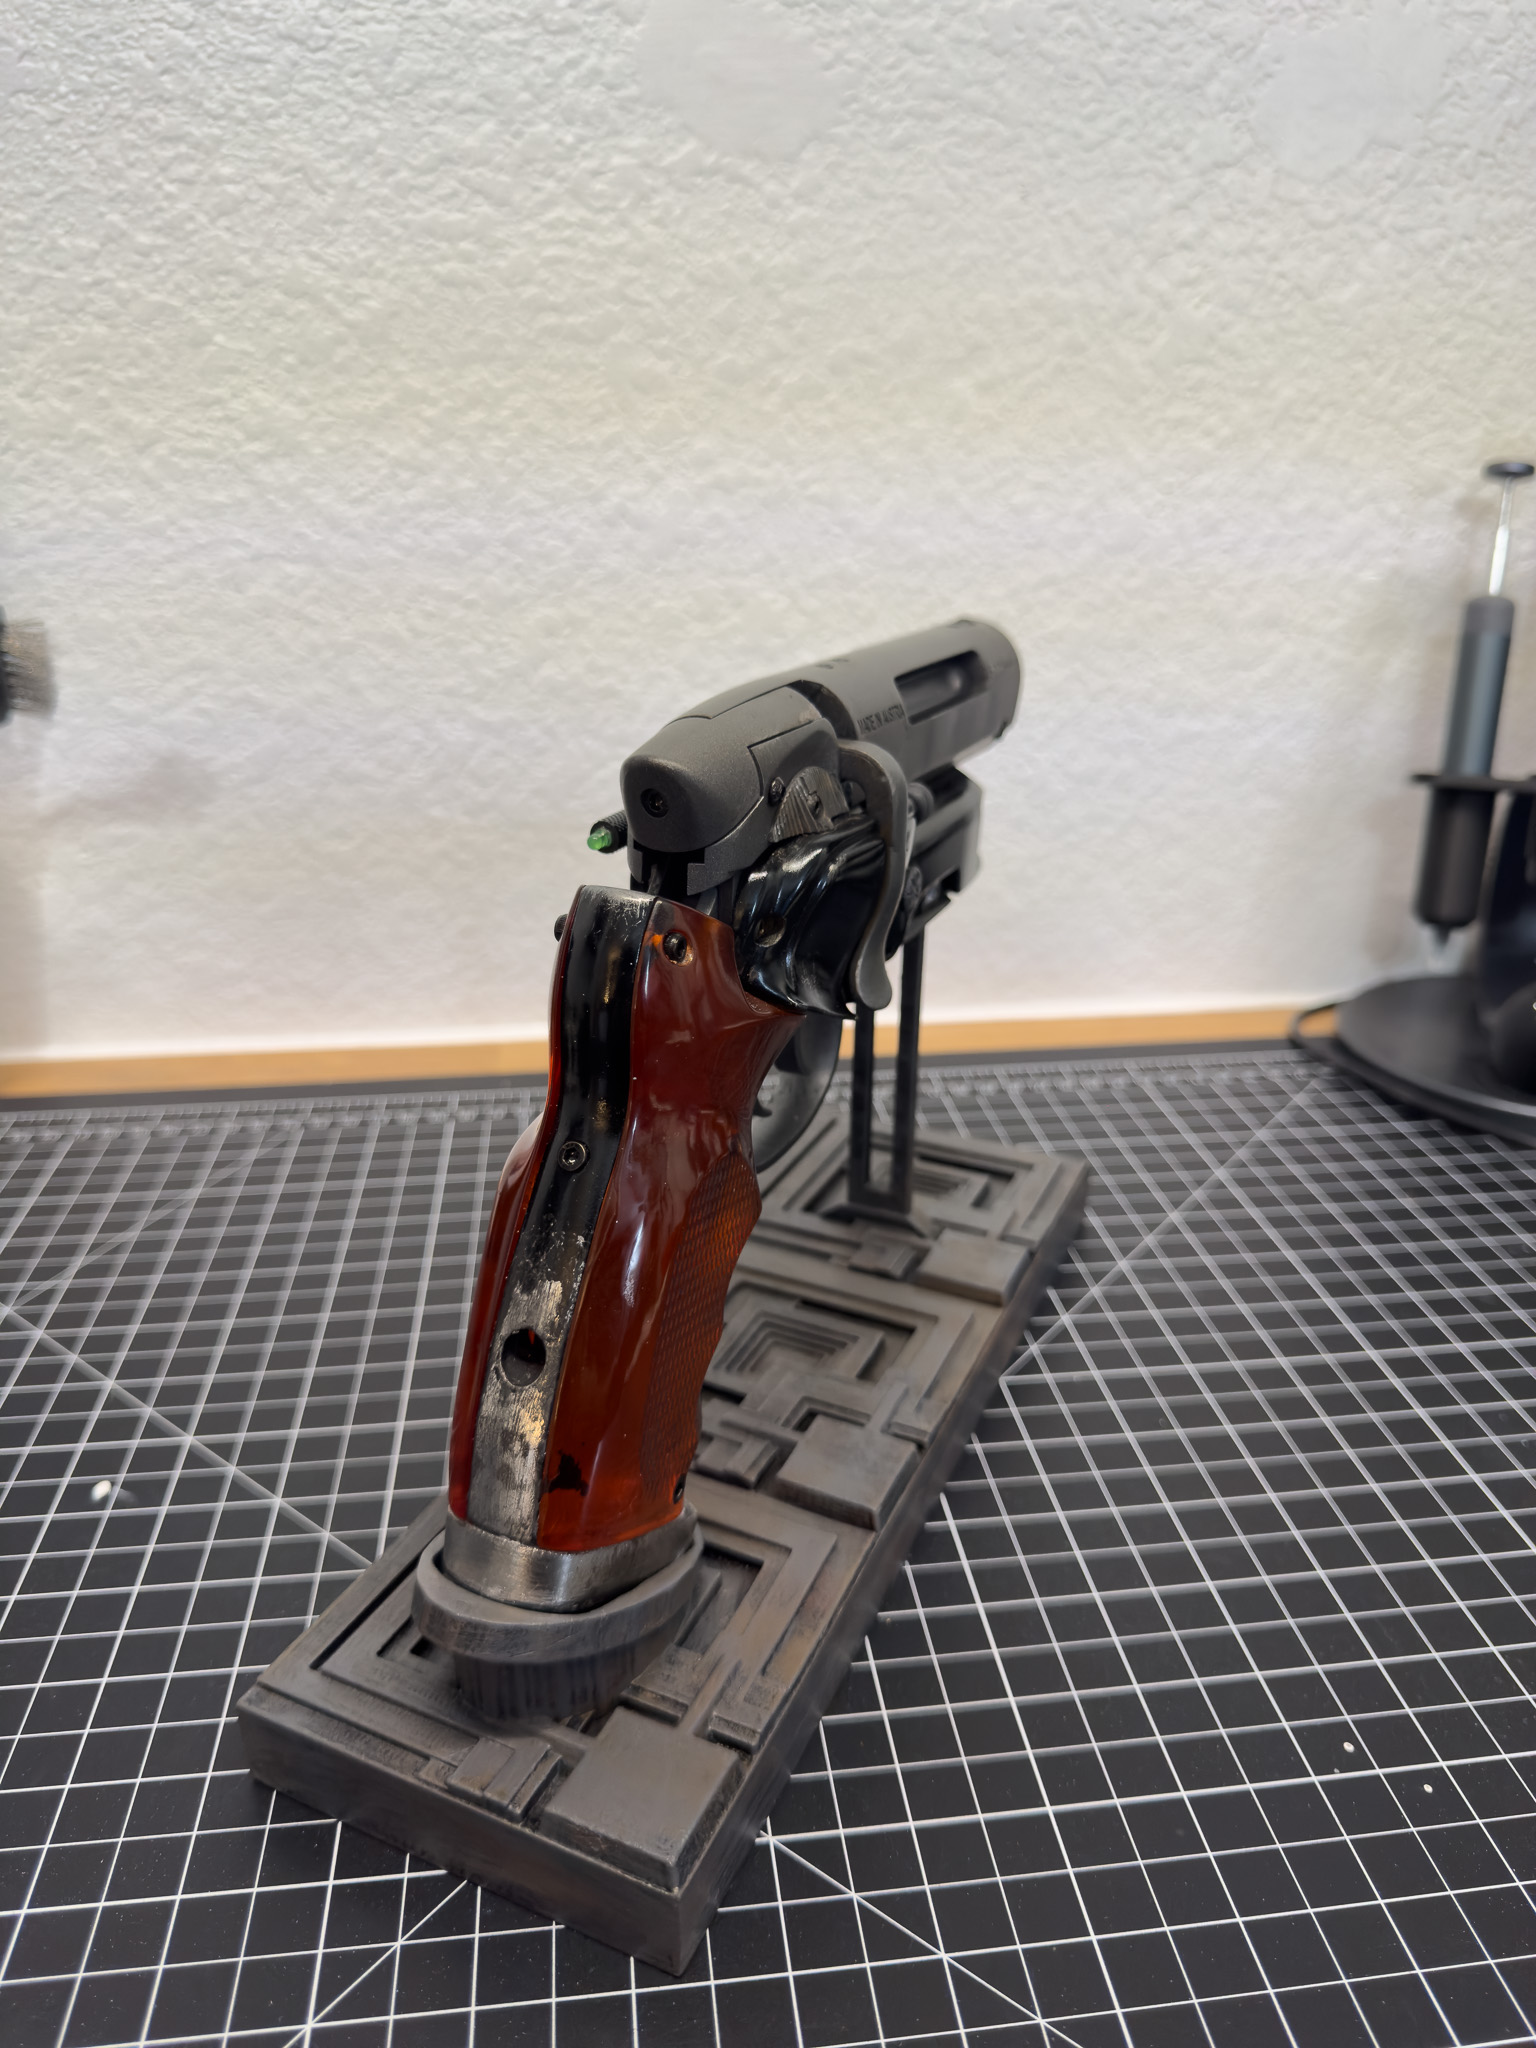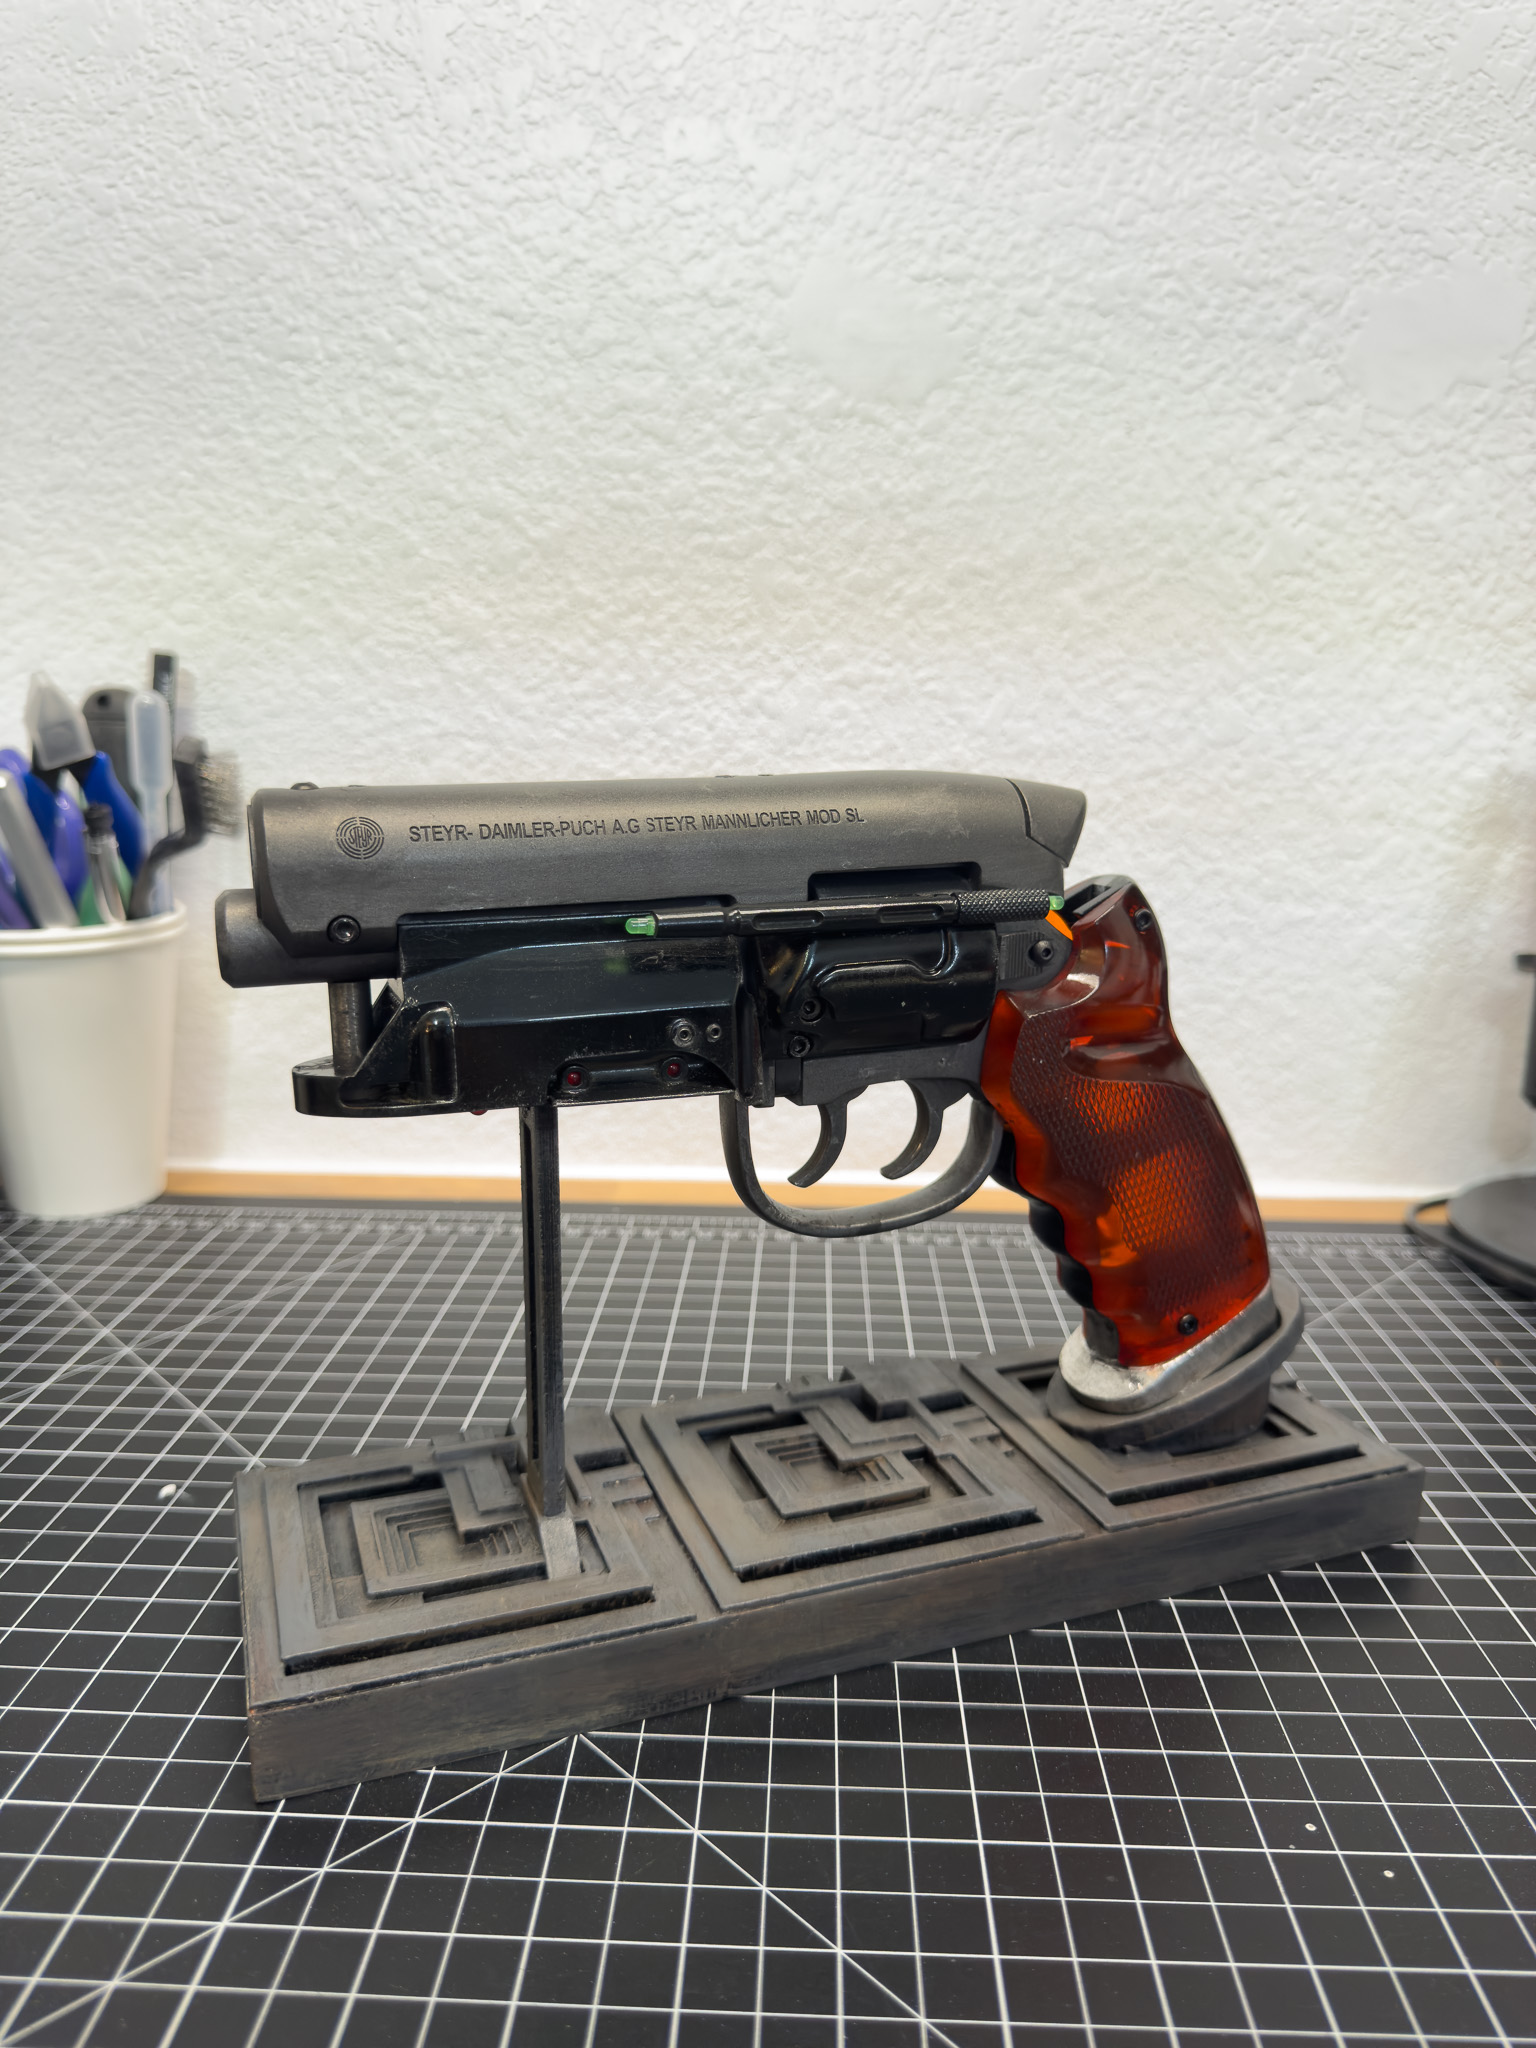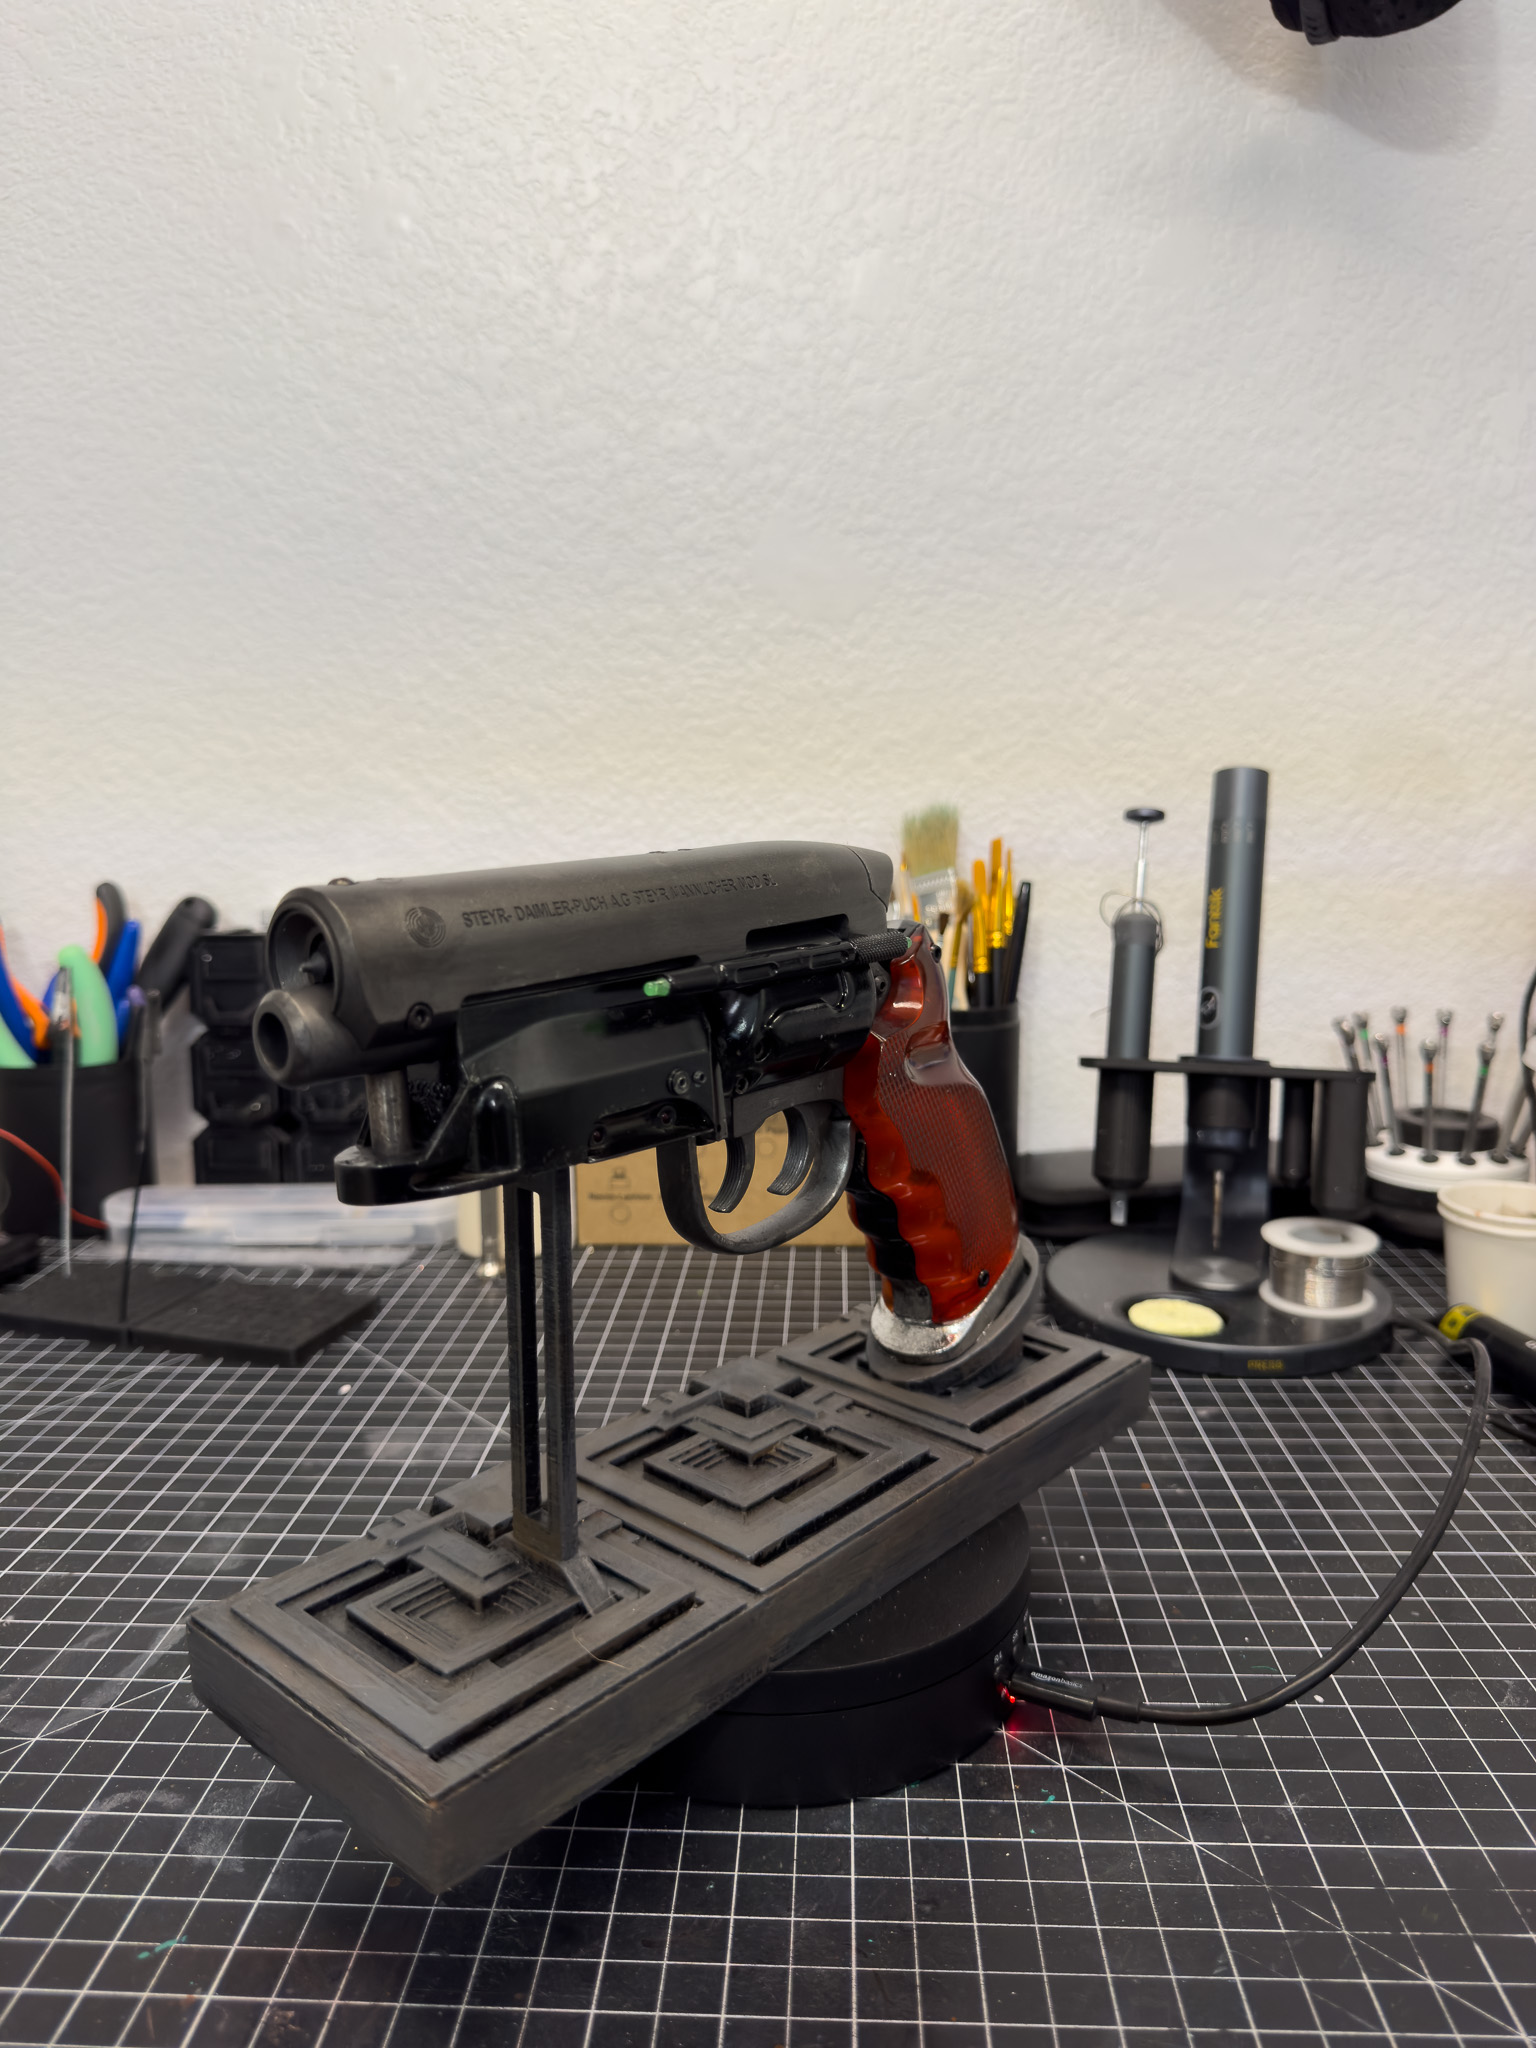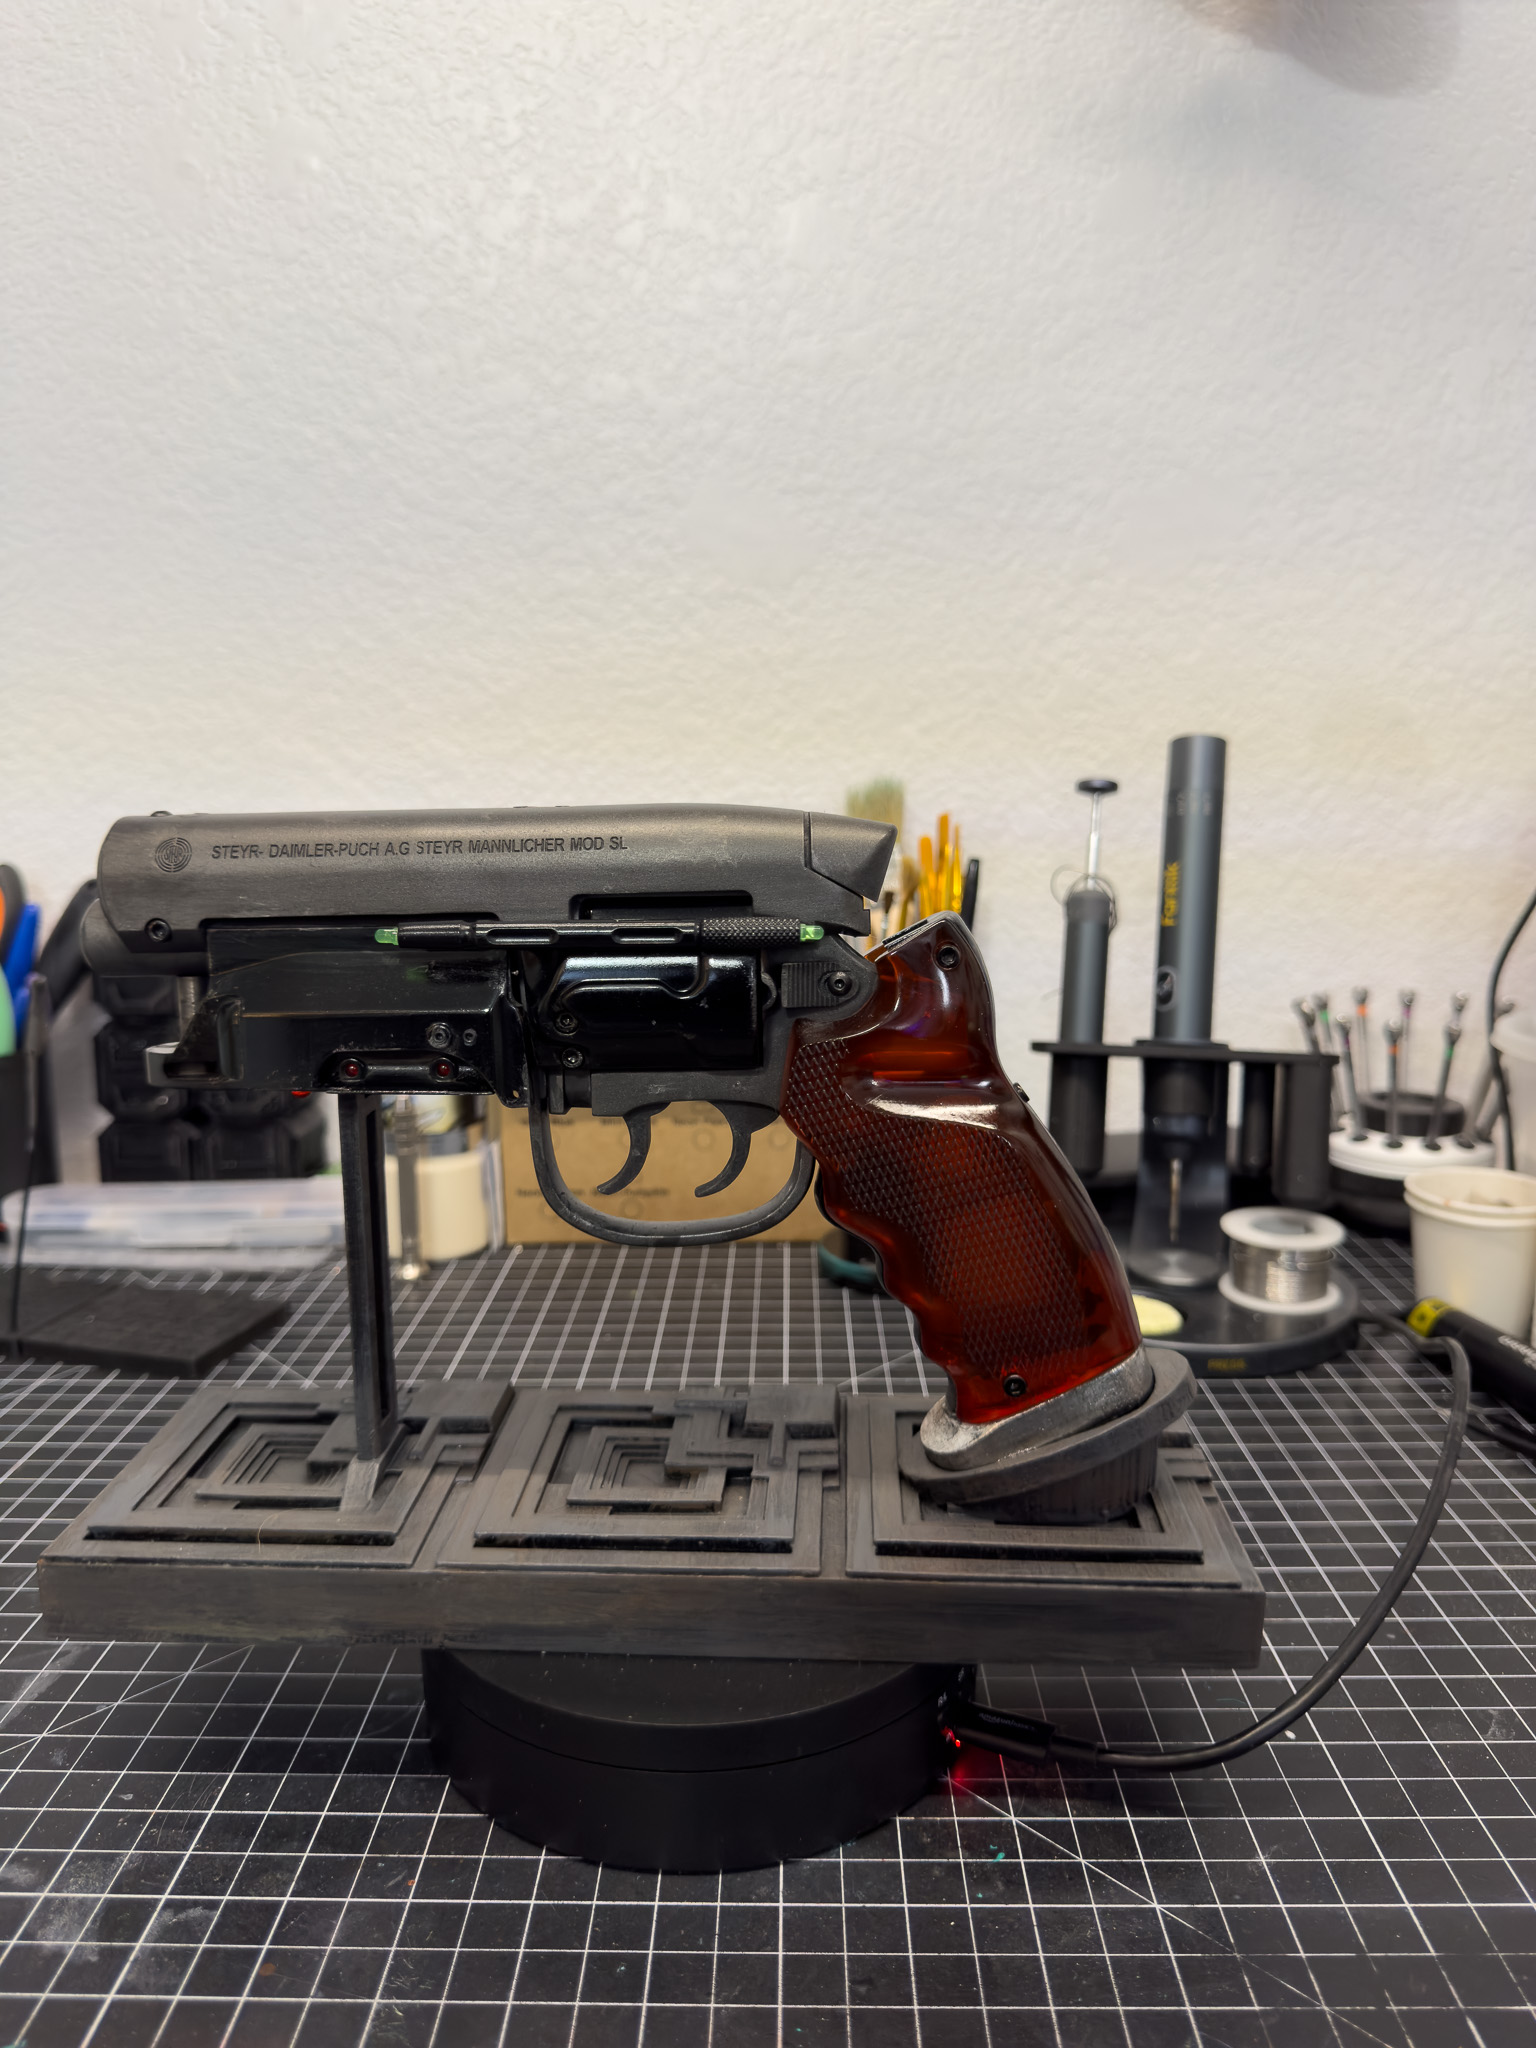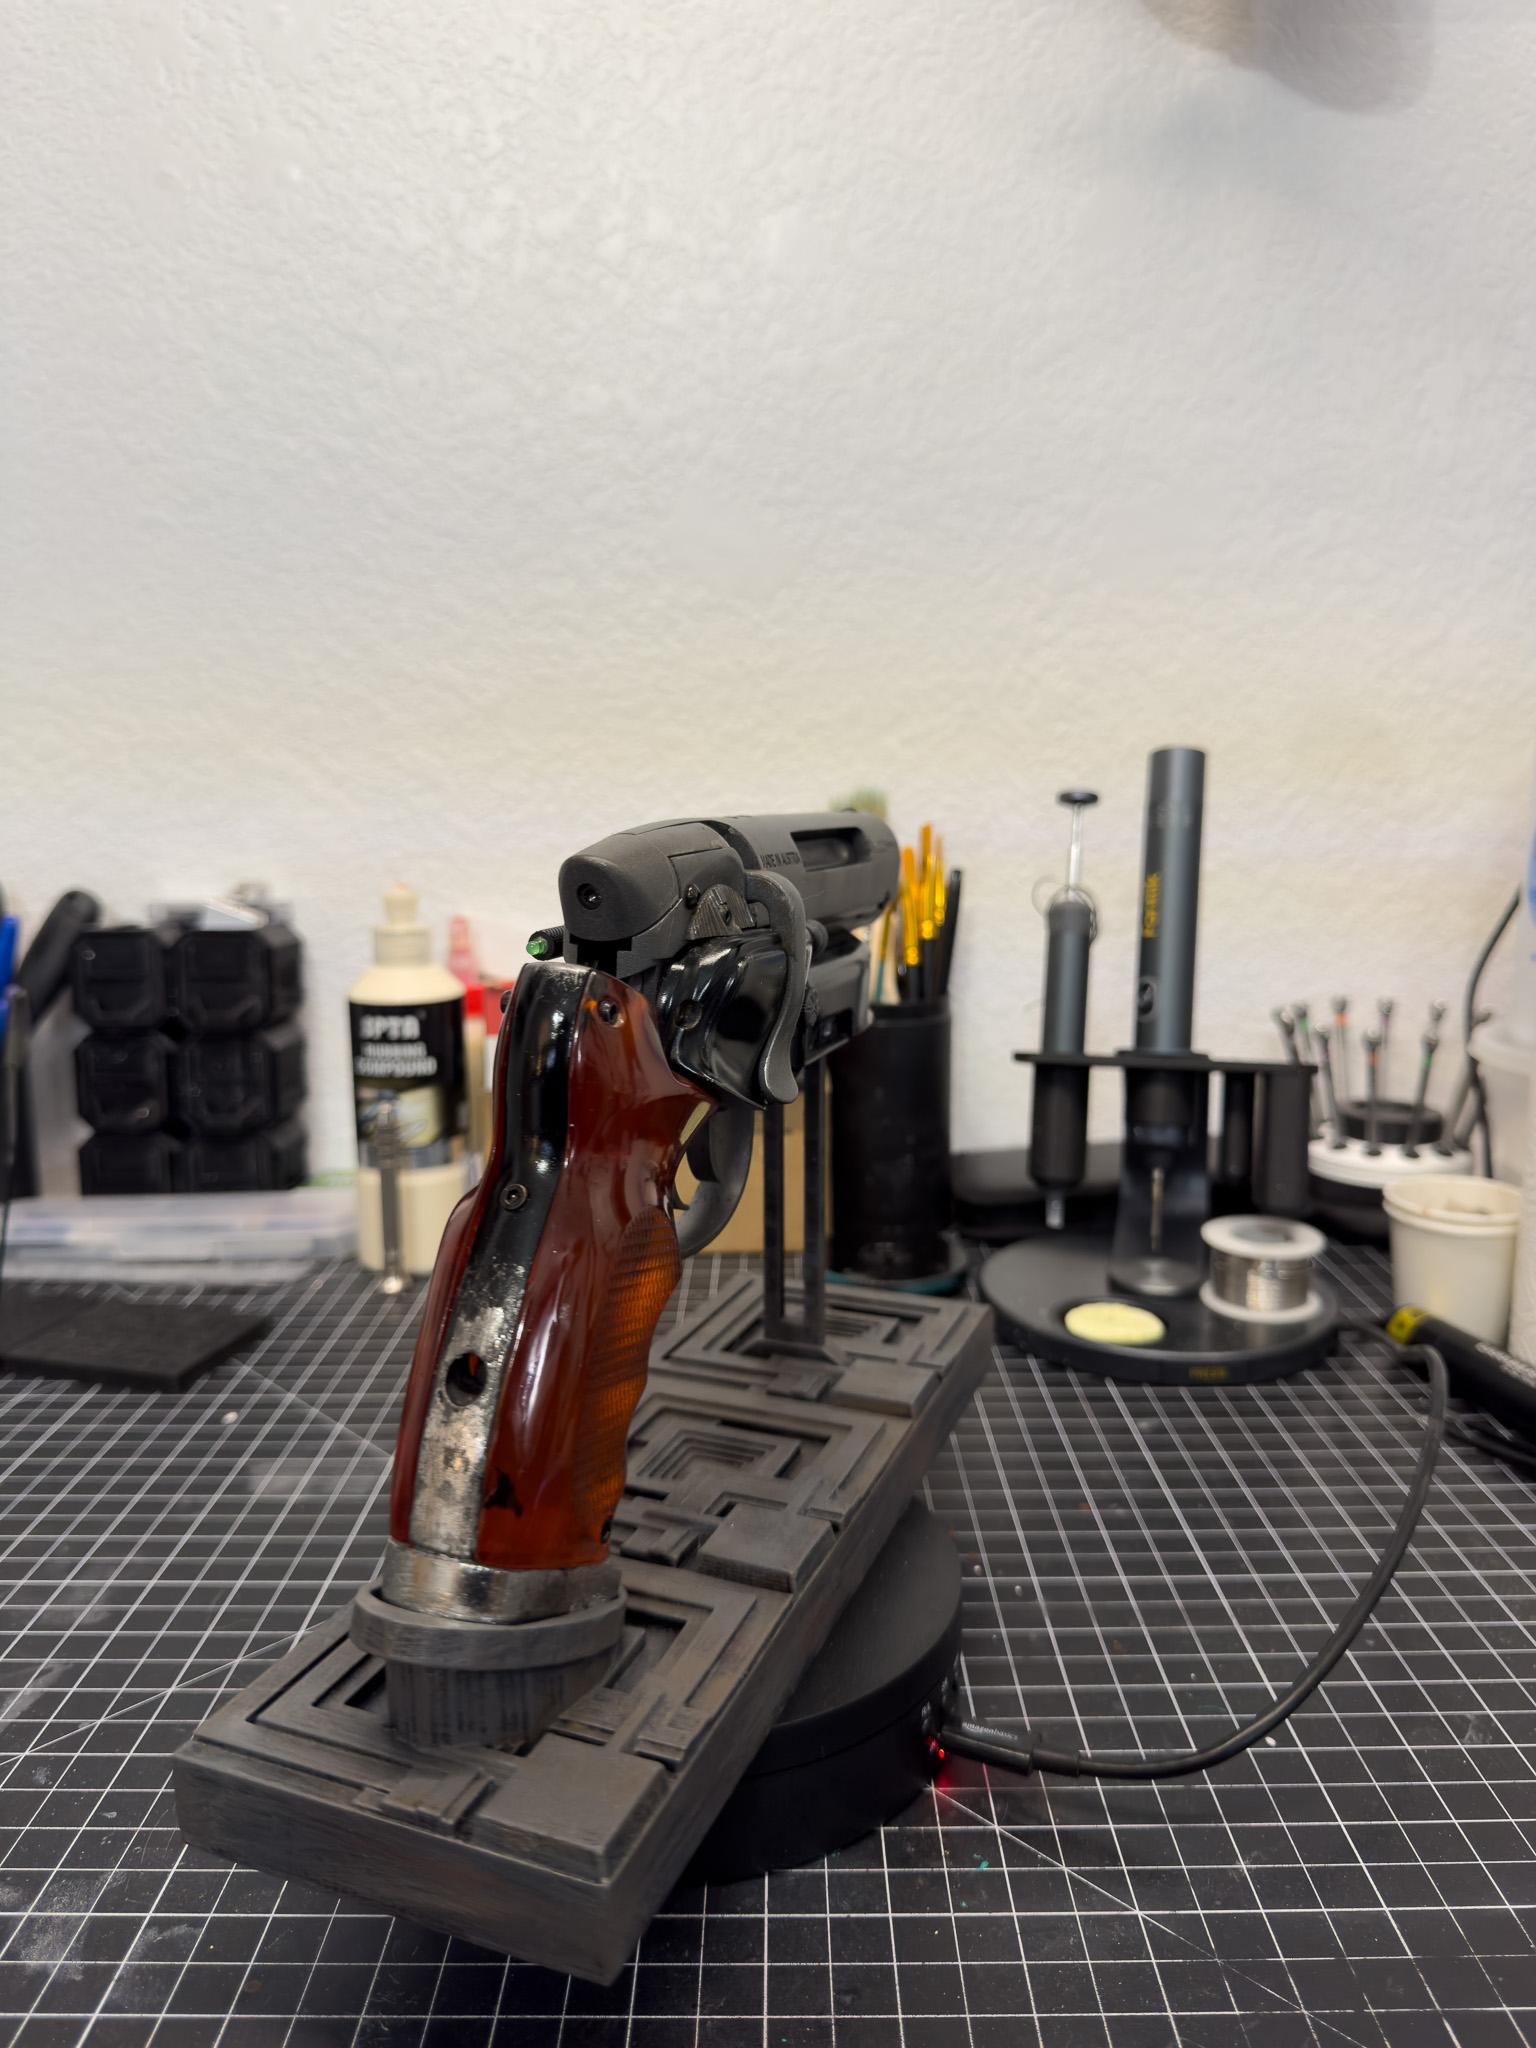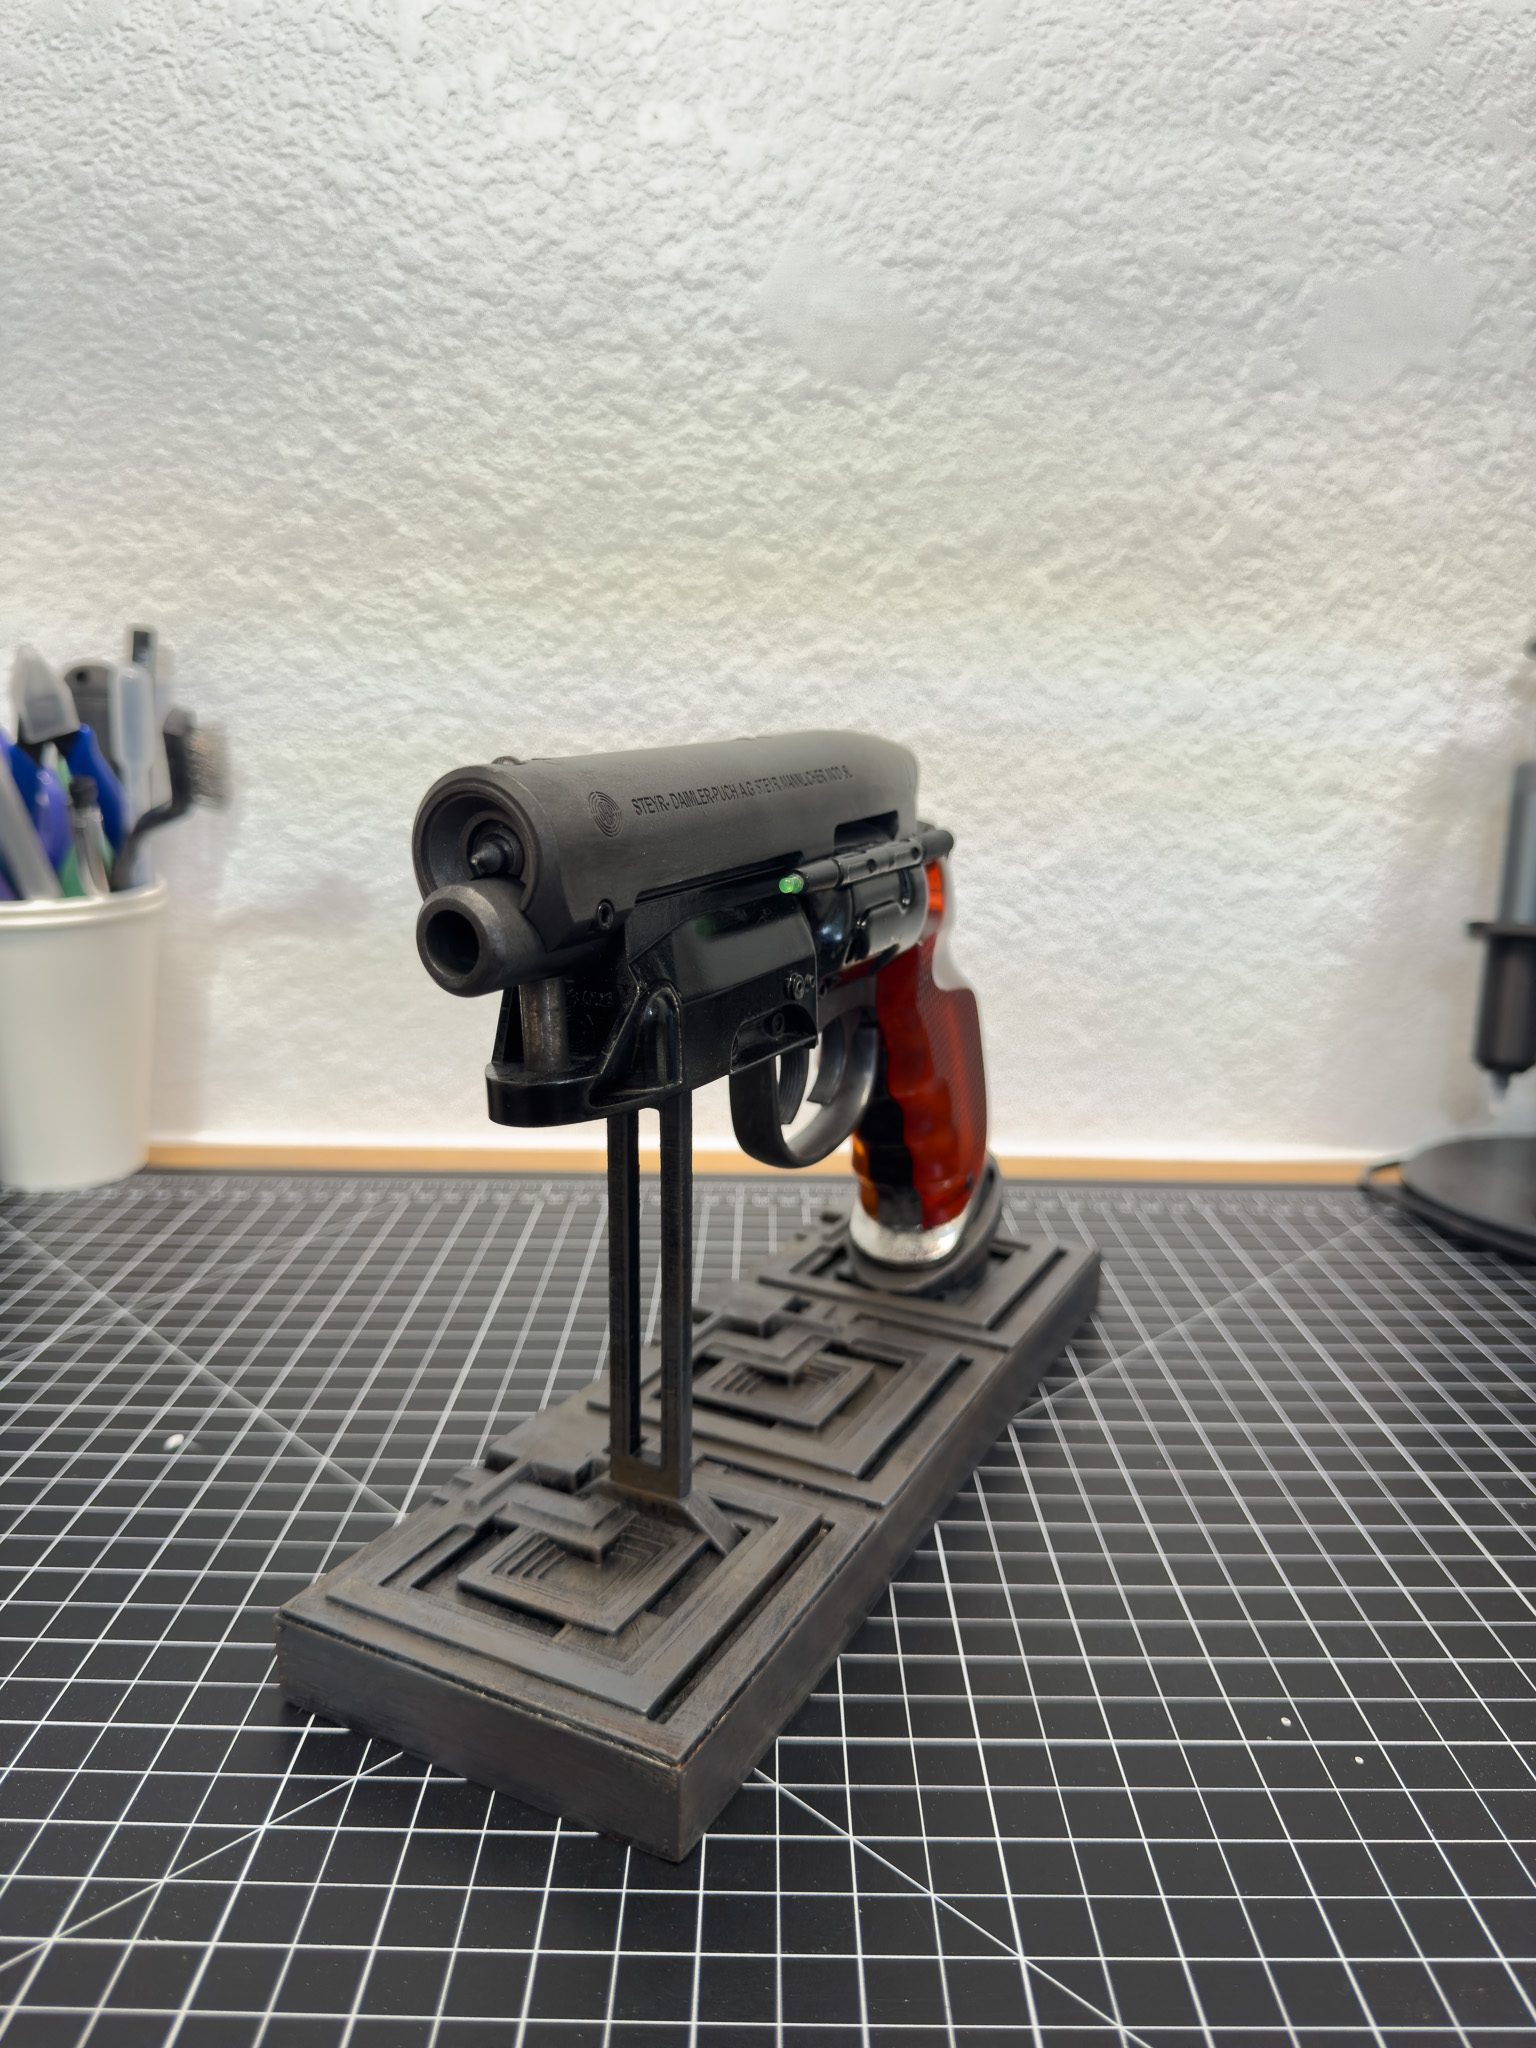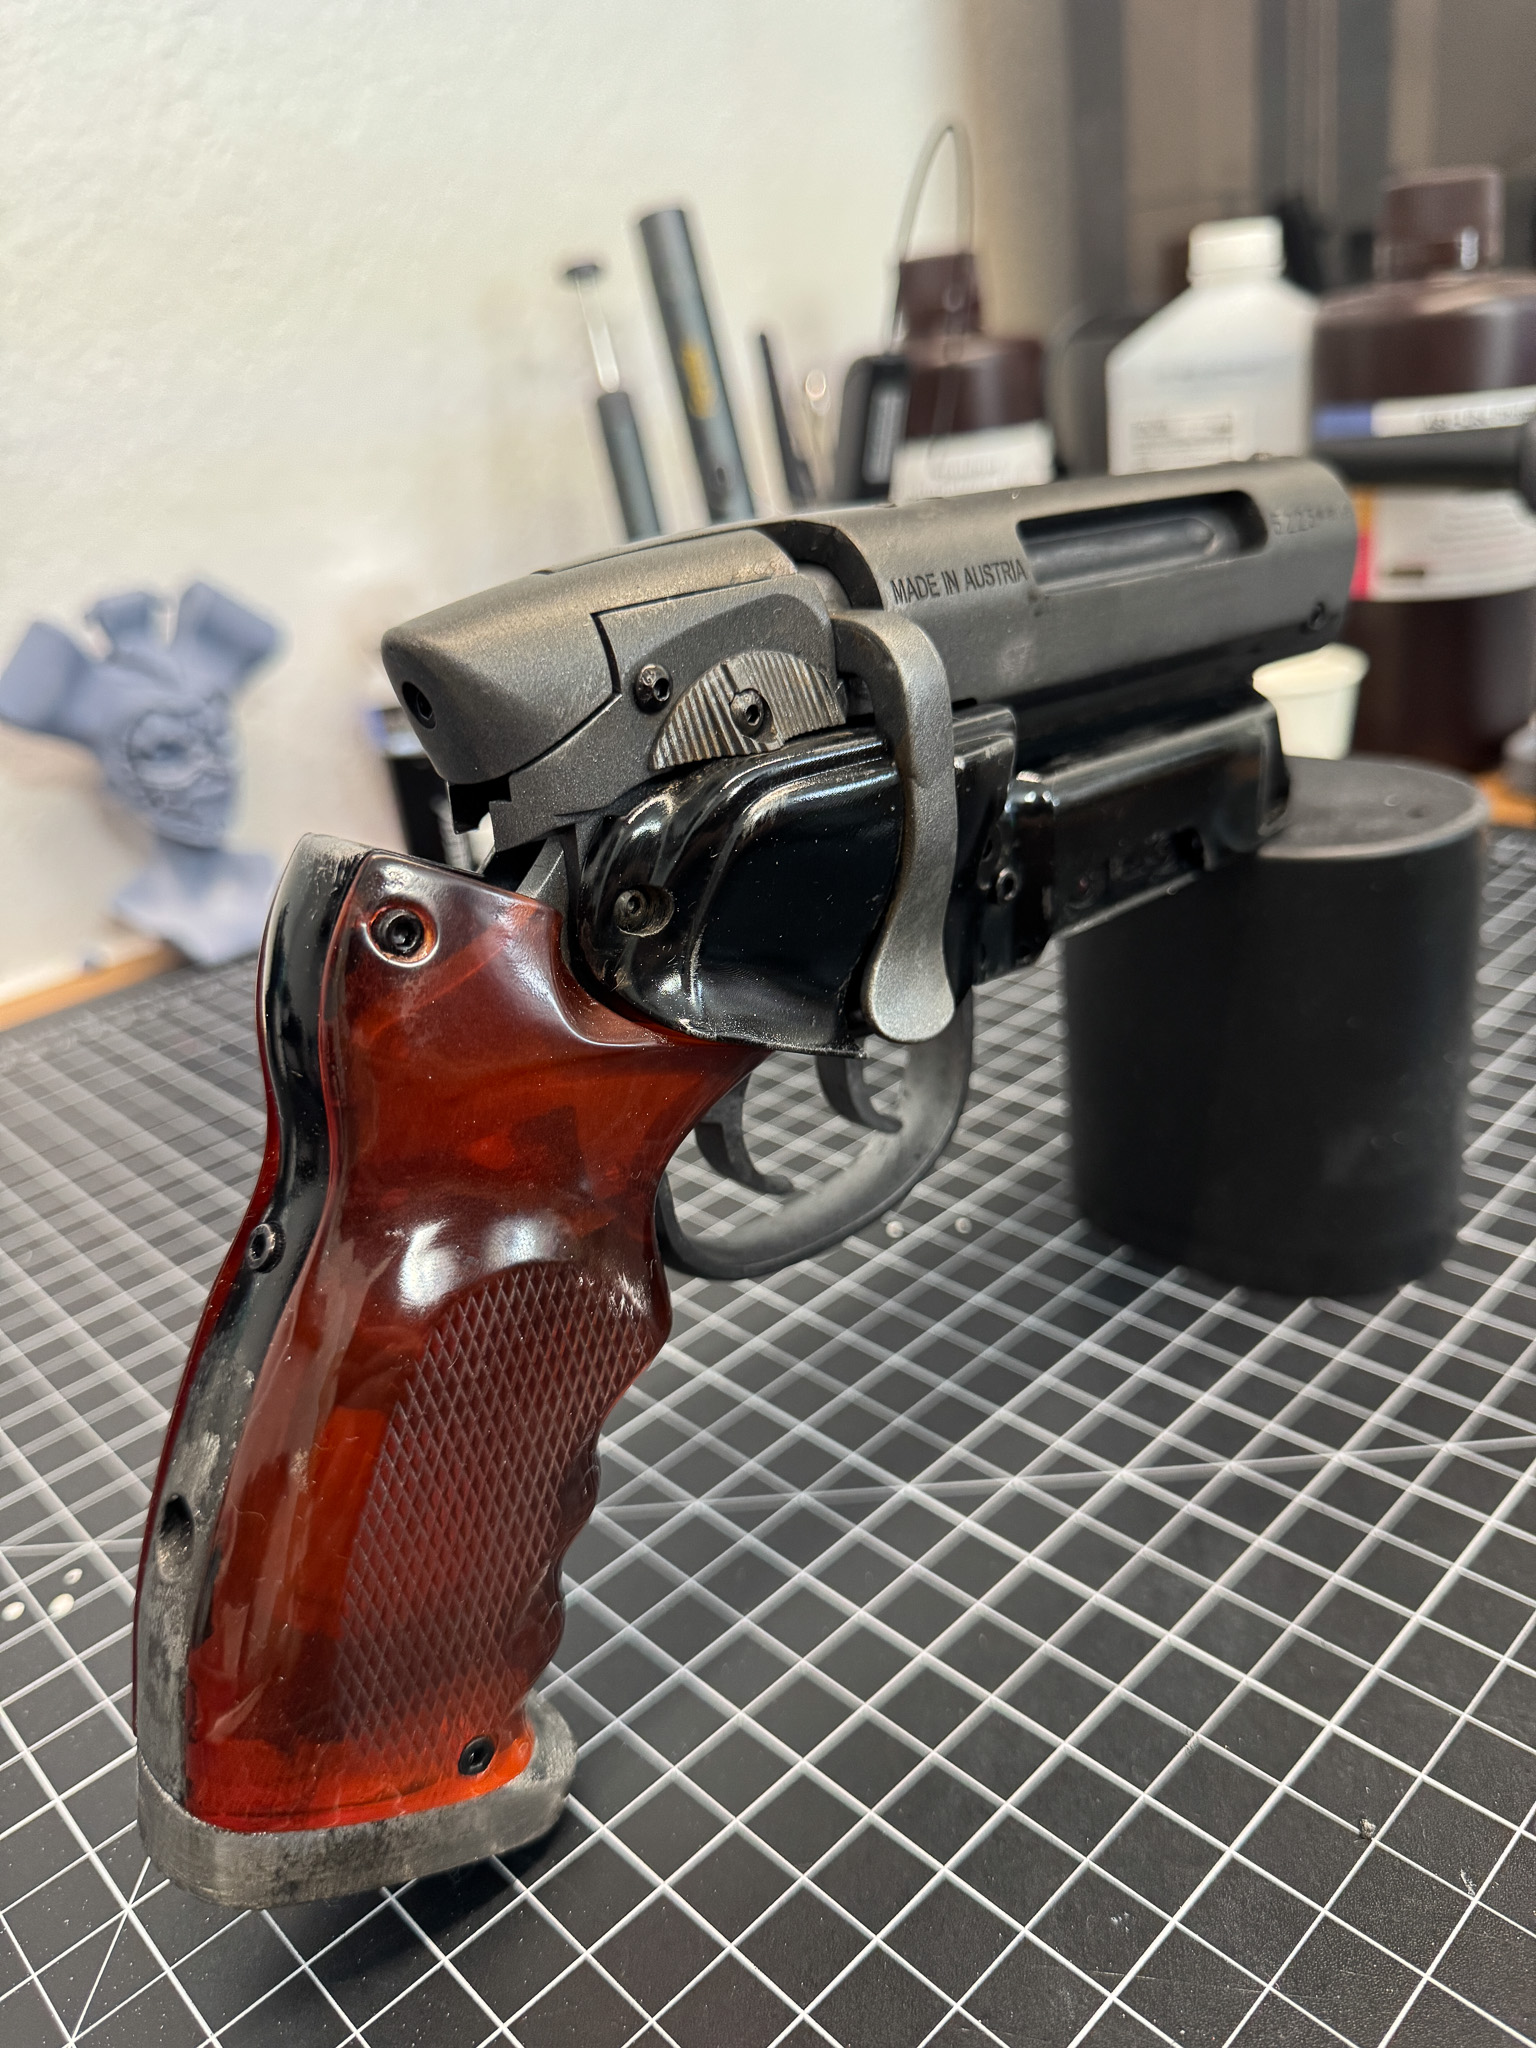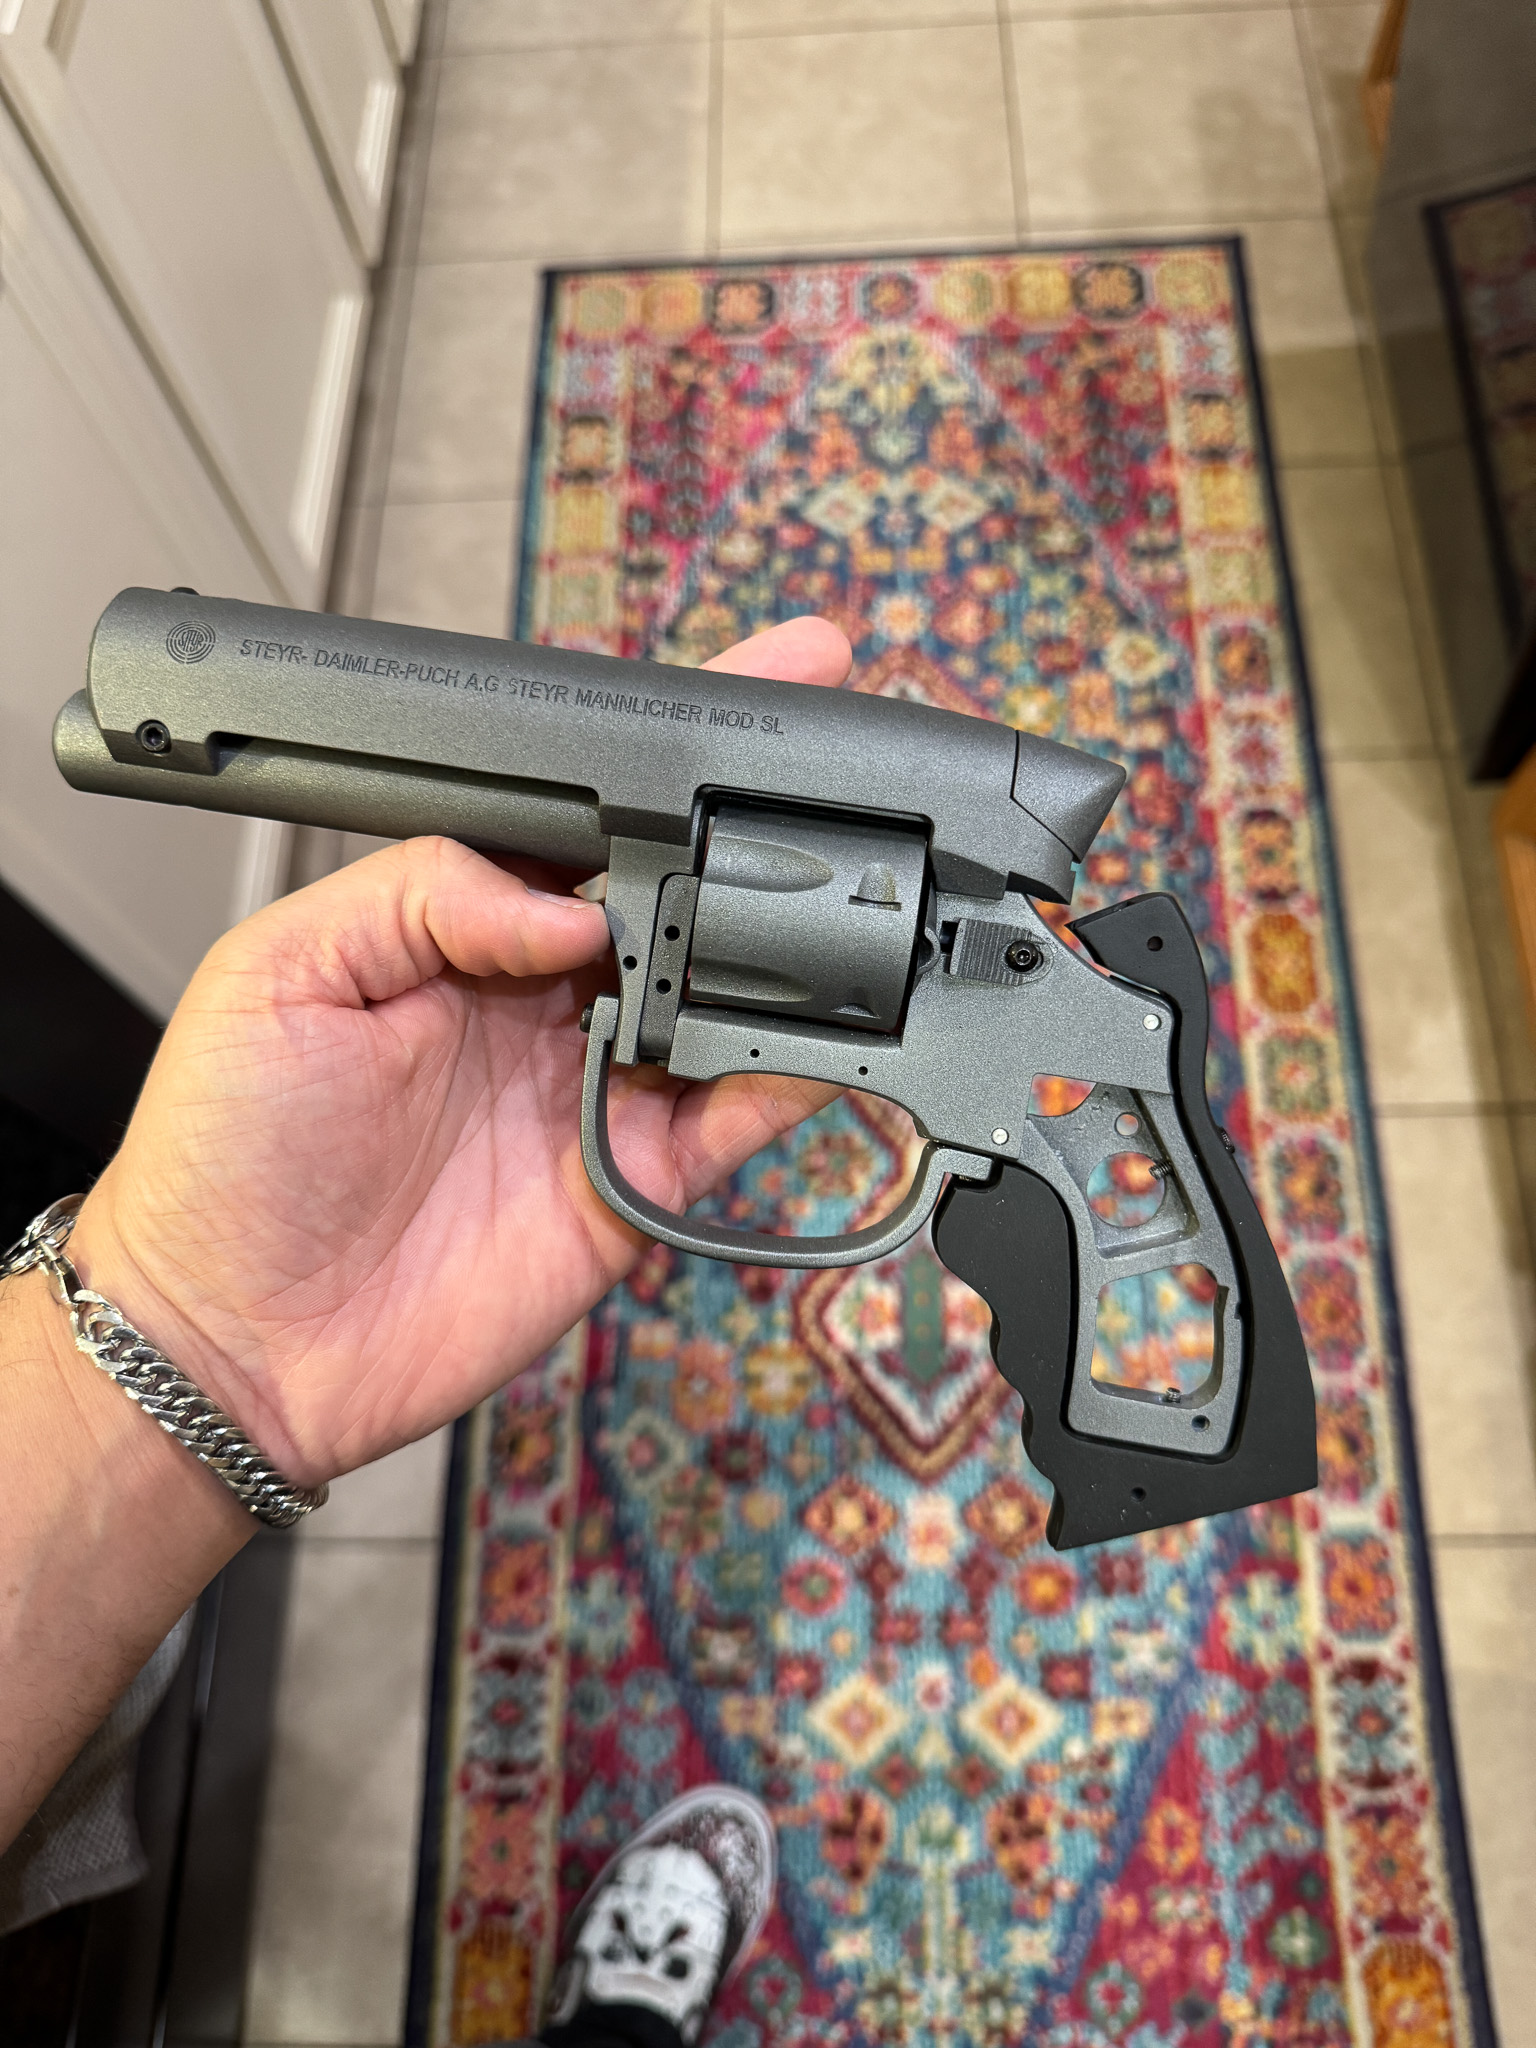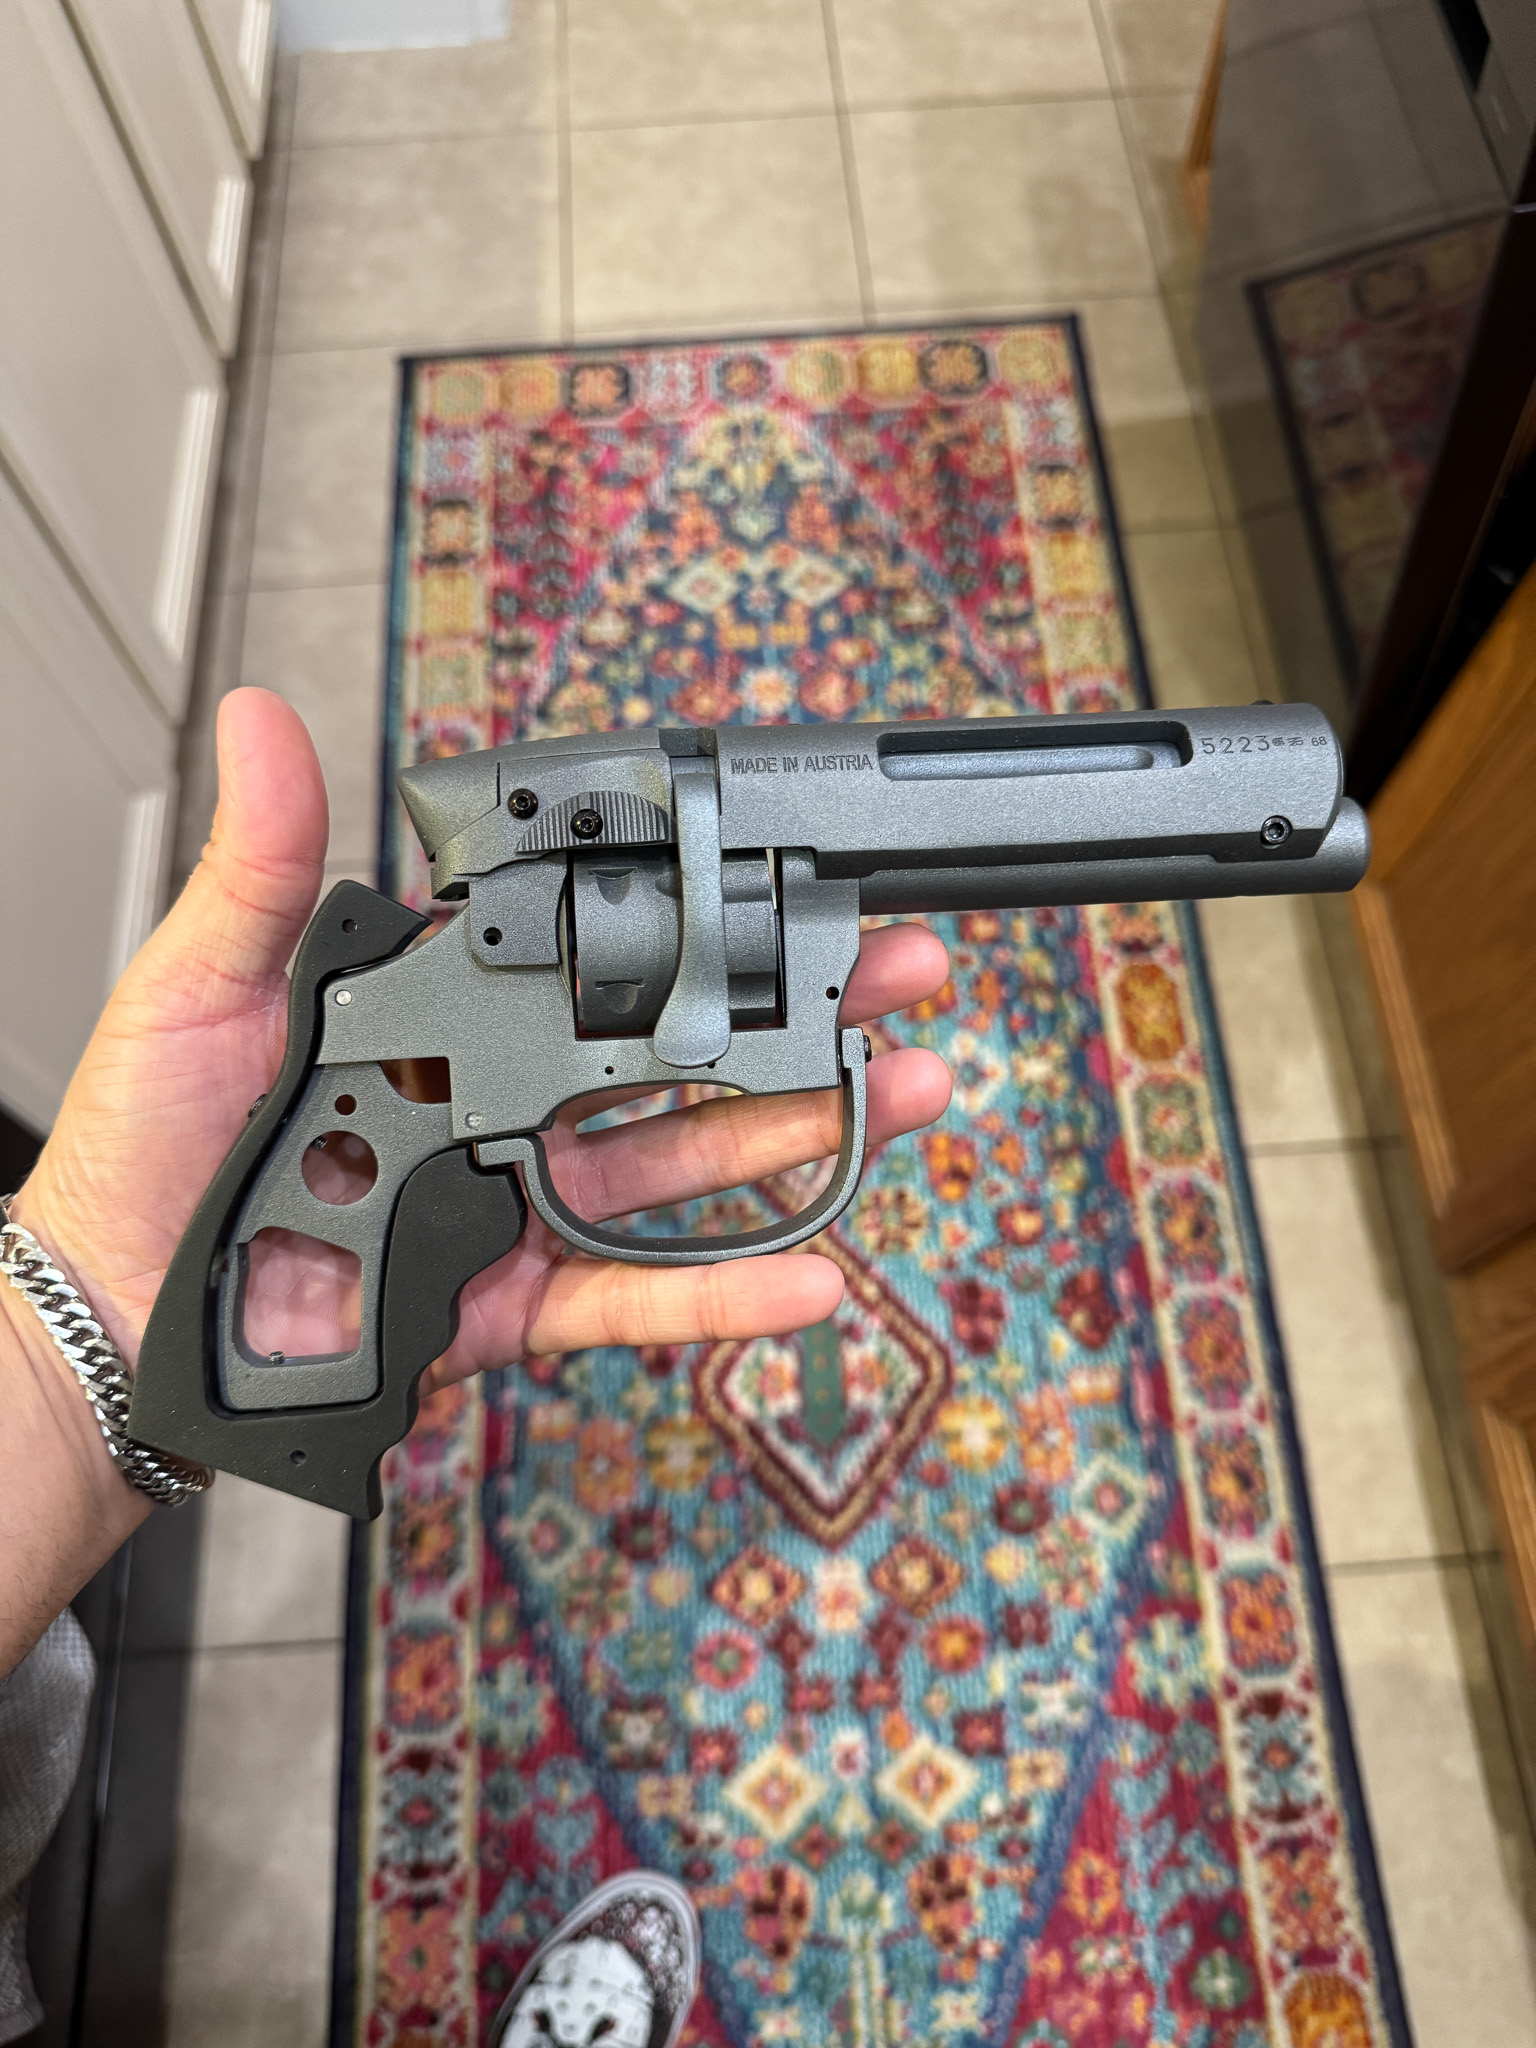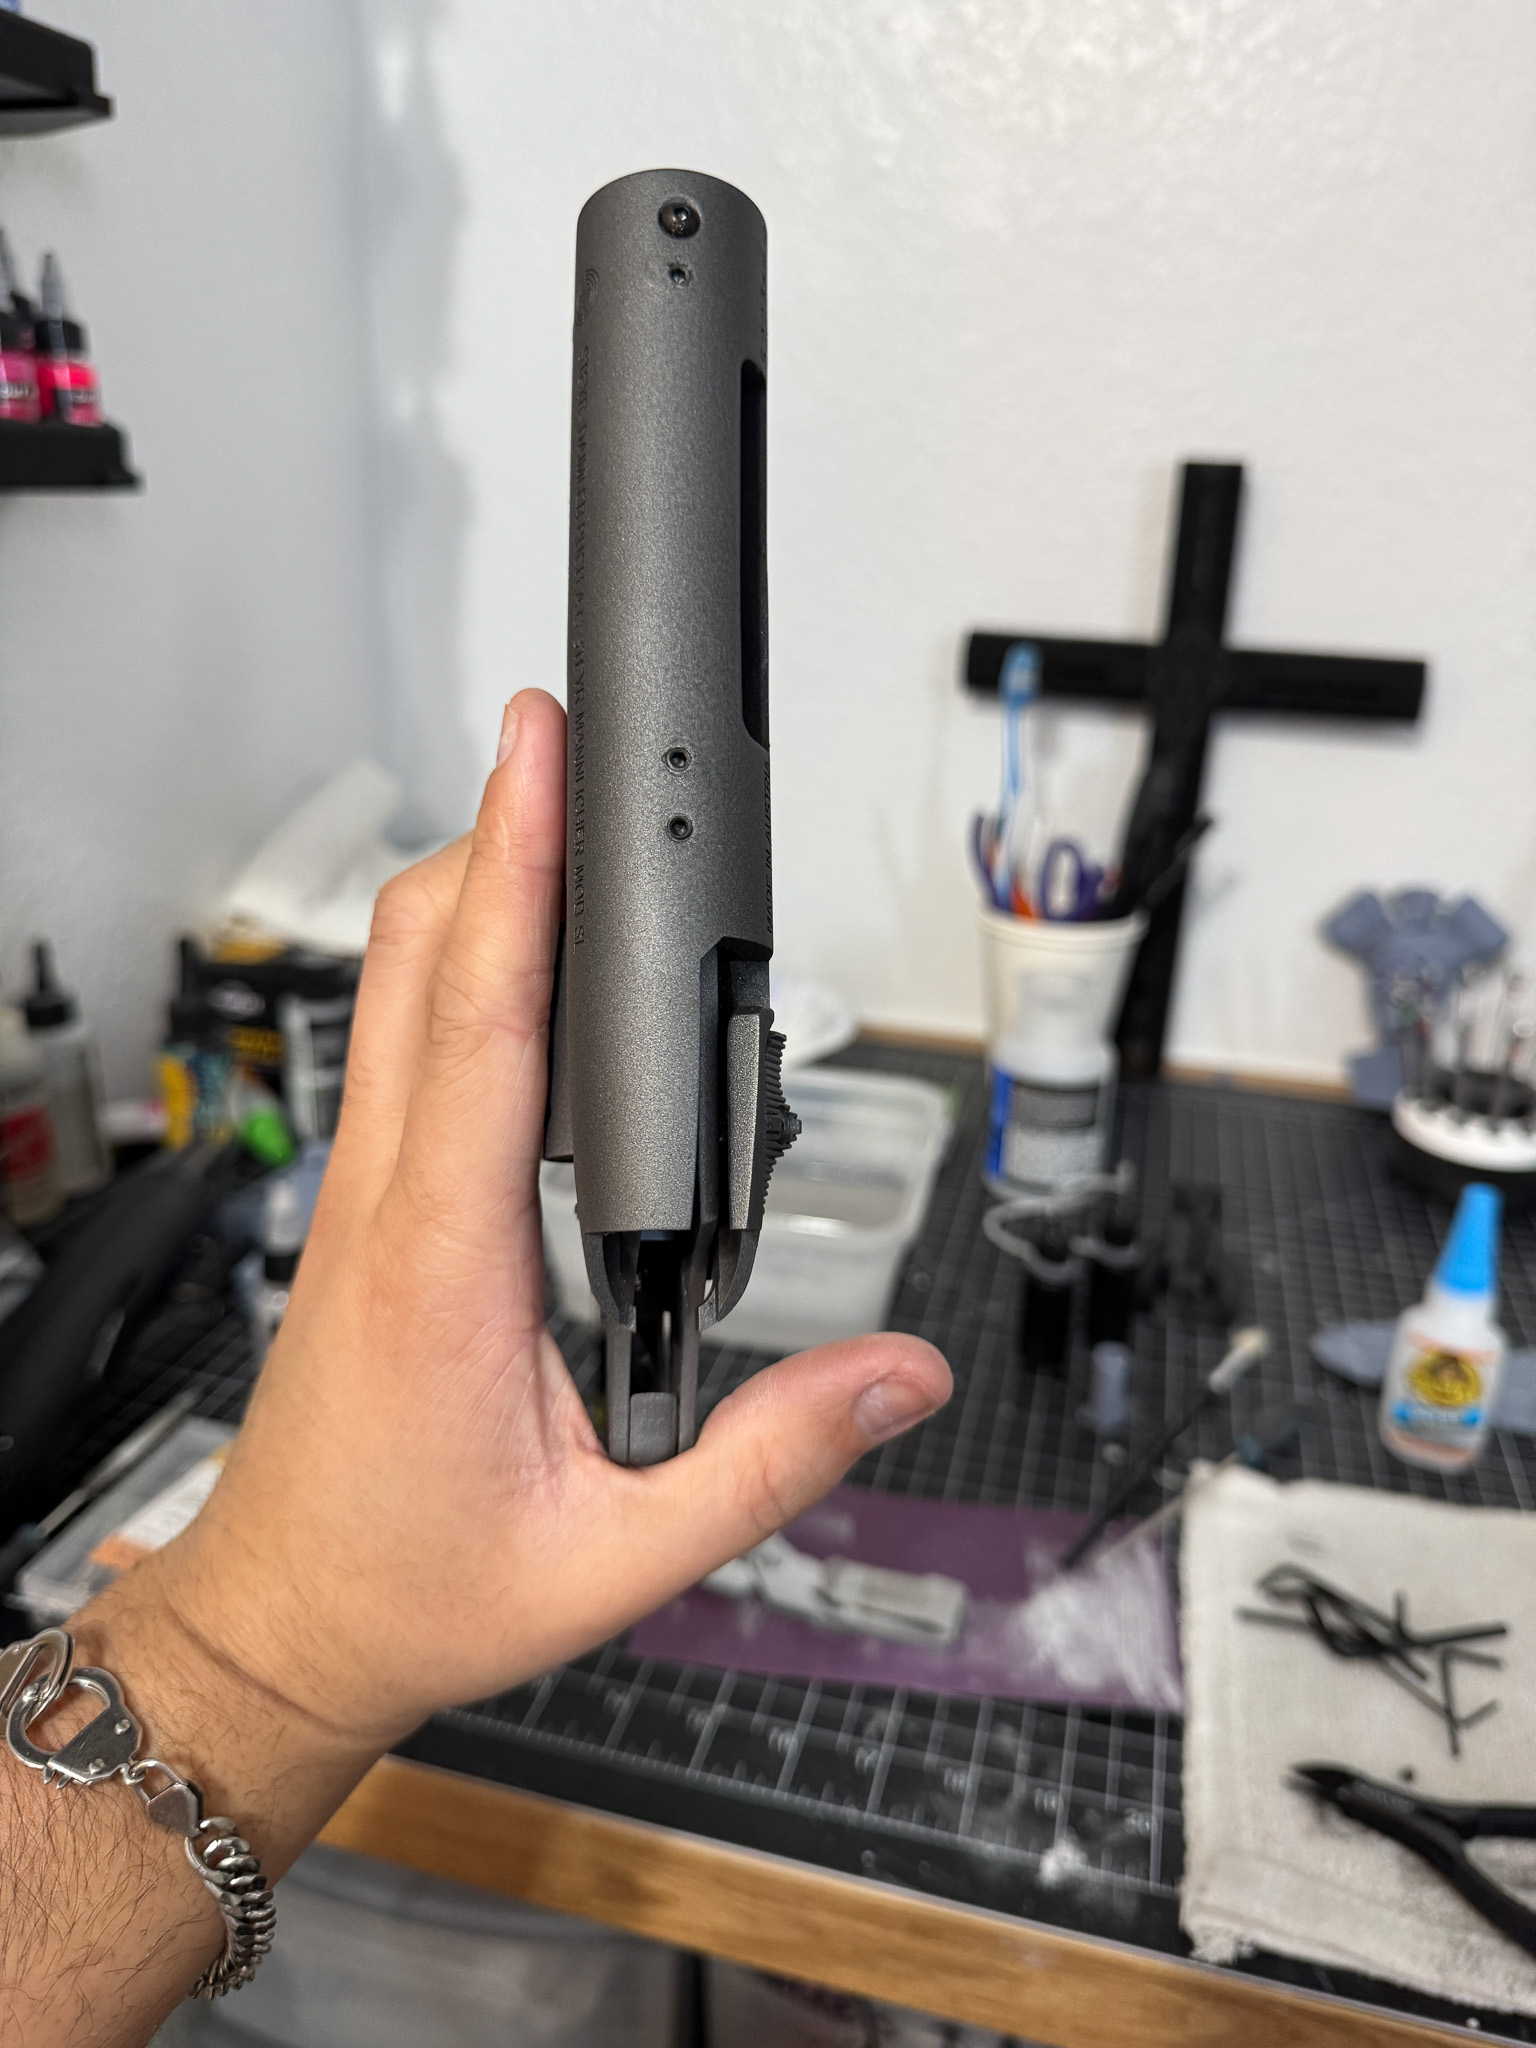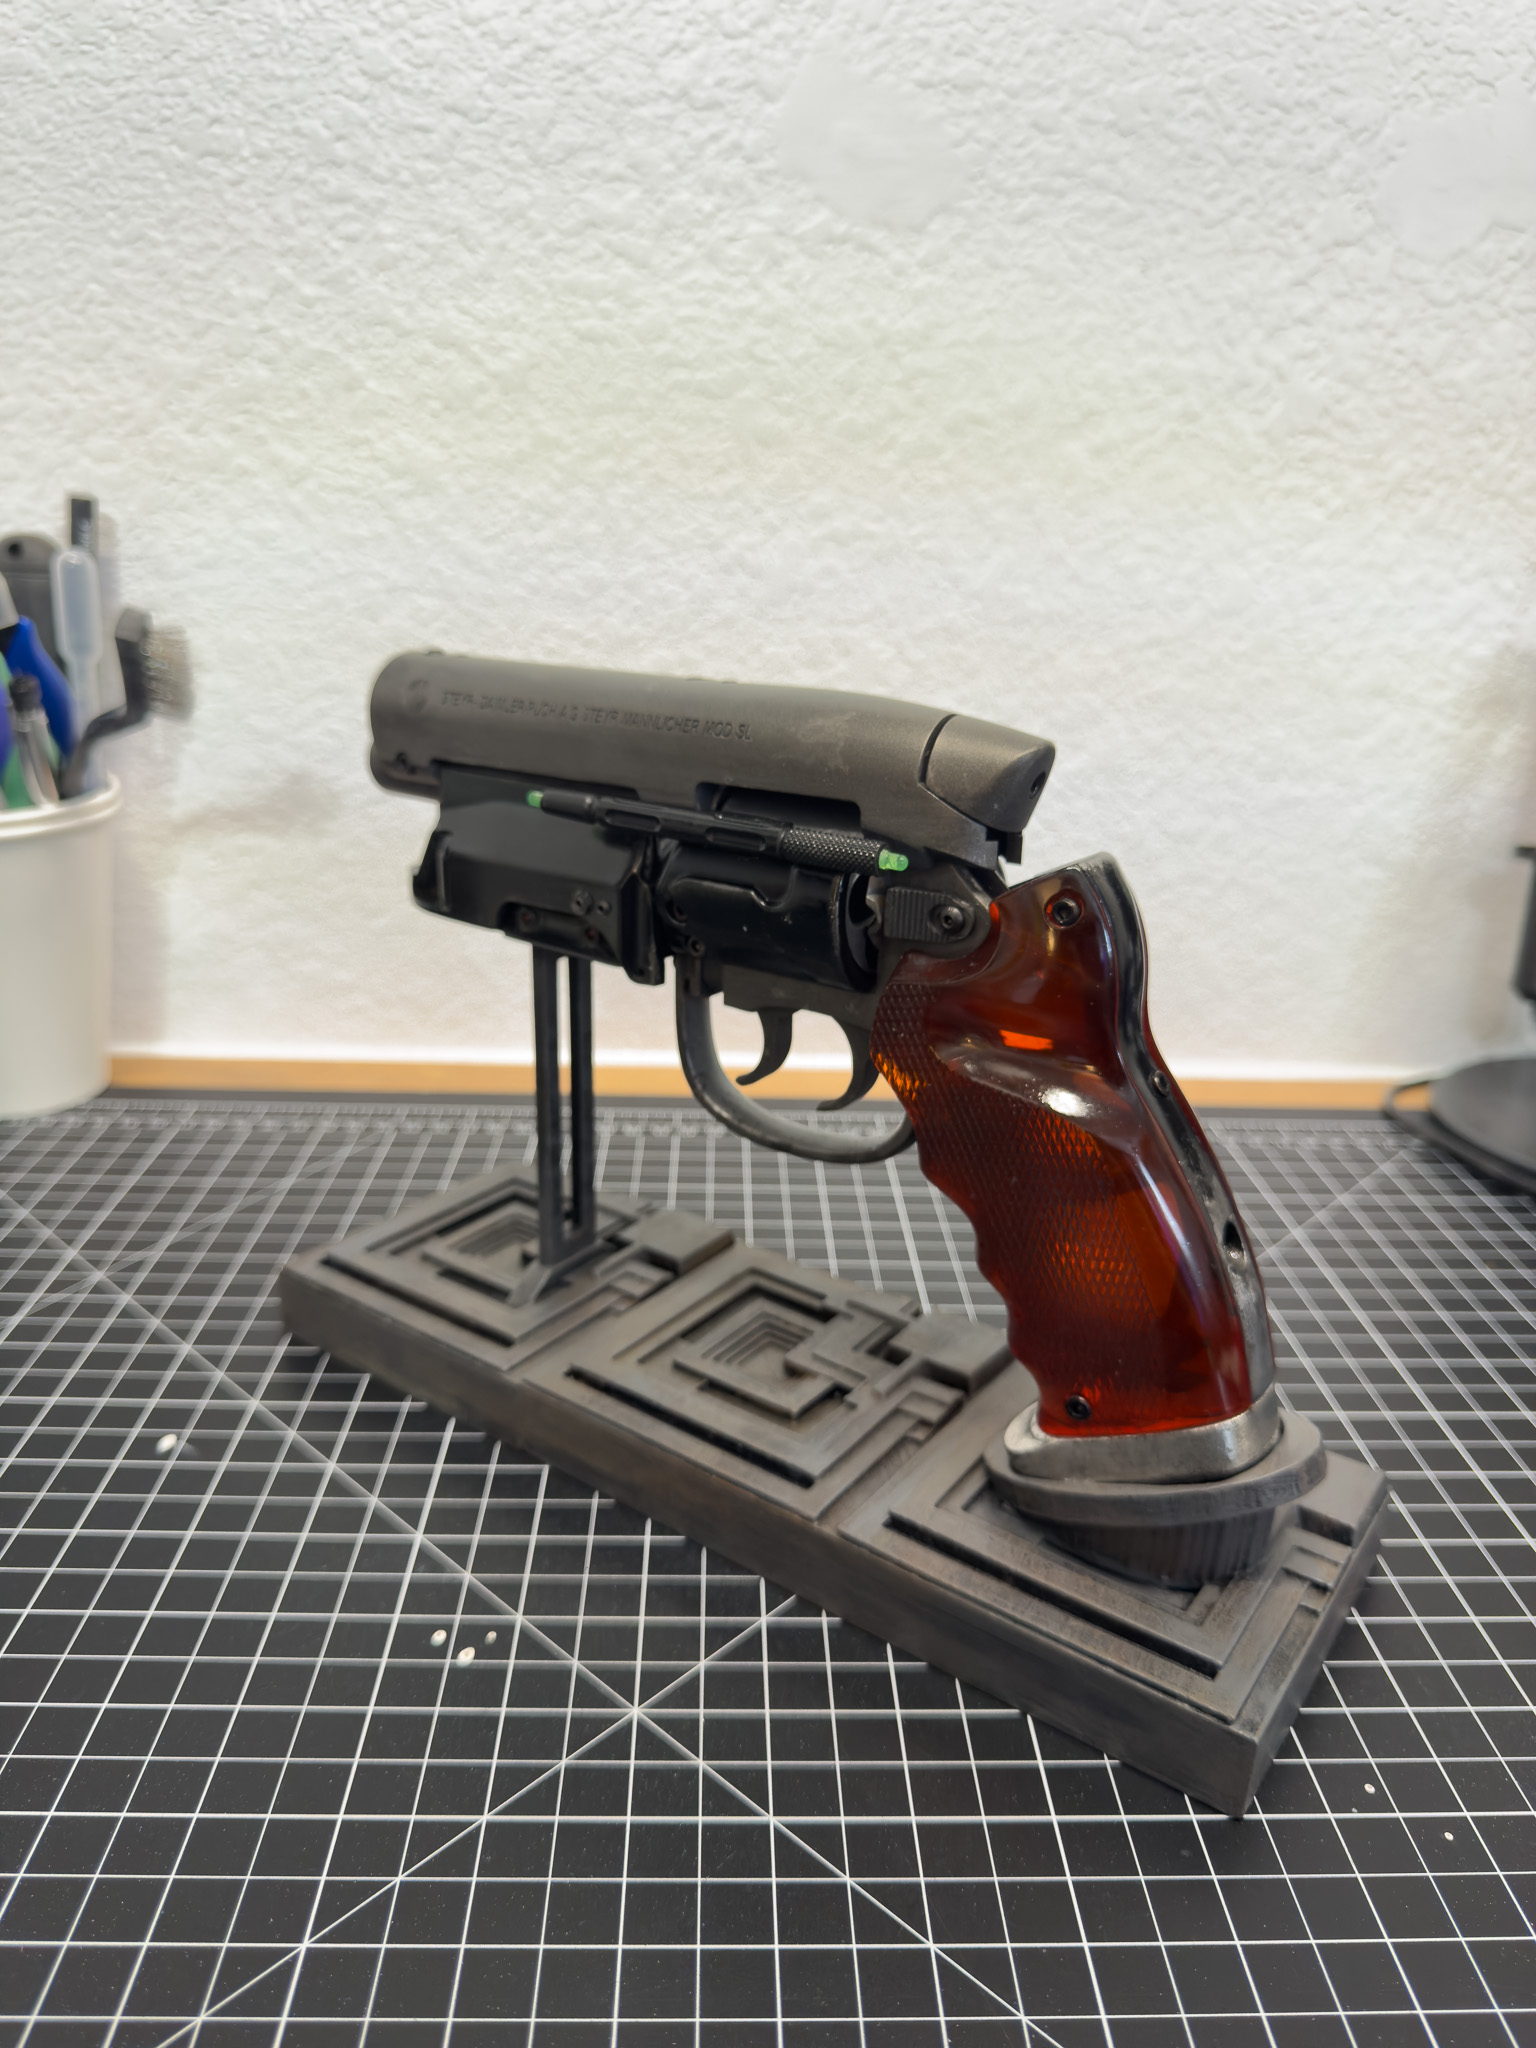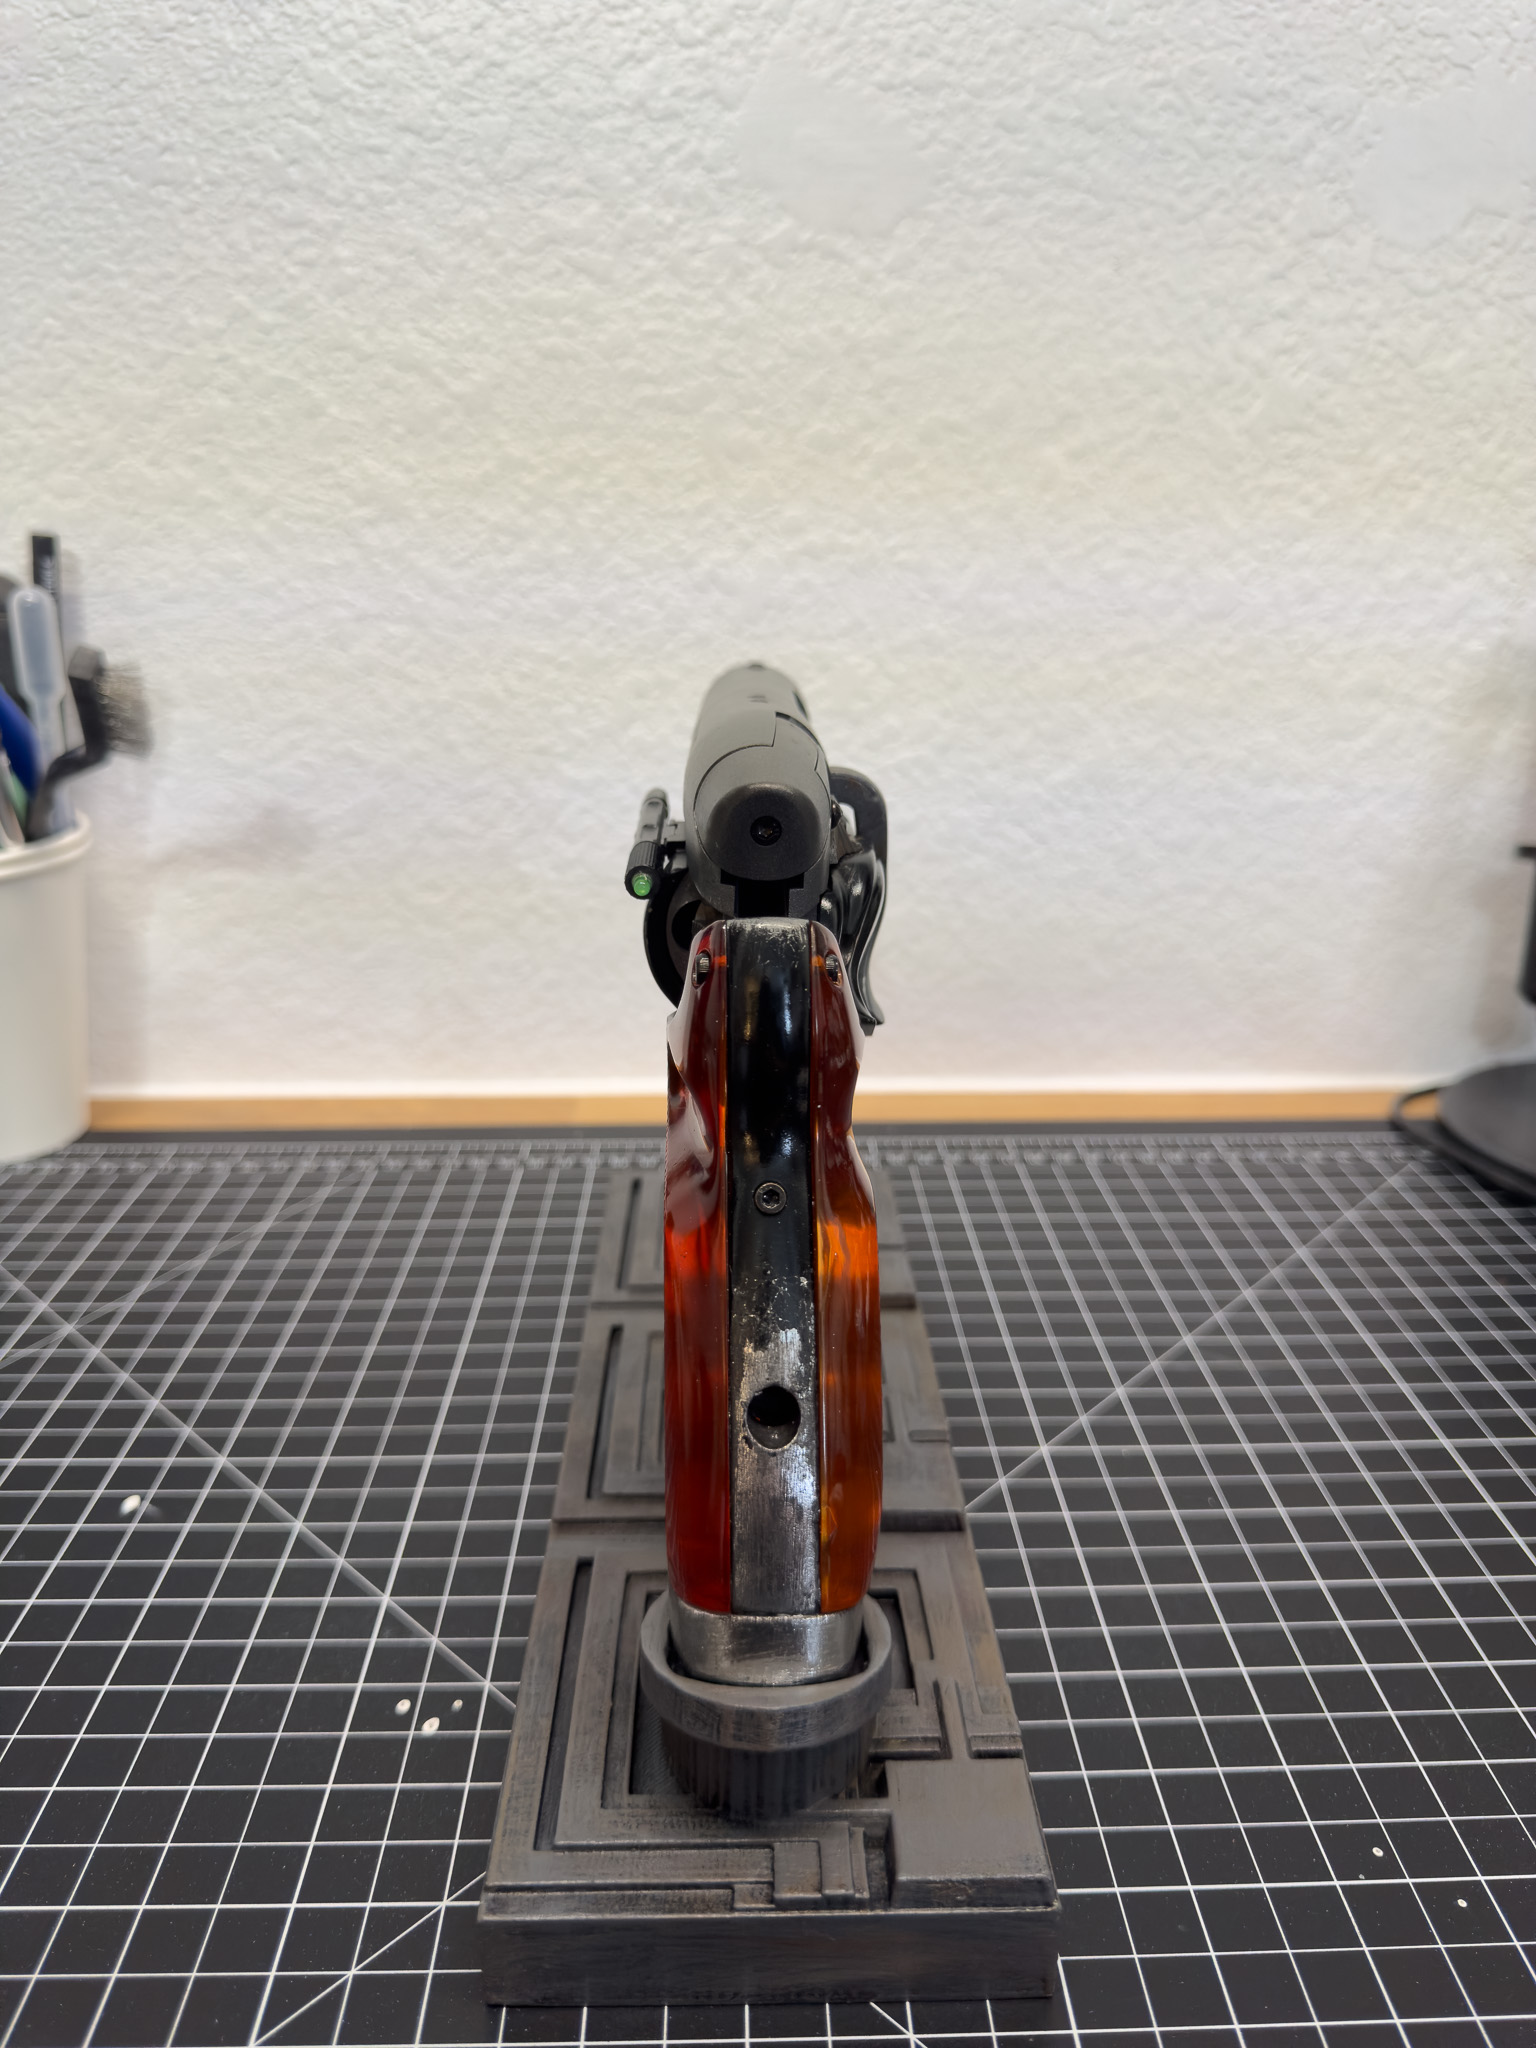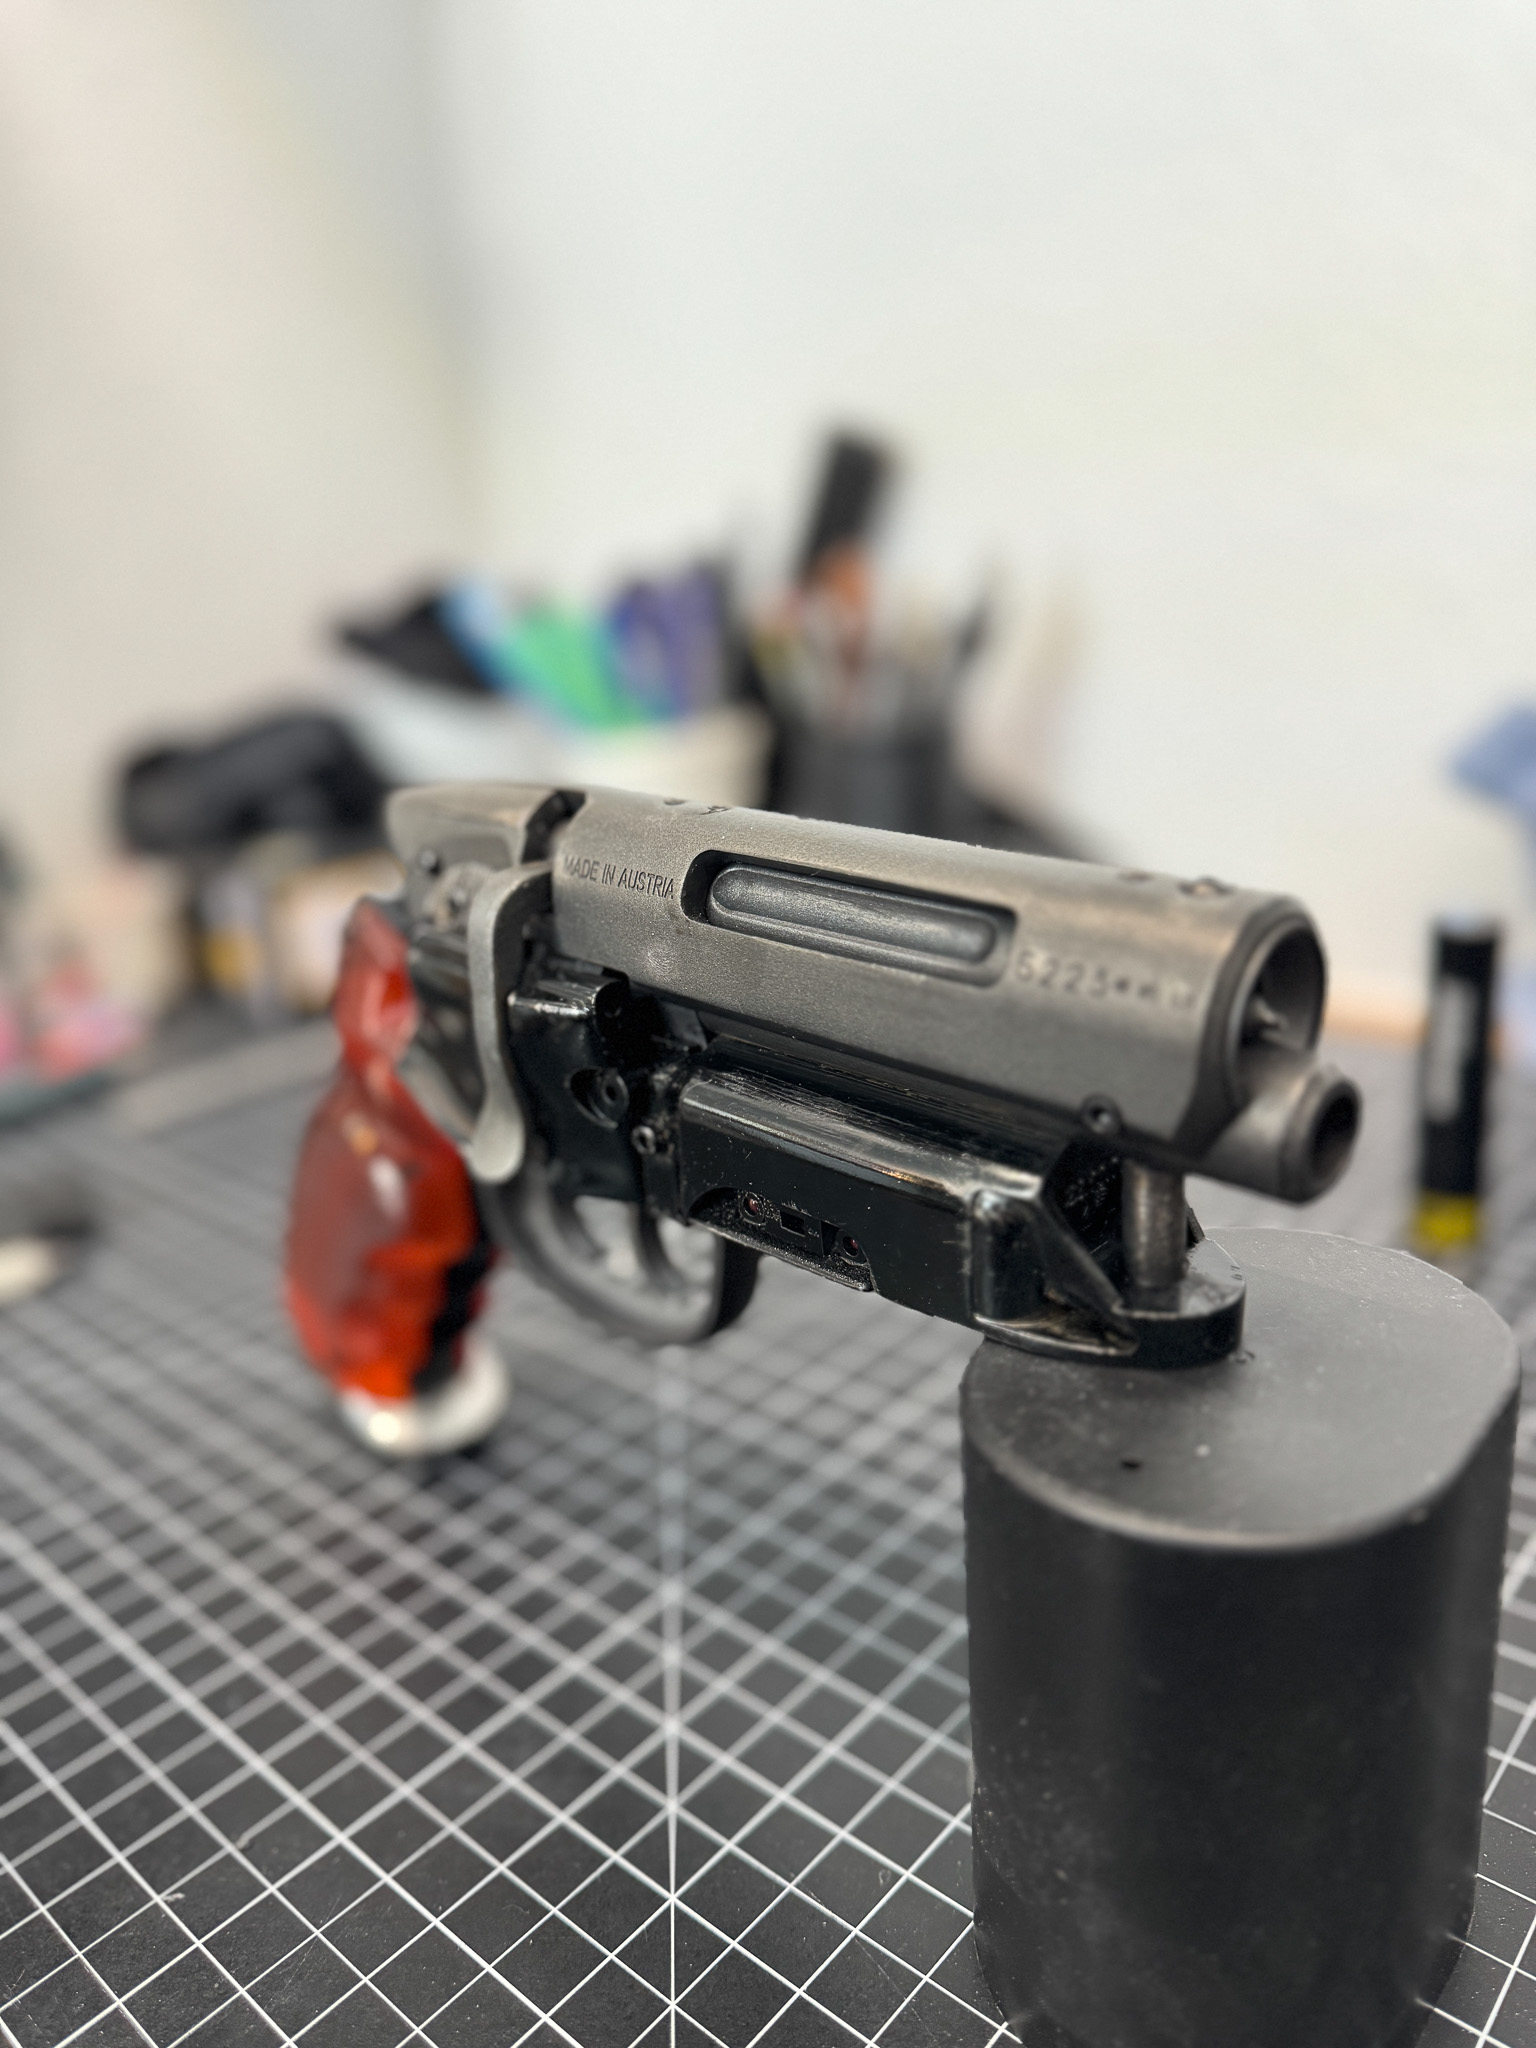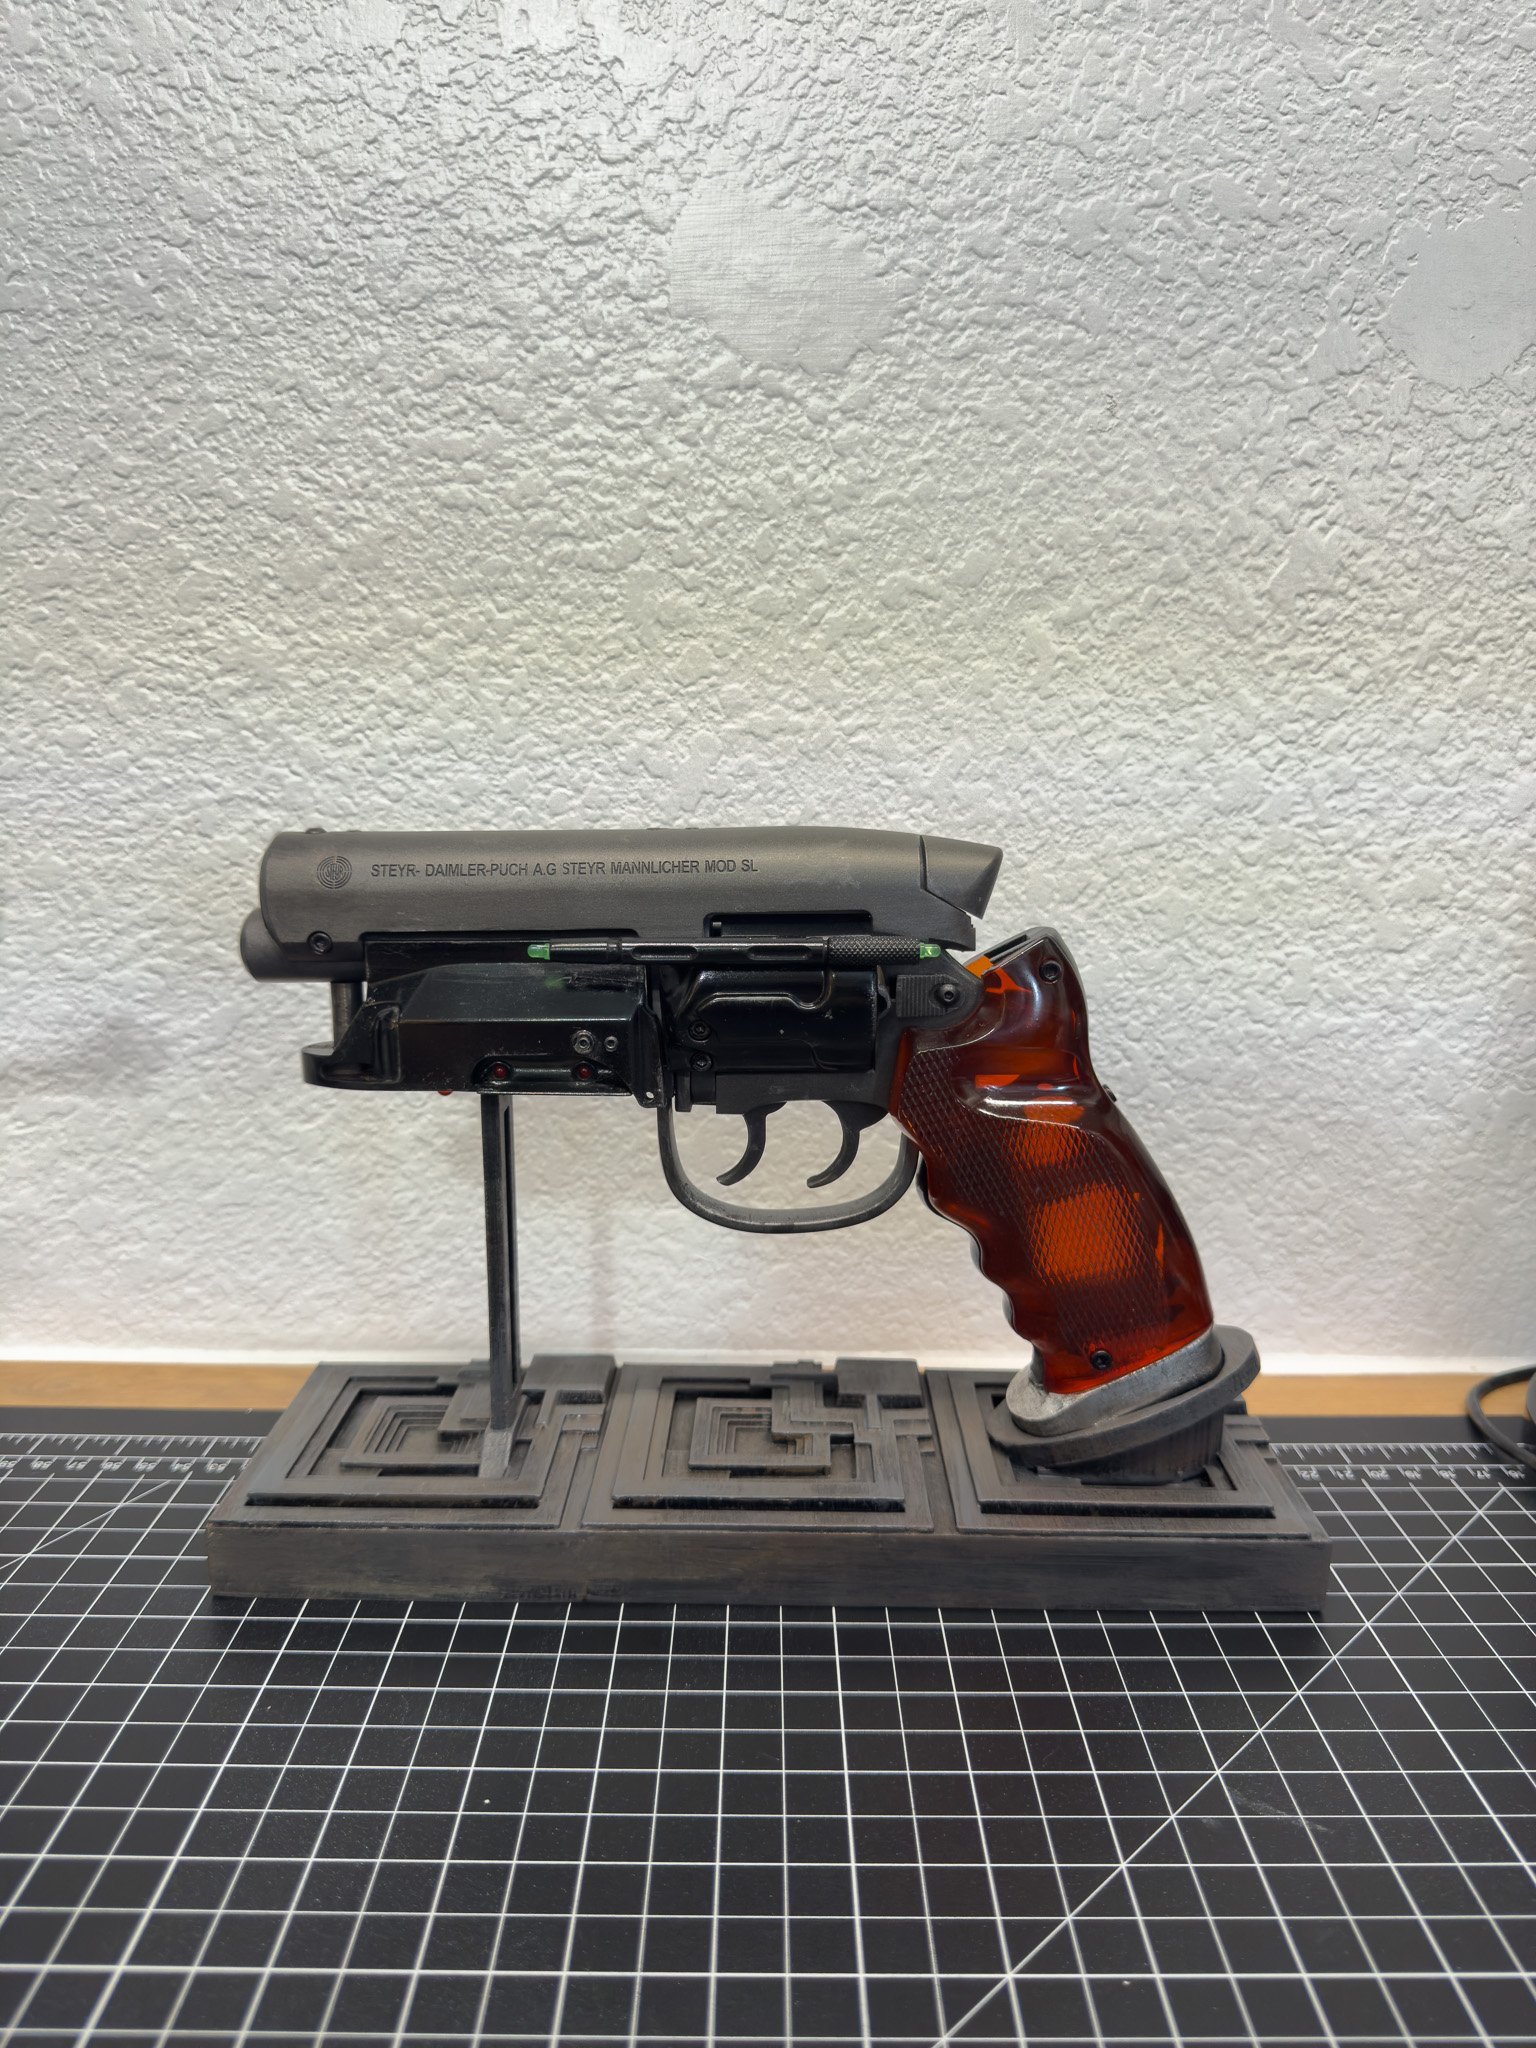
Some props sit on your build list for years before you finally decide to build them. For me, the PKD Blade Runner Blaster was one of those projects.
Not only is it one of the most iconic sci-fi props ever created, but it also ended up becoming the very first project I completed on my Saturn 2 Ultra resin printer. I actually found the printer on Facebook Marketplace and got a deal that was simply too good to pass up. After bringing it home and getting everything dialed in, I wanted a project that would really test what the machine was capable of.
Looking back, I couldn't have picked a better first build.
Between the fine details, moving assemblies, clear resin grips, real hardware, and weathered finish, this project pushed both the printer and my finishing skills. Thankfully, the Saturn 2 Ultra handled everything I threw at it.
The lettering came out crisp, the mechanical details were razor sharp, and the fit of the parts was impressive right off the build plate. After finishing this blaster, I knew the printer had earned a permanent place in the workshop.
The File Set
For this build, I used the PKD-2019 Blaster files created by AndersFP. The files are available for free on Thingiverse and are easily one of the most complete Blade Runner blaster kits I've come across.
What immediately stood out to me was how well thought out the design was. This wasn't a static display prop designed to be glued together and forgotten. The designer built the model around real-world hardware, moving parts, electronics, and mechanical assemblies that make the finished prop feel incredibly authentic.
The included assembly guide was excellent and made the entire process straightforward from start to finish. The instructions were clear, well organized, and made sourcing hardware and assembling the prop much easier than many kits I've worked with in the past.
File Link:
https://www.thingiverse.com/thing:4260720
A huge thank you to AndersFP for creating such an incredible file set and making it available to the prop-making community.
Real Hardware Makes All the Difference
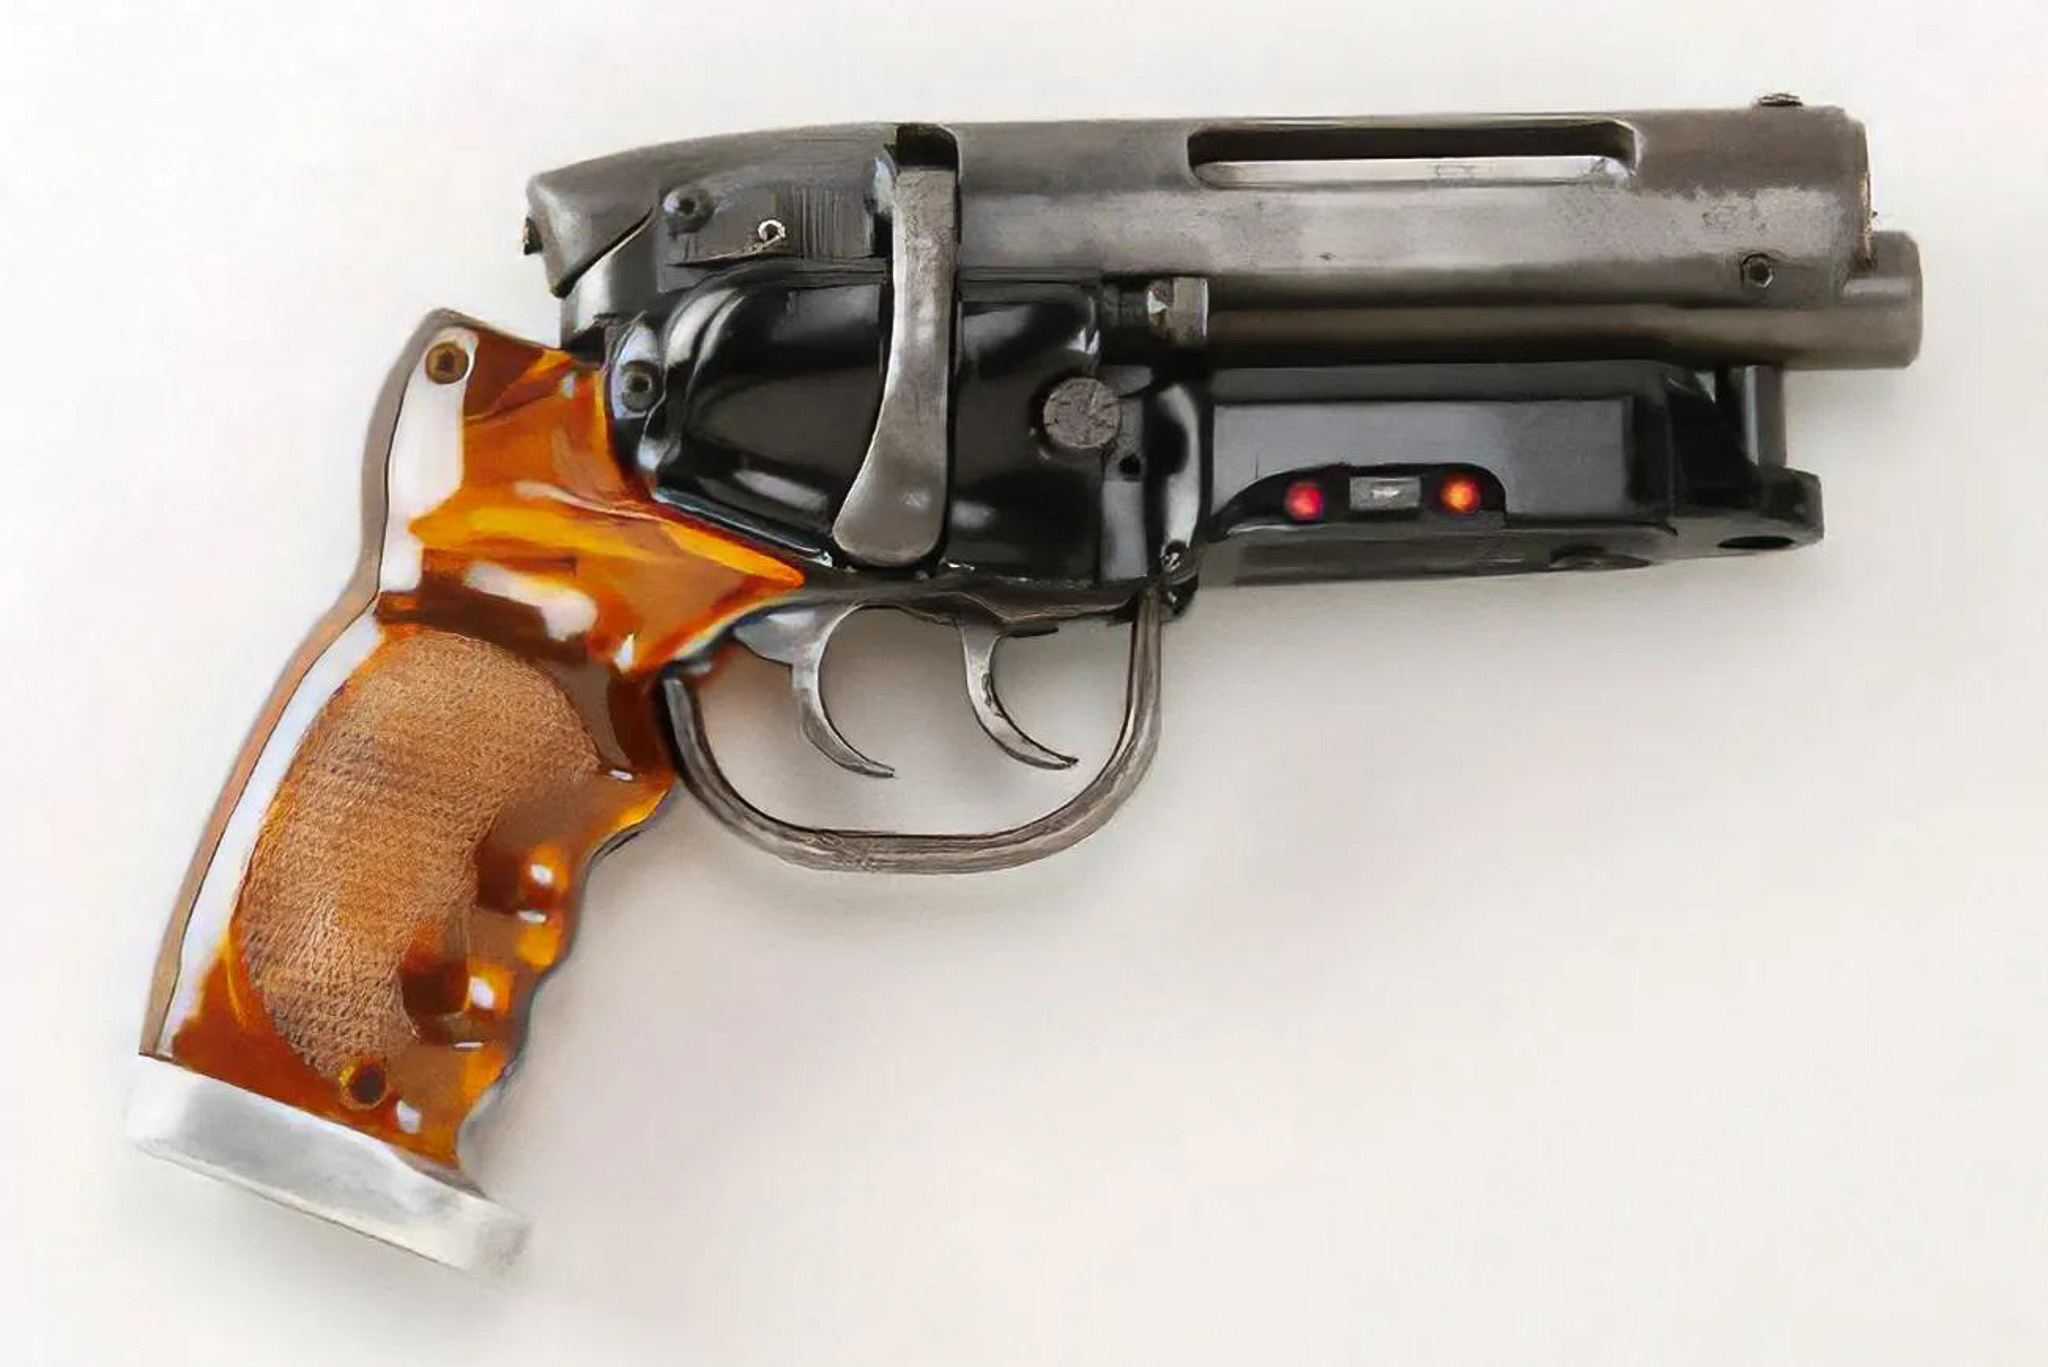
One of my favorite things about this build is the amount of real hardware used throughout the assembly.
Many 3D printed props rely almost entirely on glue. This one doesn't.
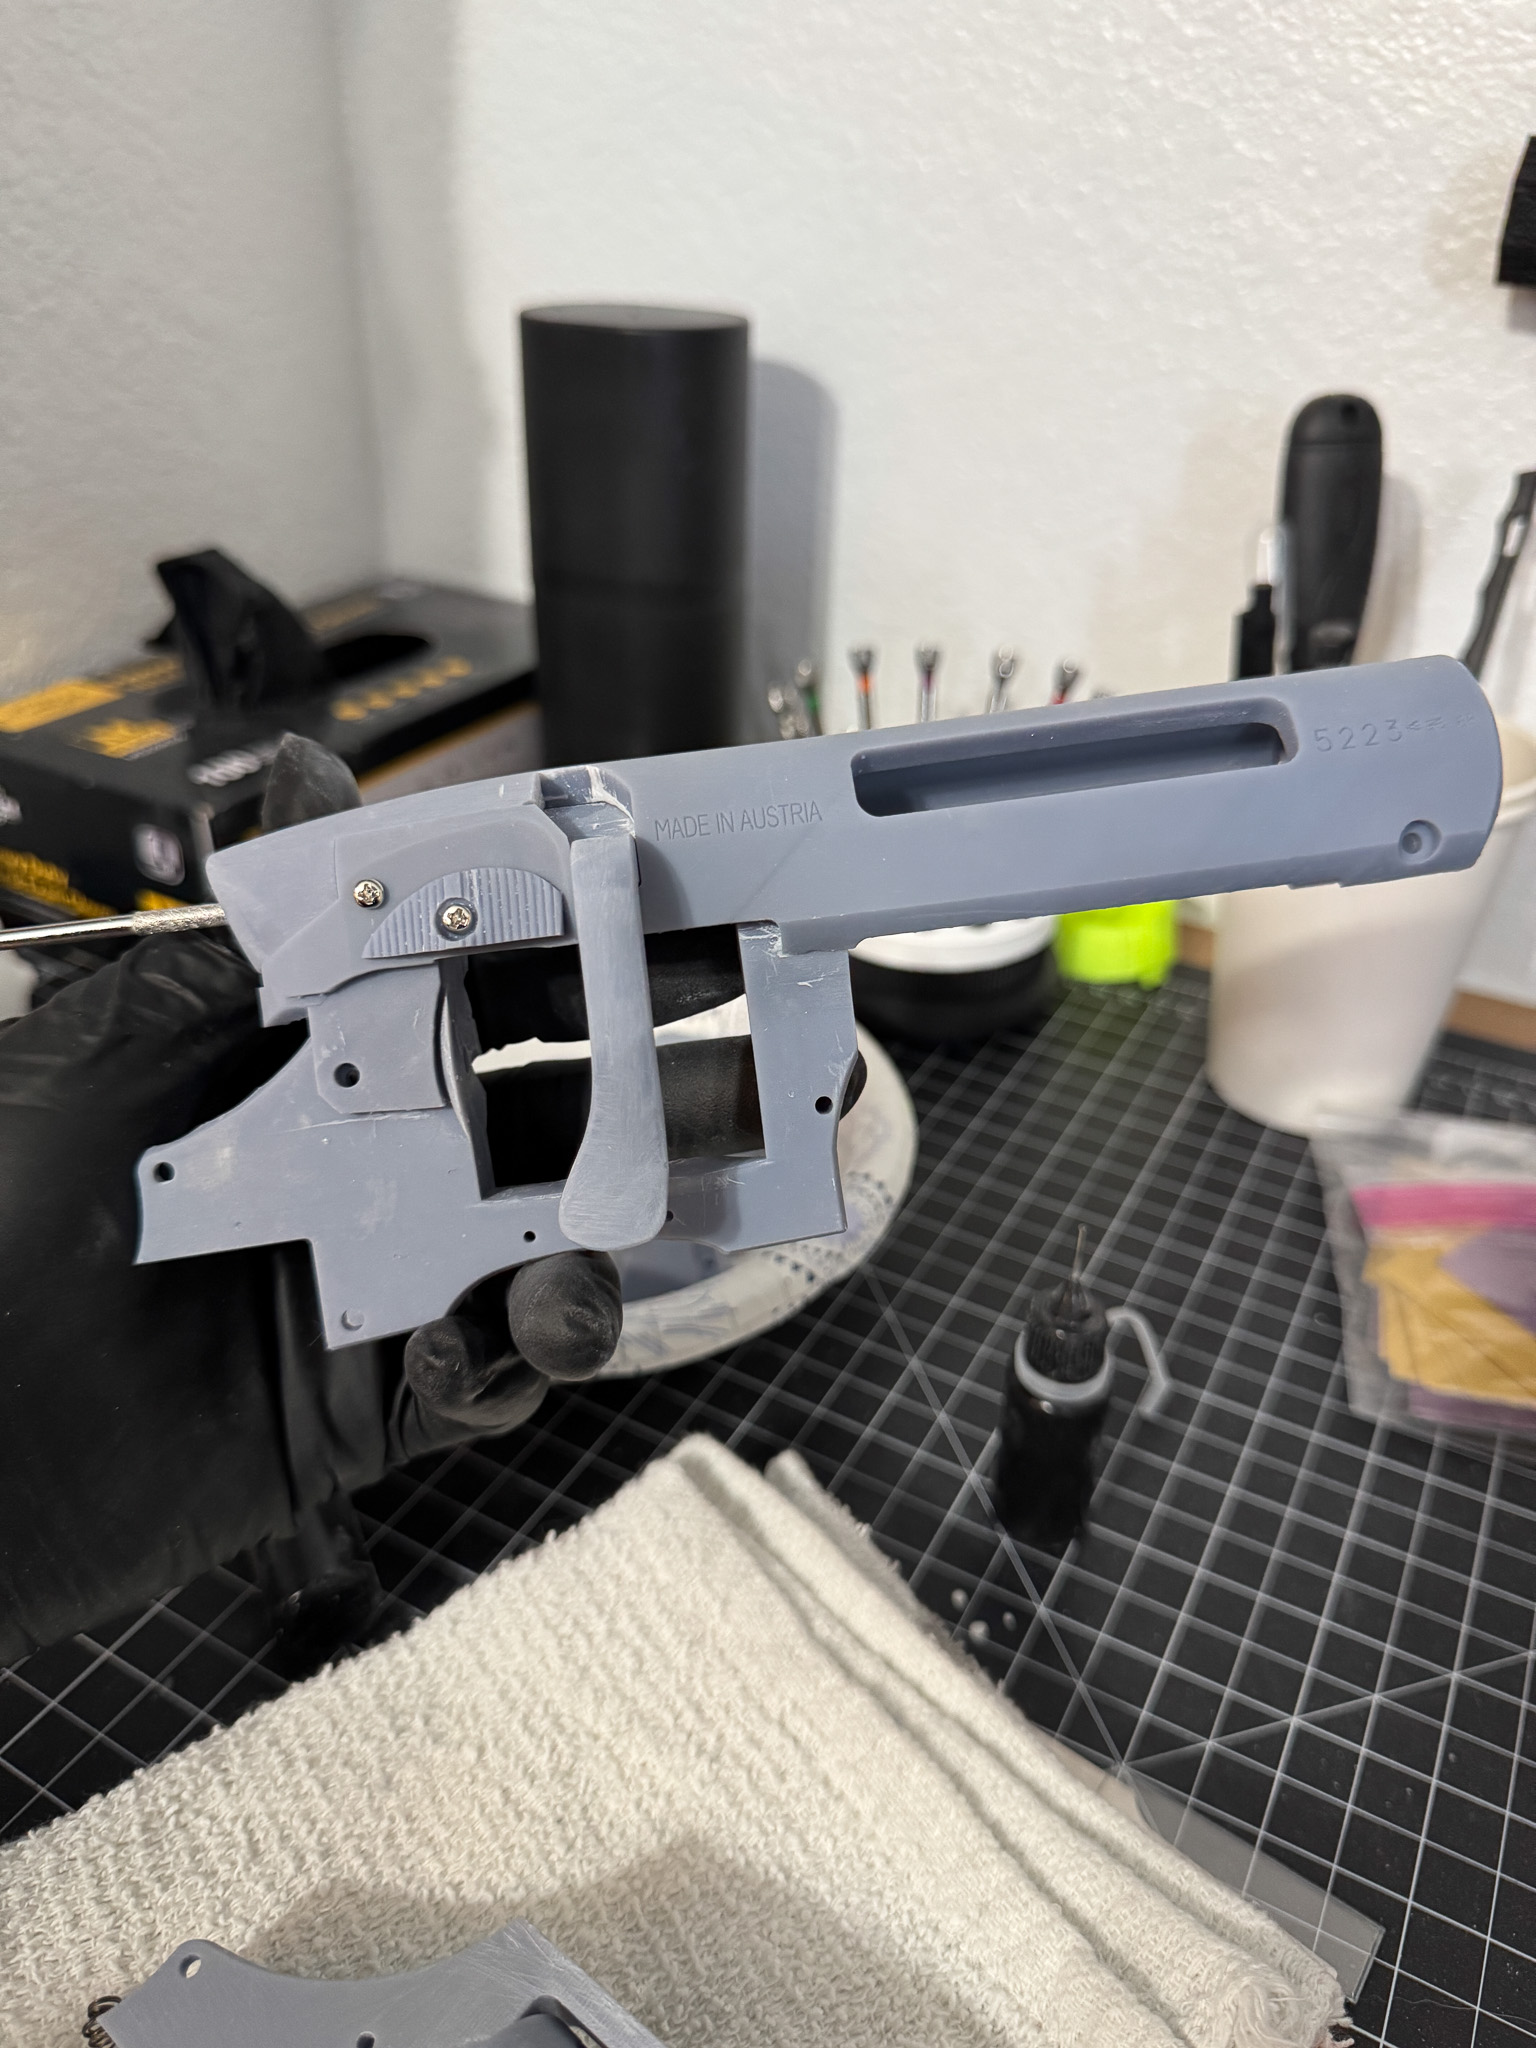
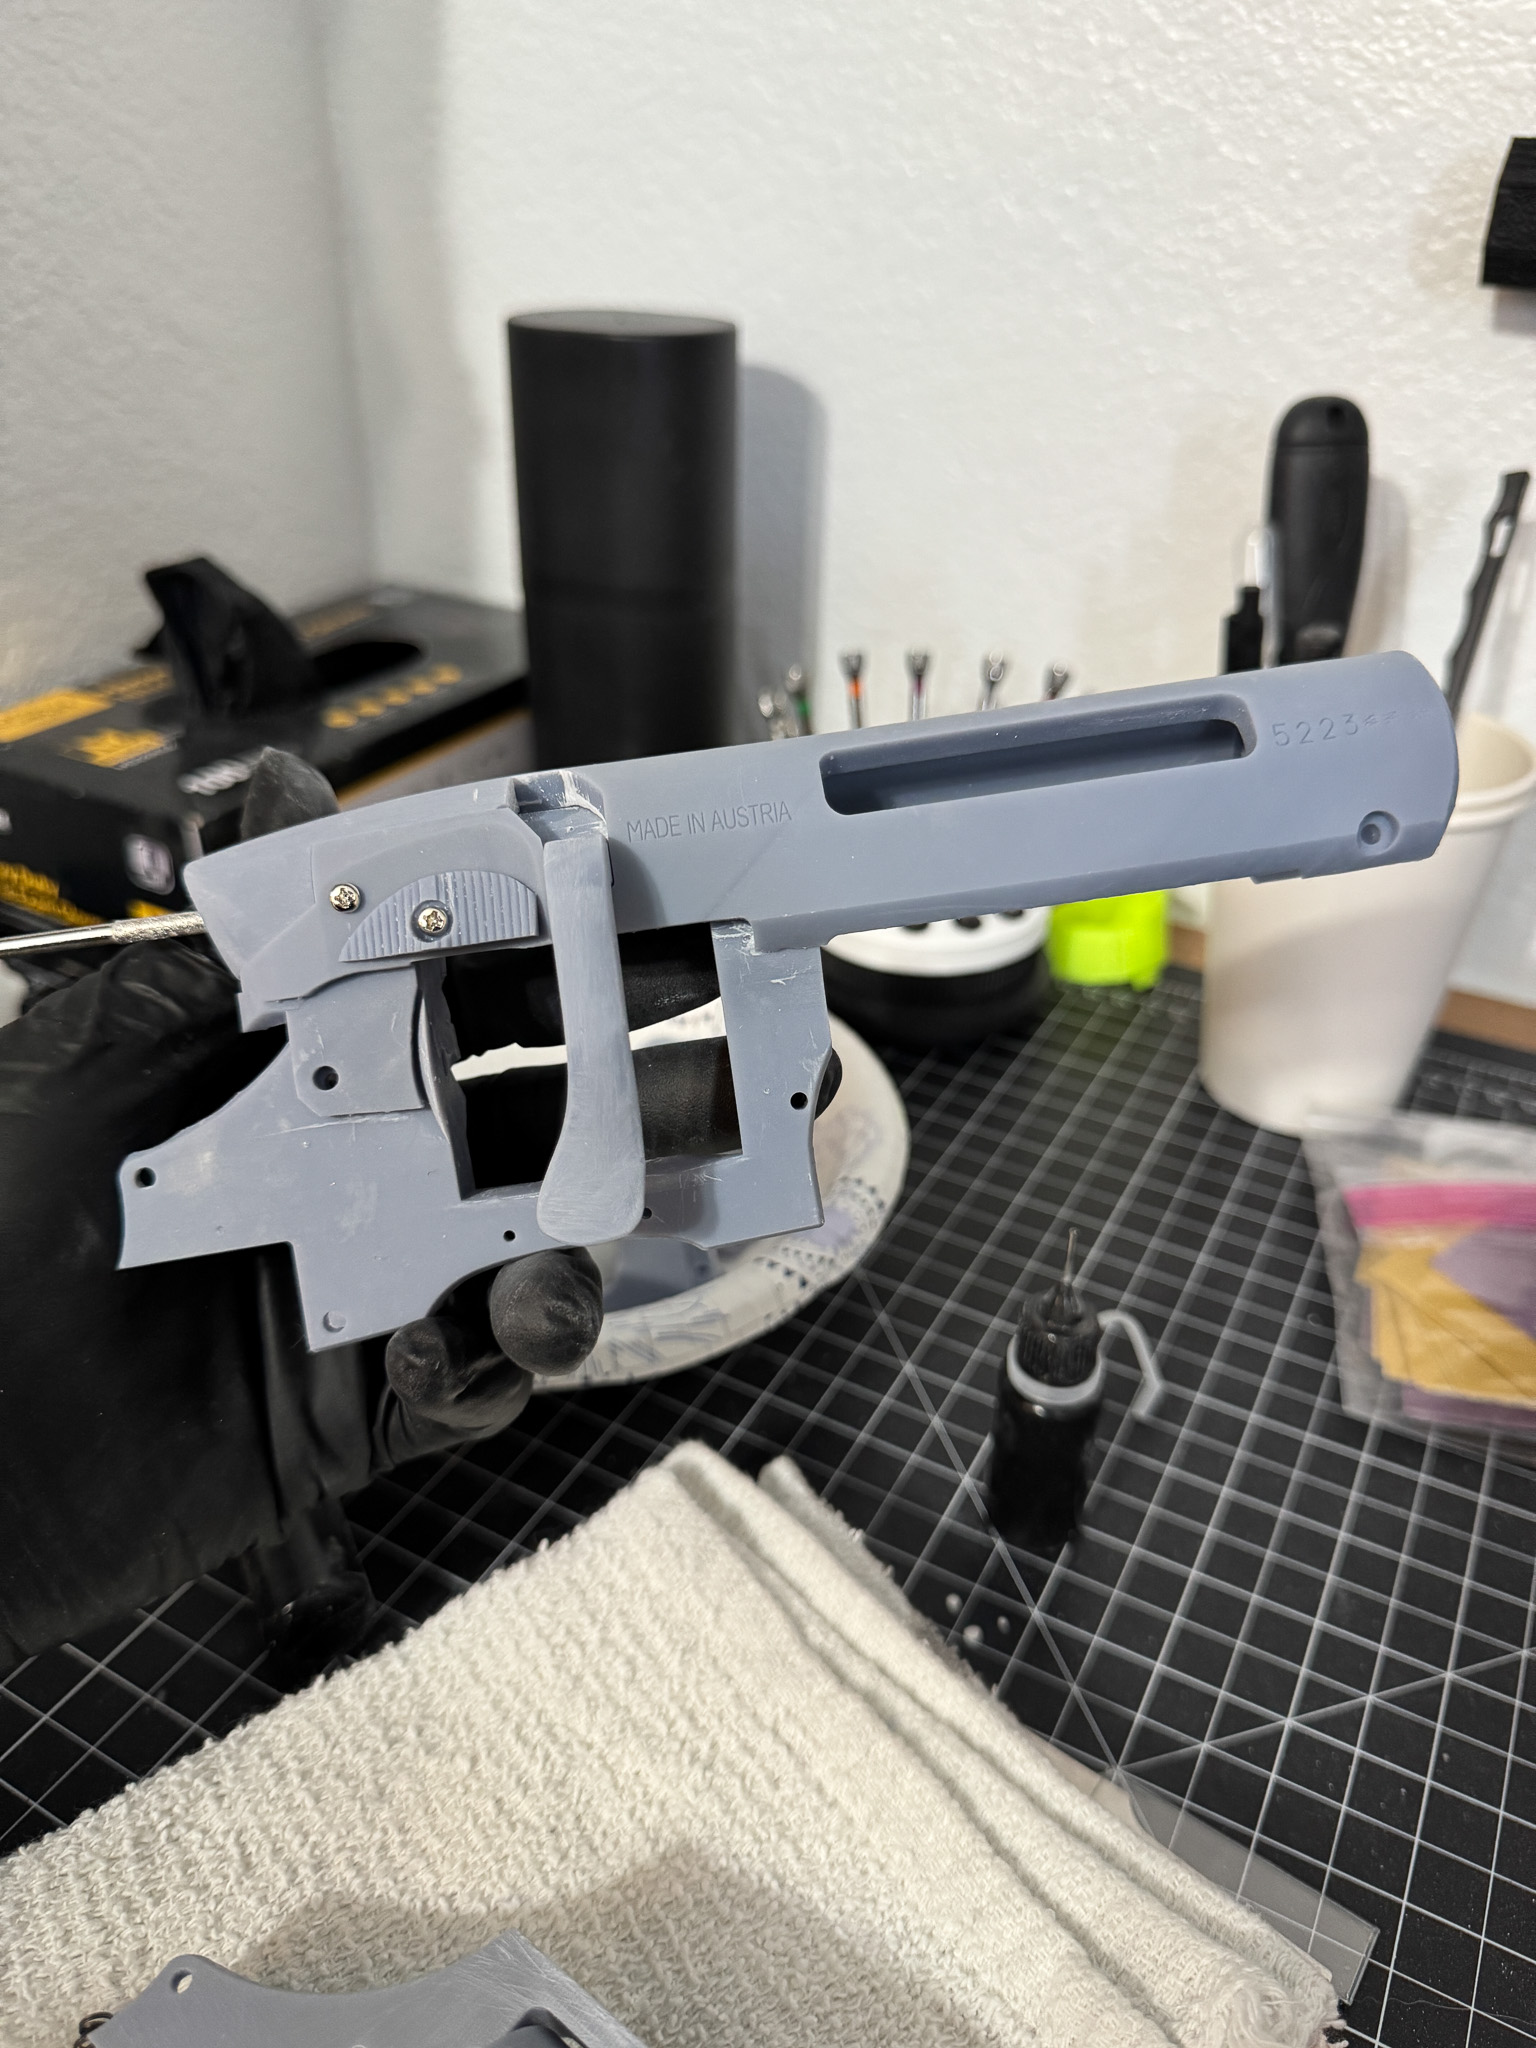
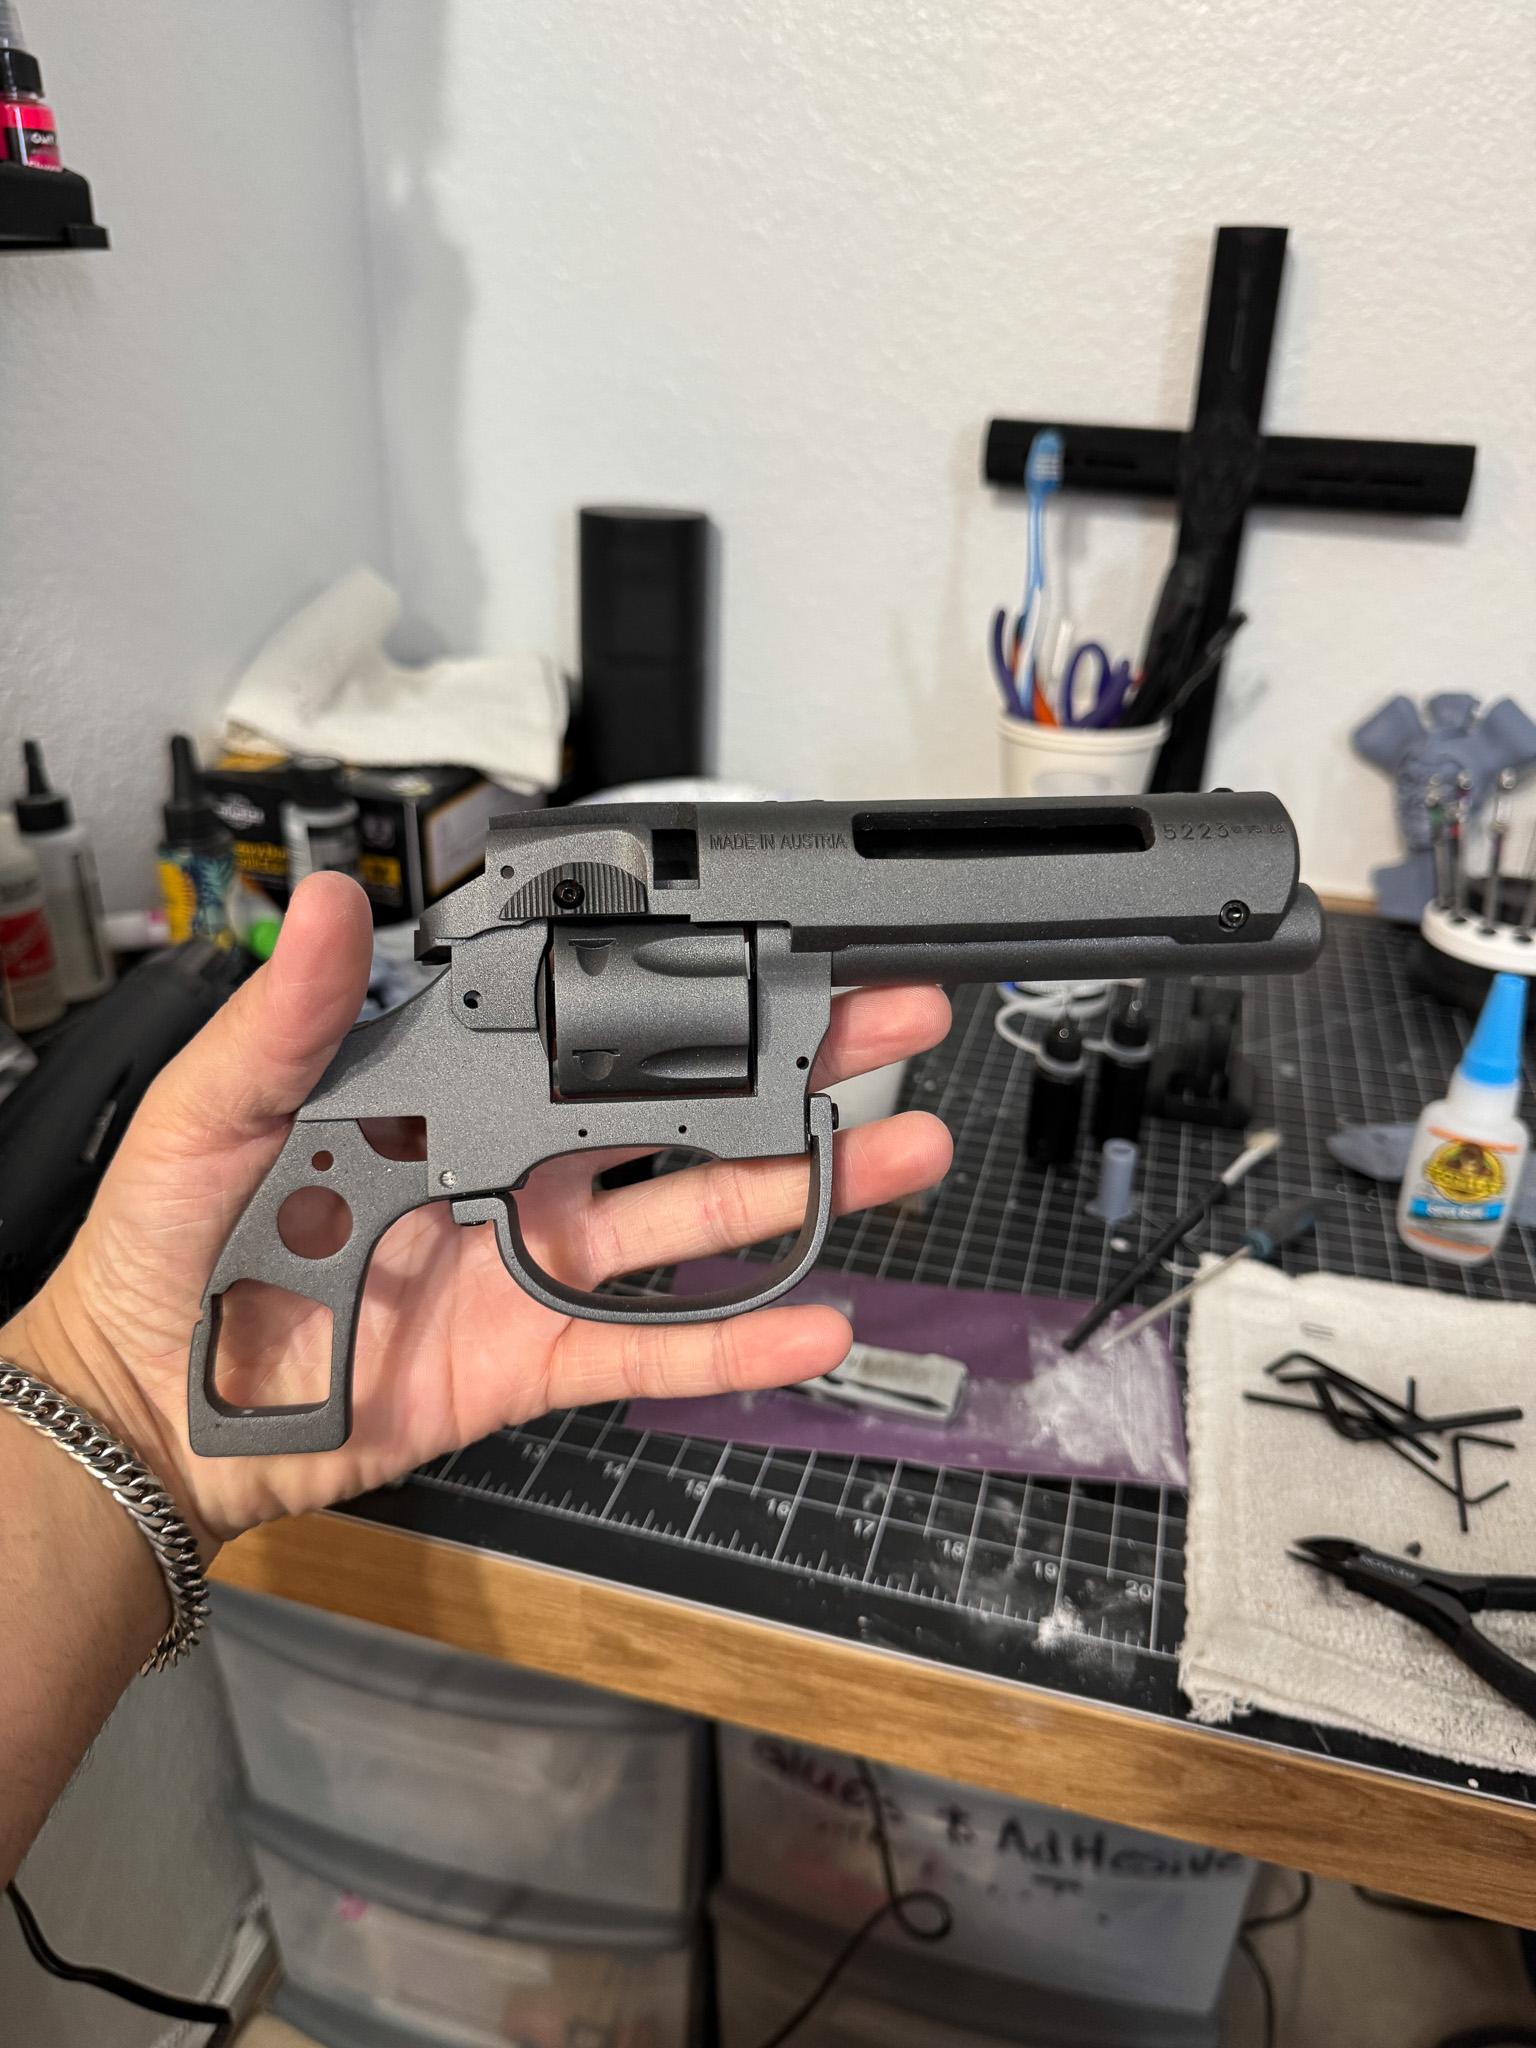
The design incorporates real screws, springs, pins, rods, magnets, and threaded hardware throughout the build. The cylinder assembly, bolt mechanism, grip installation, and several internal components all use actual hardware rather than simply being glued together.
That may sound like a small detail, but it completely changes how the finished prop feels.
- When you pick it up, it feels solid.
- The moving parts have weight.
- The assemblies feel mechanical.
The entire prop feels more like a real object and less like something that came off a printer.
Every screw installed made the build feel a little more authentic, and by the time everything was assembled, it was clear why the designer chose to build it this way. This was one of those projects where assembling the hardware was just as satisfying as printing the parts themselves.
Printing the Parts
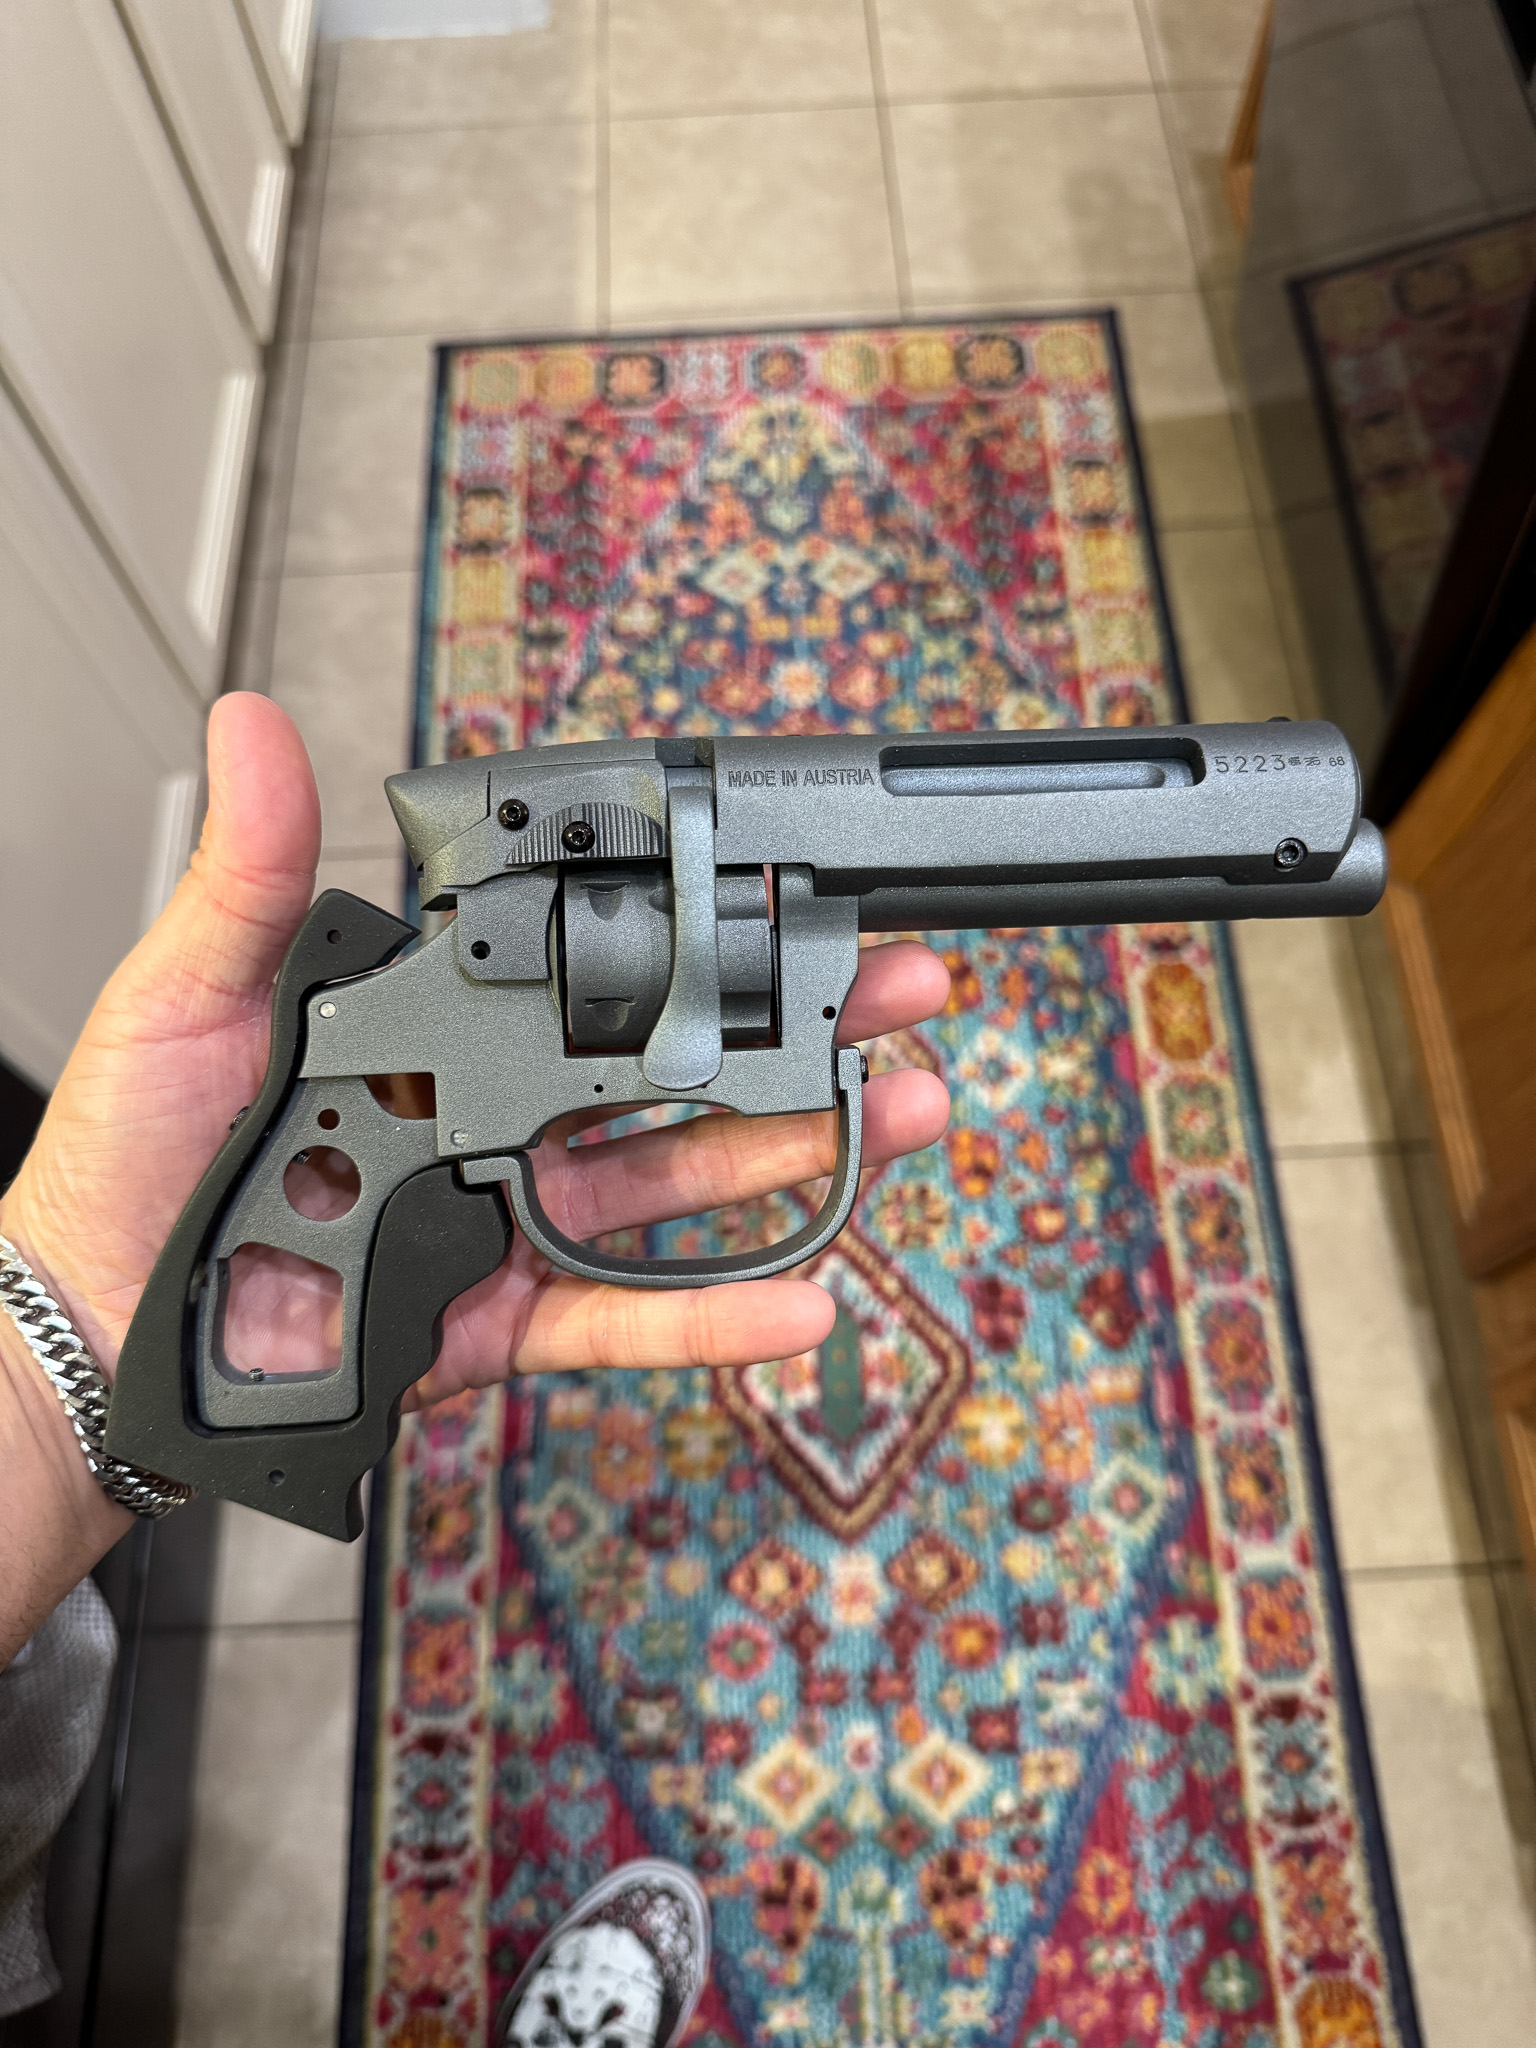
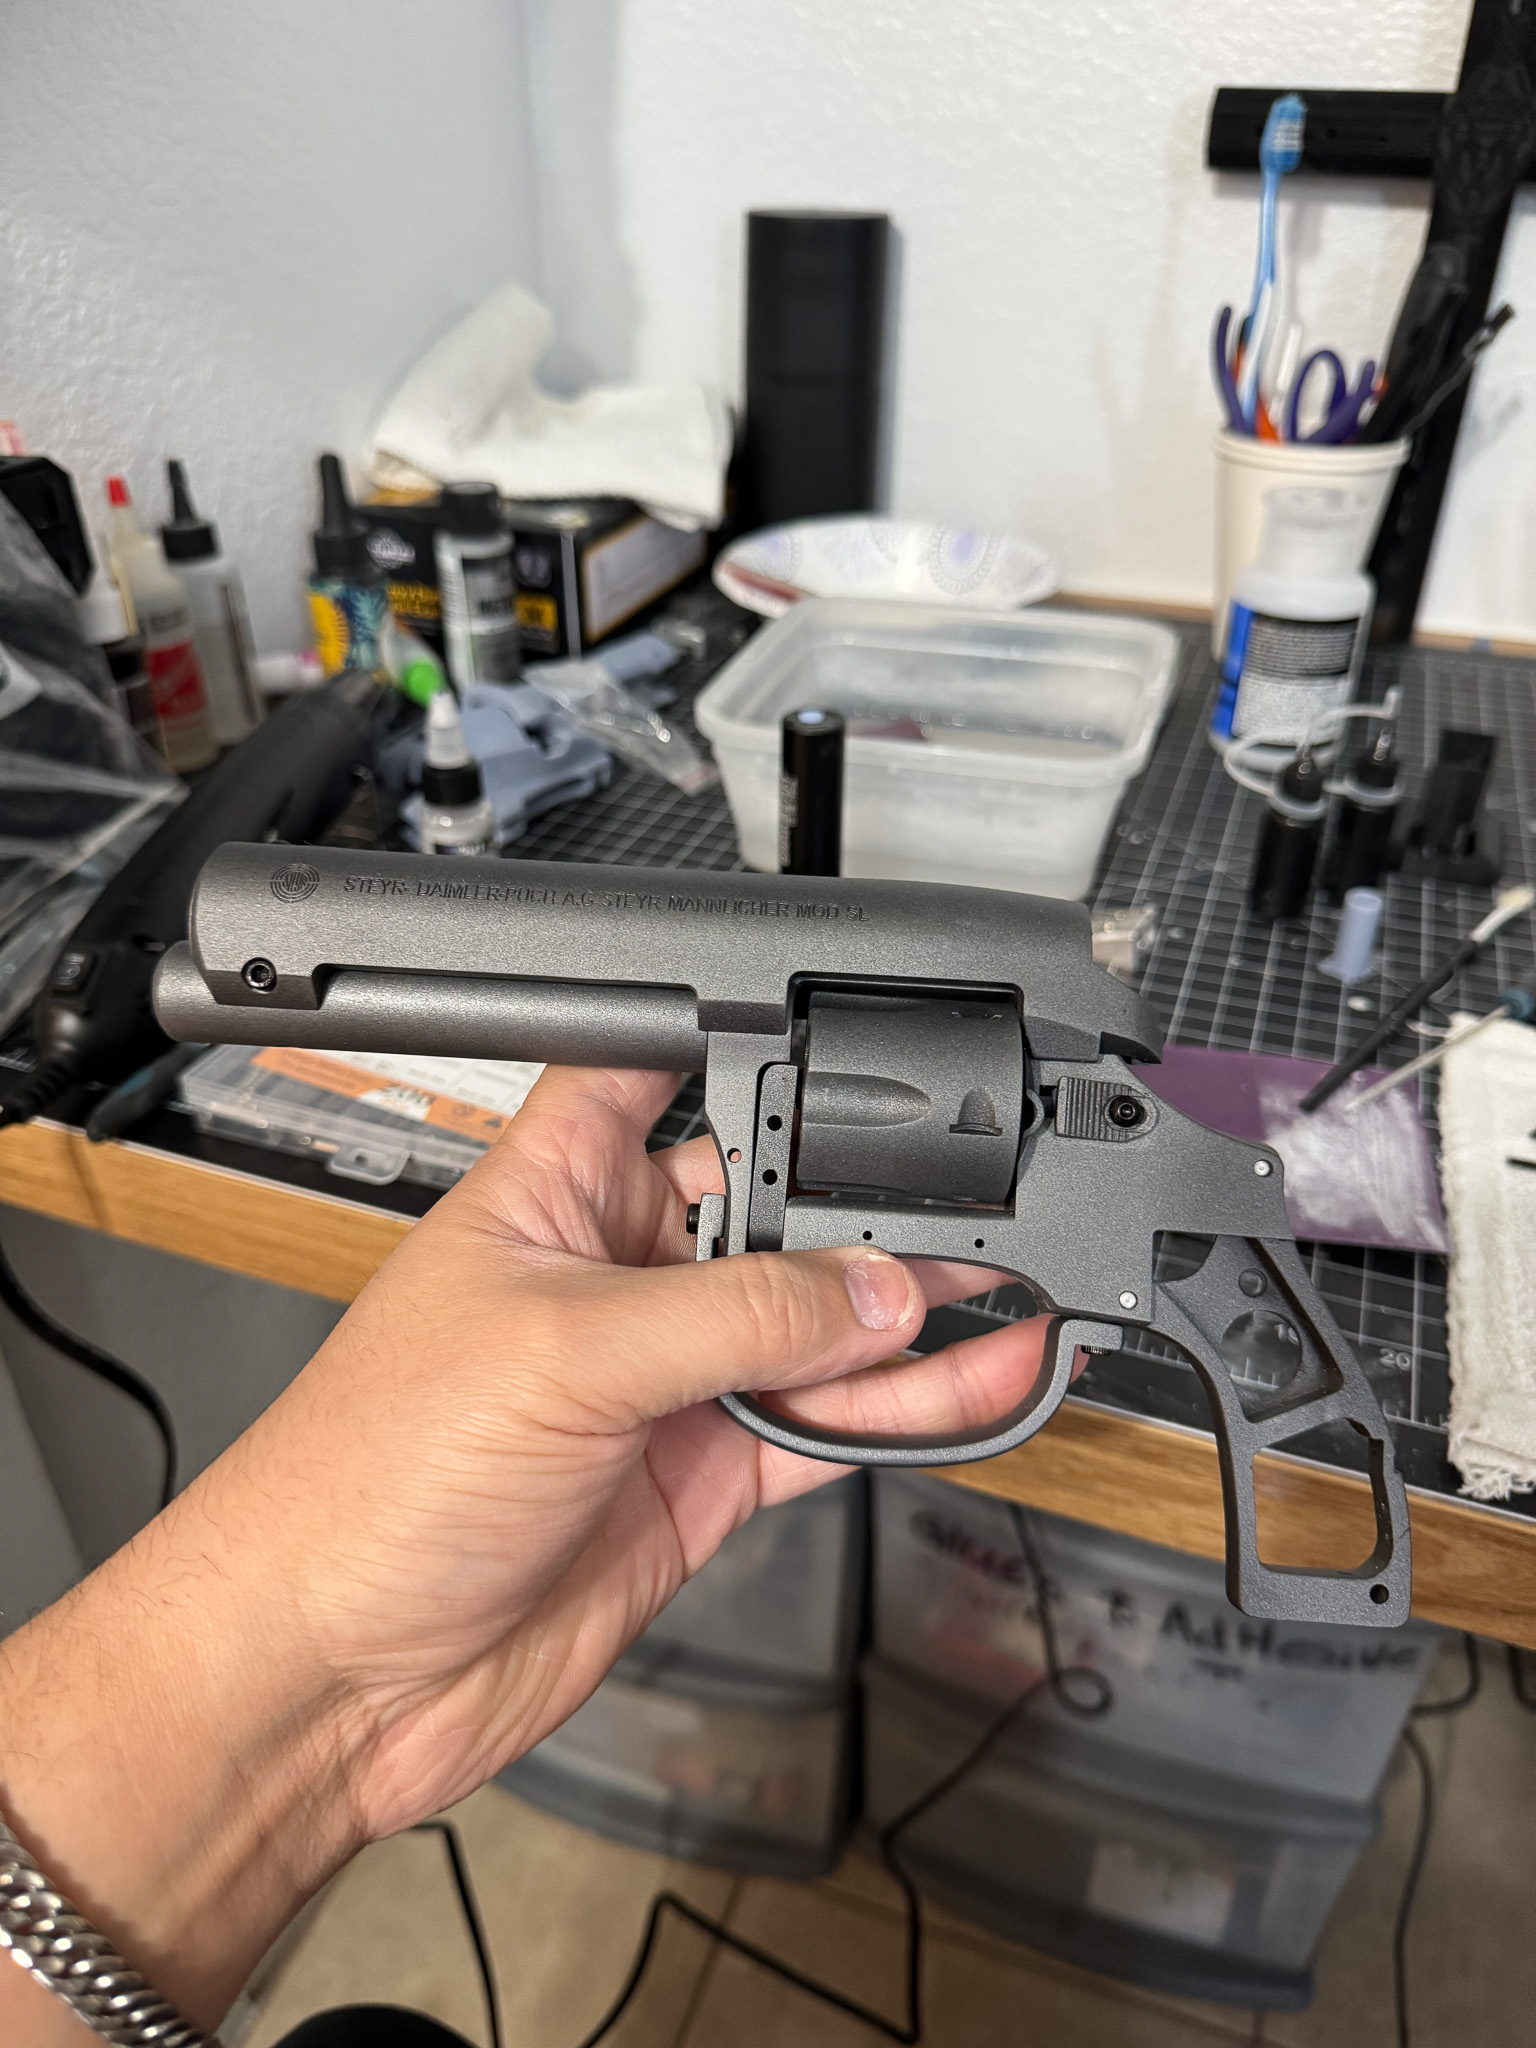
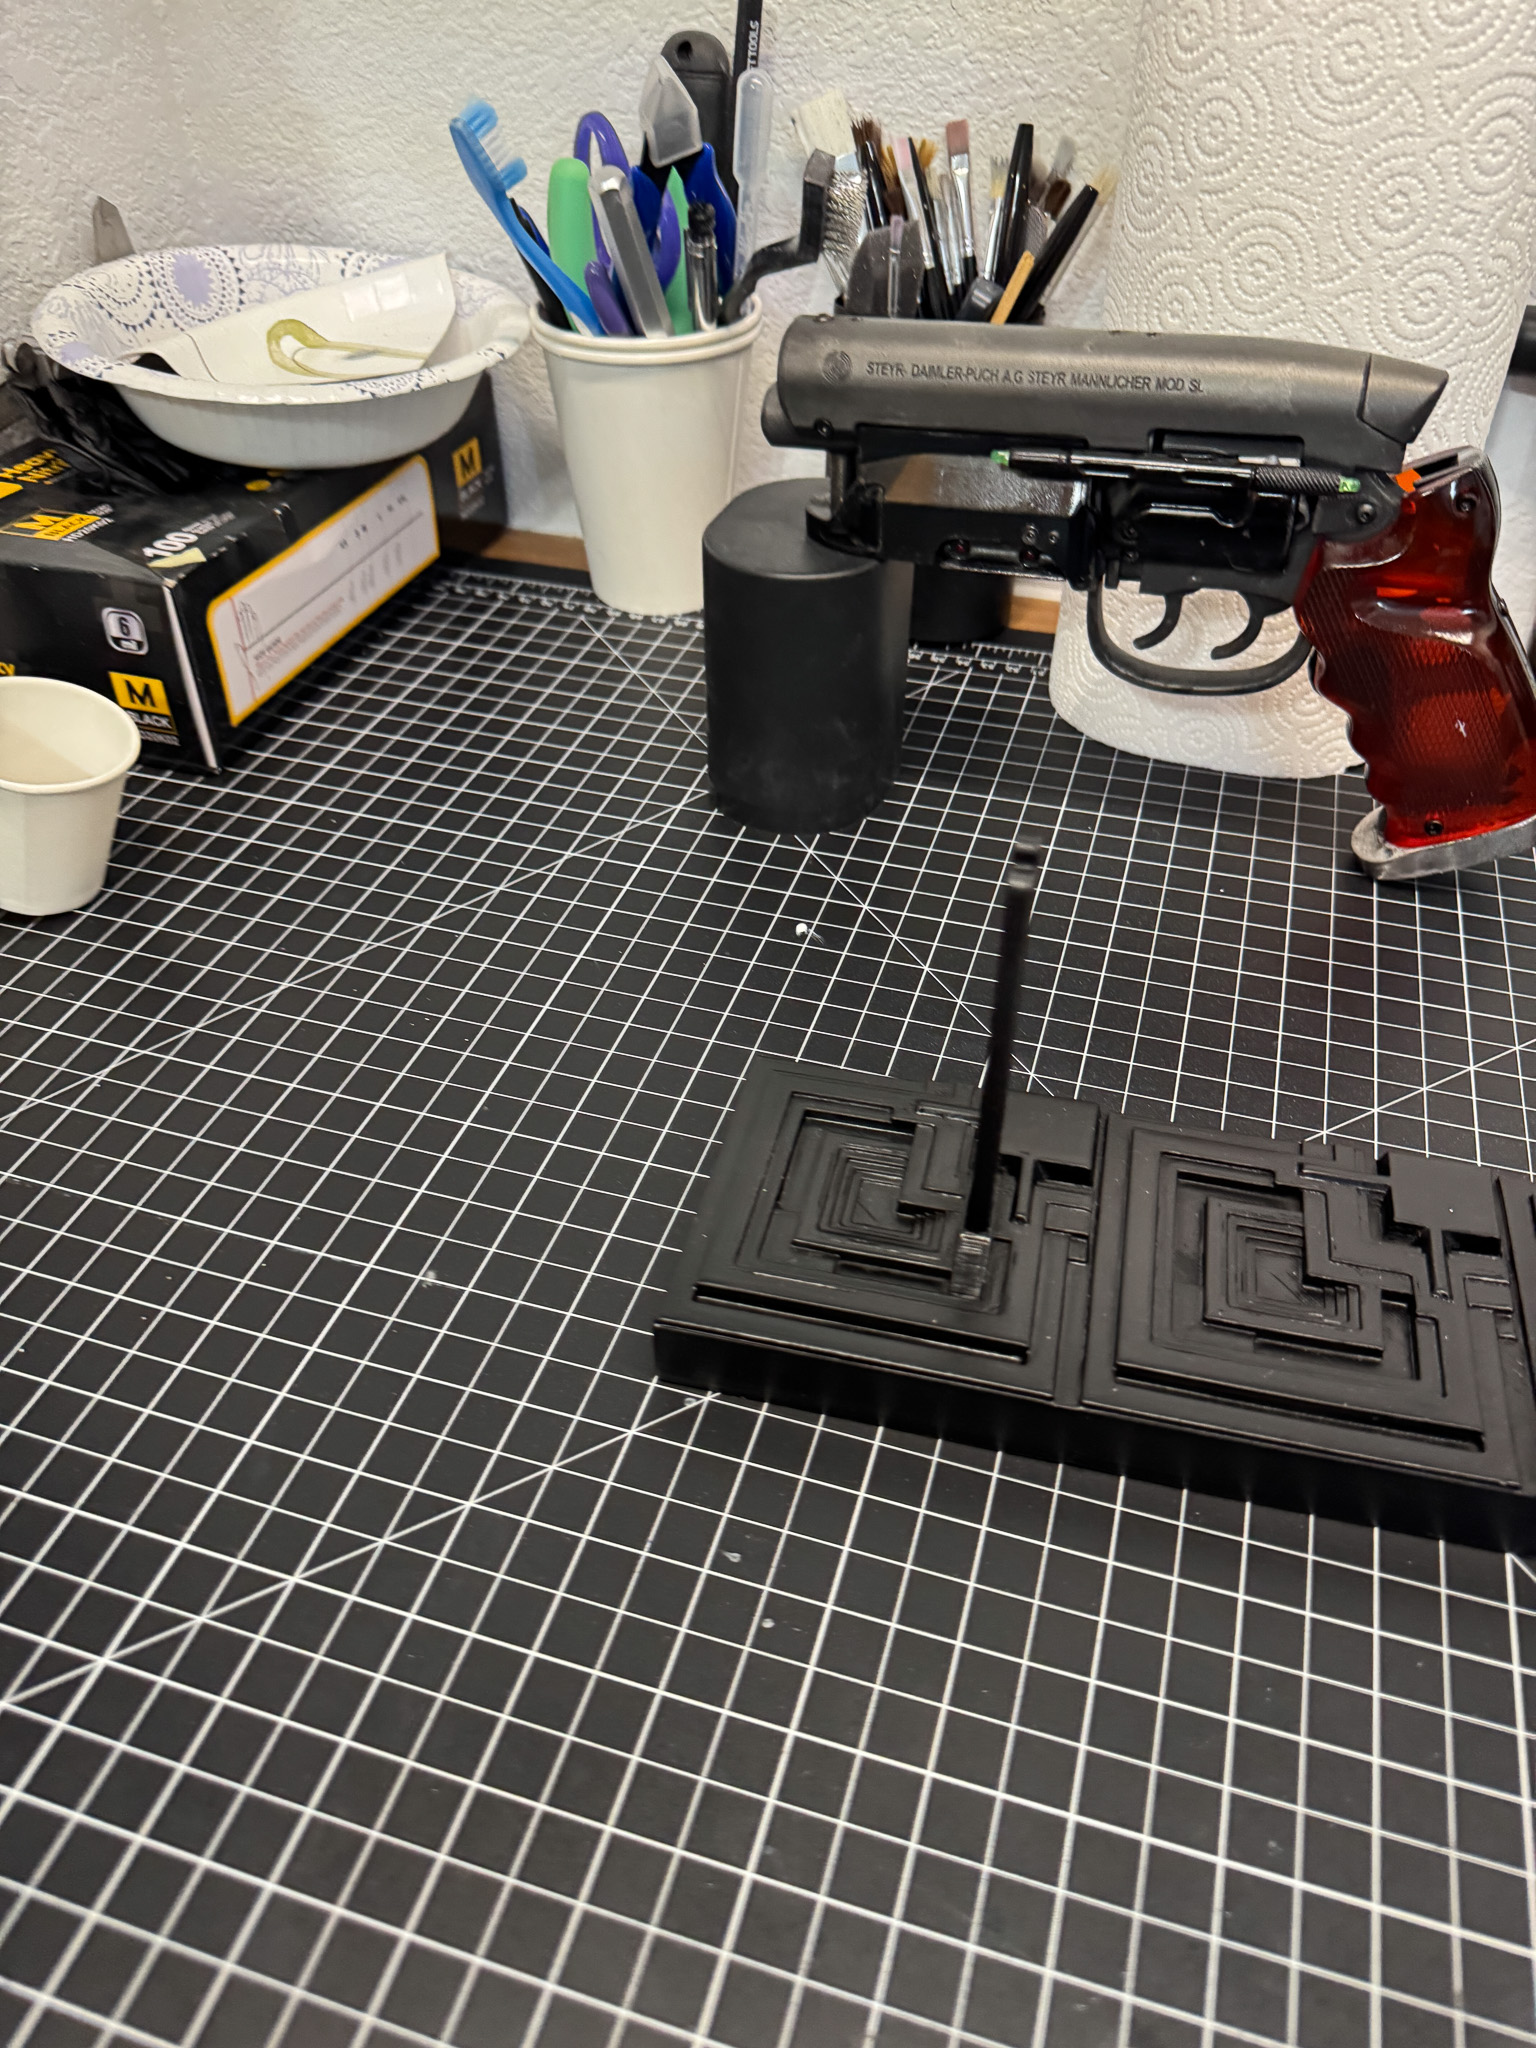
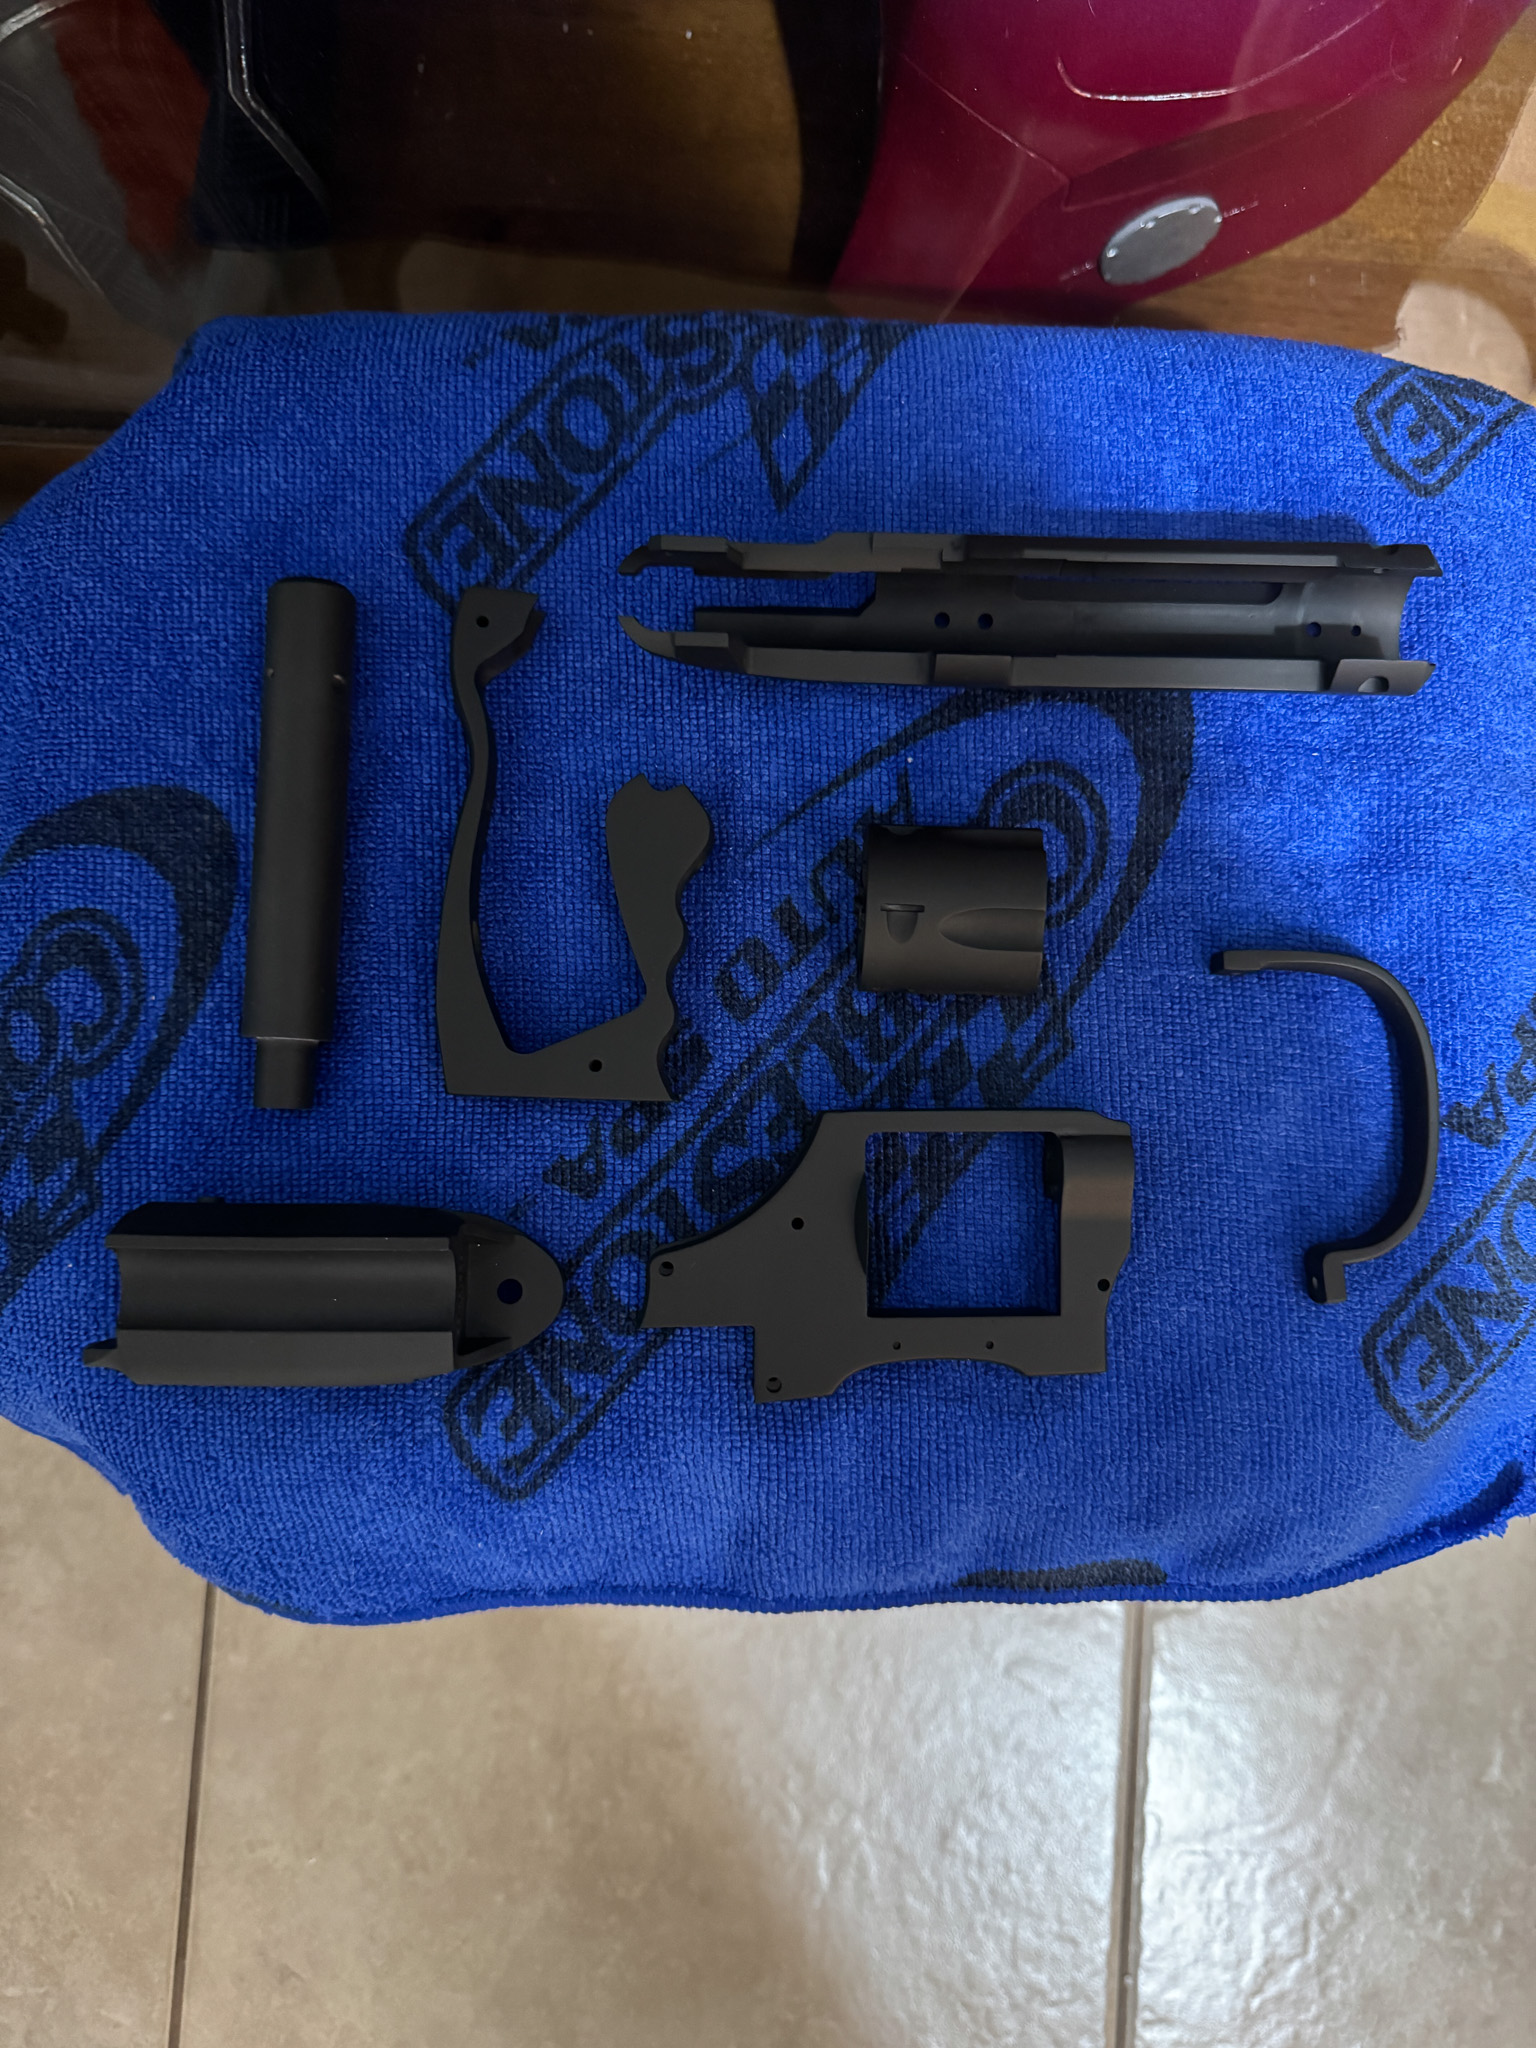
Everything on the blaster itself was printed in resin using my Saturn 2 Ultra.
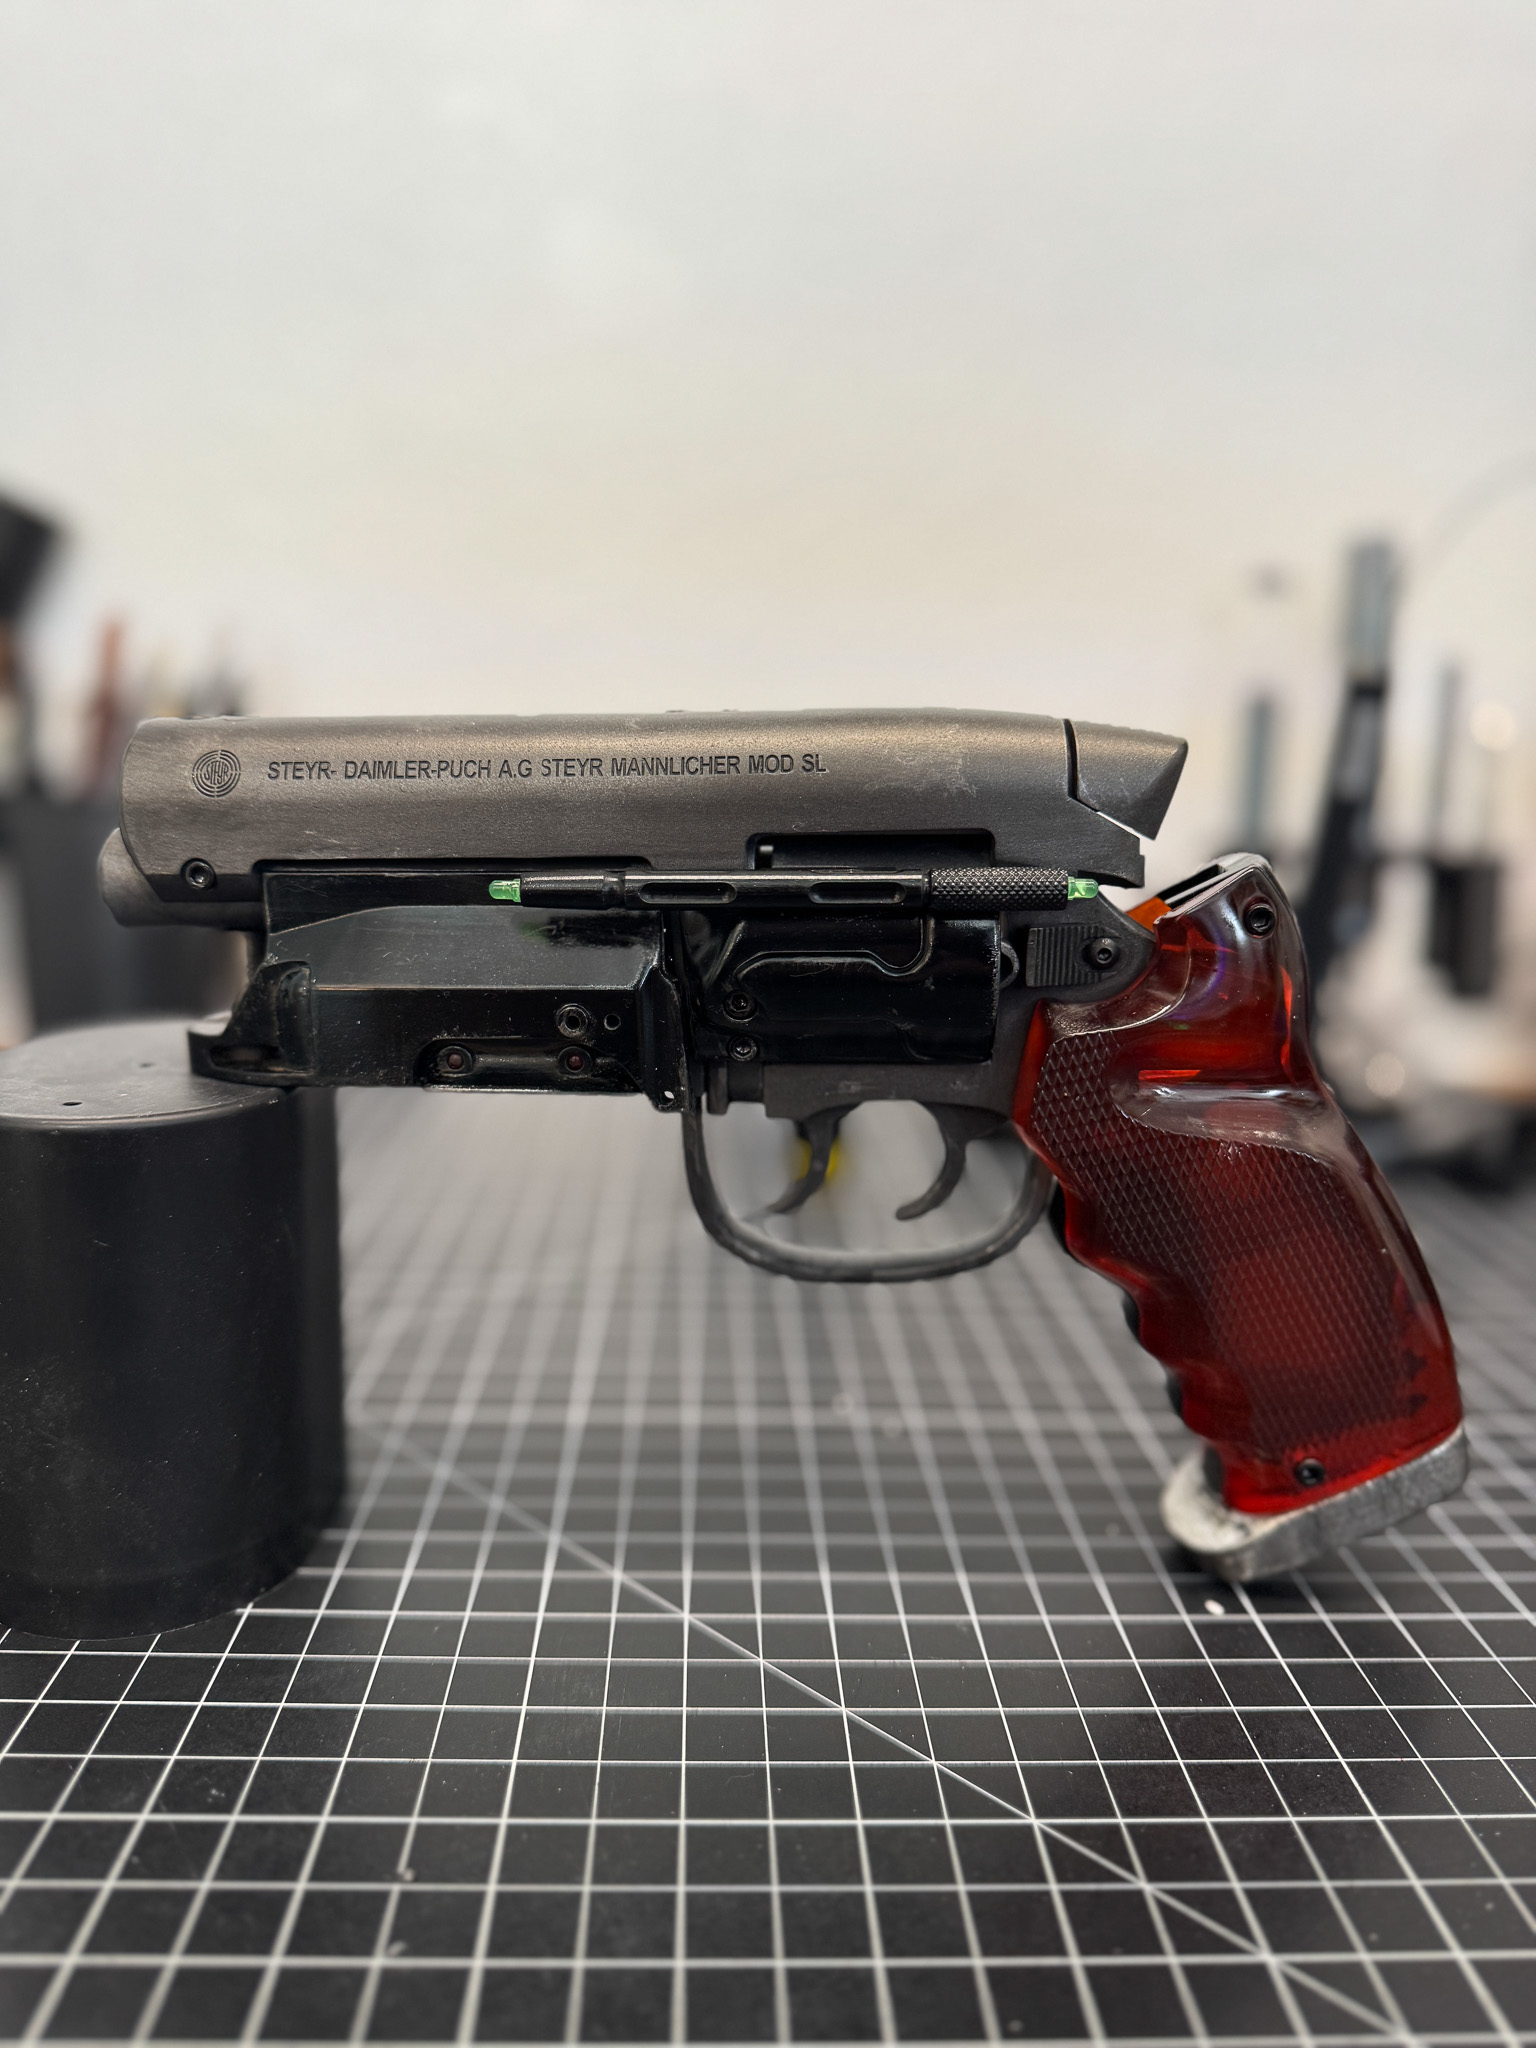
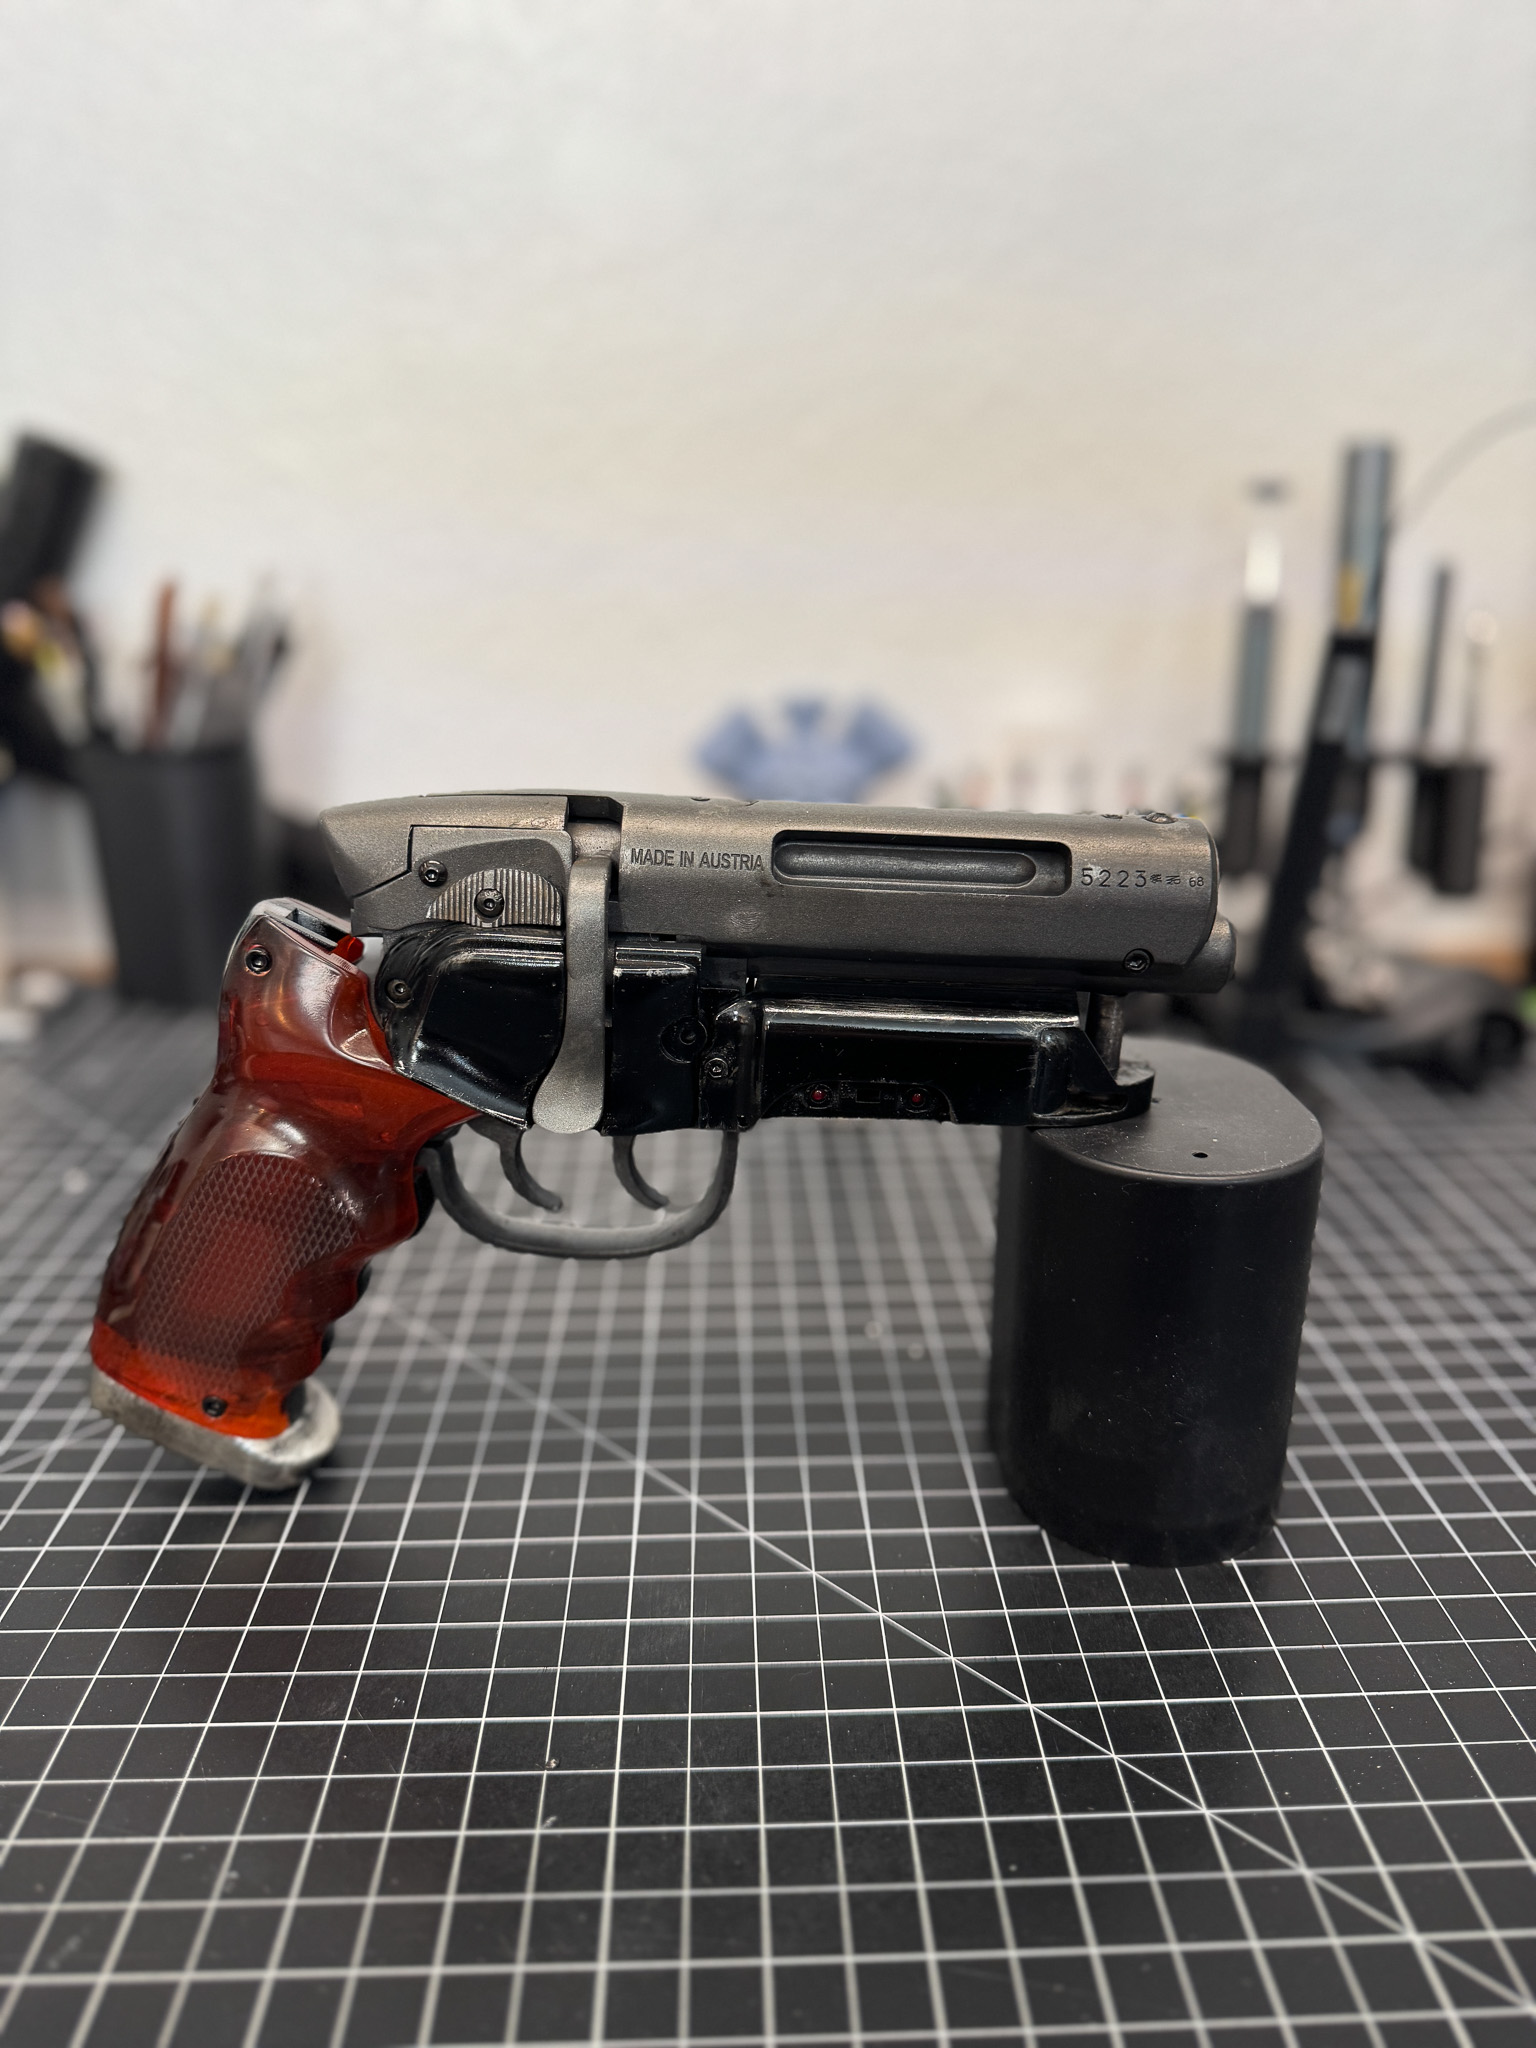
The printer absolutely shined on the smaller details. Surface textures, engraved markings, screw recesses, panel lines, and all of the tiny mechanical features printed beautifully with minimal cleanup required.
One thing I appreciated was how well the parts fit together. After years of printing props, I've learned that good design work can save hours of sanding, filling, and frustration later.
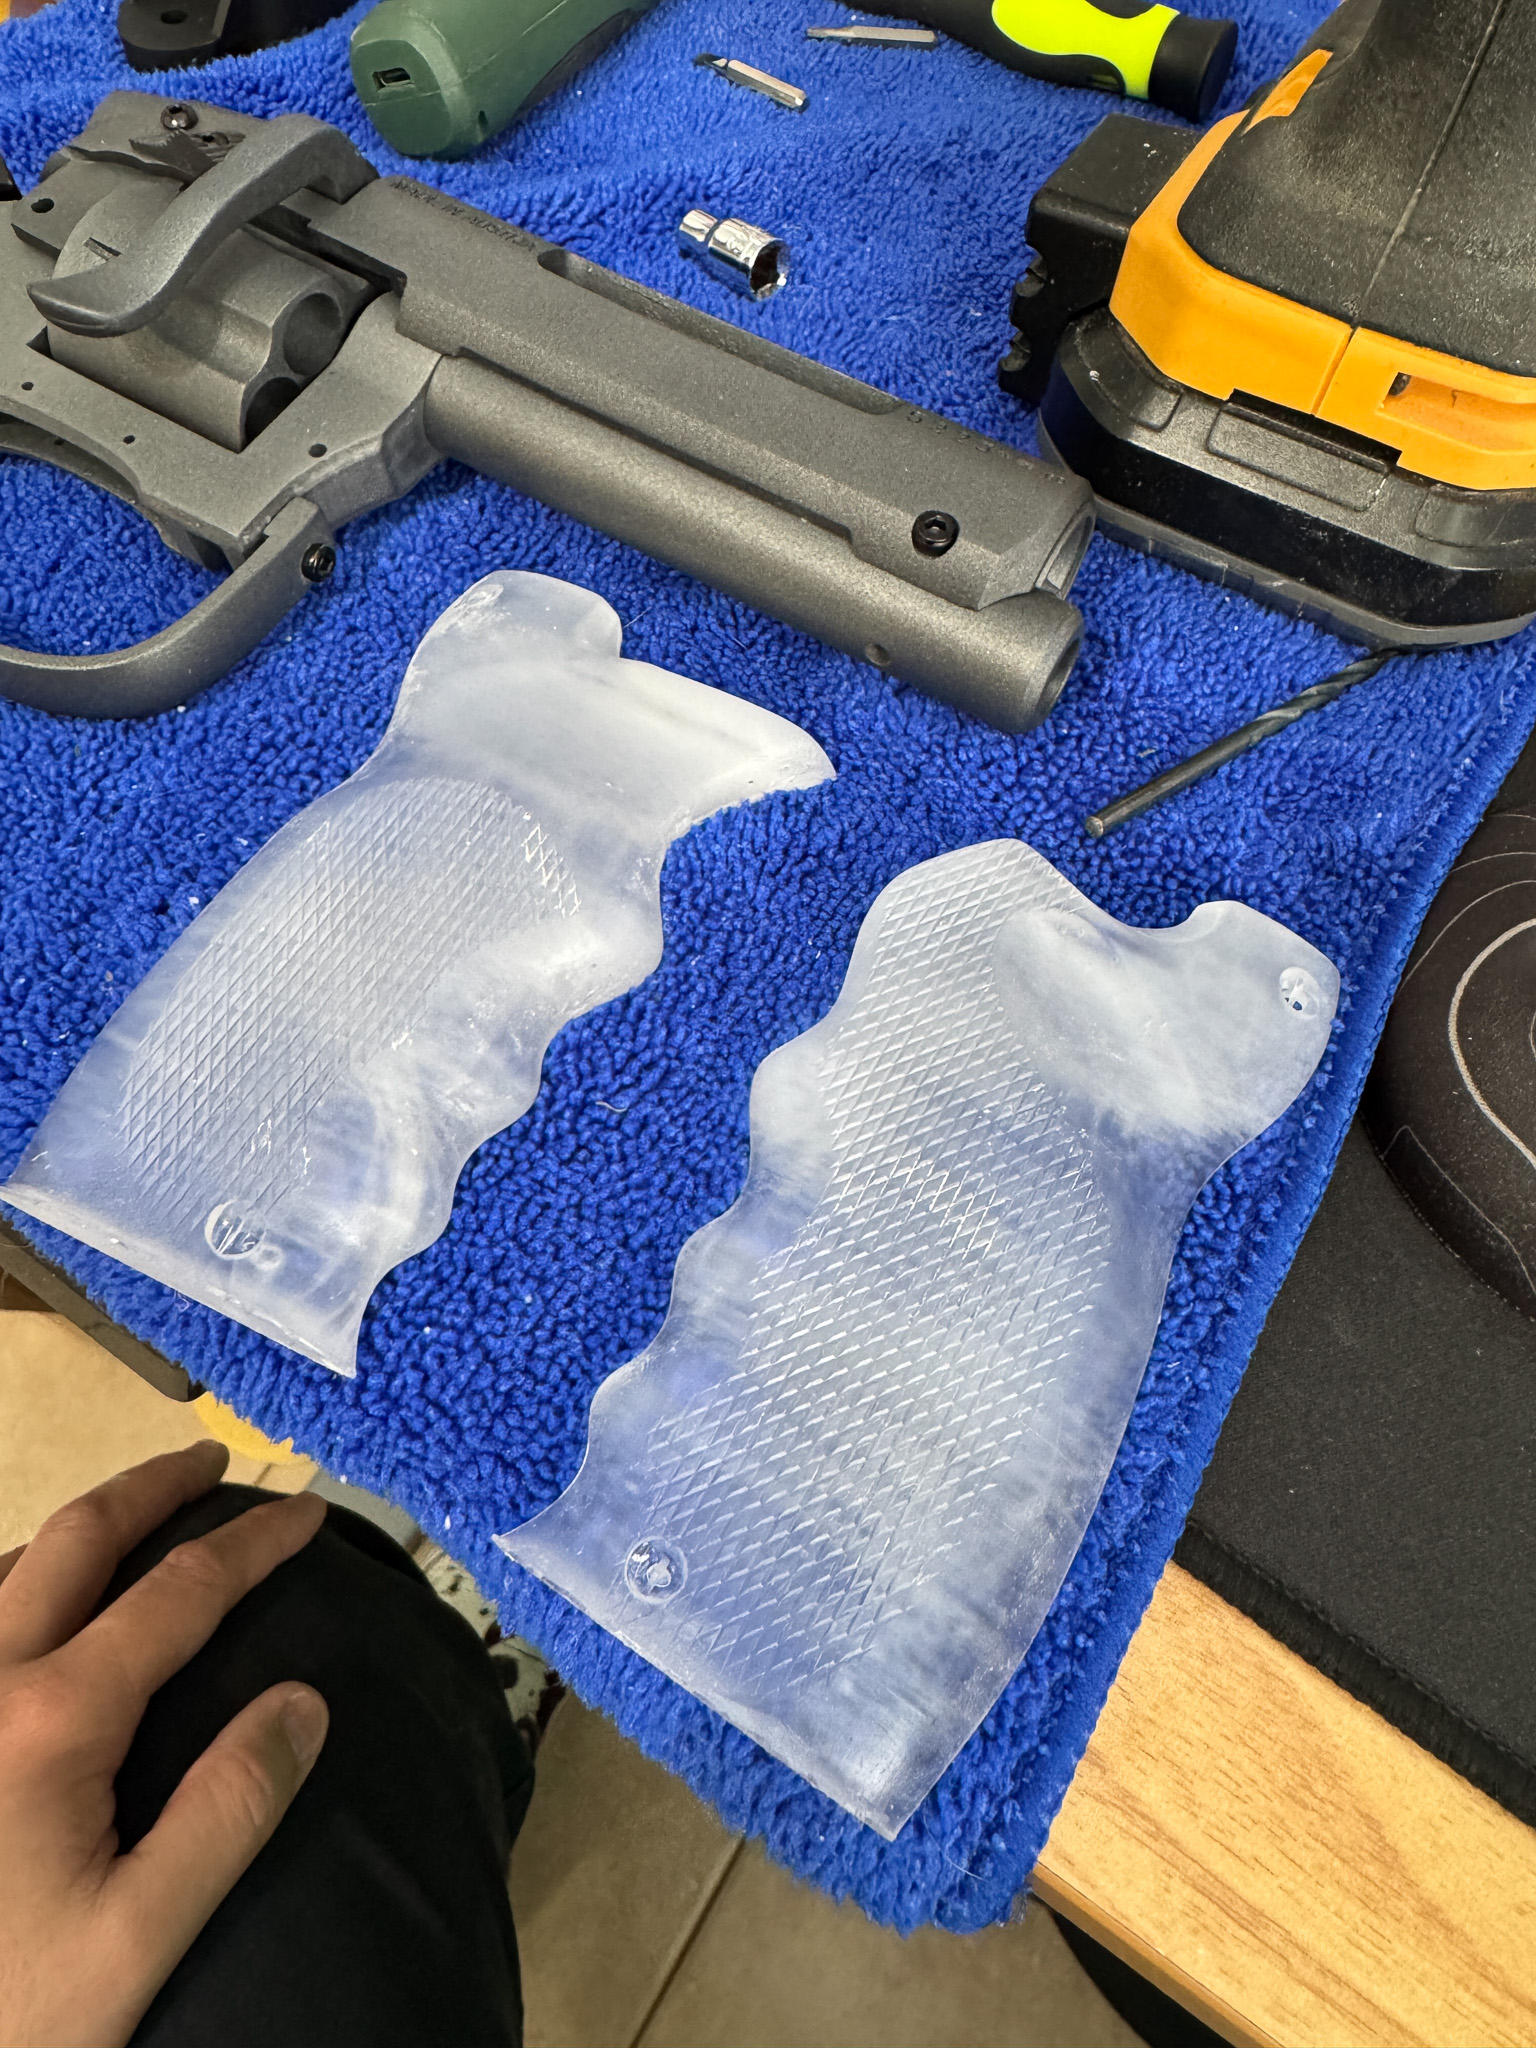
The most interesting pieces were definitely the grip panels.
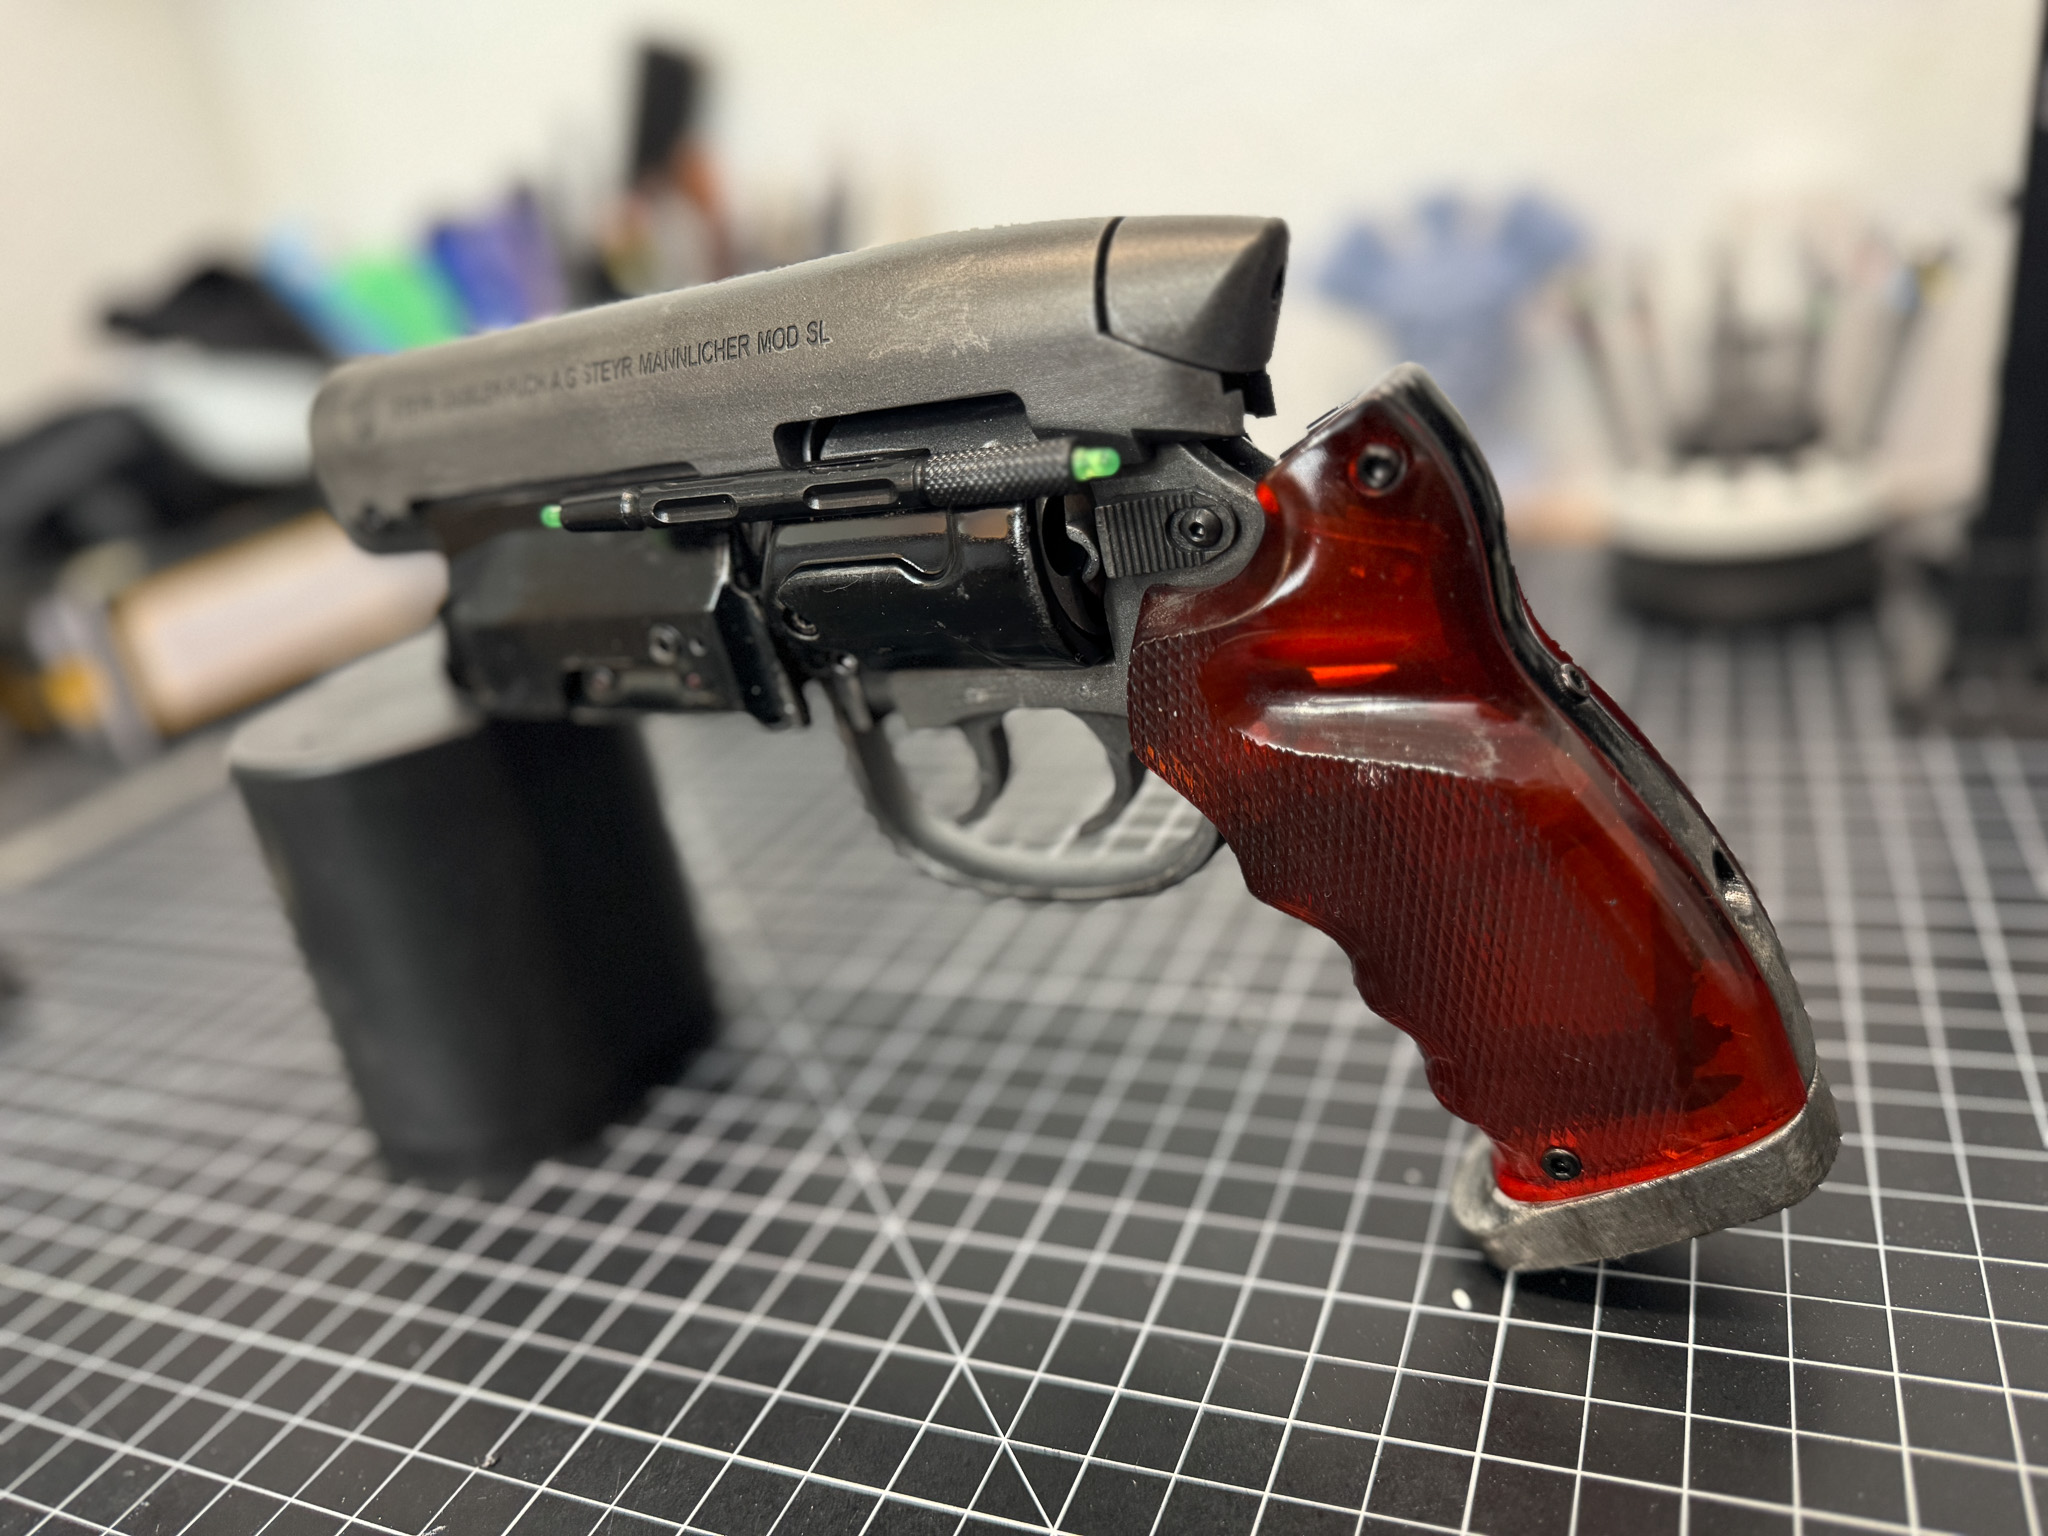
Rather than printing them in opaque resin and trying to recreate the effect with paint, I printed them entirely in clear resin. It took a little more effort during finishing, but the results were absolutely worth it.
The transparency gives them a depth and realism that simply can't be achieved with paint alone.
Bringing the Finish to Life
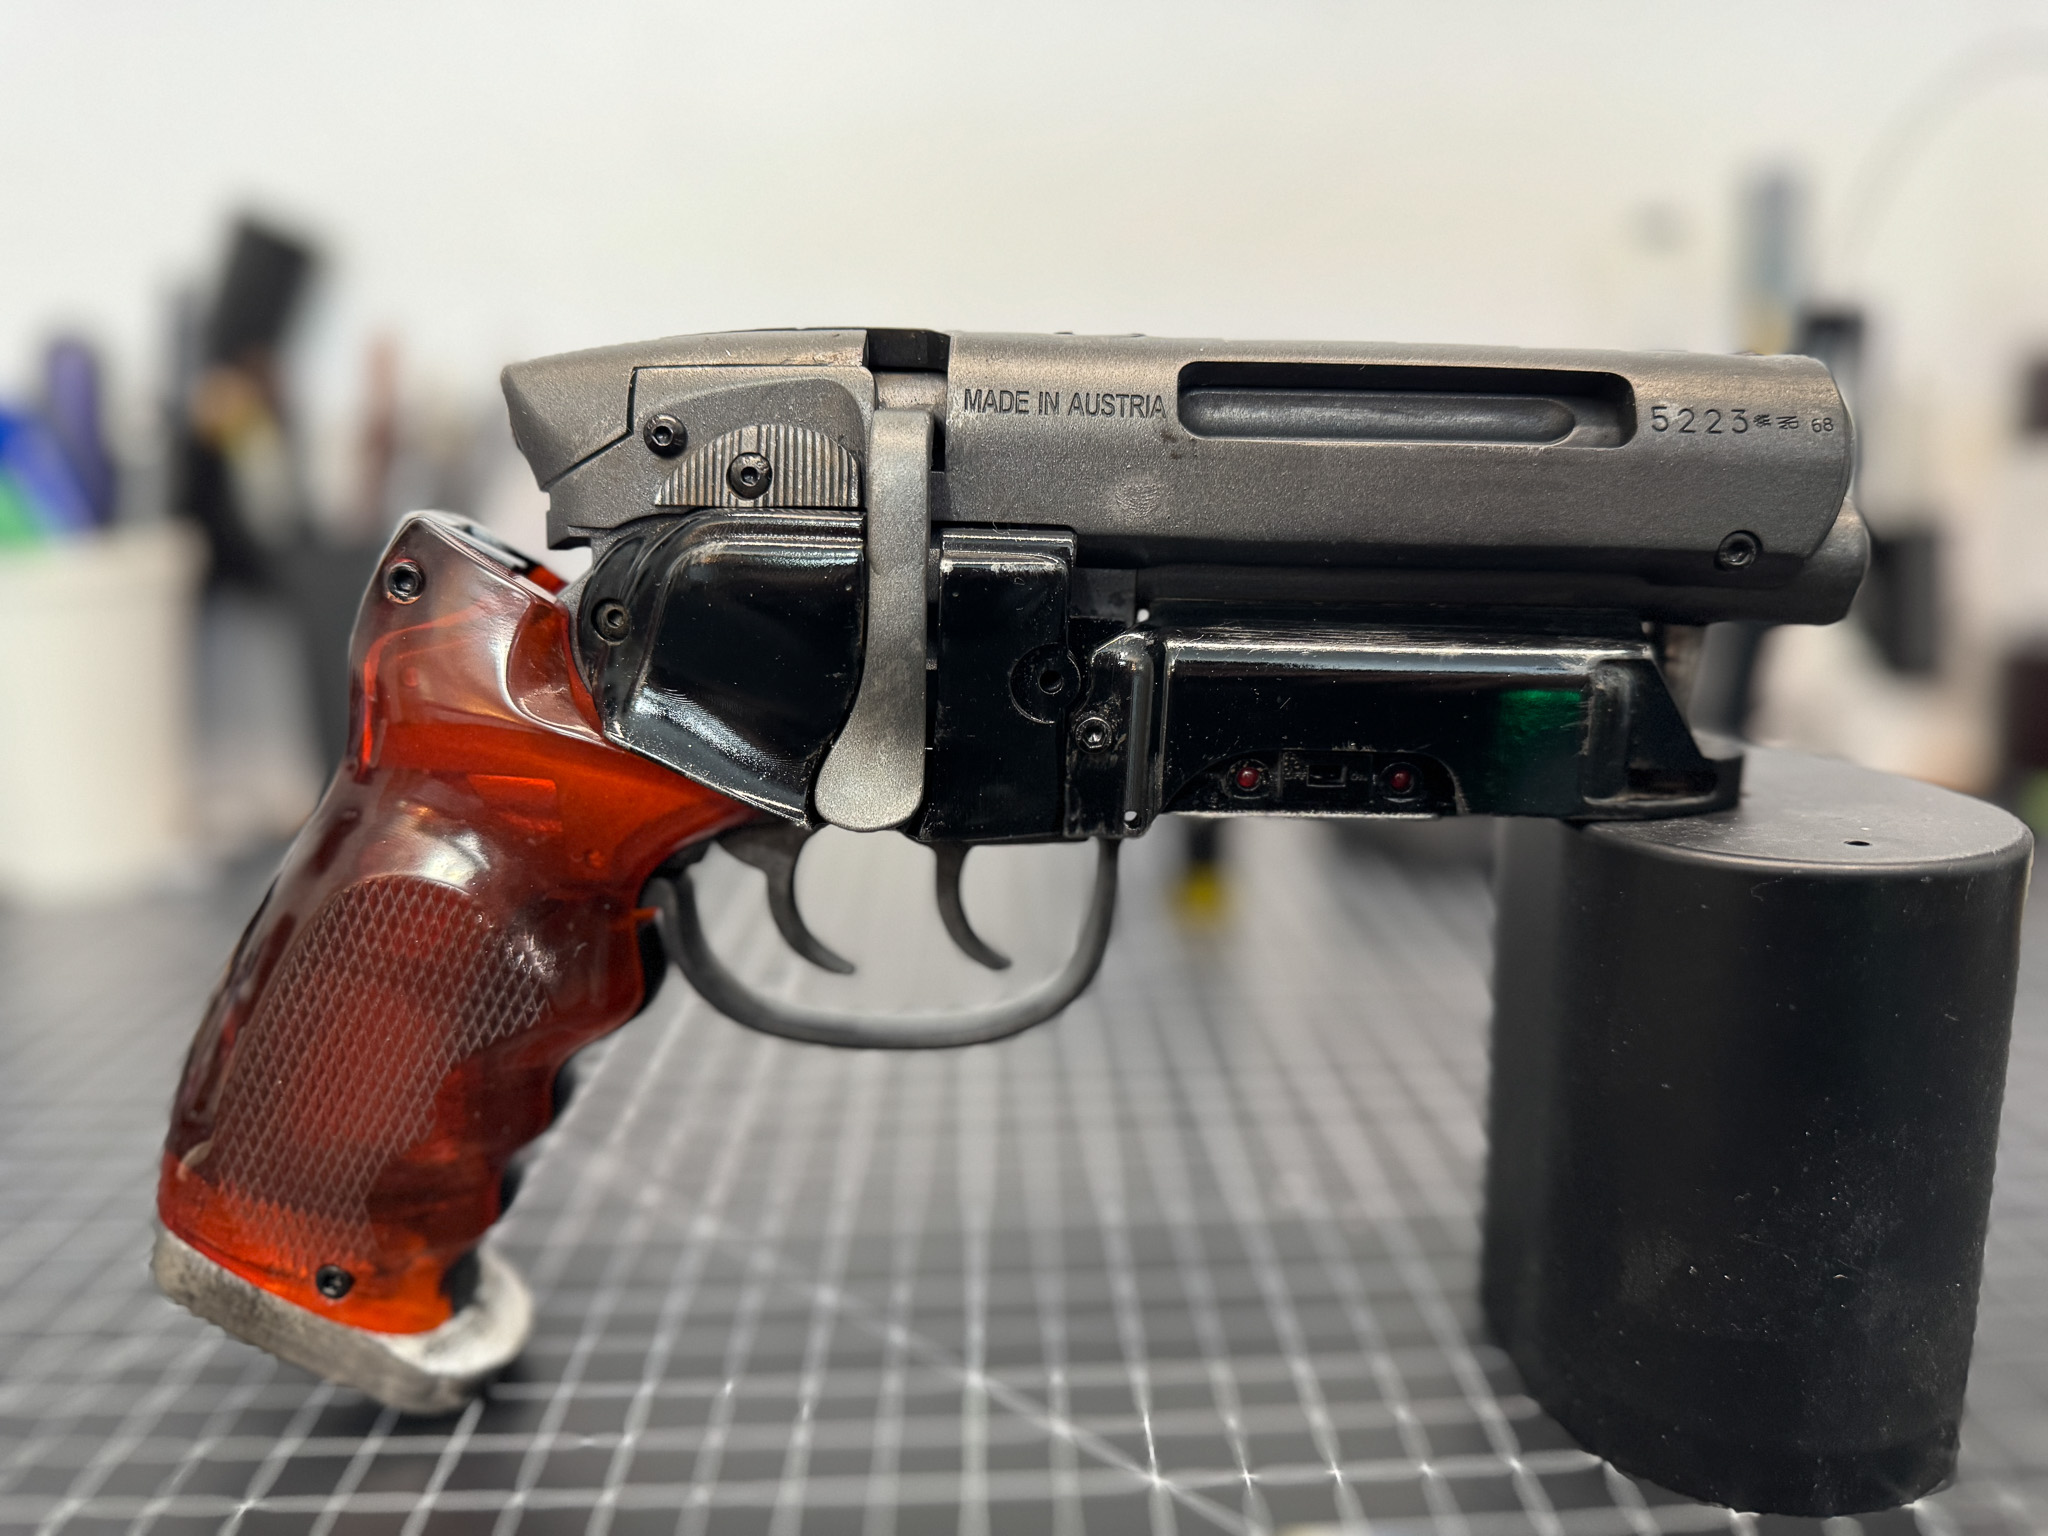
The paint and weathering stage is where this project really started to come alive.
One thing I've noticed with Blade Runner blasters is that they're often painted one of two ways. They're either completely pristine or weathered so heavily they look like they've survived several decades in a wasteland.
I wanted something in between.
The Blade Runner blaster has always felt like a tool to me. Something that has been carried, maintained, and used regularly over the years. Not brand new, but not neglected either.
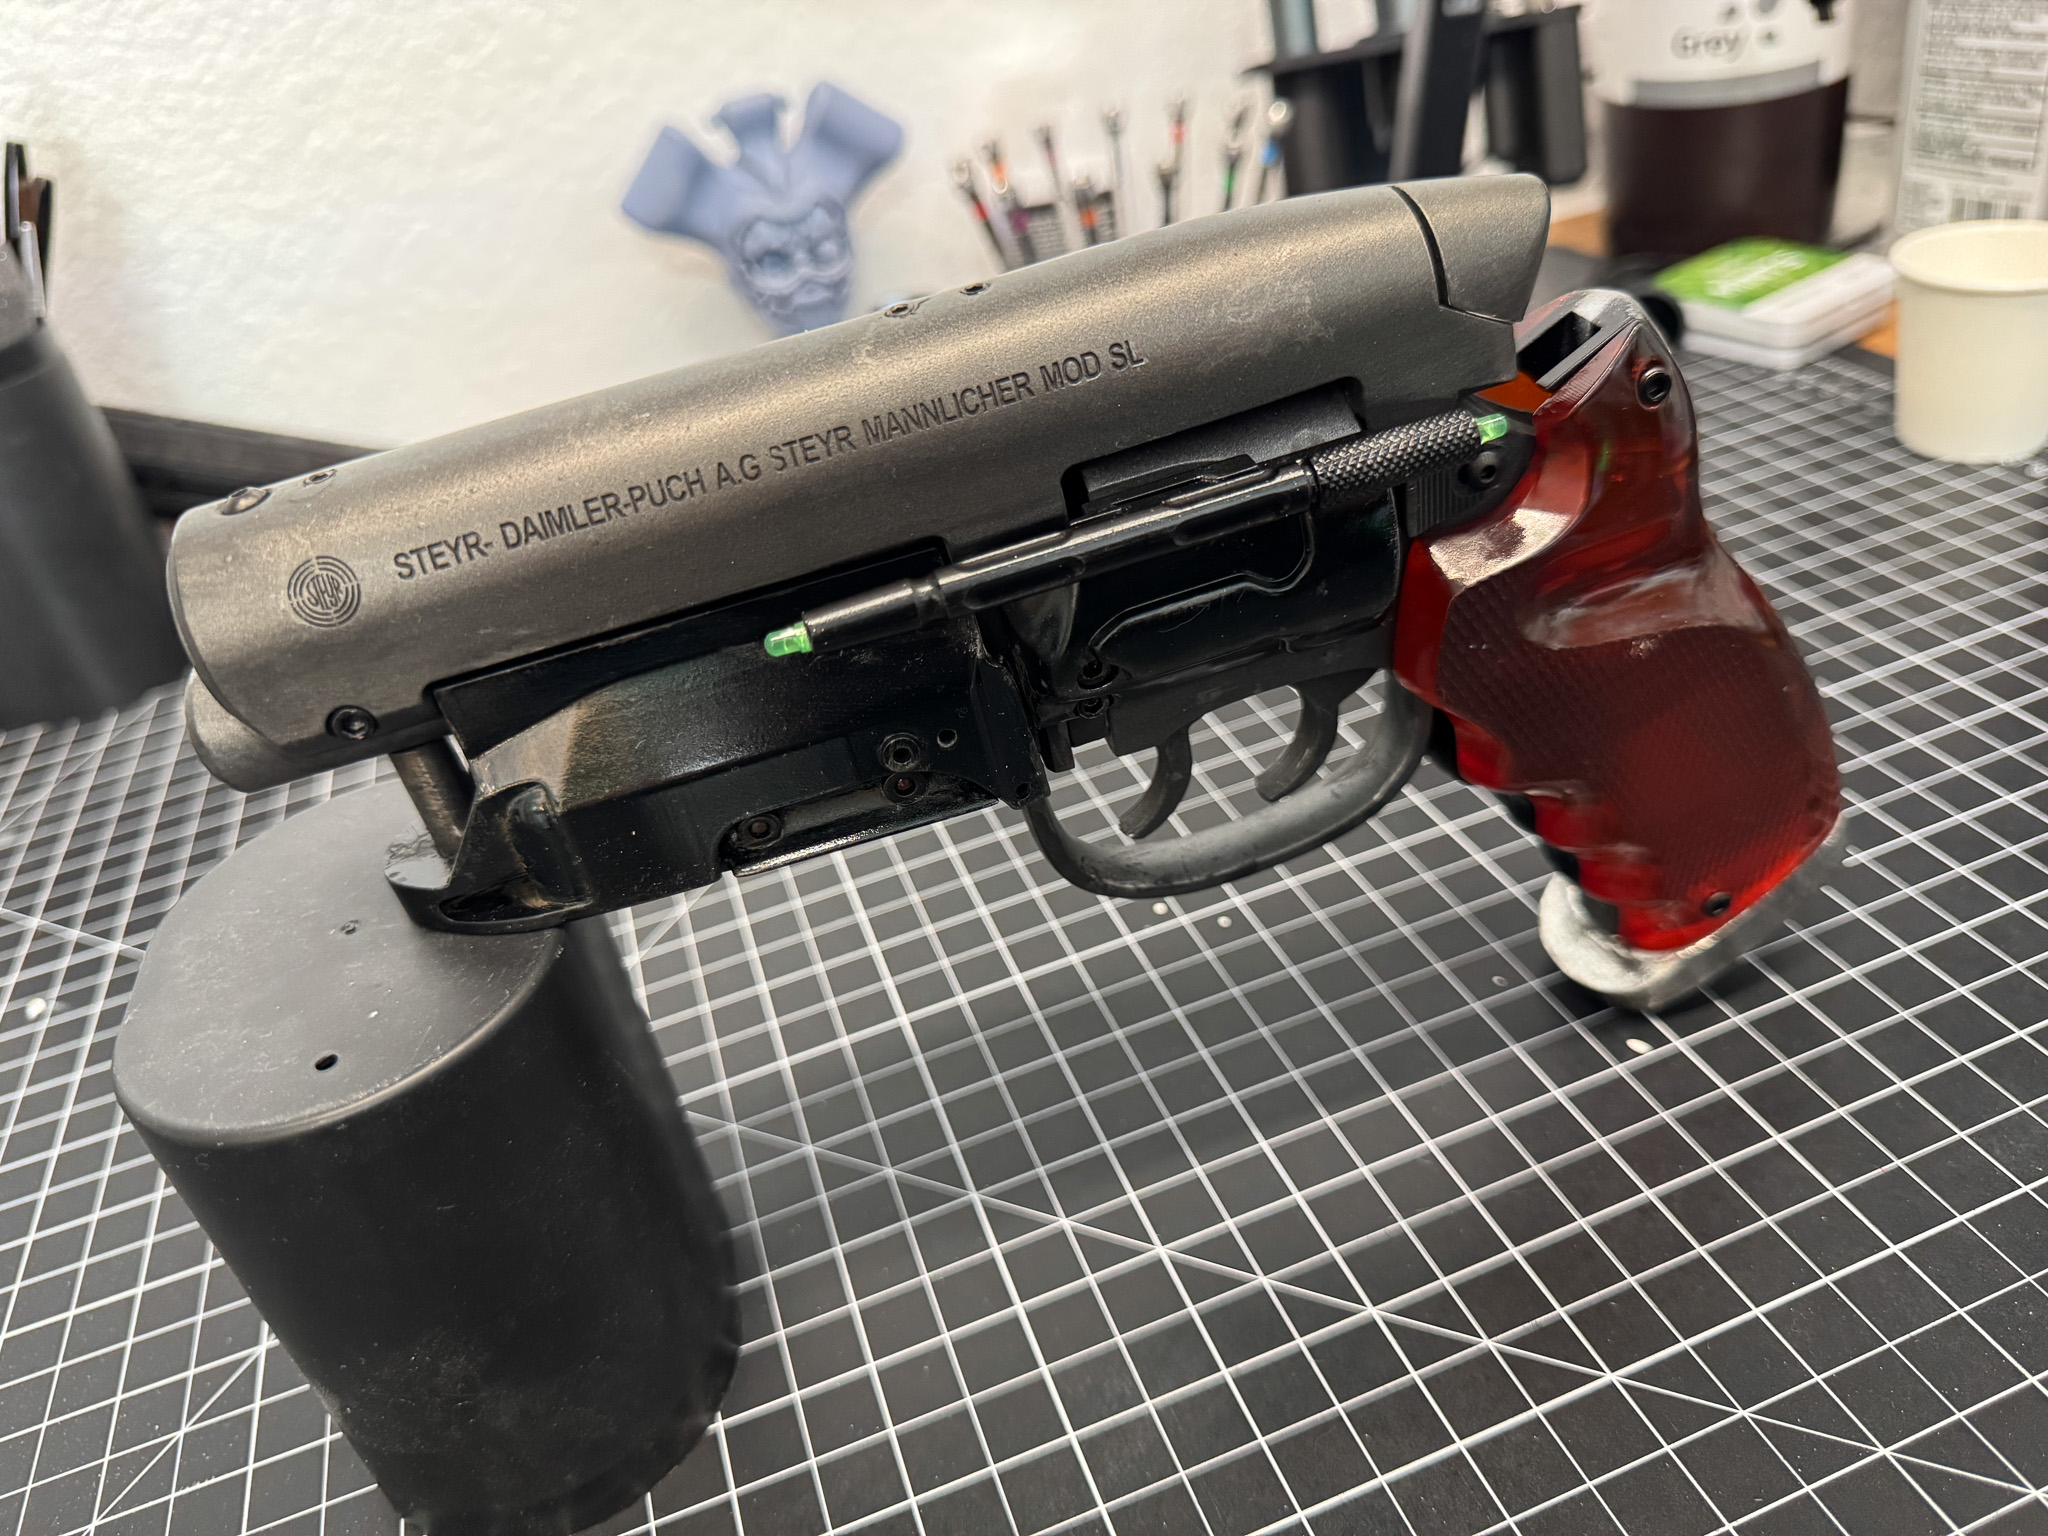
To achieve that look, I started with a dark base coat before layering multiple metallic finishes over the top. From there, I slowly built up wear where it would naturally occur.
- Edges and corners received subtle metallic highlights.
- High-contact surfaces were lightly polished.
- Screw heads and moving components were given additional attention.
- Dark washes were worked into the recesses to create depth and help separate the different mechanical elements.
The goal wasn't to make it look damaged. The goal was to make it look believable.
I always try to think about how an object would naturally wear over time. Where would someone's hand touch it? Which corners would rub against clothing? Which edges would get polished from use?
When weathering is done right, people don't notice the weathering itself. They simply assume the object has history. That's always what I'm trying to achieve with my prop builds.
The Grips Steal the Show
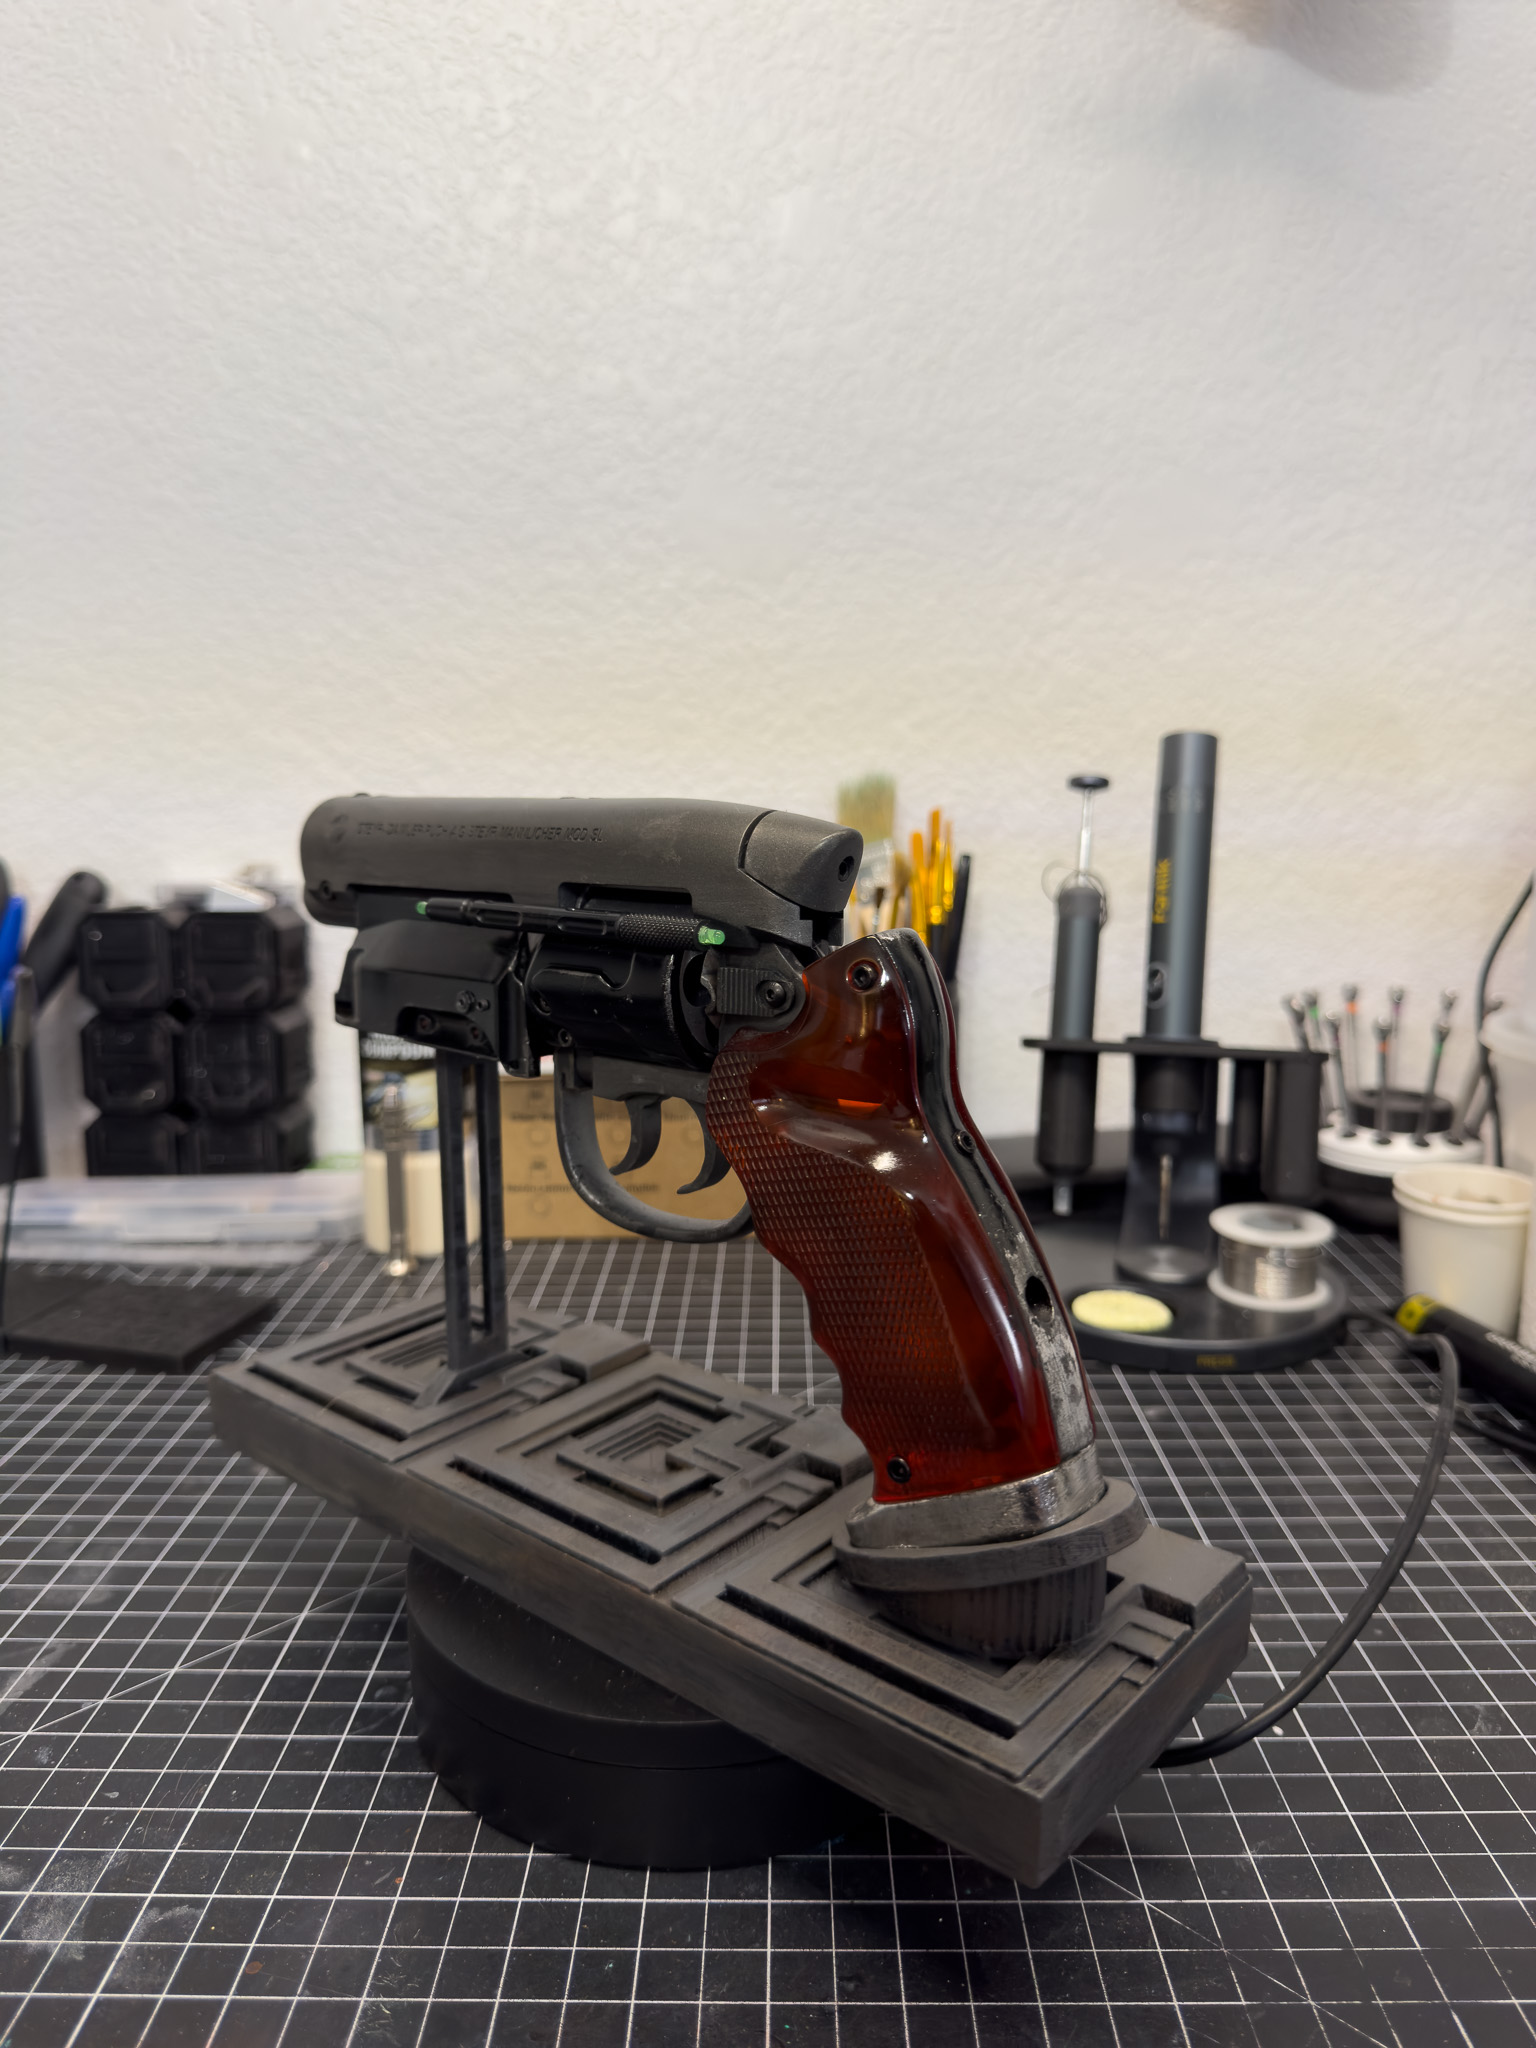
As much as I love the metal finish, the grips are still my favorite part of the entire build.
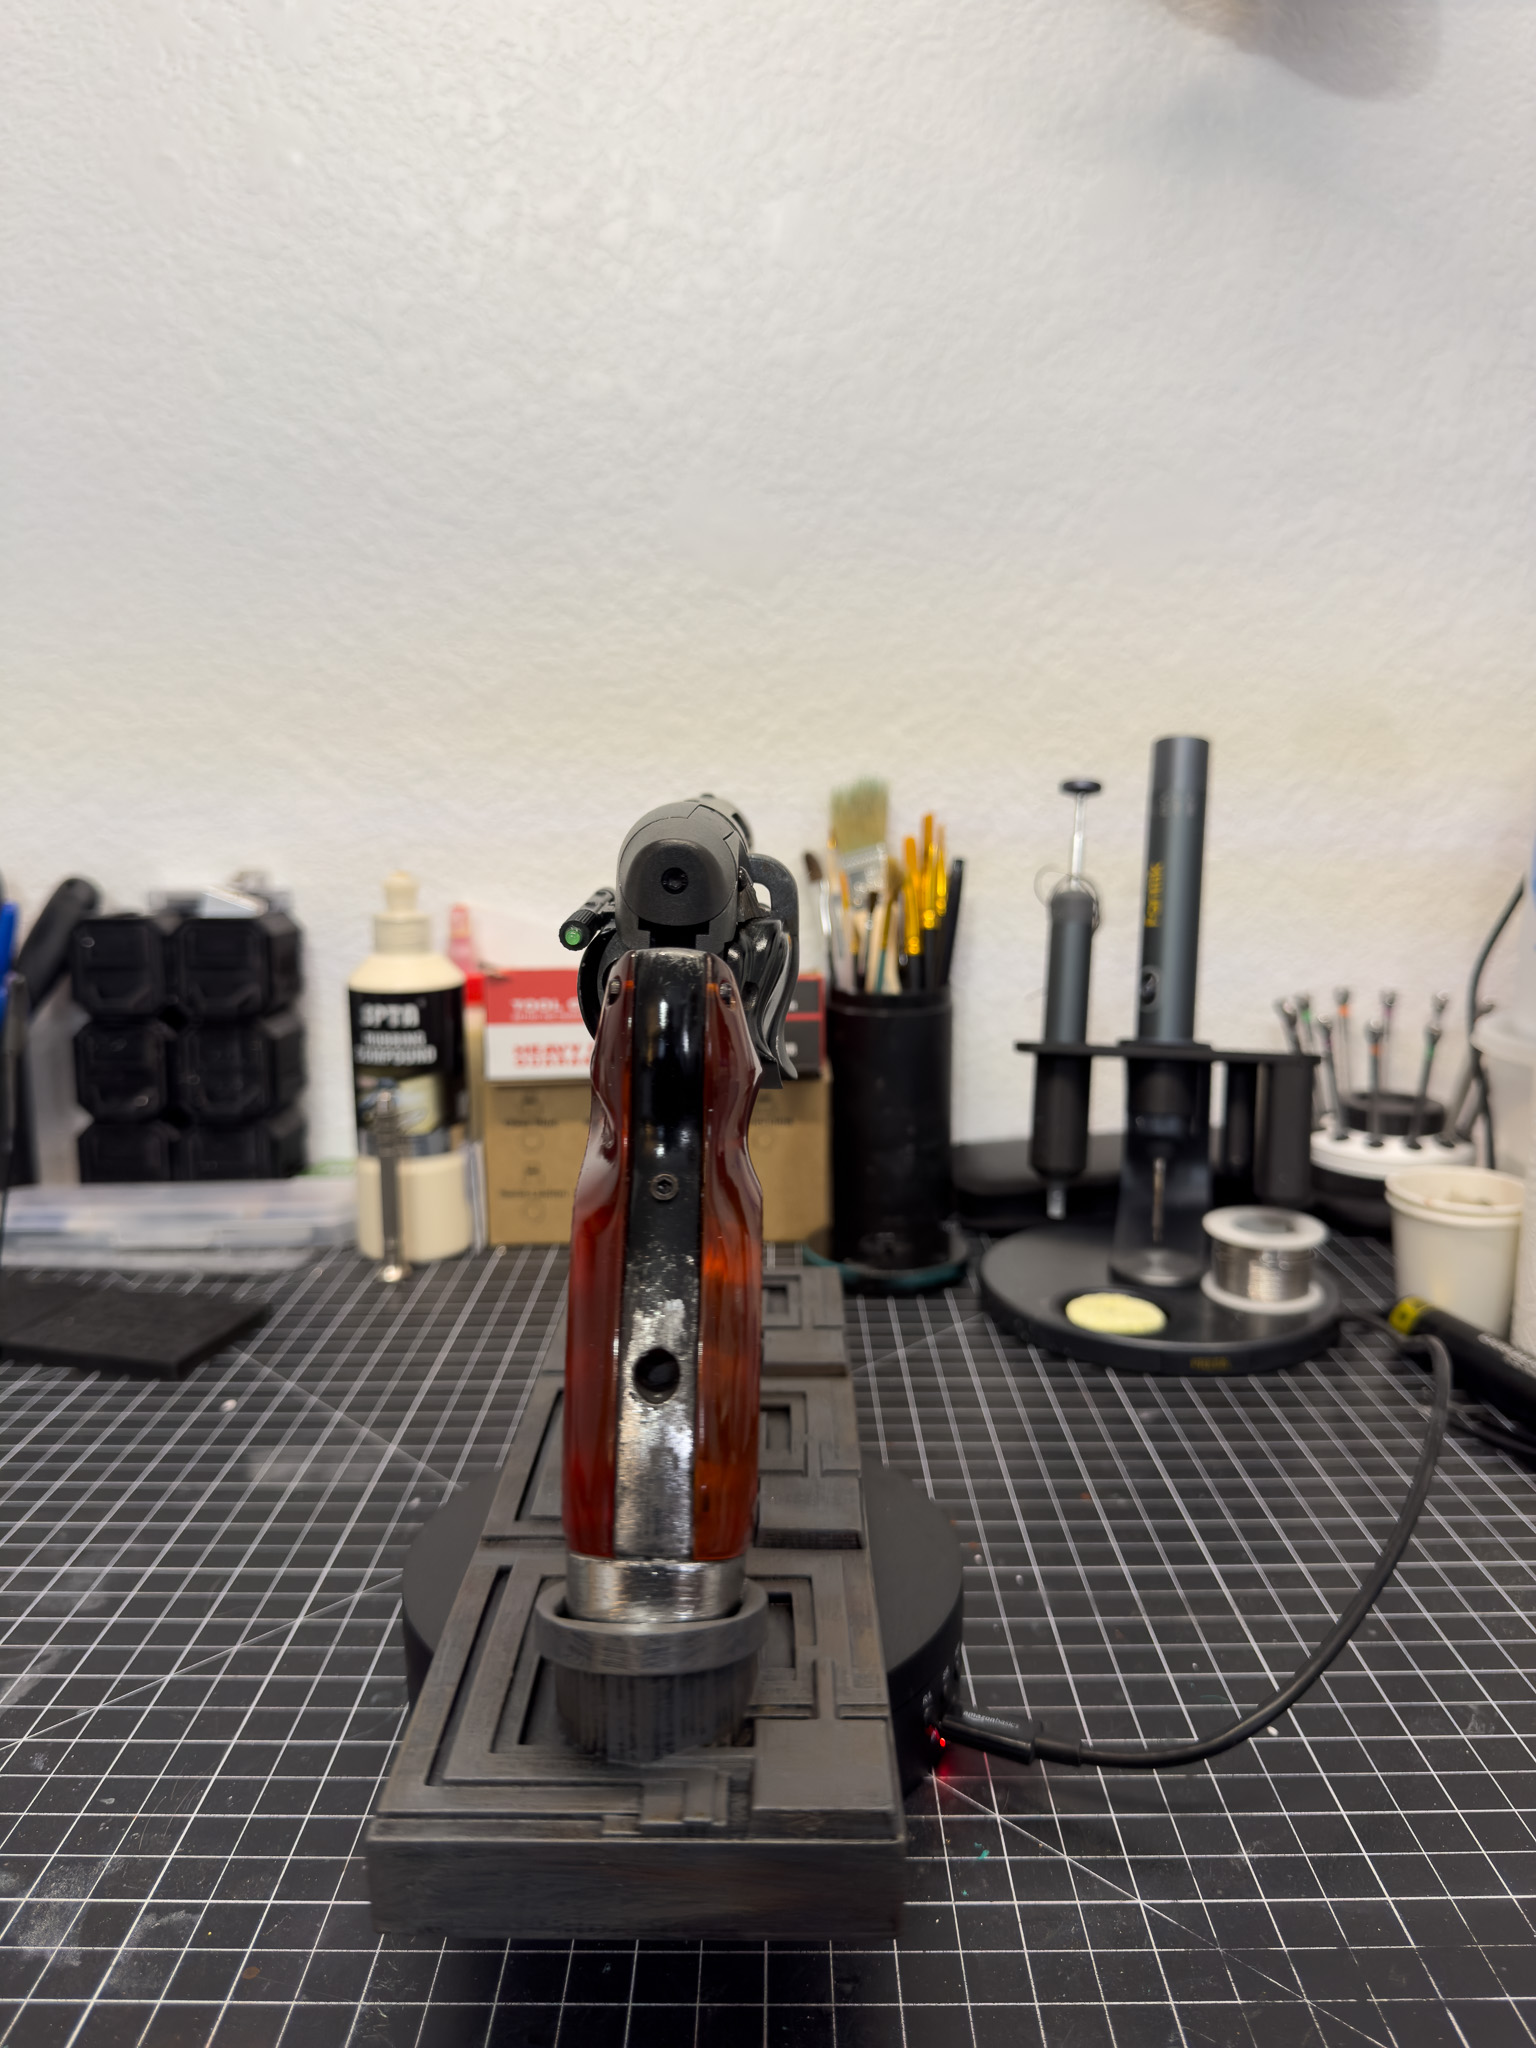
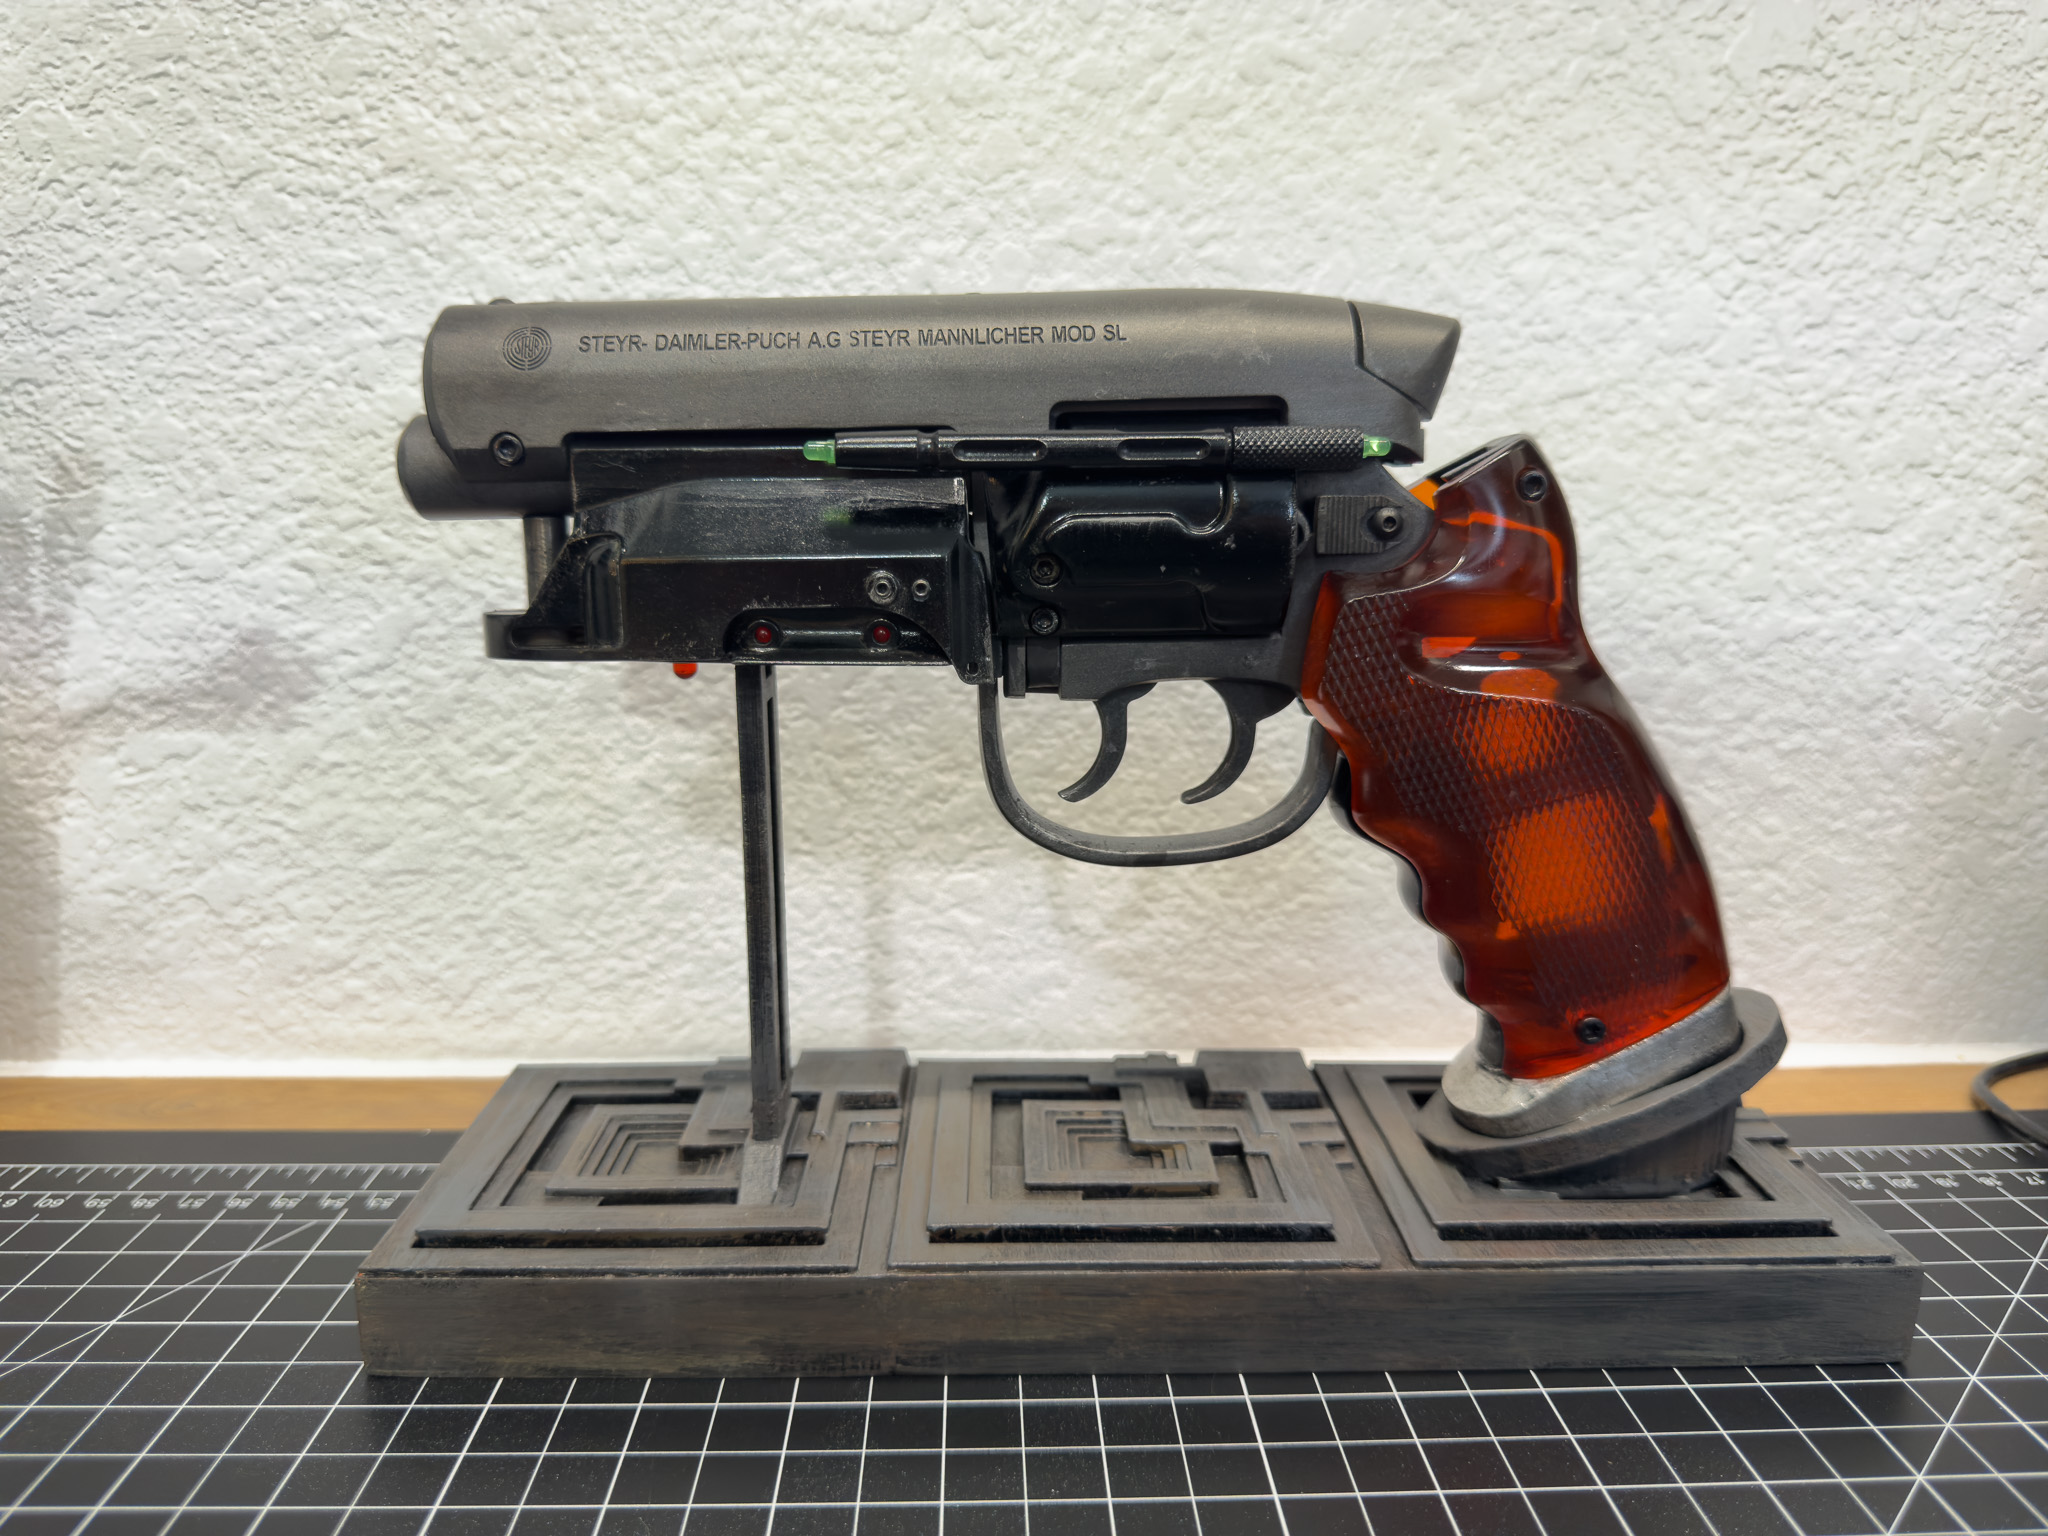
The iconic amber grips are one of the defining features of the PKD blaster, and printing them in clear resin allowed me to capture that look much more accurately than paint ever could.
Depending on the lighting, they shift between a deep reddish amber and a bright translucent orange.
The way light passes through them gives the blaster an entirely different look from different angles, and they instantly draw your eye when you pick up the prop.
Every time someone sees the blaster in person, the grips are usually the first thing they comment on. And honestly, I don't blame them.
Electronics... Maybe Later
One of the cool things about this file set is that it includes provisions for electronics and illuminated details throughout the build.
The designer clearly put a lot of thought into making the prop as functional as possible, and the option is there if you want to add lighting and take the build even further.
For this project, I decided to focus on the physical replica itself and leave the electronics for another day.
I was having too much fun with the printing, assembly, painting, and weathering process to stop and start wiring everything up. The prop already looked fantastic without the lights, so I decided to call it complete for now.
The nice thing is that the option is still there if I decide to revisit the project down the road. For now, I'm more than happy with it as a display piece.
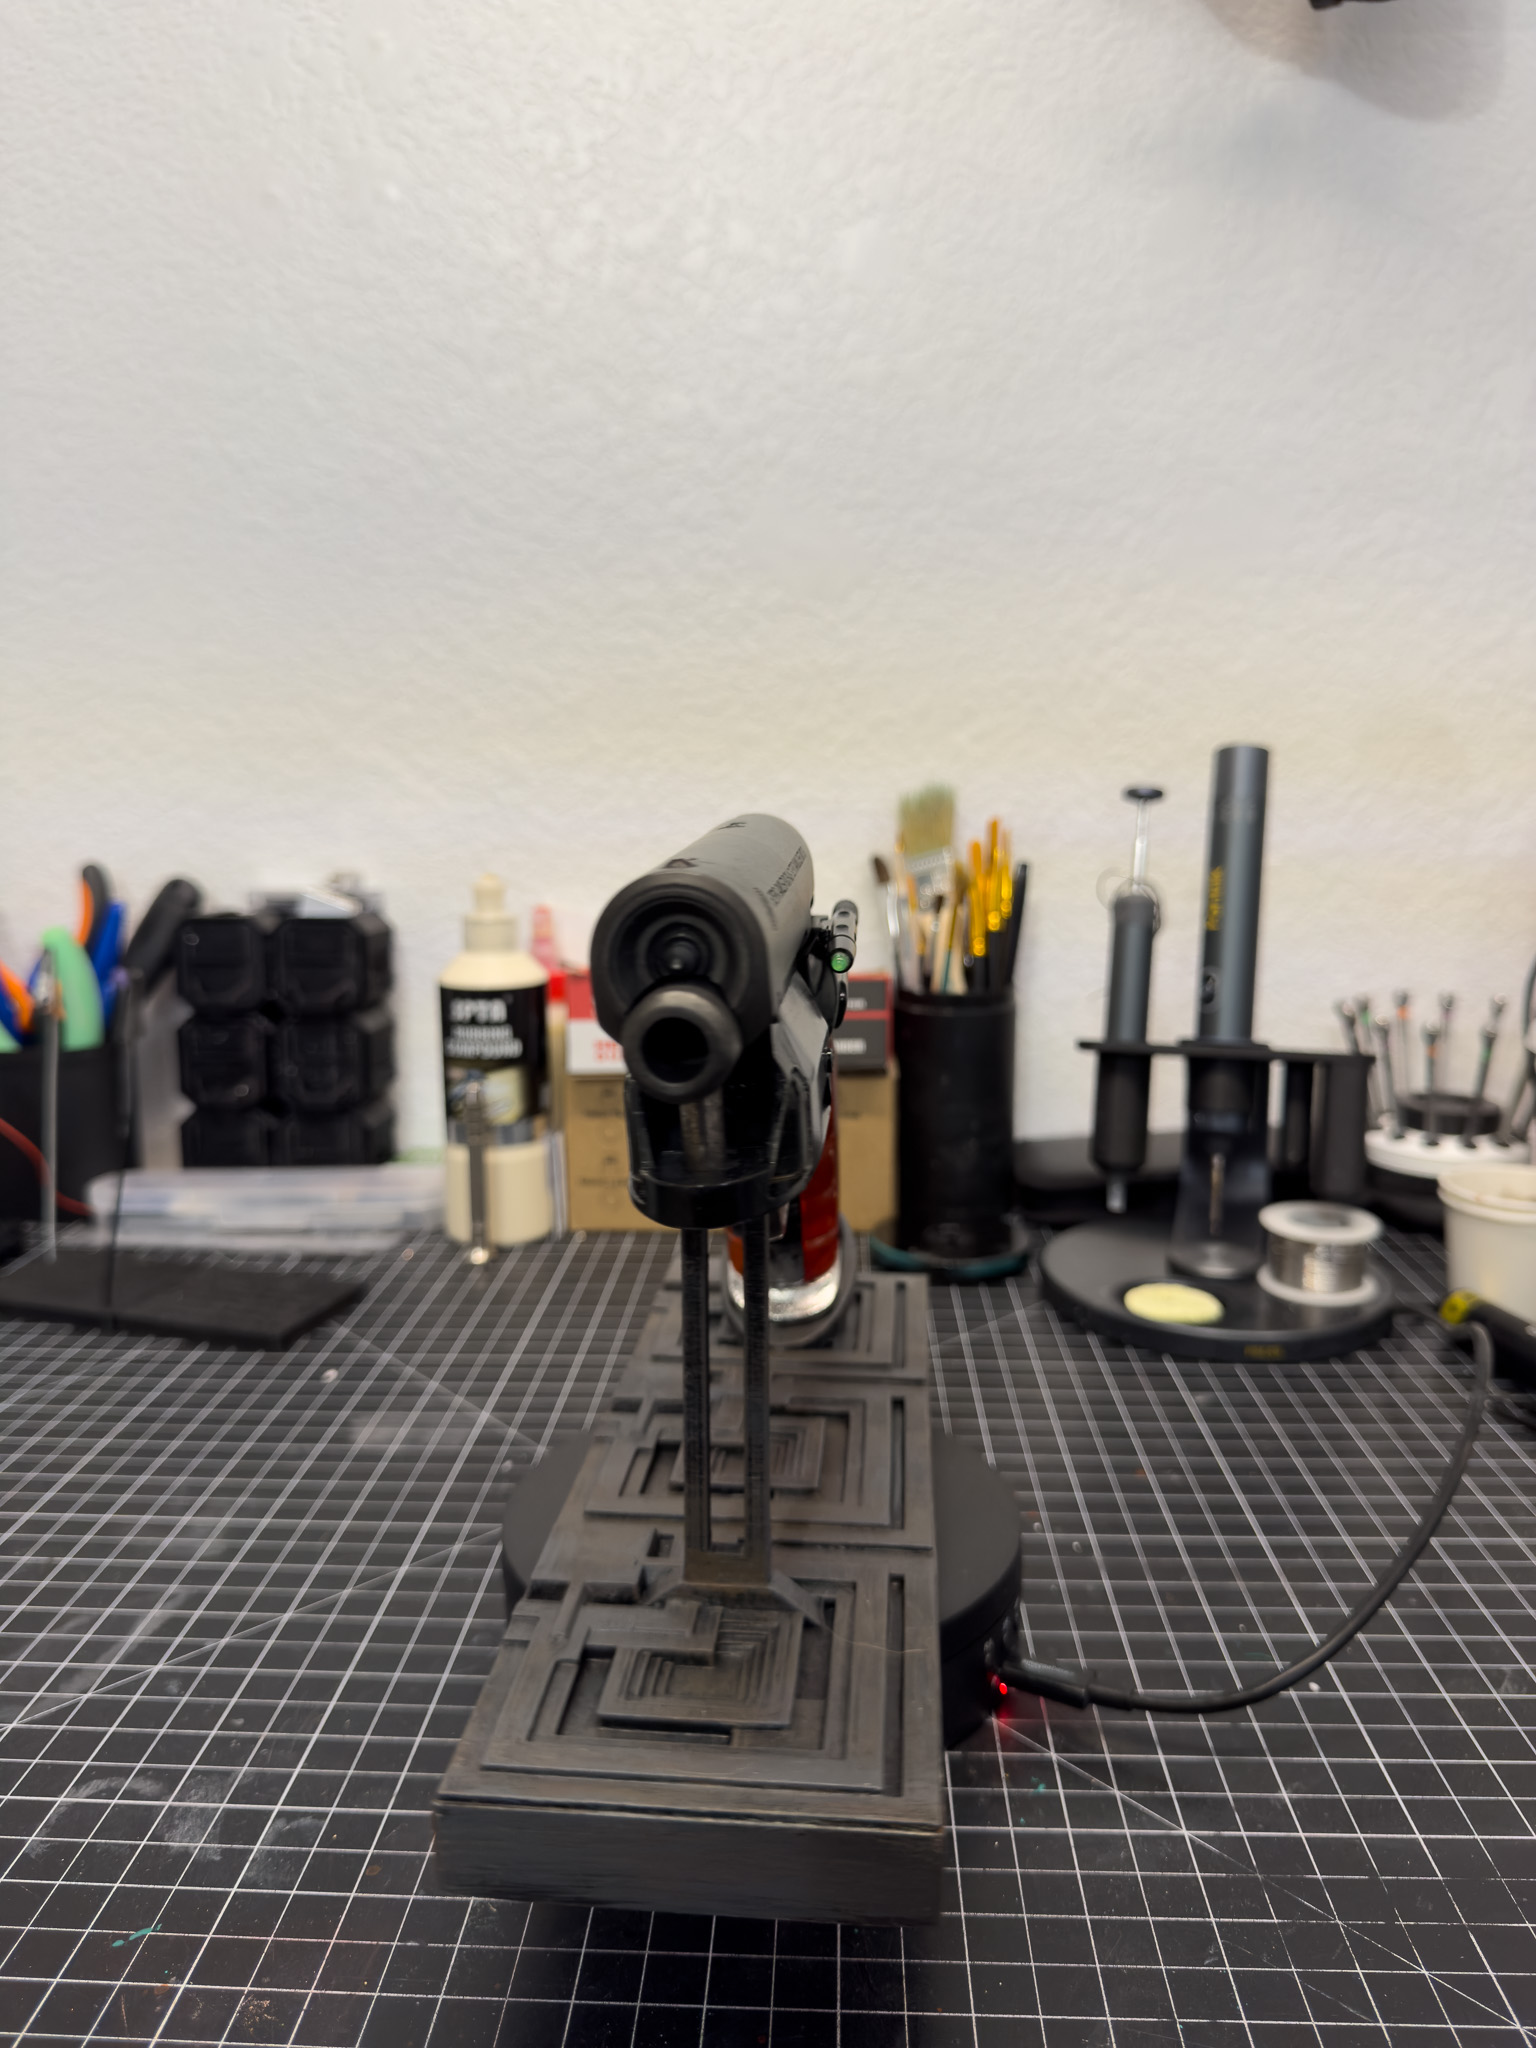
Building a Display Stand
Once the blaster was finished, I knew I didn't want it sitting flat on a shelf.
After spending so much time printing, assembling, painting, and weathering the prop, it deserved a proper display.
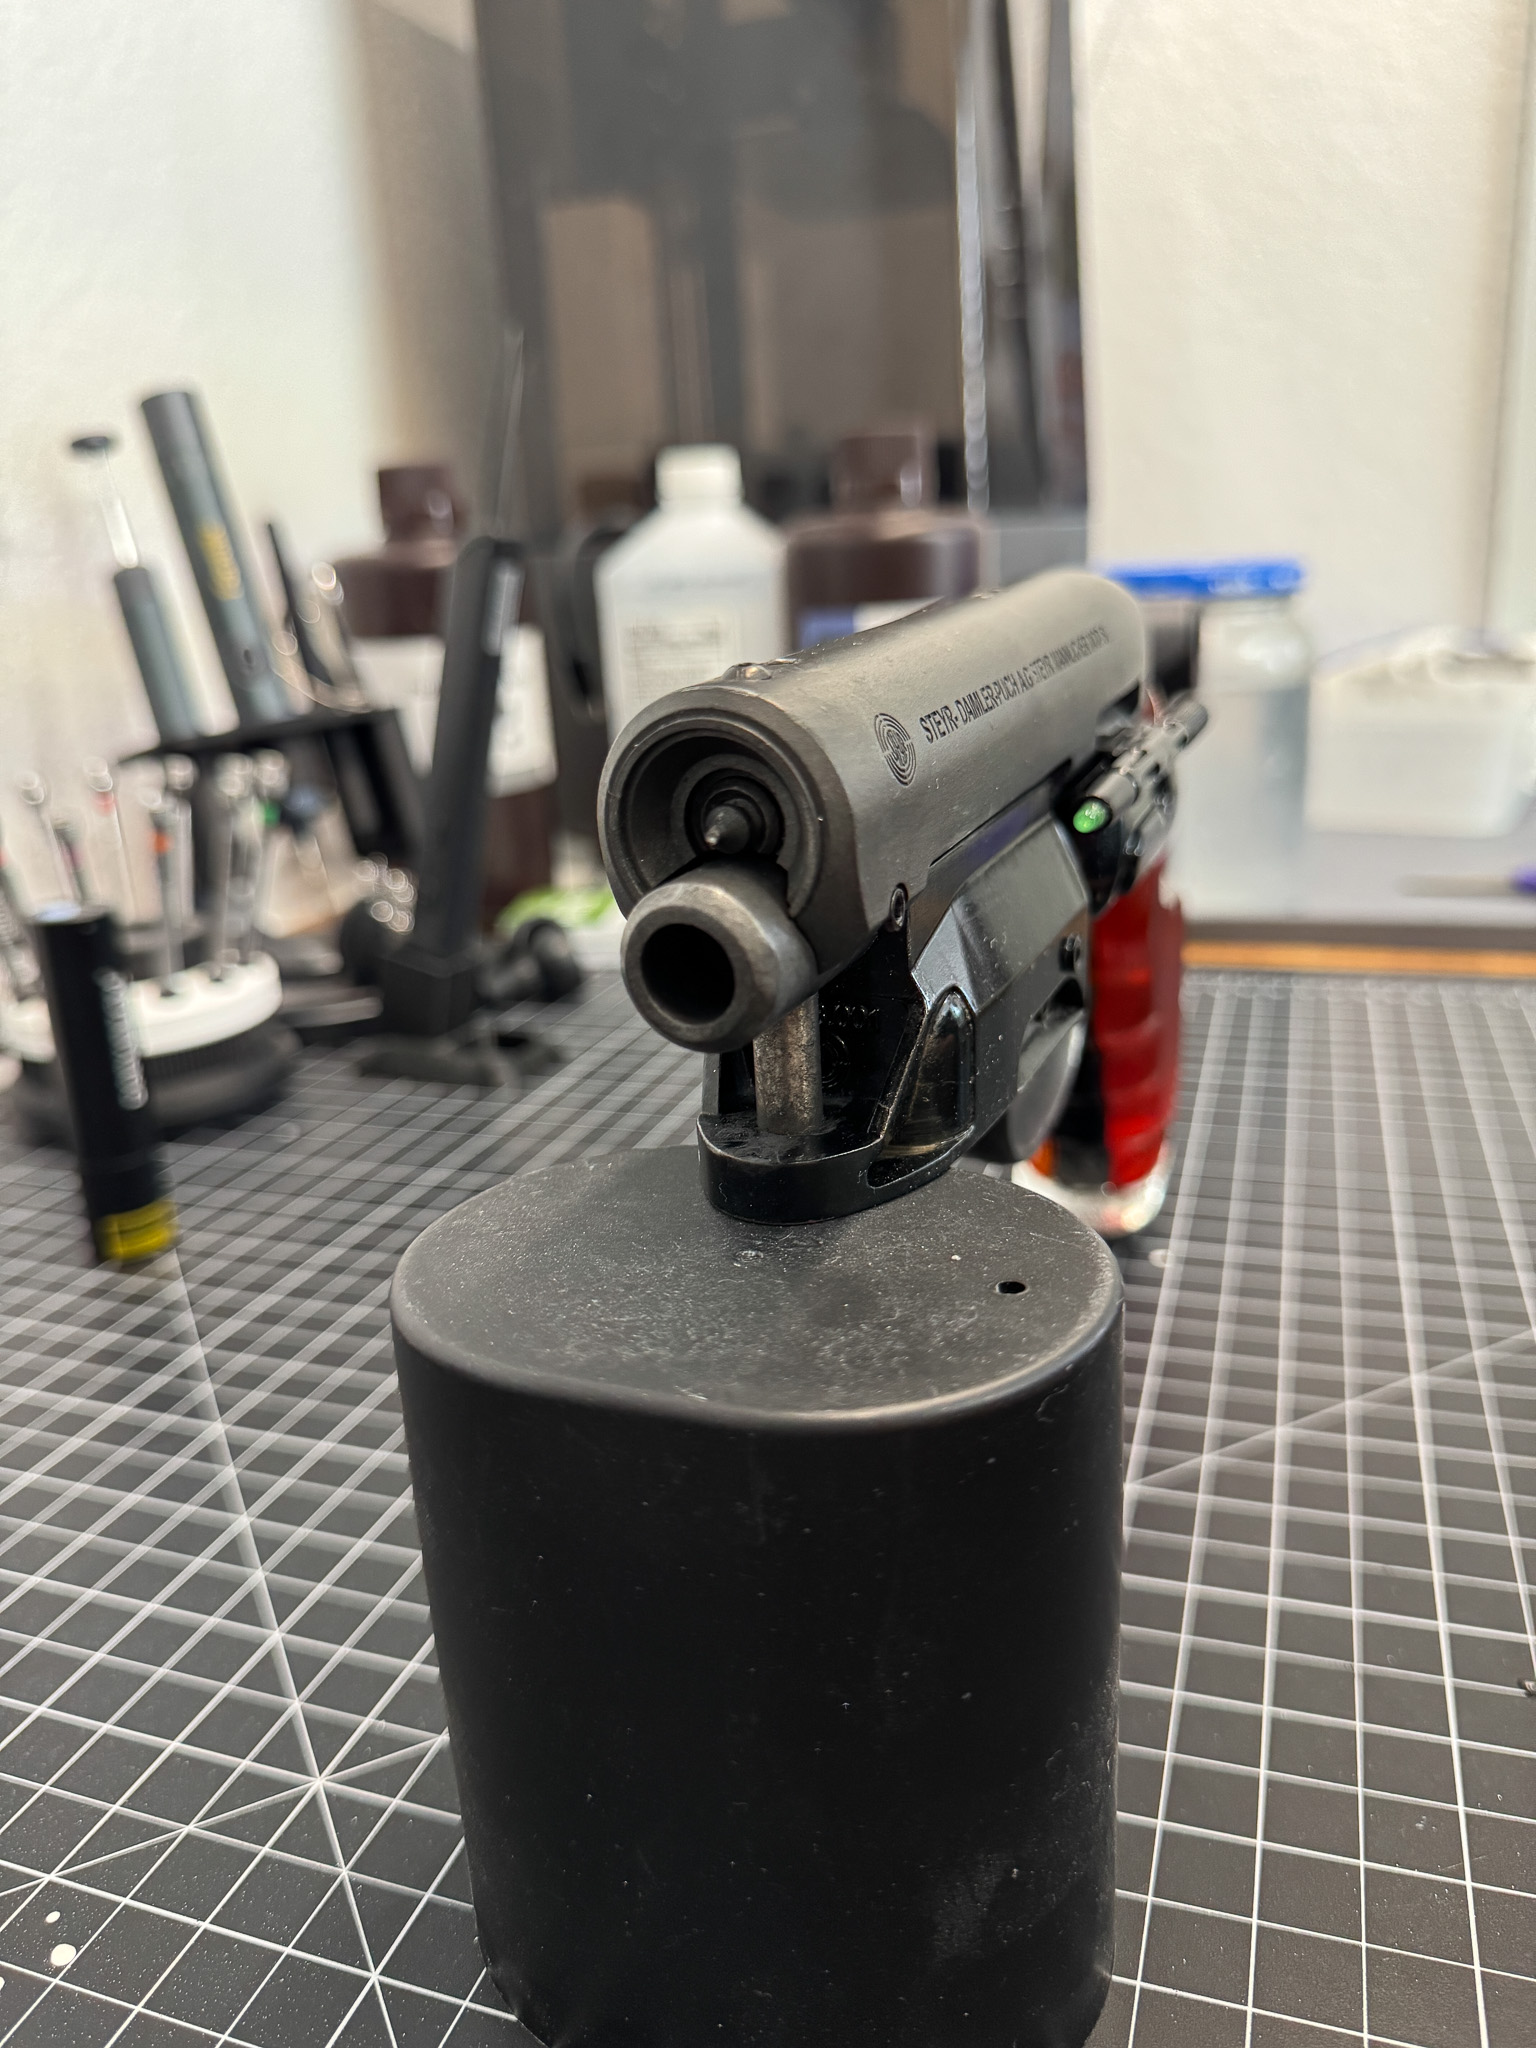
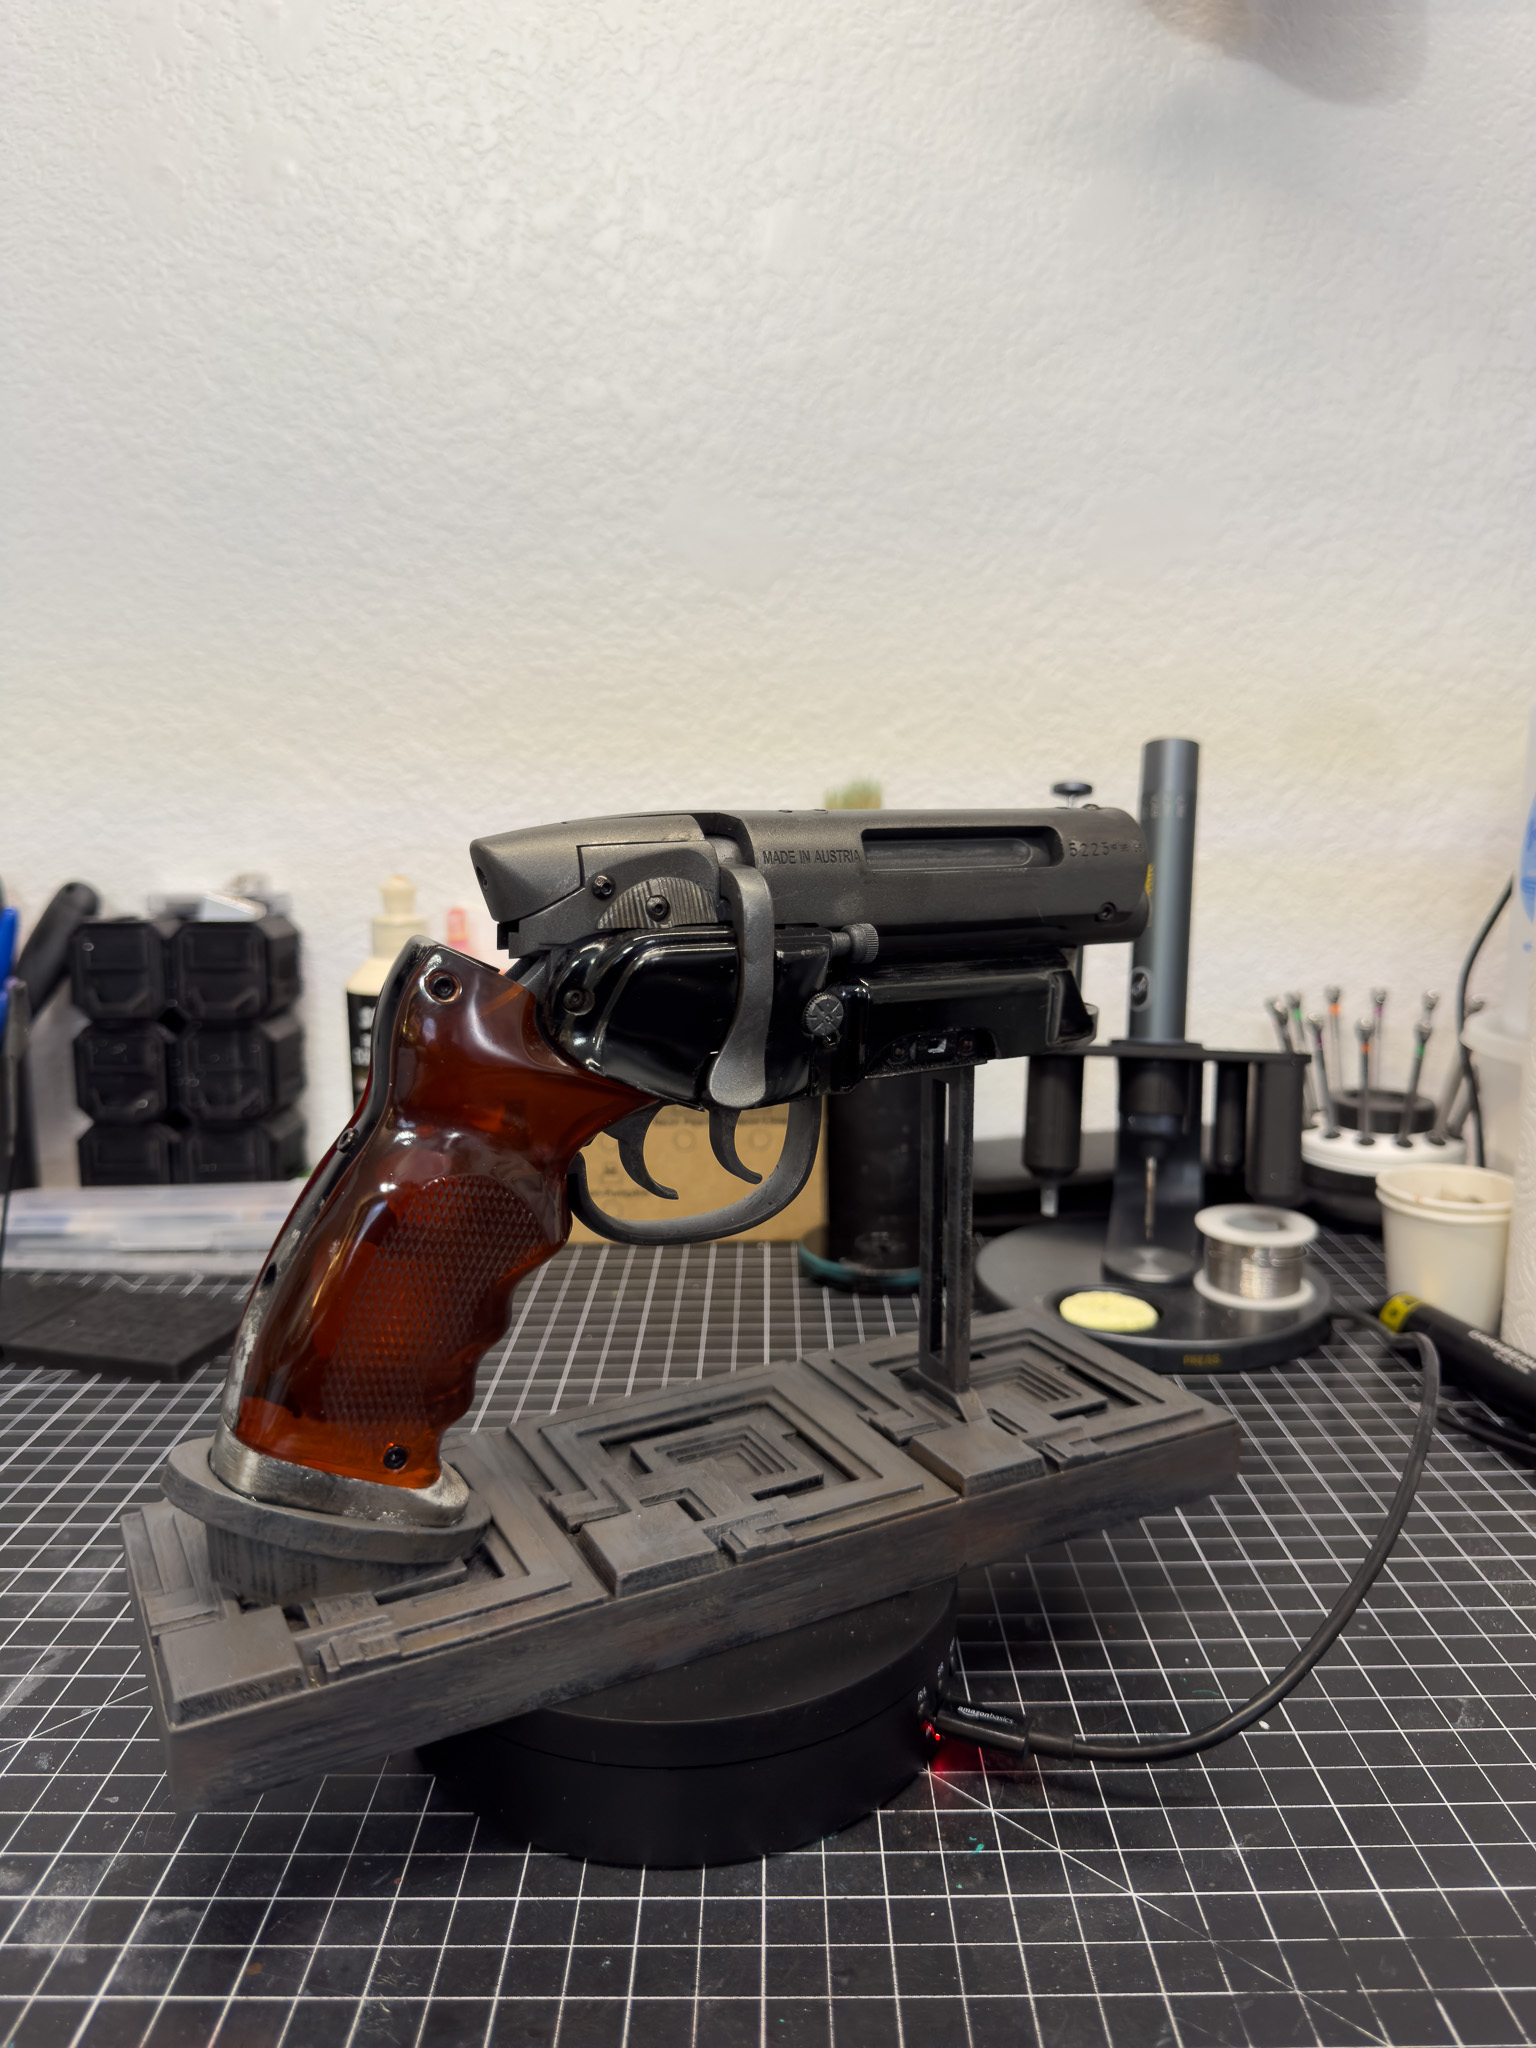
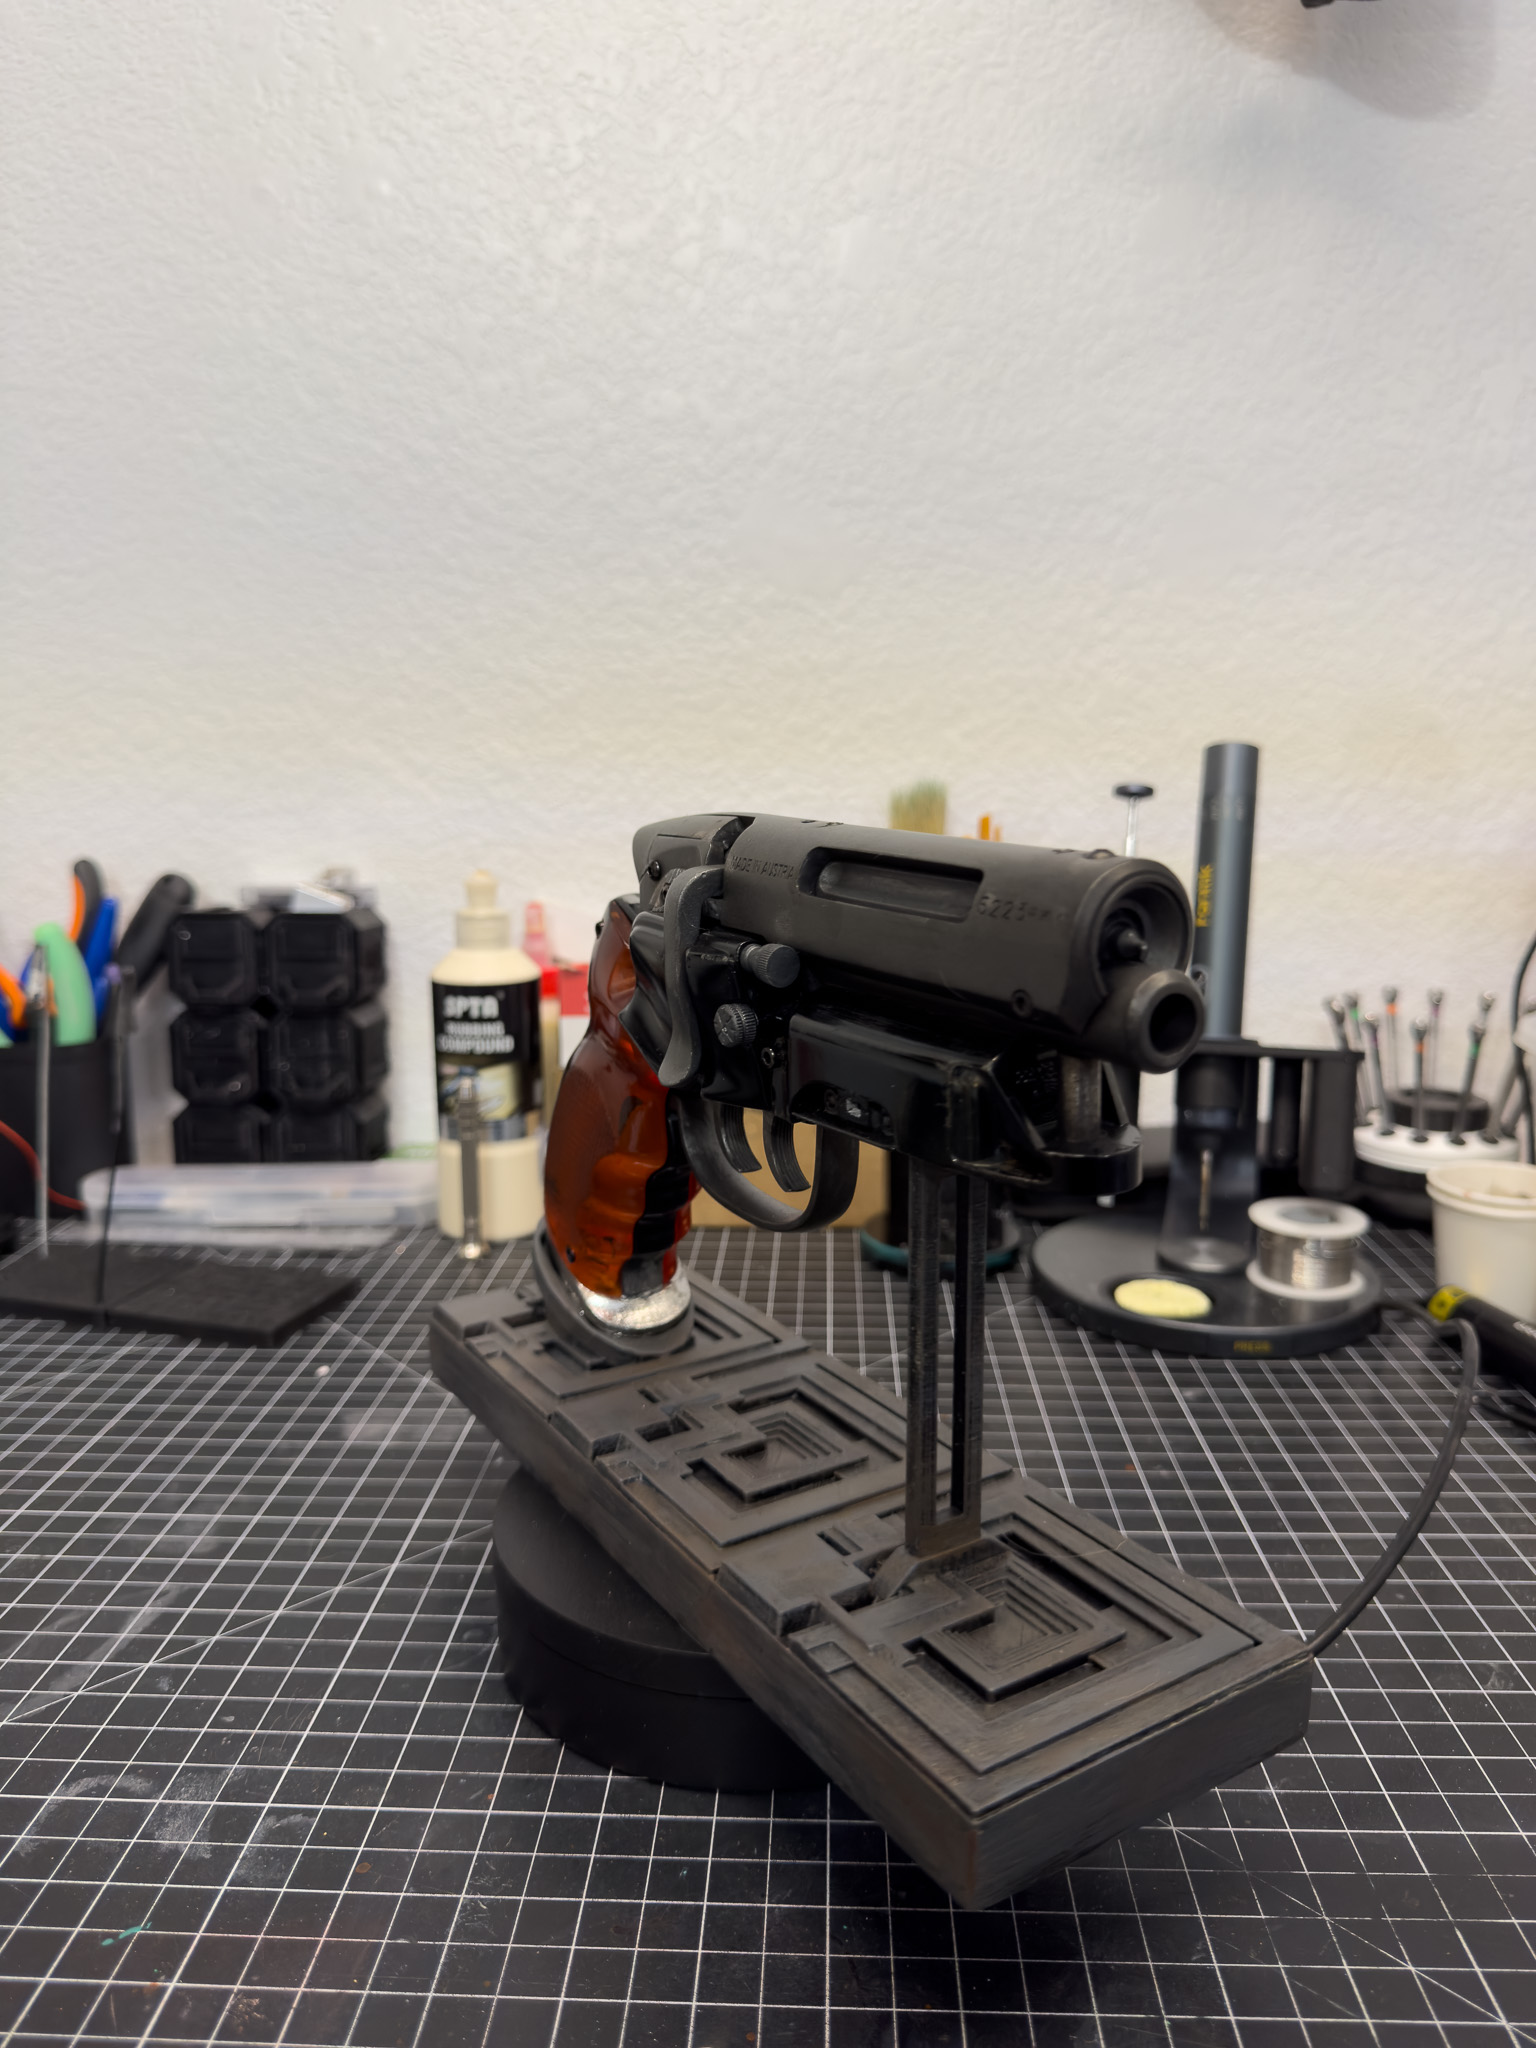
I found an FDM printable display stand online that fit the style of the blaster and printed it specifically for this project. While the blaster itself was printed entirely in resin, the stand was a perfect candidate for FDM printing since it didn't require the same level of detail.
The stand does exactly what I wanted it to do. It keeps the focus on the blaster while giving it a dedicated place in the workshop.
Sometimes a simple display stand is the difference between a completed project and a finished showcase piece. Now the blaster has a permanent home where it can actually be appreciated rather than sitting in a drawer or on a random shelf.
Final Thoughts
This build ended up being everything I hoped it would be.
It was the first complete project I printed on my Saturn 2 Ultra. It gave me the chance to work with real hardware, moving assemblies, clear resin components, and a realistic weathered finish.
The file set was incredibly well designed, the assembly process was enjoyable, and the final result looks even better than I imagined when I first started printing parts.
While I skipped the electronics for now, the build still feels complete. Between the mechanical details, authentic hardware, weathered metal finish, and translucent amber grips, it captures everything I love about the original Blade Runner blaster.
Now it sits proudly on its custom display stand in the workshop, where it's become one of my favorite pieces I've built so far.
Every time I walk past it, I still find myself picking it up, looking over the details, and cycling the cylinder a few times before setting it back down. I think that's the best compliment I can give any project.
At some point, it stops feeling like a collection of printed parts and starts feeling like a real object. The PKD Blade Runner Blaster definitely achieved that.
Project Status
100%Completed
Techniques
Materials
Resin, Clear Resin, Screws, Springs, Magnets, Metallic Paint, Washes
Complete Build Gallery
All documentation photos from the build process.