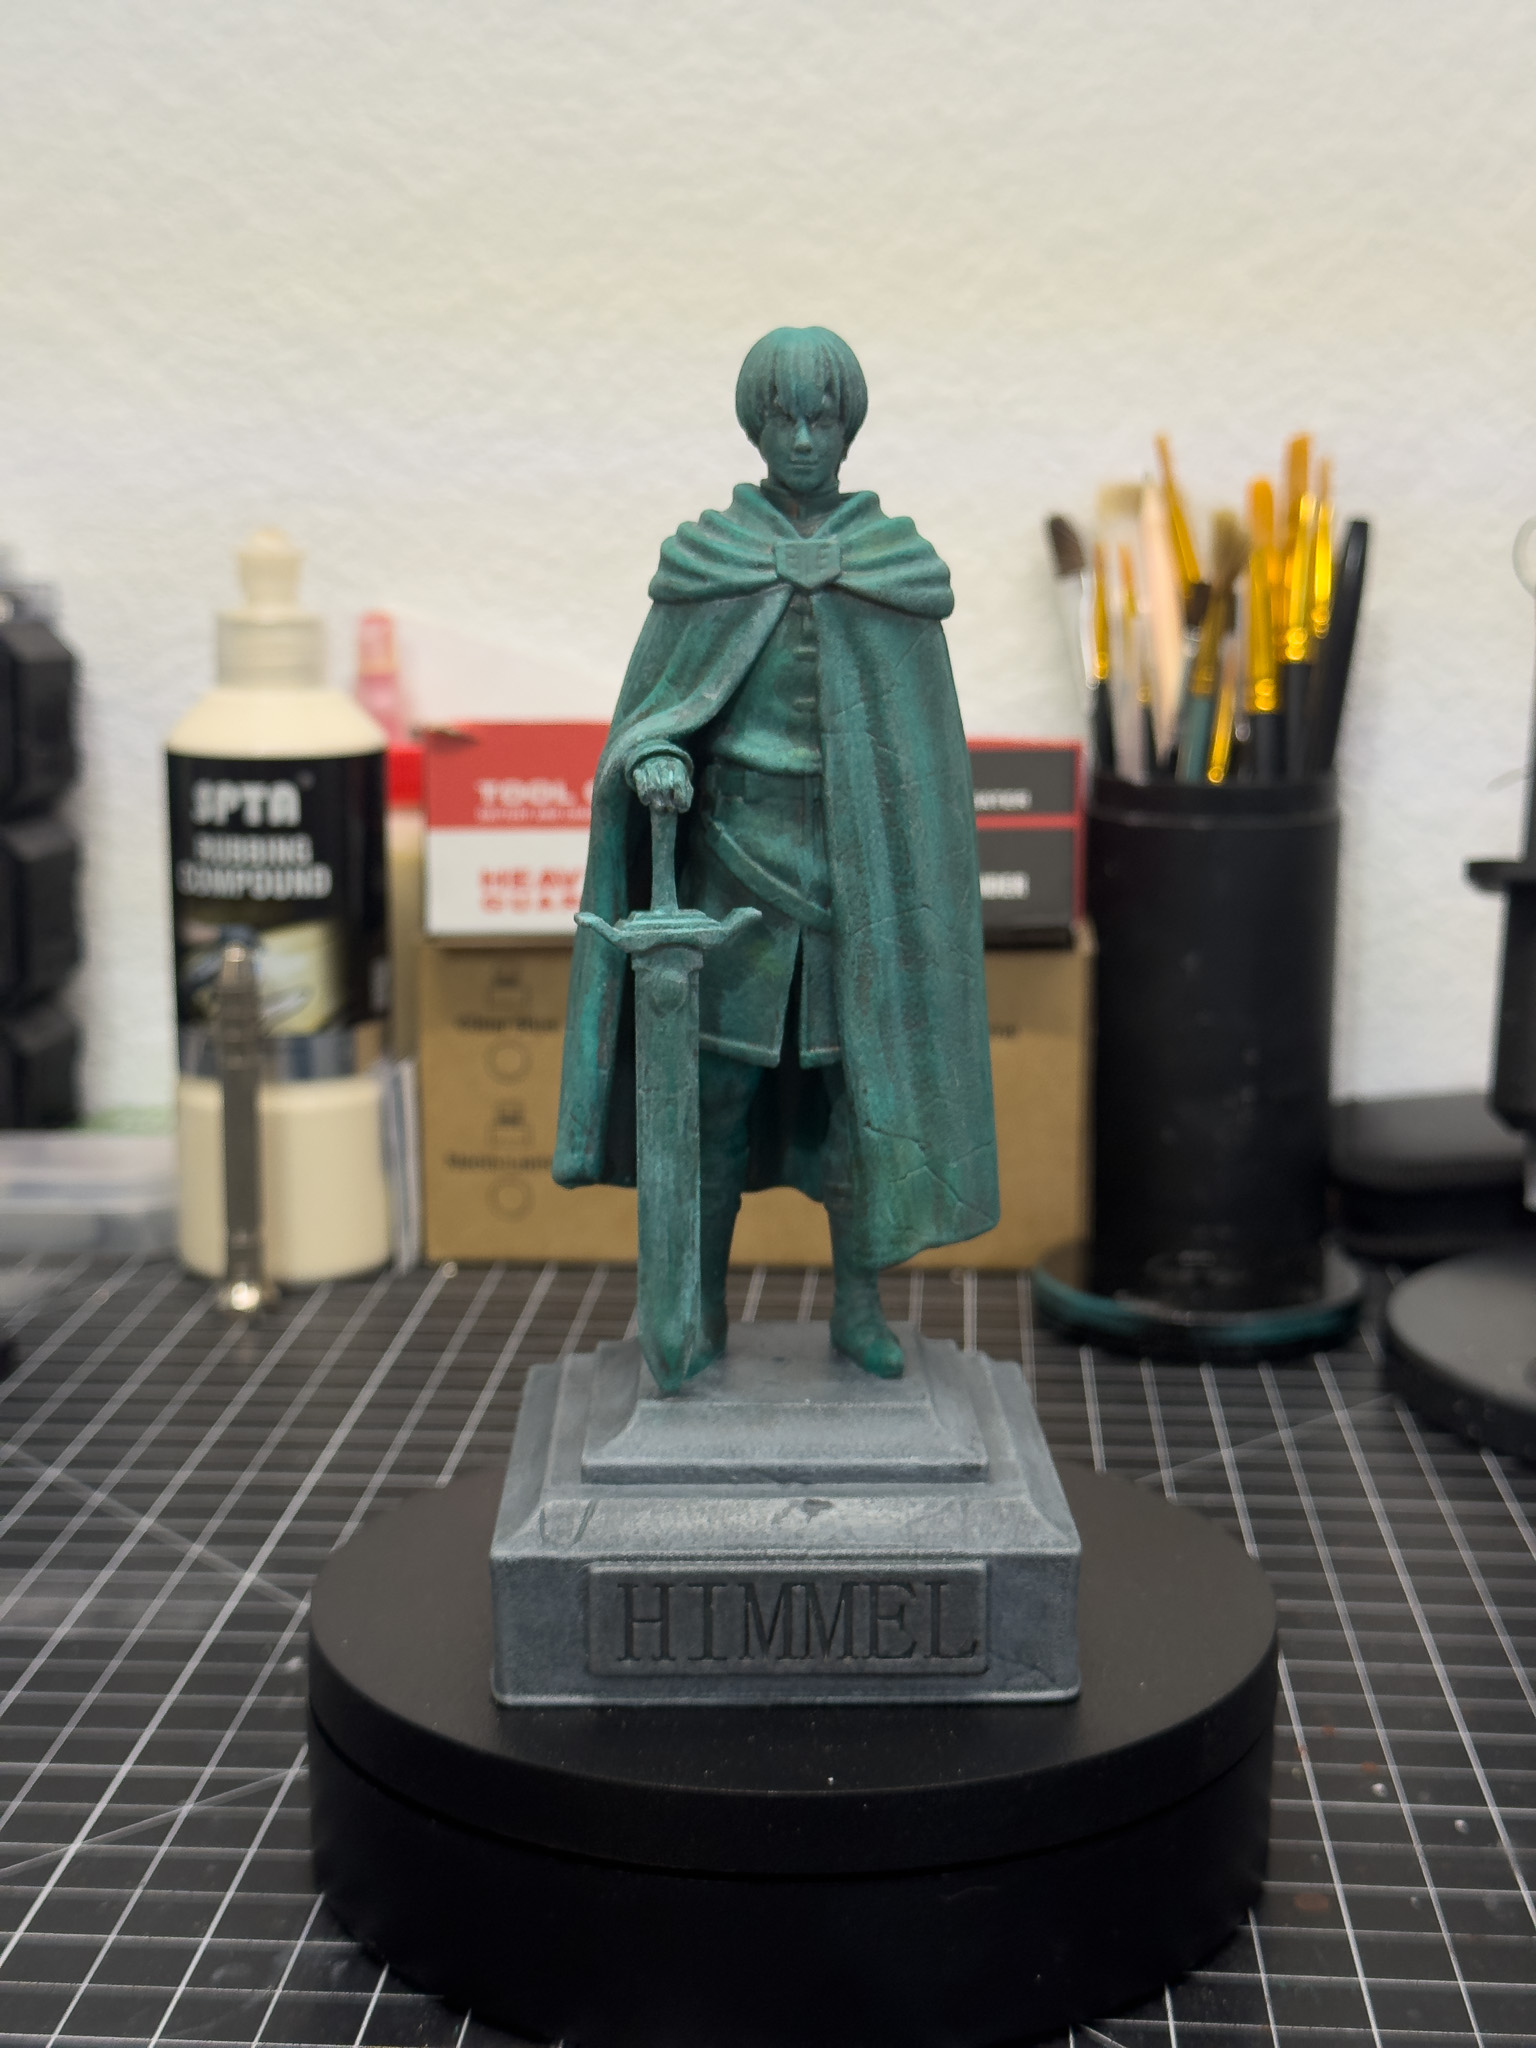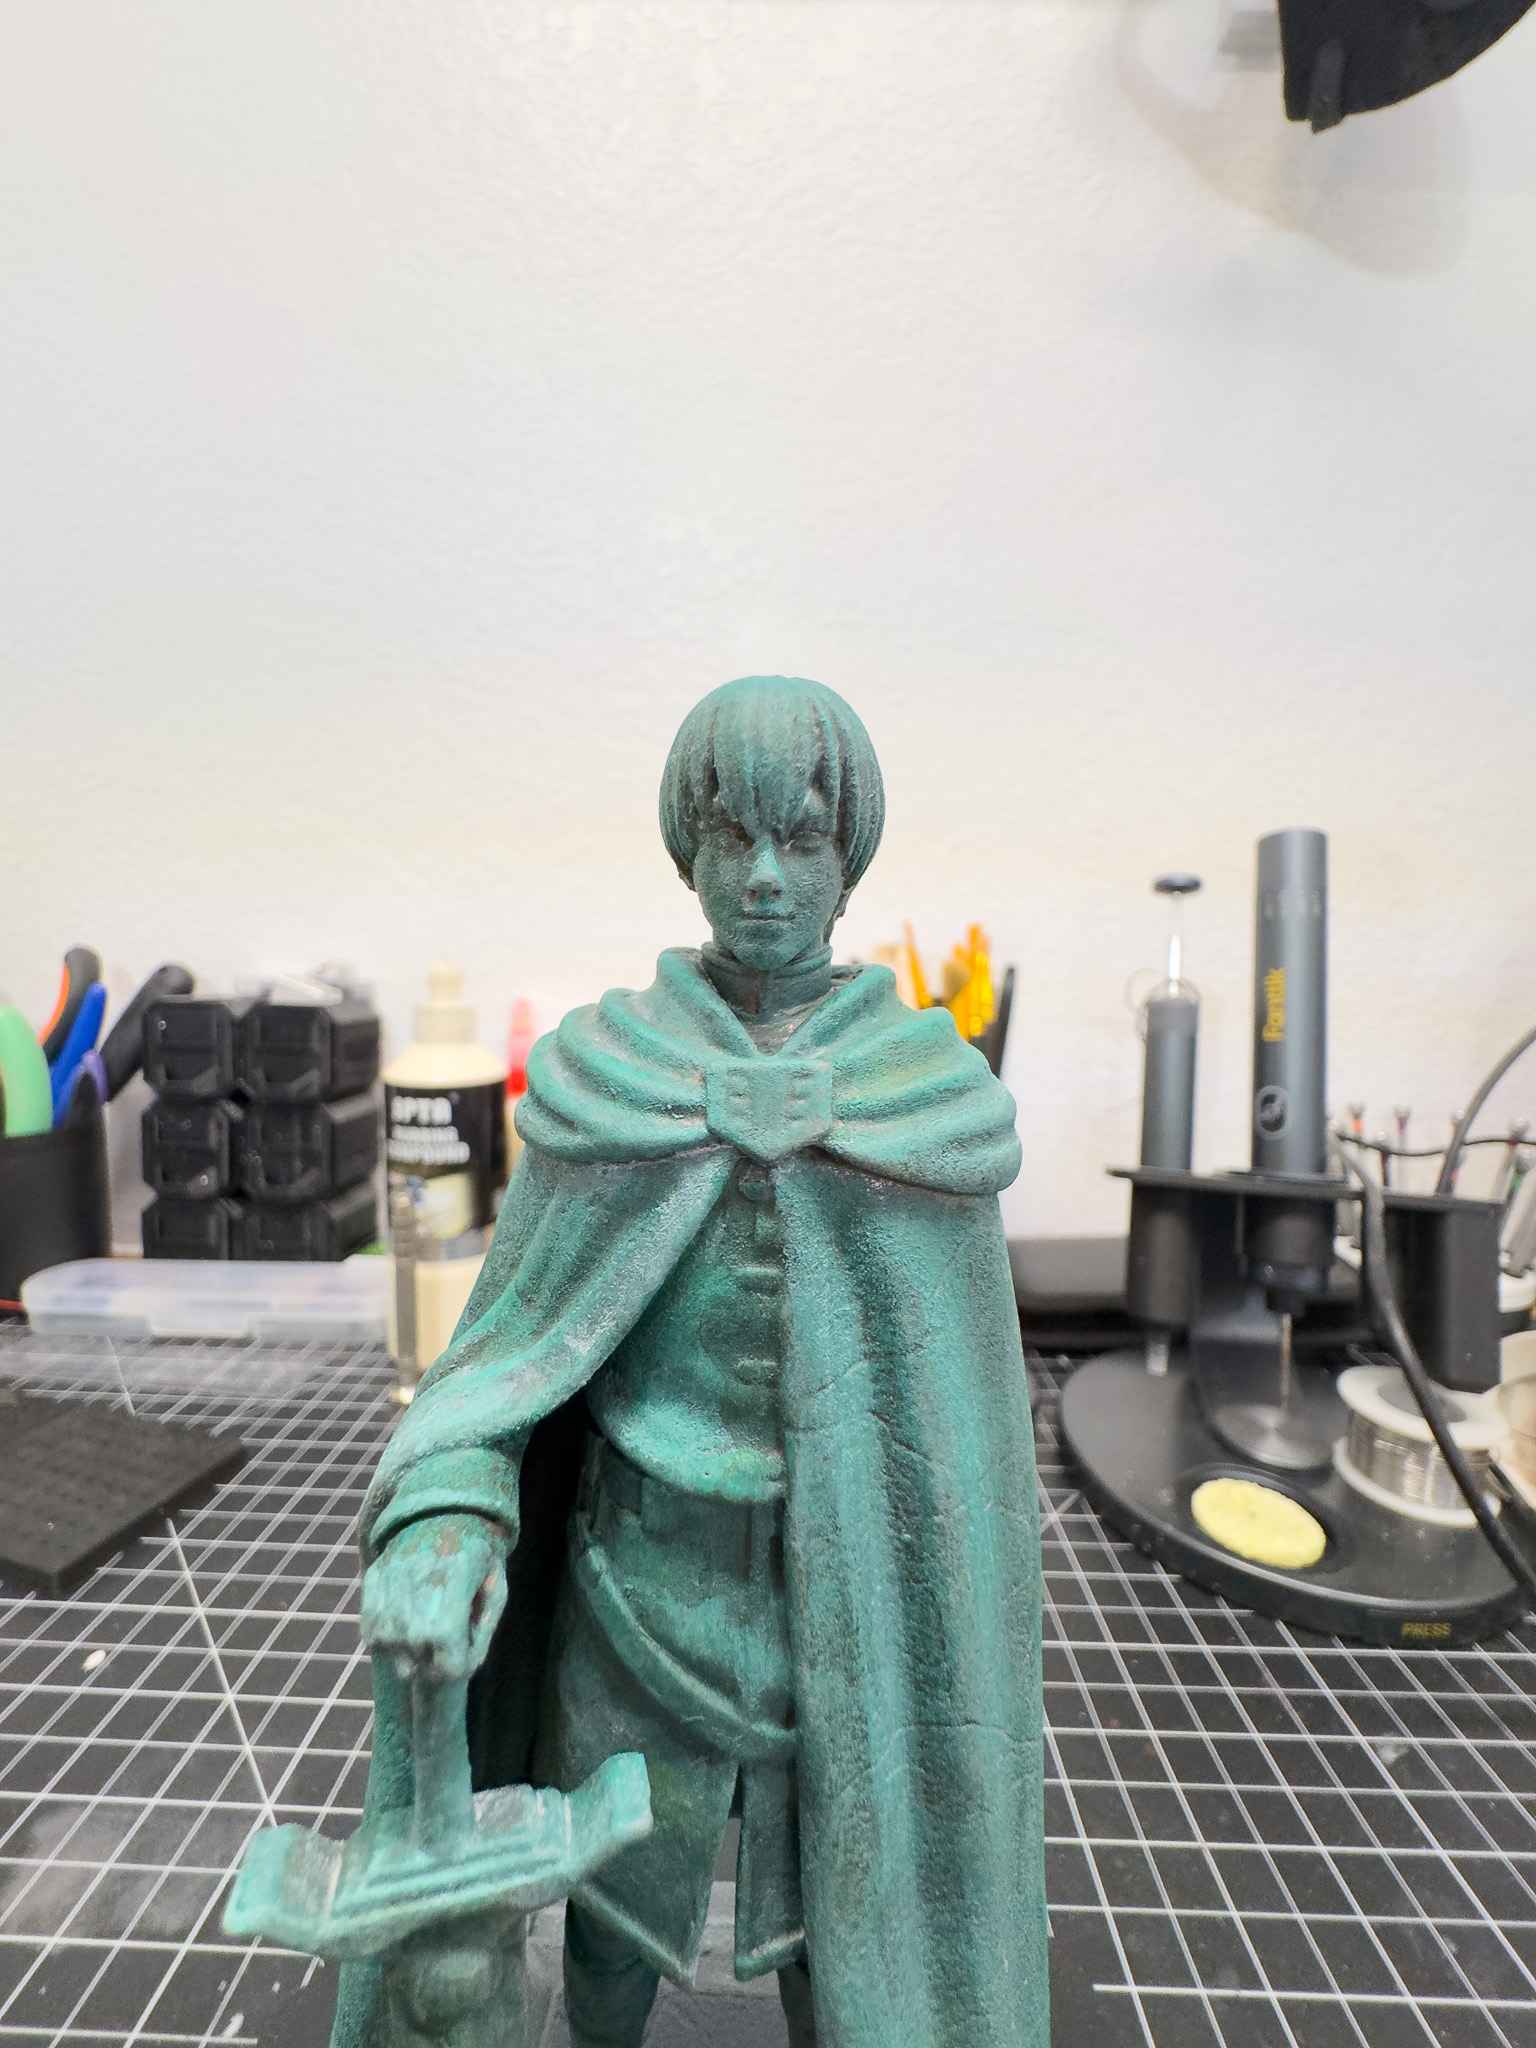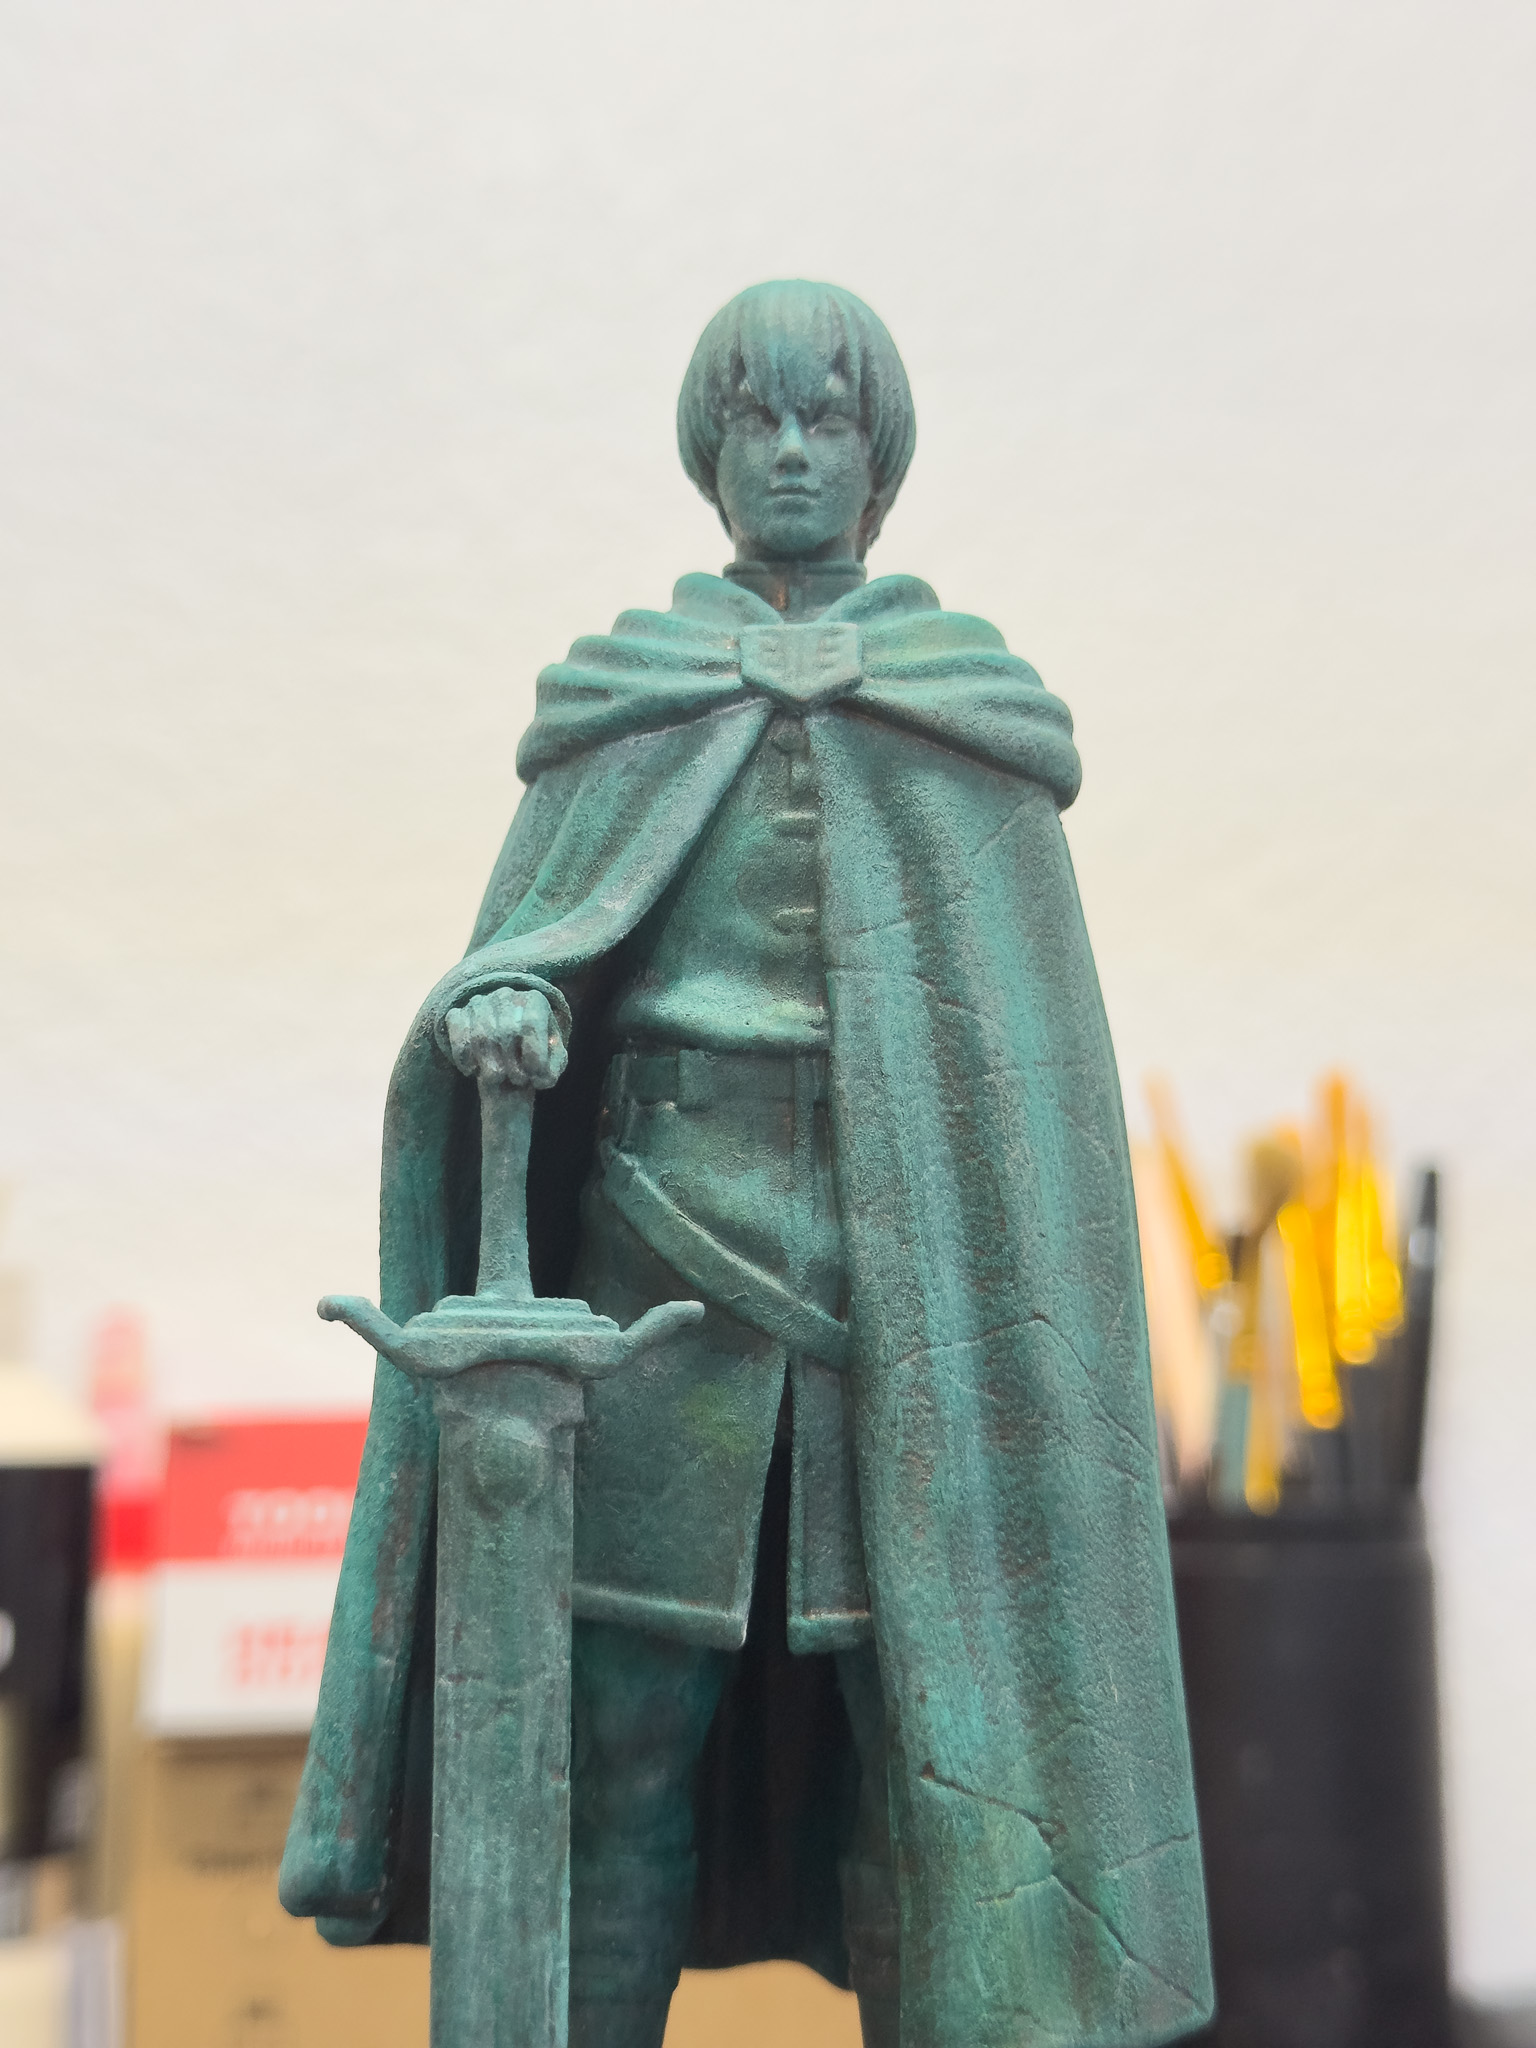
Himmel the Hero Statue
A Simple Build That Turned Out Better Than Expected
Not every project needs hundreds of parts, weeks of sanding, or complicated electronics to be rewarding.
Sometimes you find a great model, throw it on the printer, spend an afternoon painting it, and end up with something that looks fantastic sitting on your shelf.
That's exactly what happened with this Himmel statue.
As a fan of Frieren: Beyond Journey's End, I've wanted to add something from the series to my collection for a while. When I came across this Himmel statue, I immediately knew it would make a great display piece. Unlike many of the prop projects I build, this one was incredibly straightforward from start to finish.
- No hardware.
- No assembly.
- No wiring.
- No complicated paint masks.
Just a great sculpt, a clean print, and some simple paintwork. Honestly, it was a nice change of pace.
The Model
For this build, I used the Himmel Statue model available on Cults3D.
The sculpt captures Himmel's heroic pose perfectly and translates incredibly well into a physical statue. One of the things I appreciated most was how clean the overall model was. The details are sharp without being overly complicated, which makes it a great project whether you're new to resin printing or have been doing it for years.
A huge thank you to the designer for creating and sharing the model with the community.
Printing the Statue
One of the things I liked most about this project was how simple the printing process was.
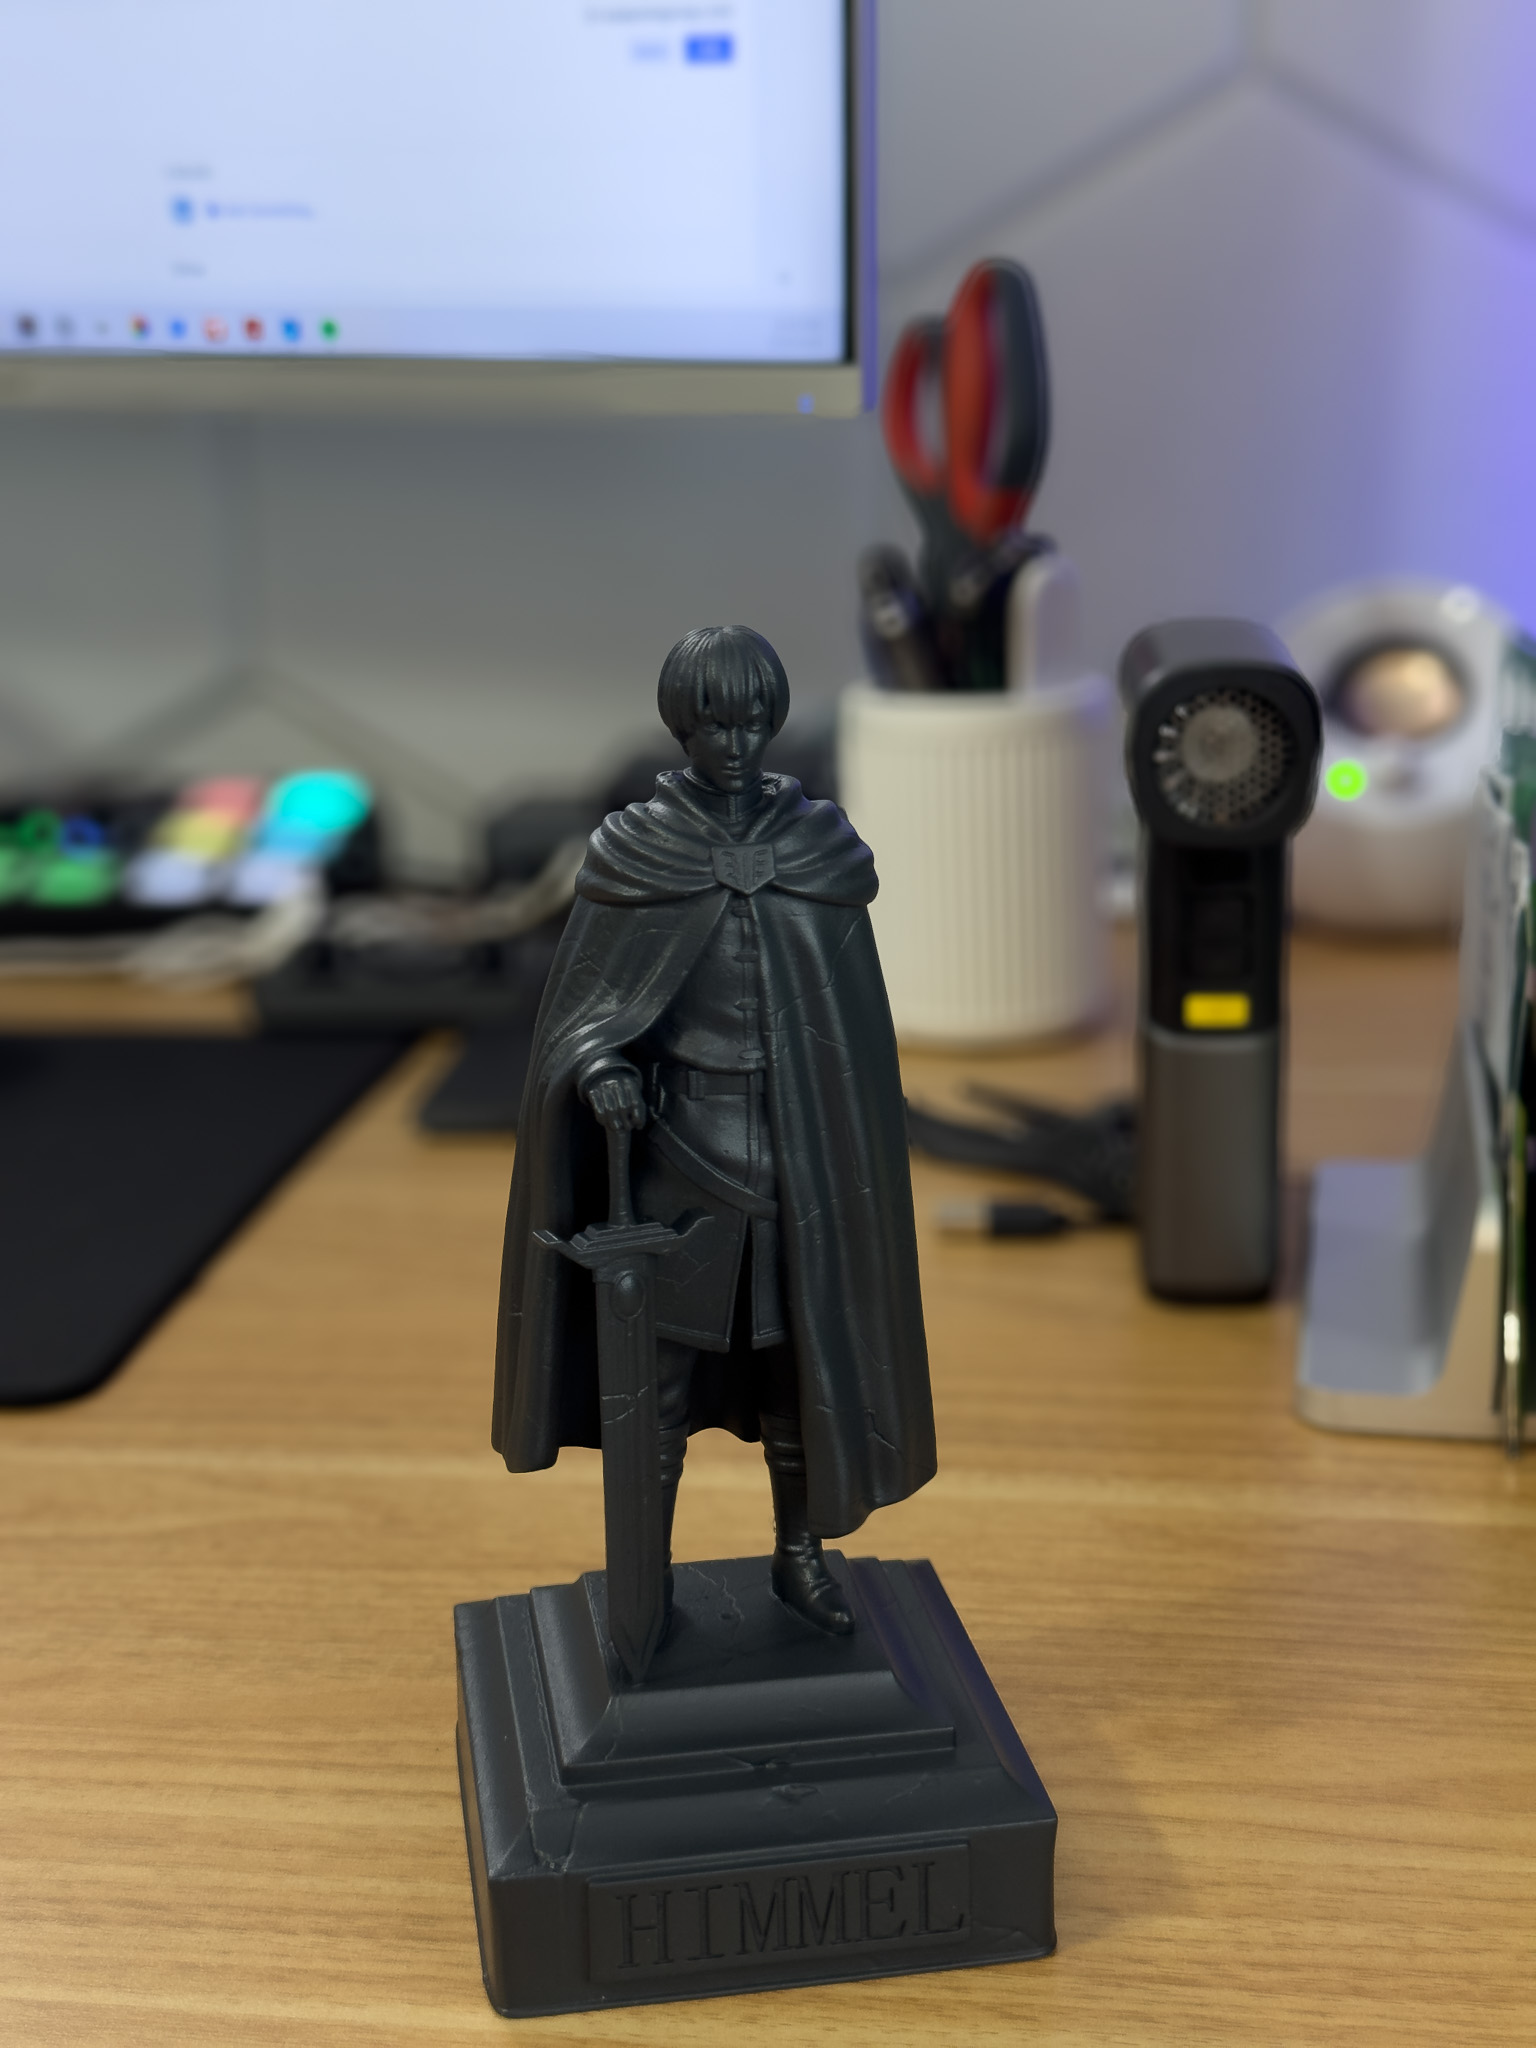
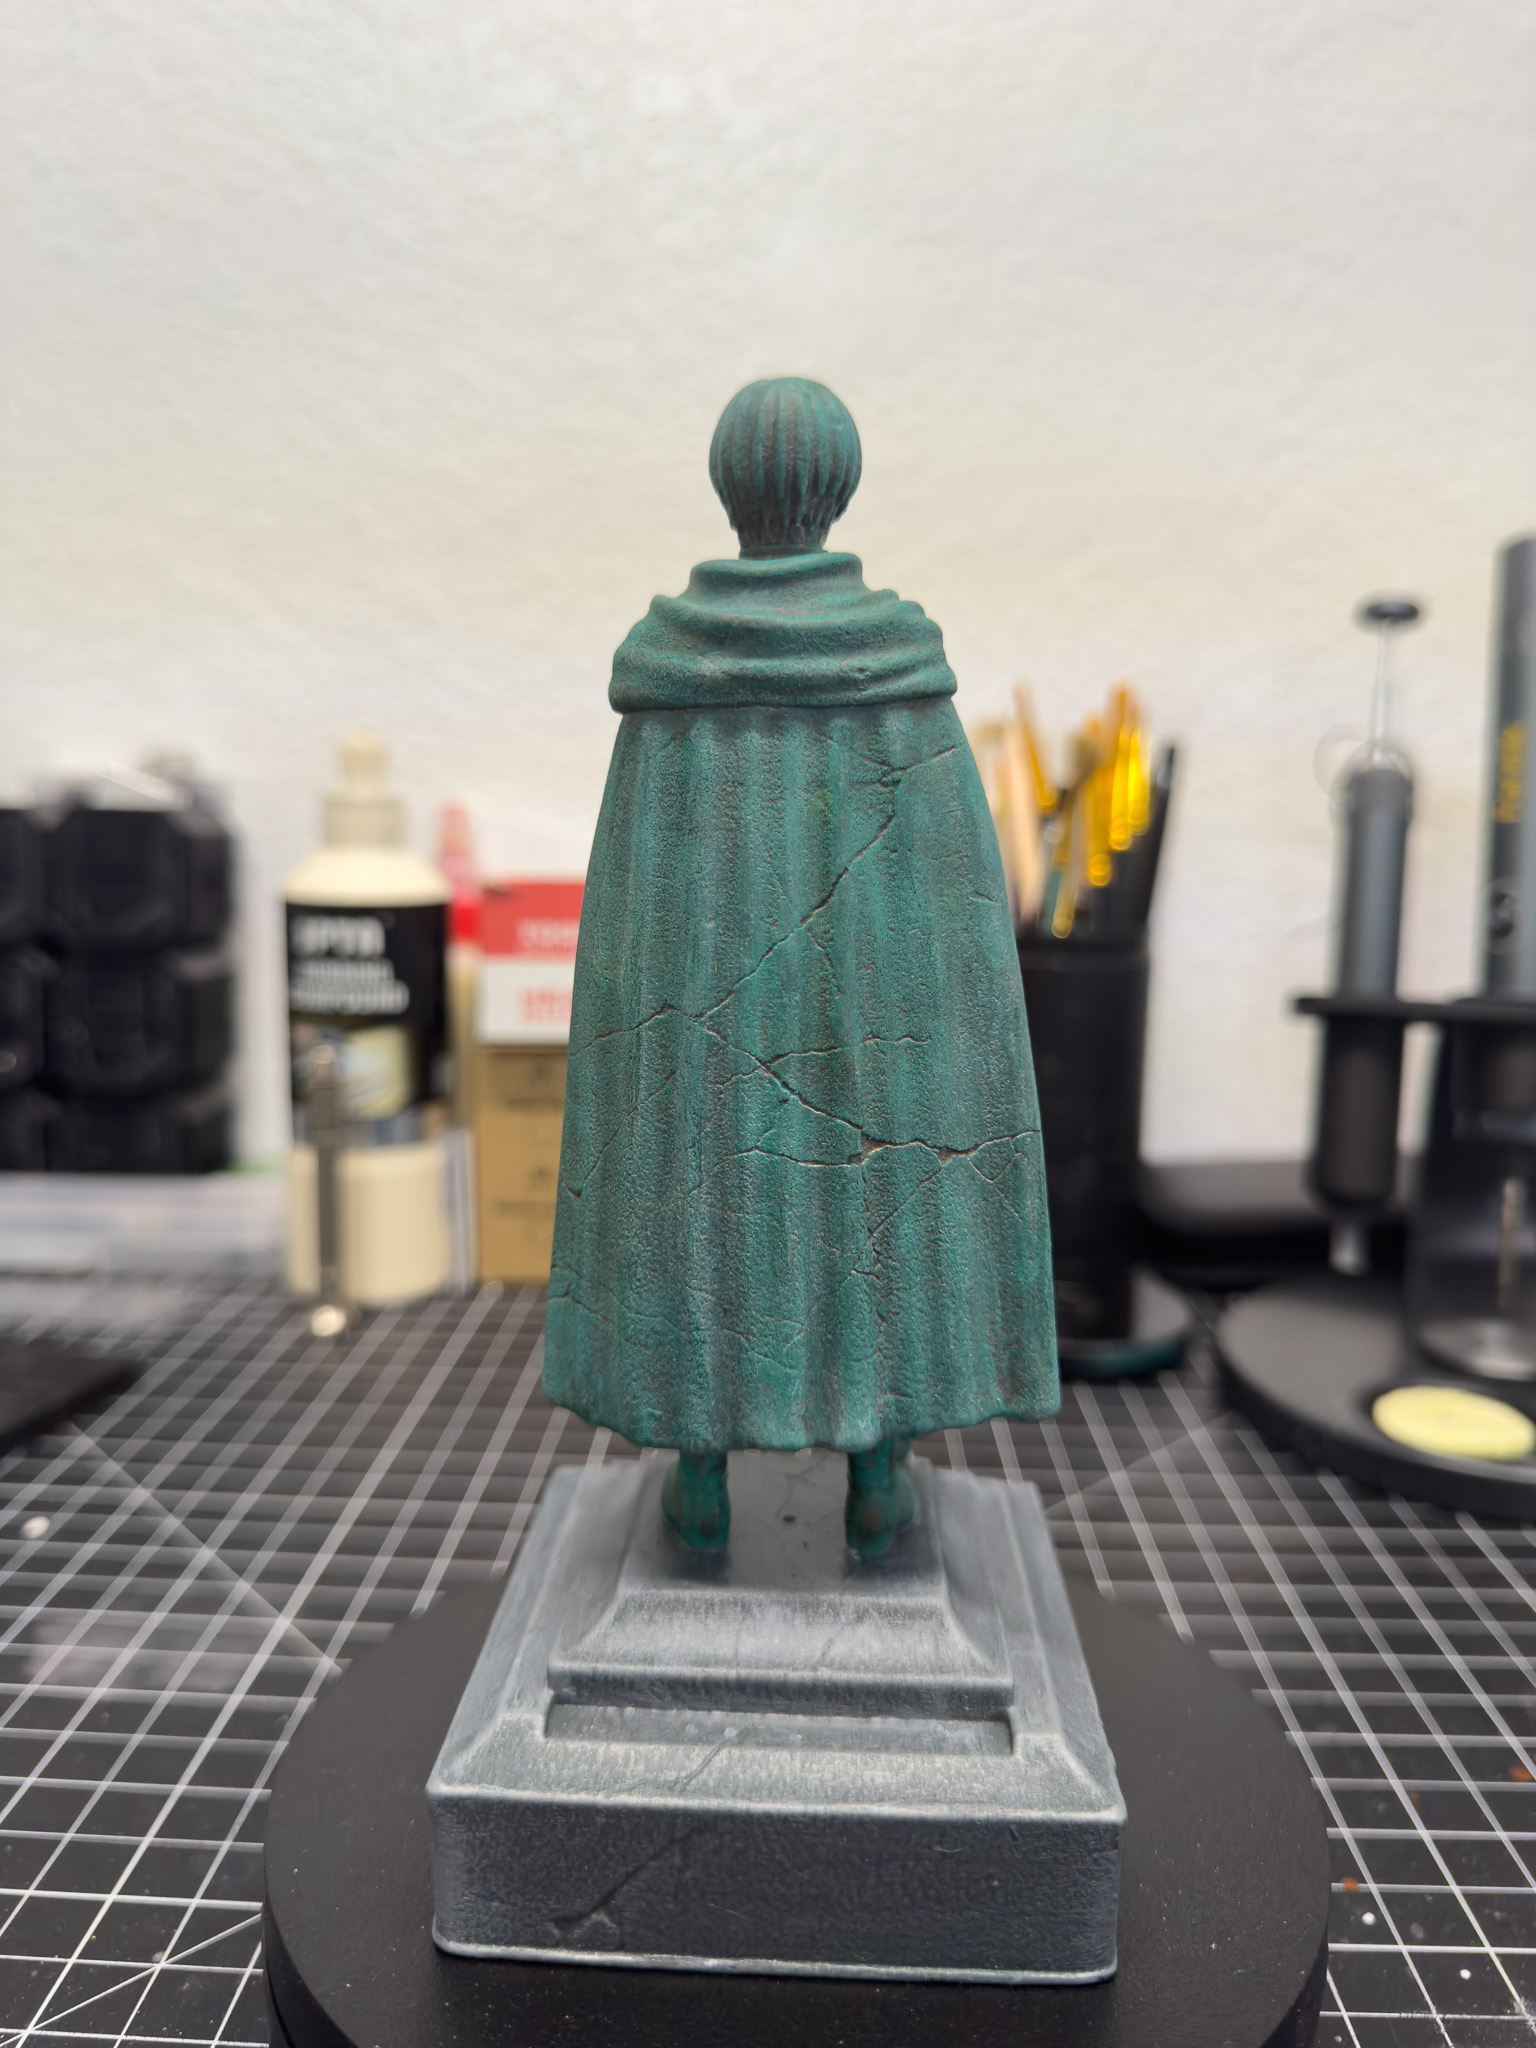
Rather than slicing the model into multiple parts and dealing with assembly later, I printed the entire statue as a single piece.
The base was placed directly on the build plate and I used only minimal supports where necessary. Because of the way the model is designed, there really wasn't much support material needed at all.
One thing I would recommend is adding a little extra exposure time to your bottom layers. Since the base sits directly on the build plate, those first layers are supporting the entire print. Giving them a little extra exposure helps ensure the print stays firmly attached throughout the process.
For my version, I printed the statue completely solid. You could absolutely hollow it out if you're looking to save resin, especially if you plan to scale the model up, but I wanted the finished piece to have a little weight to it. For me, a solid print just feels better in hand.
The result was a flawless print. No warping. No failed sections. No unexpected issues. Sometimes a print fights you every step of the way. This wasn't one of those projects. Everything simply worked.
Minimal Cleanup
After the print finished, cleanup was incredibly simple. Because the model required very few supports, there wasn't much post-processing involved.
- A little sanding.
- A quick cleanup of support marks.
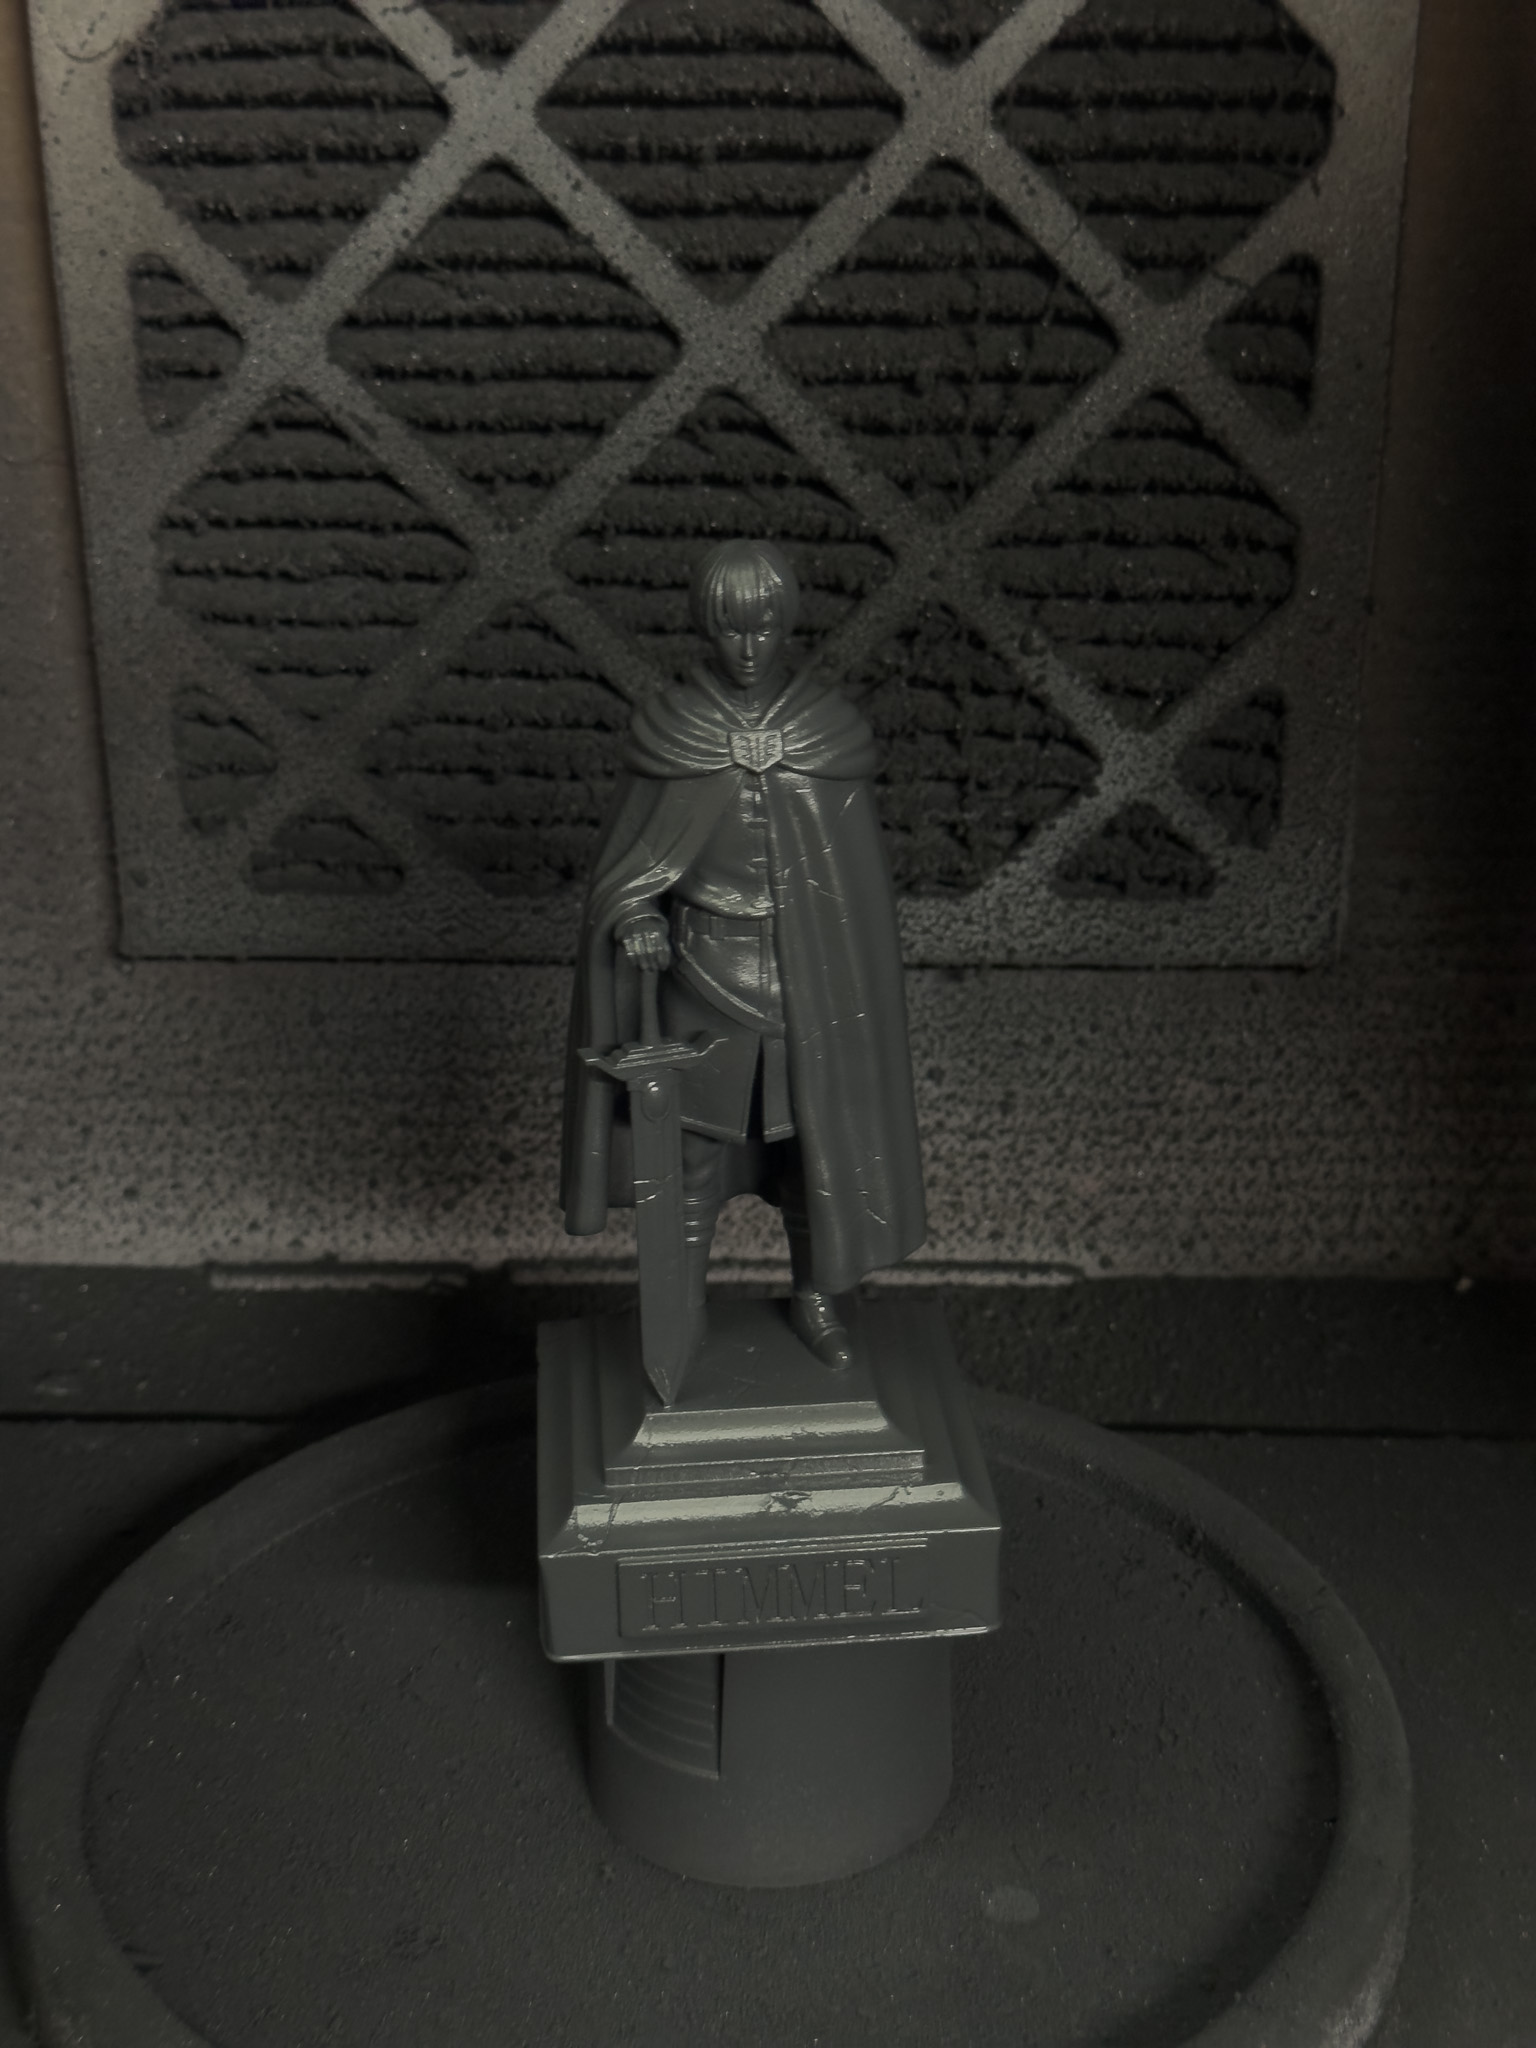
- A coat of primer.
- And it was ready for paint.
Compared to some of the larger prop builds I've worked on that require days of filling, sanding, and refining surfaces, this felt almost relaxing. It was nice to spend more time painting than fixing print imperfections.
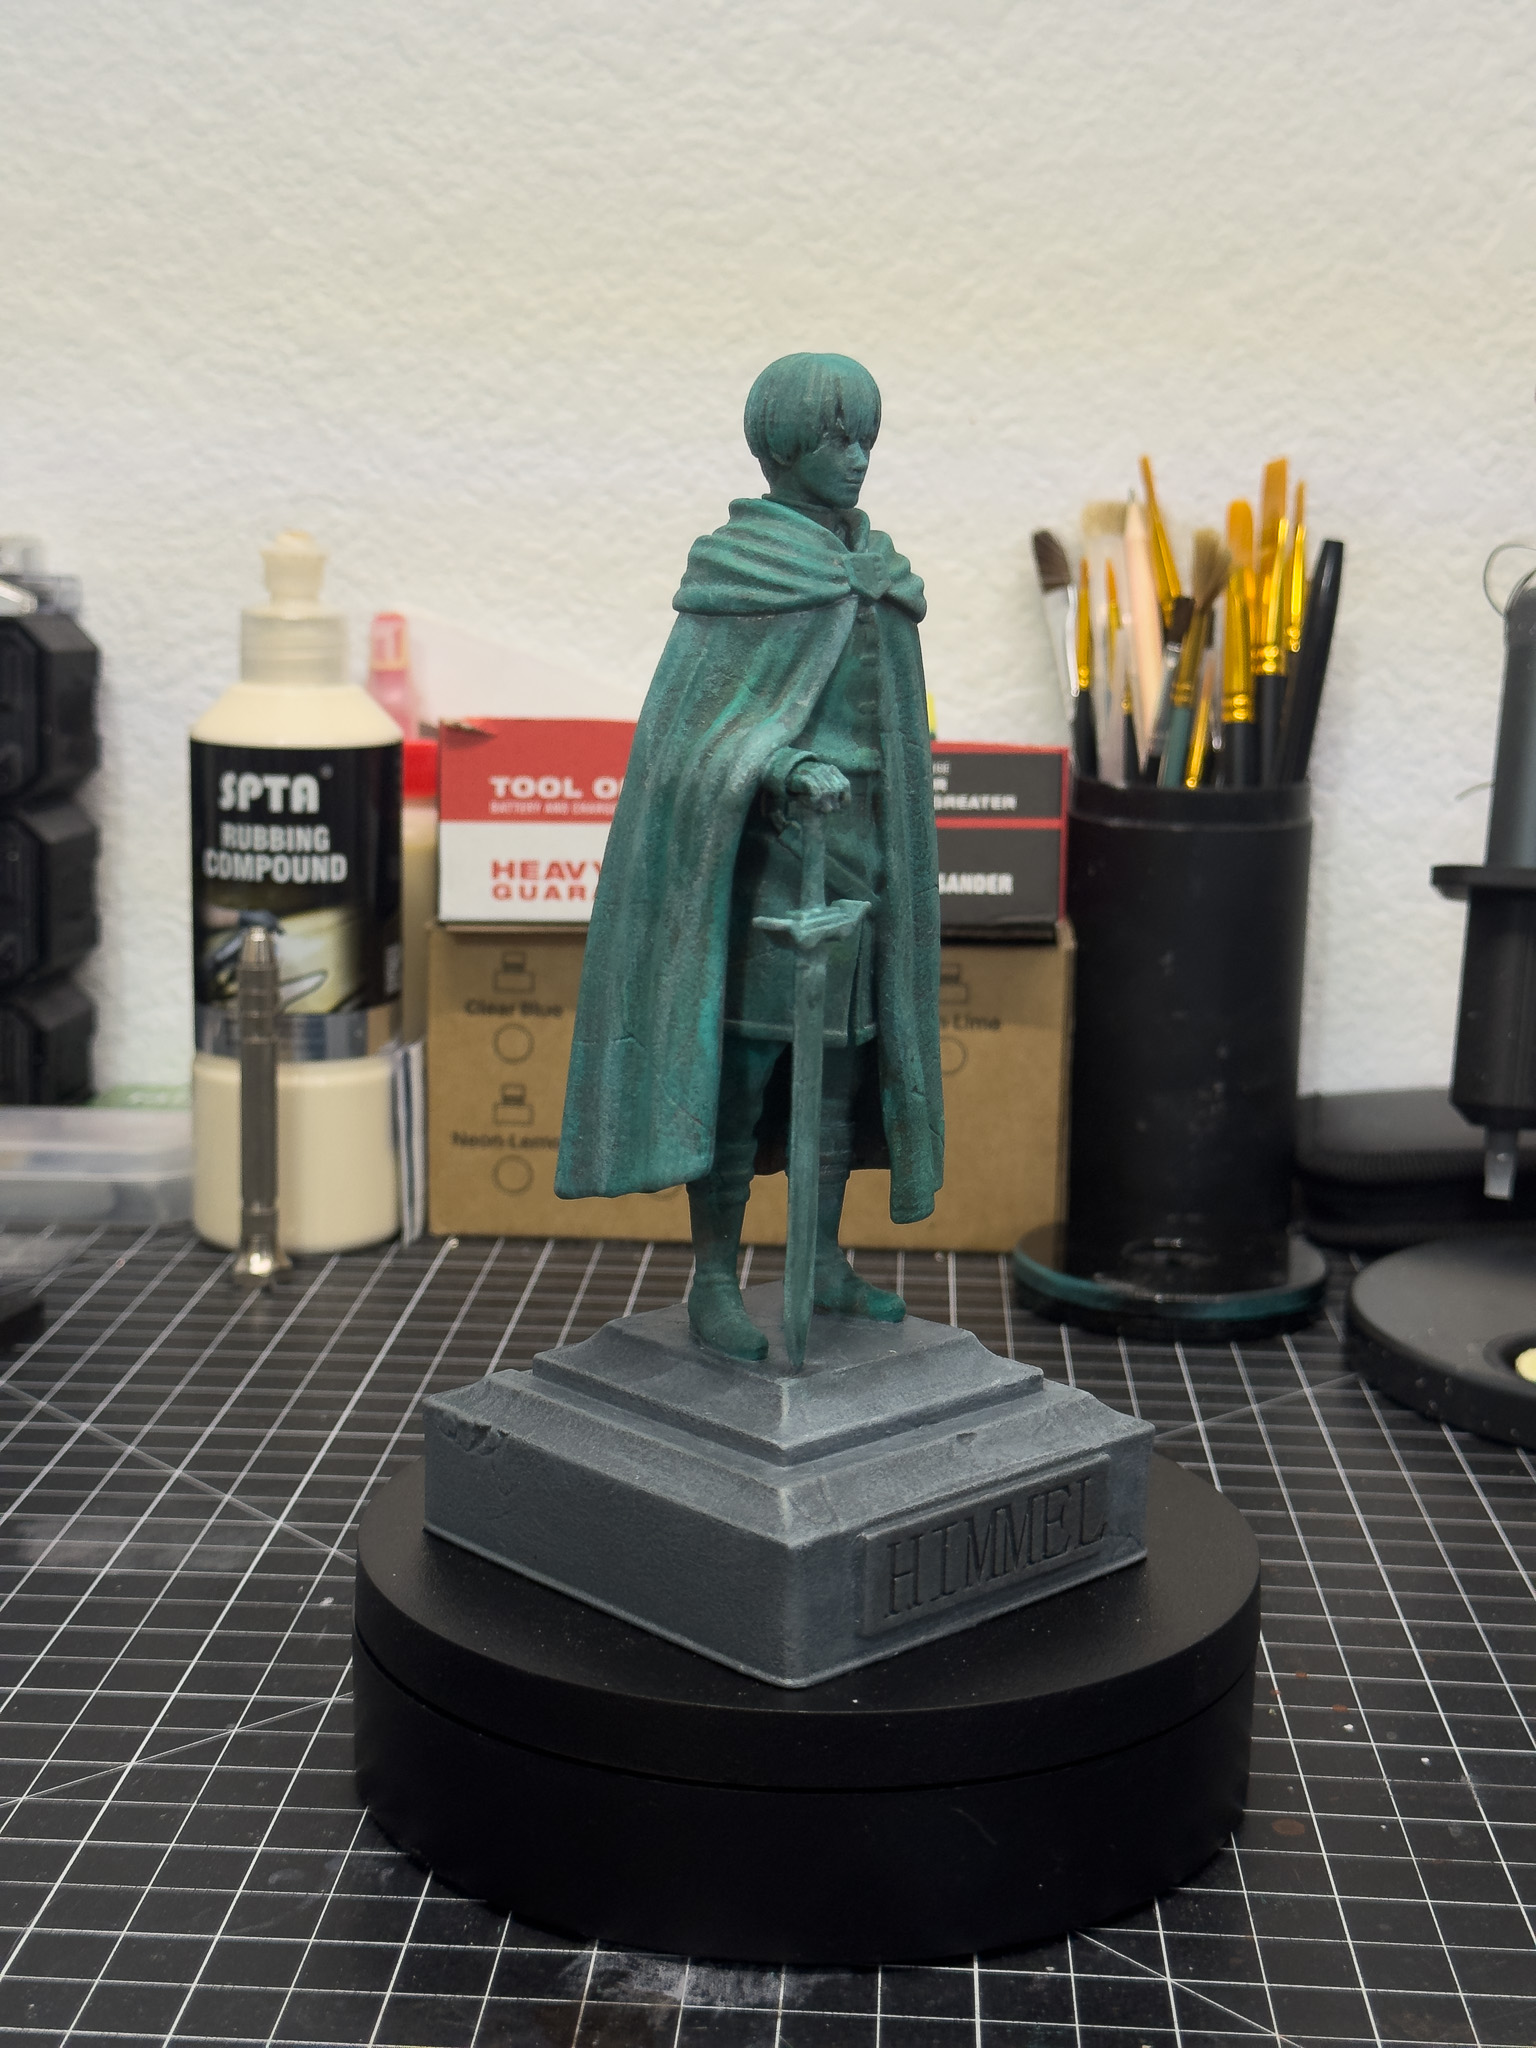
Creating an Aged Bronze Statue
The paint job for this project was intentionally simple. I wasn't trying to create a screen-accurate full-color version of Himmel.
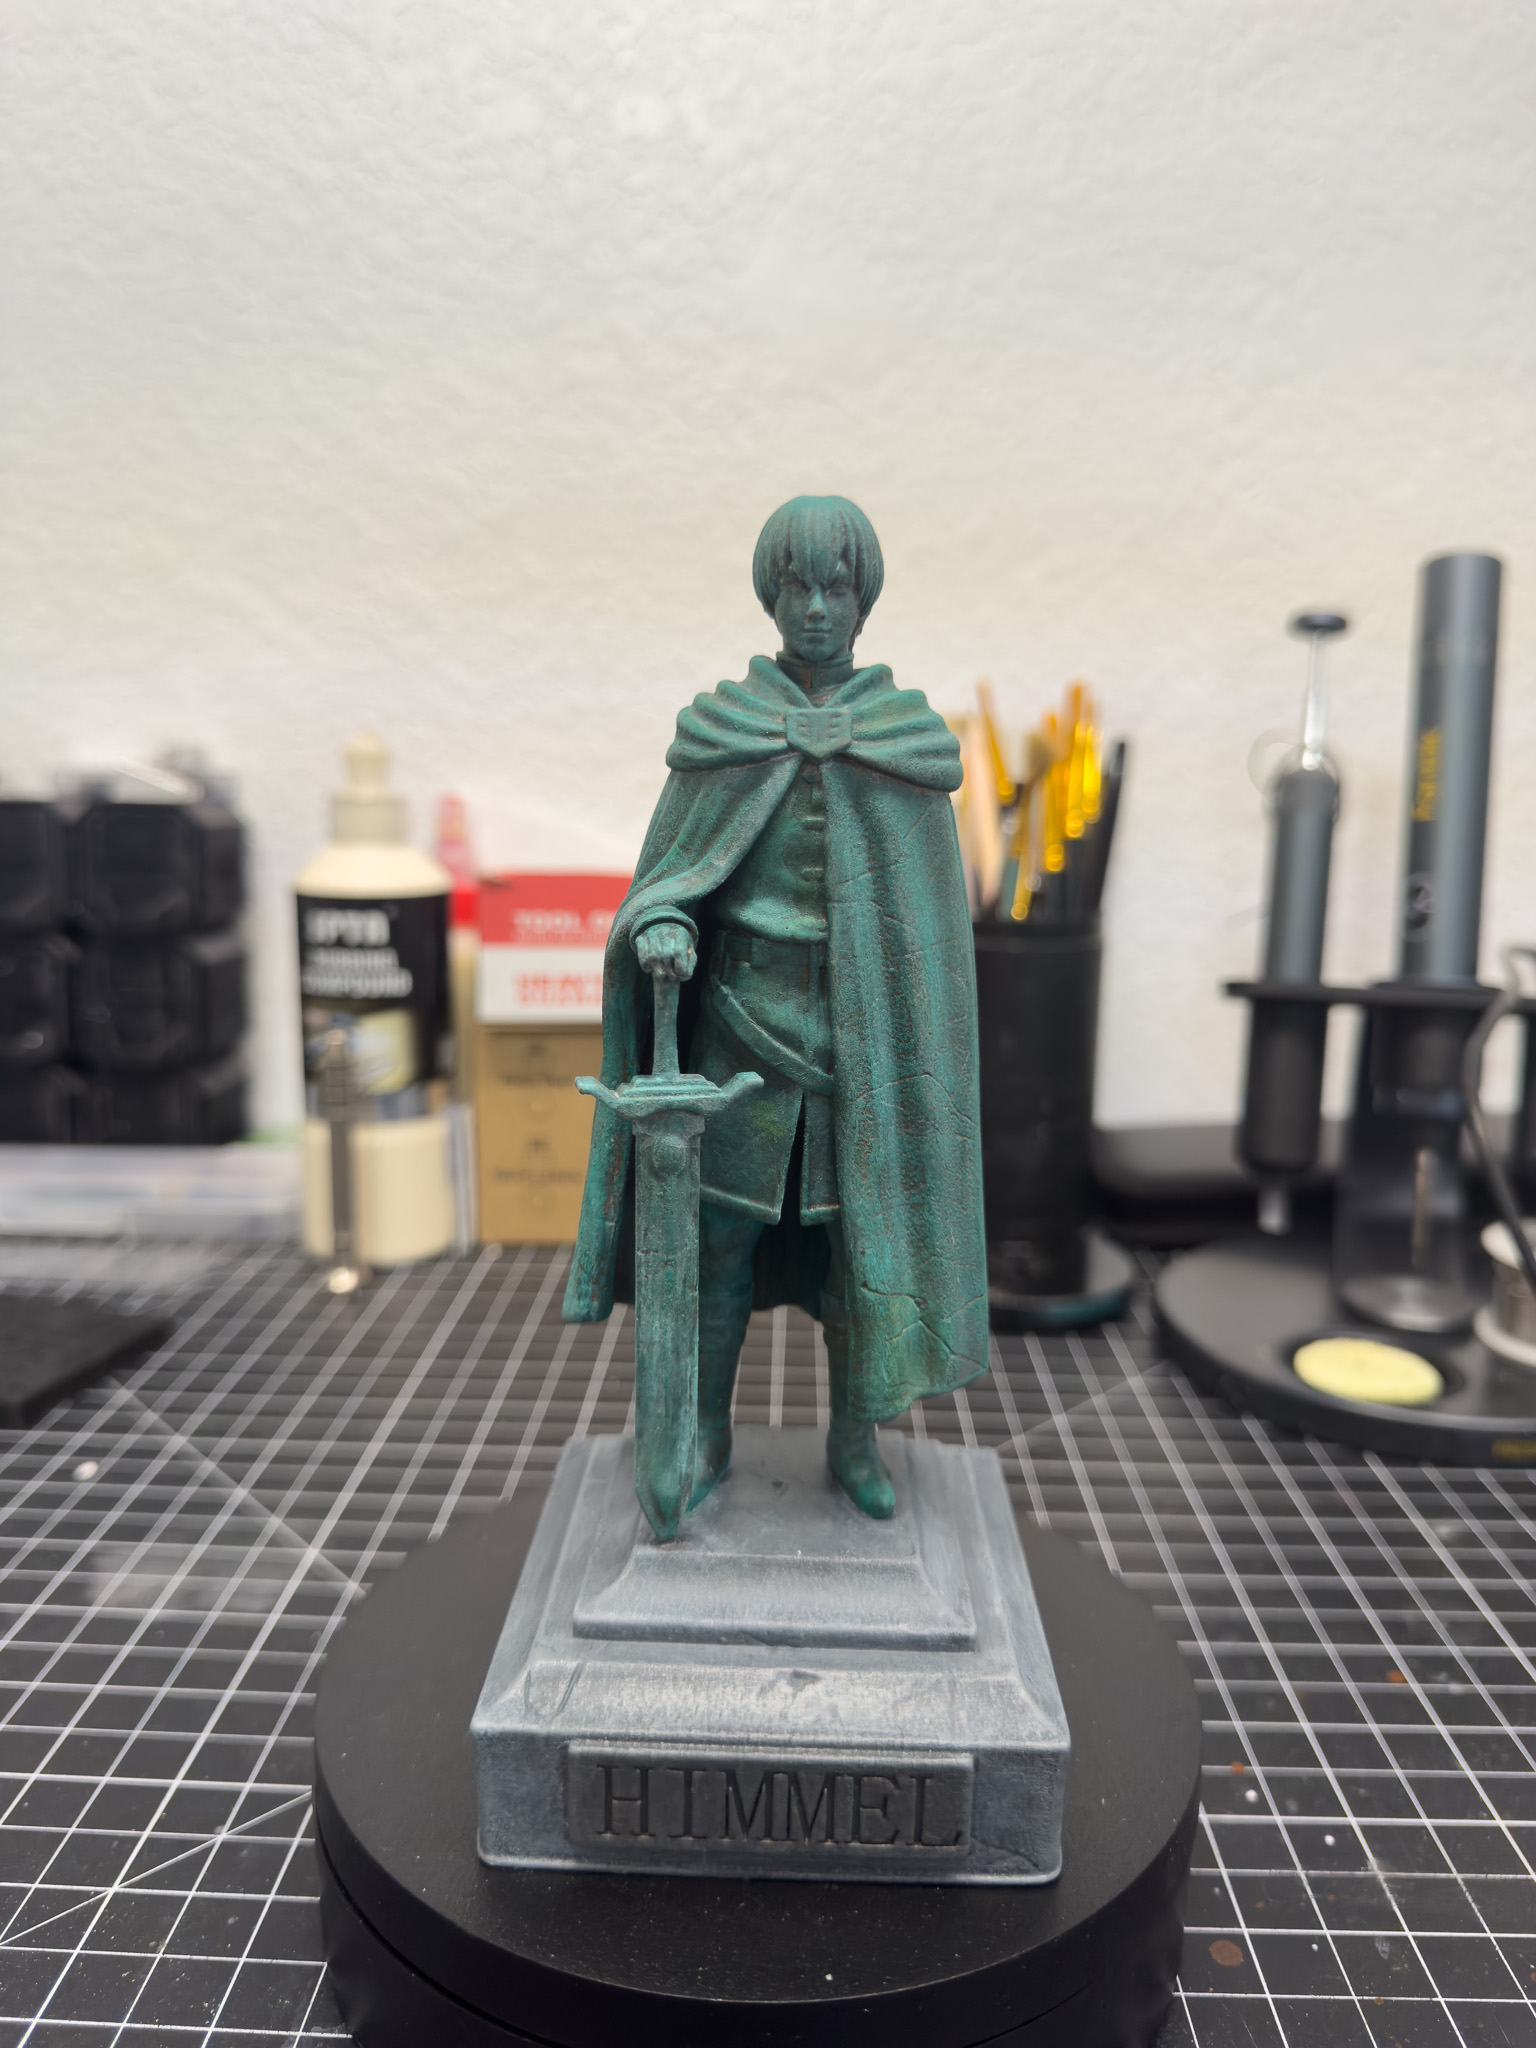
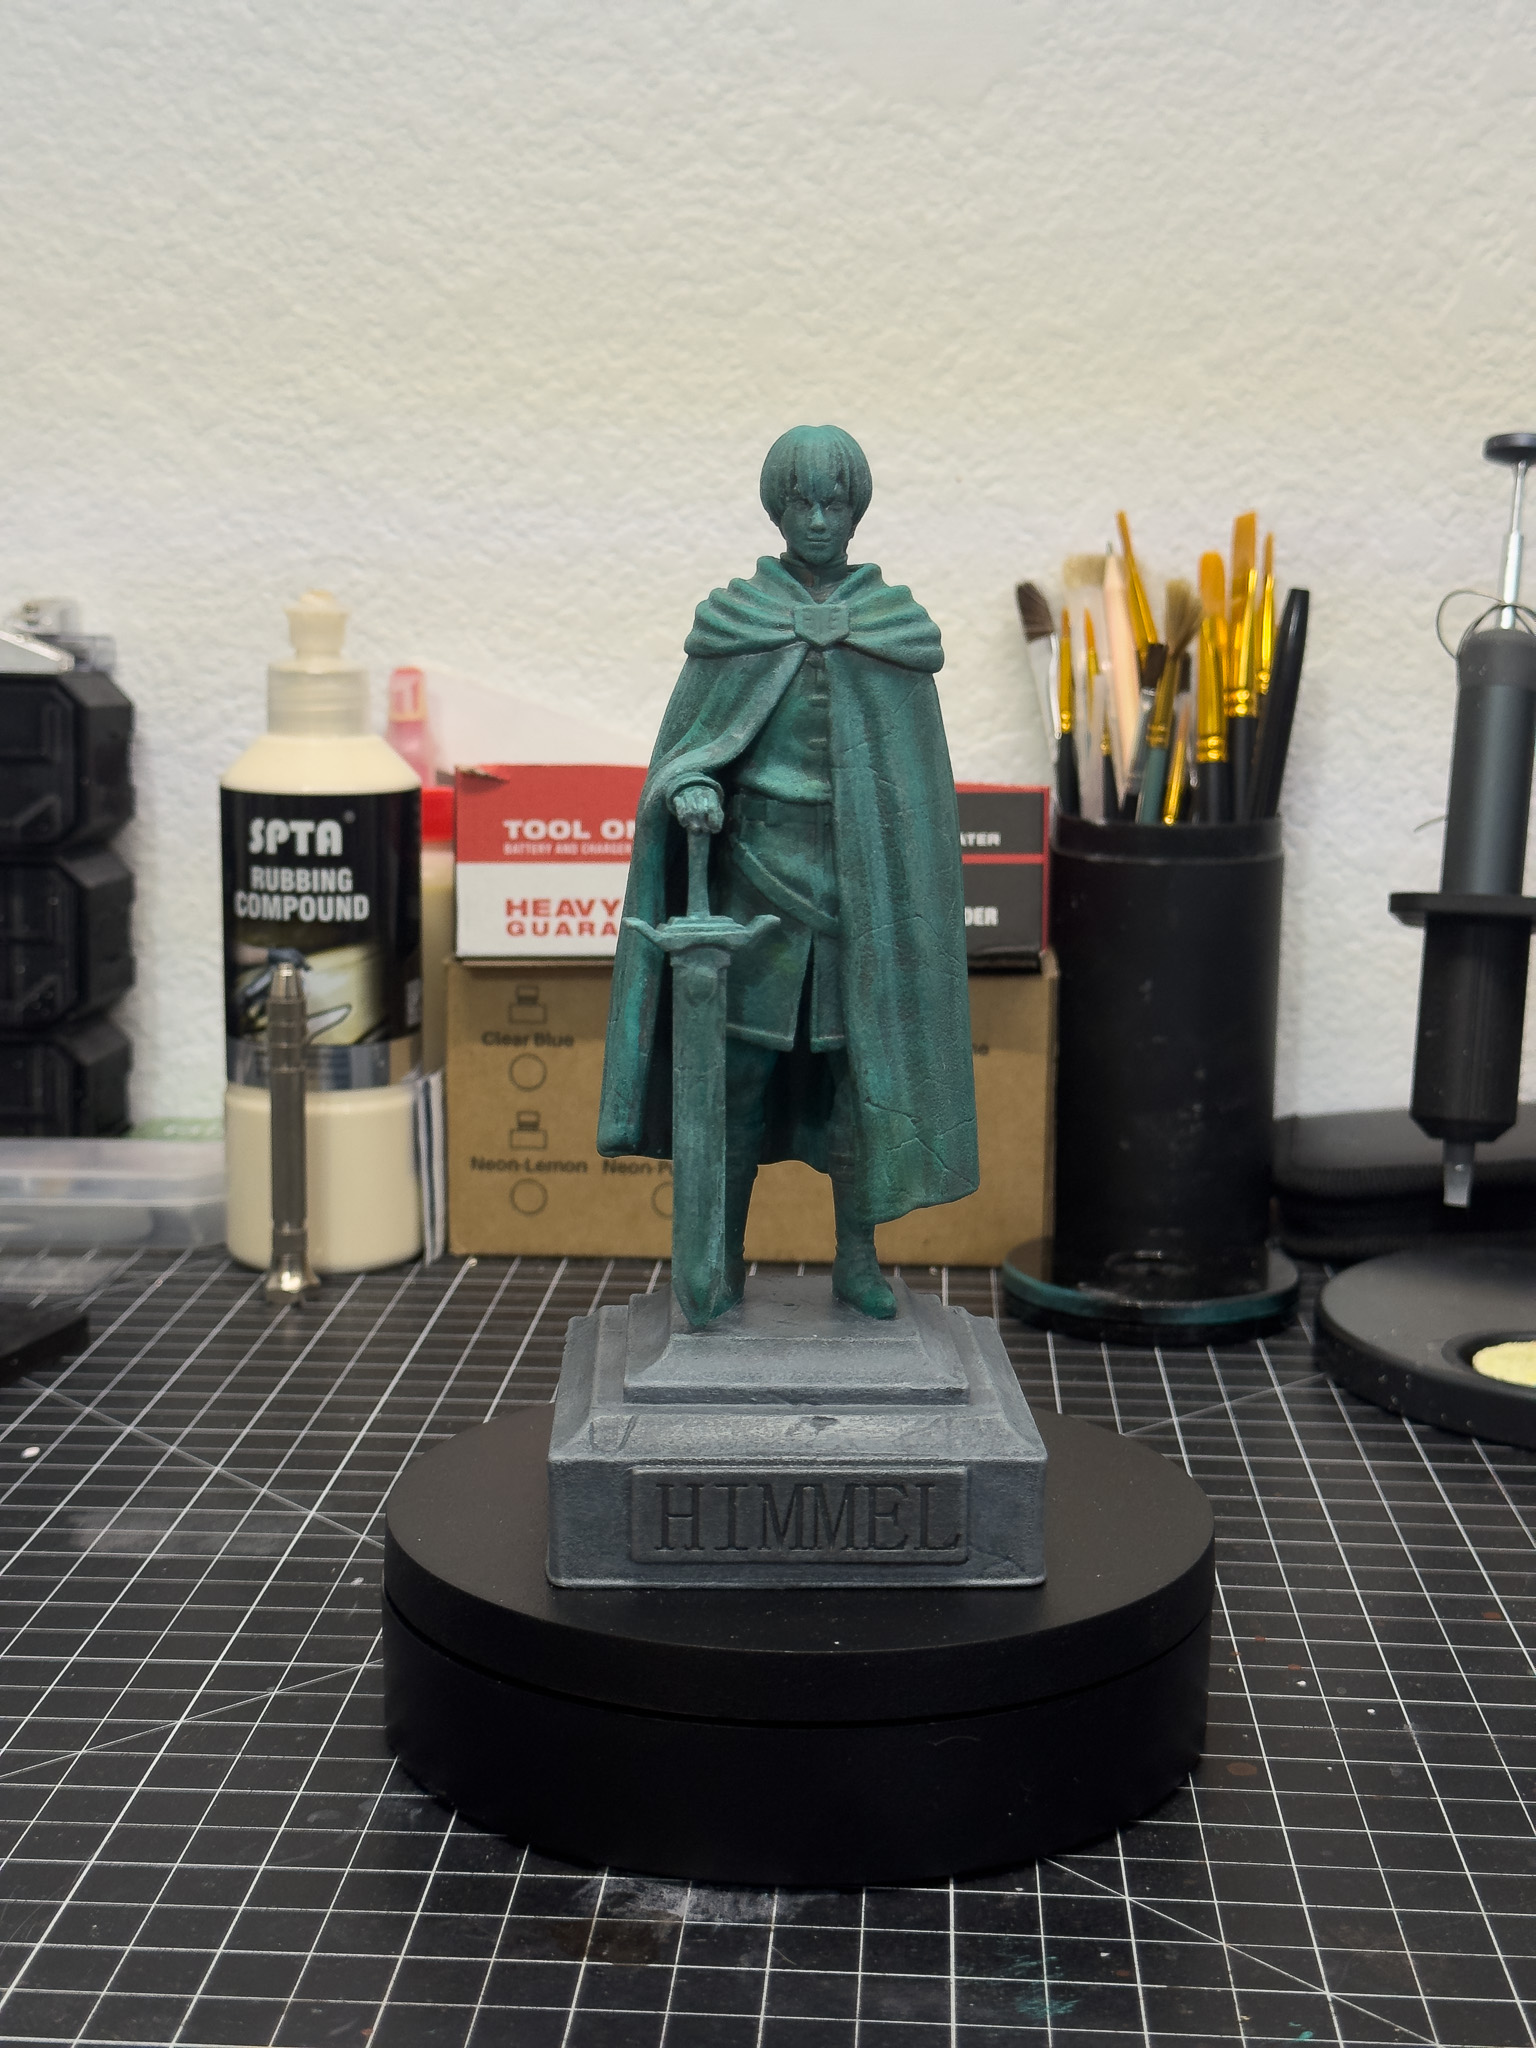
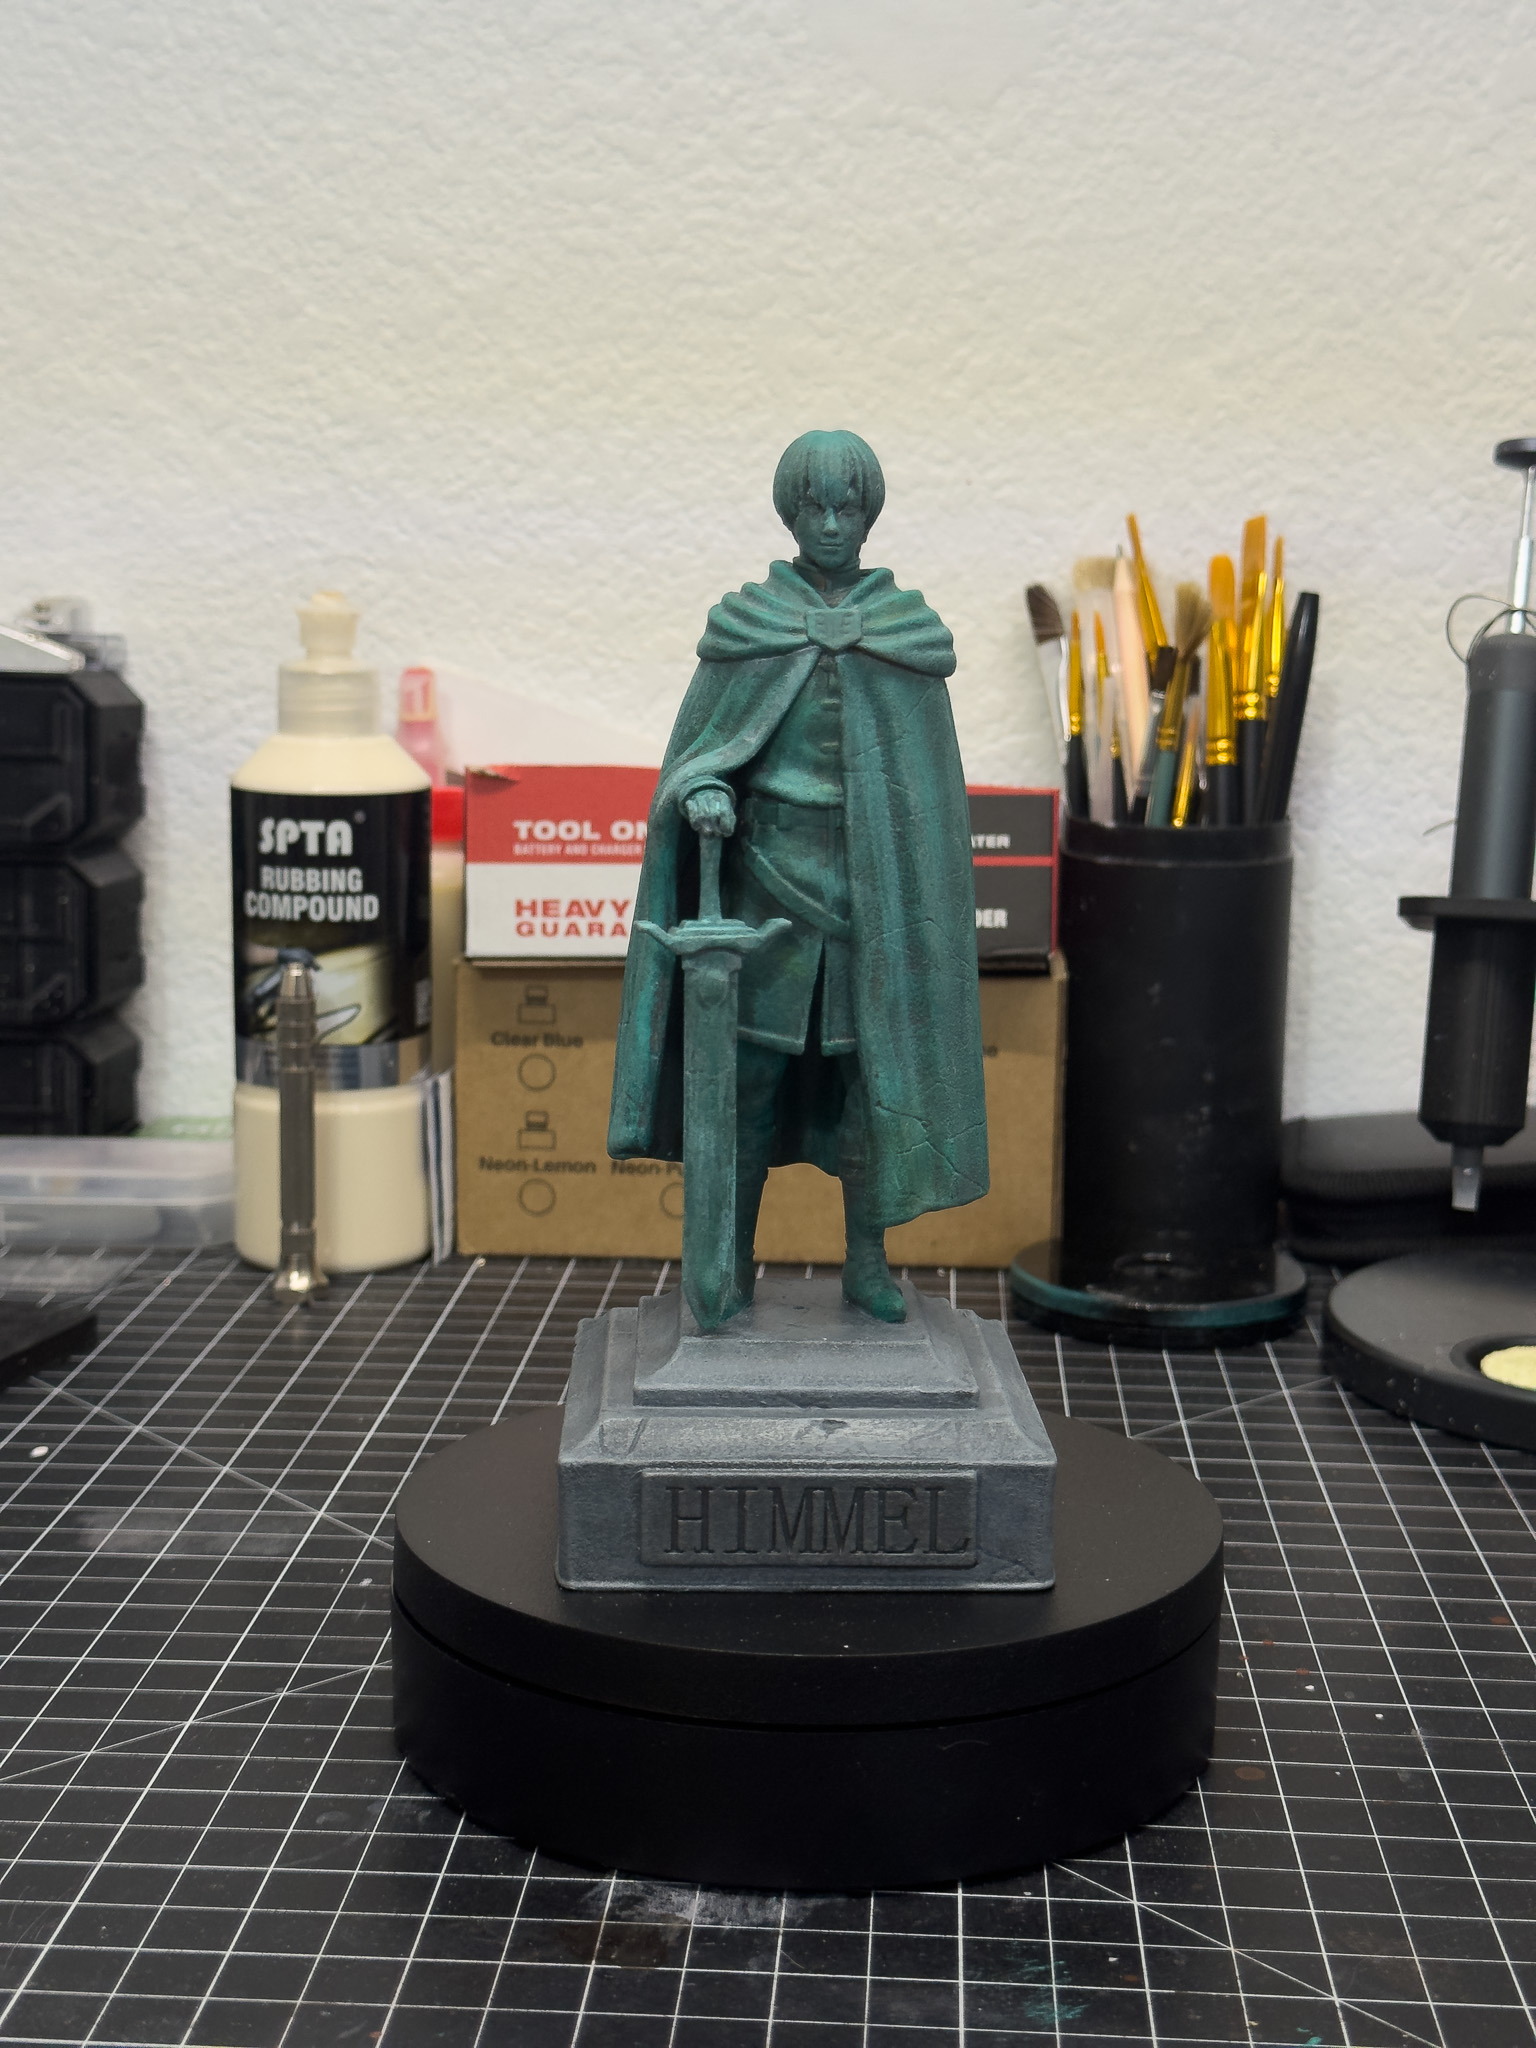
Instead, I wanted the finished piece to look like an aged bronze monument that had been standing in a town square for decades.
One thing I love about this build is that it proves you don't need expensive paints or complicated techniques to create a convincing finish. The entire statue was painted using simple acrylic craft paints.
- No airbrush.
- No specialty hobby paints.
- No expensive weathering products.
- Just a handful of basic craft paints and some dry brushing.
I started with a dark bronze base coat and then slowly built up highlights using lighter metallic tones.
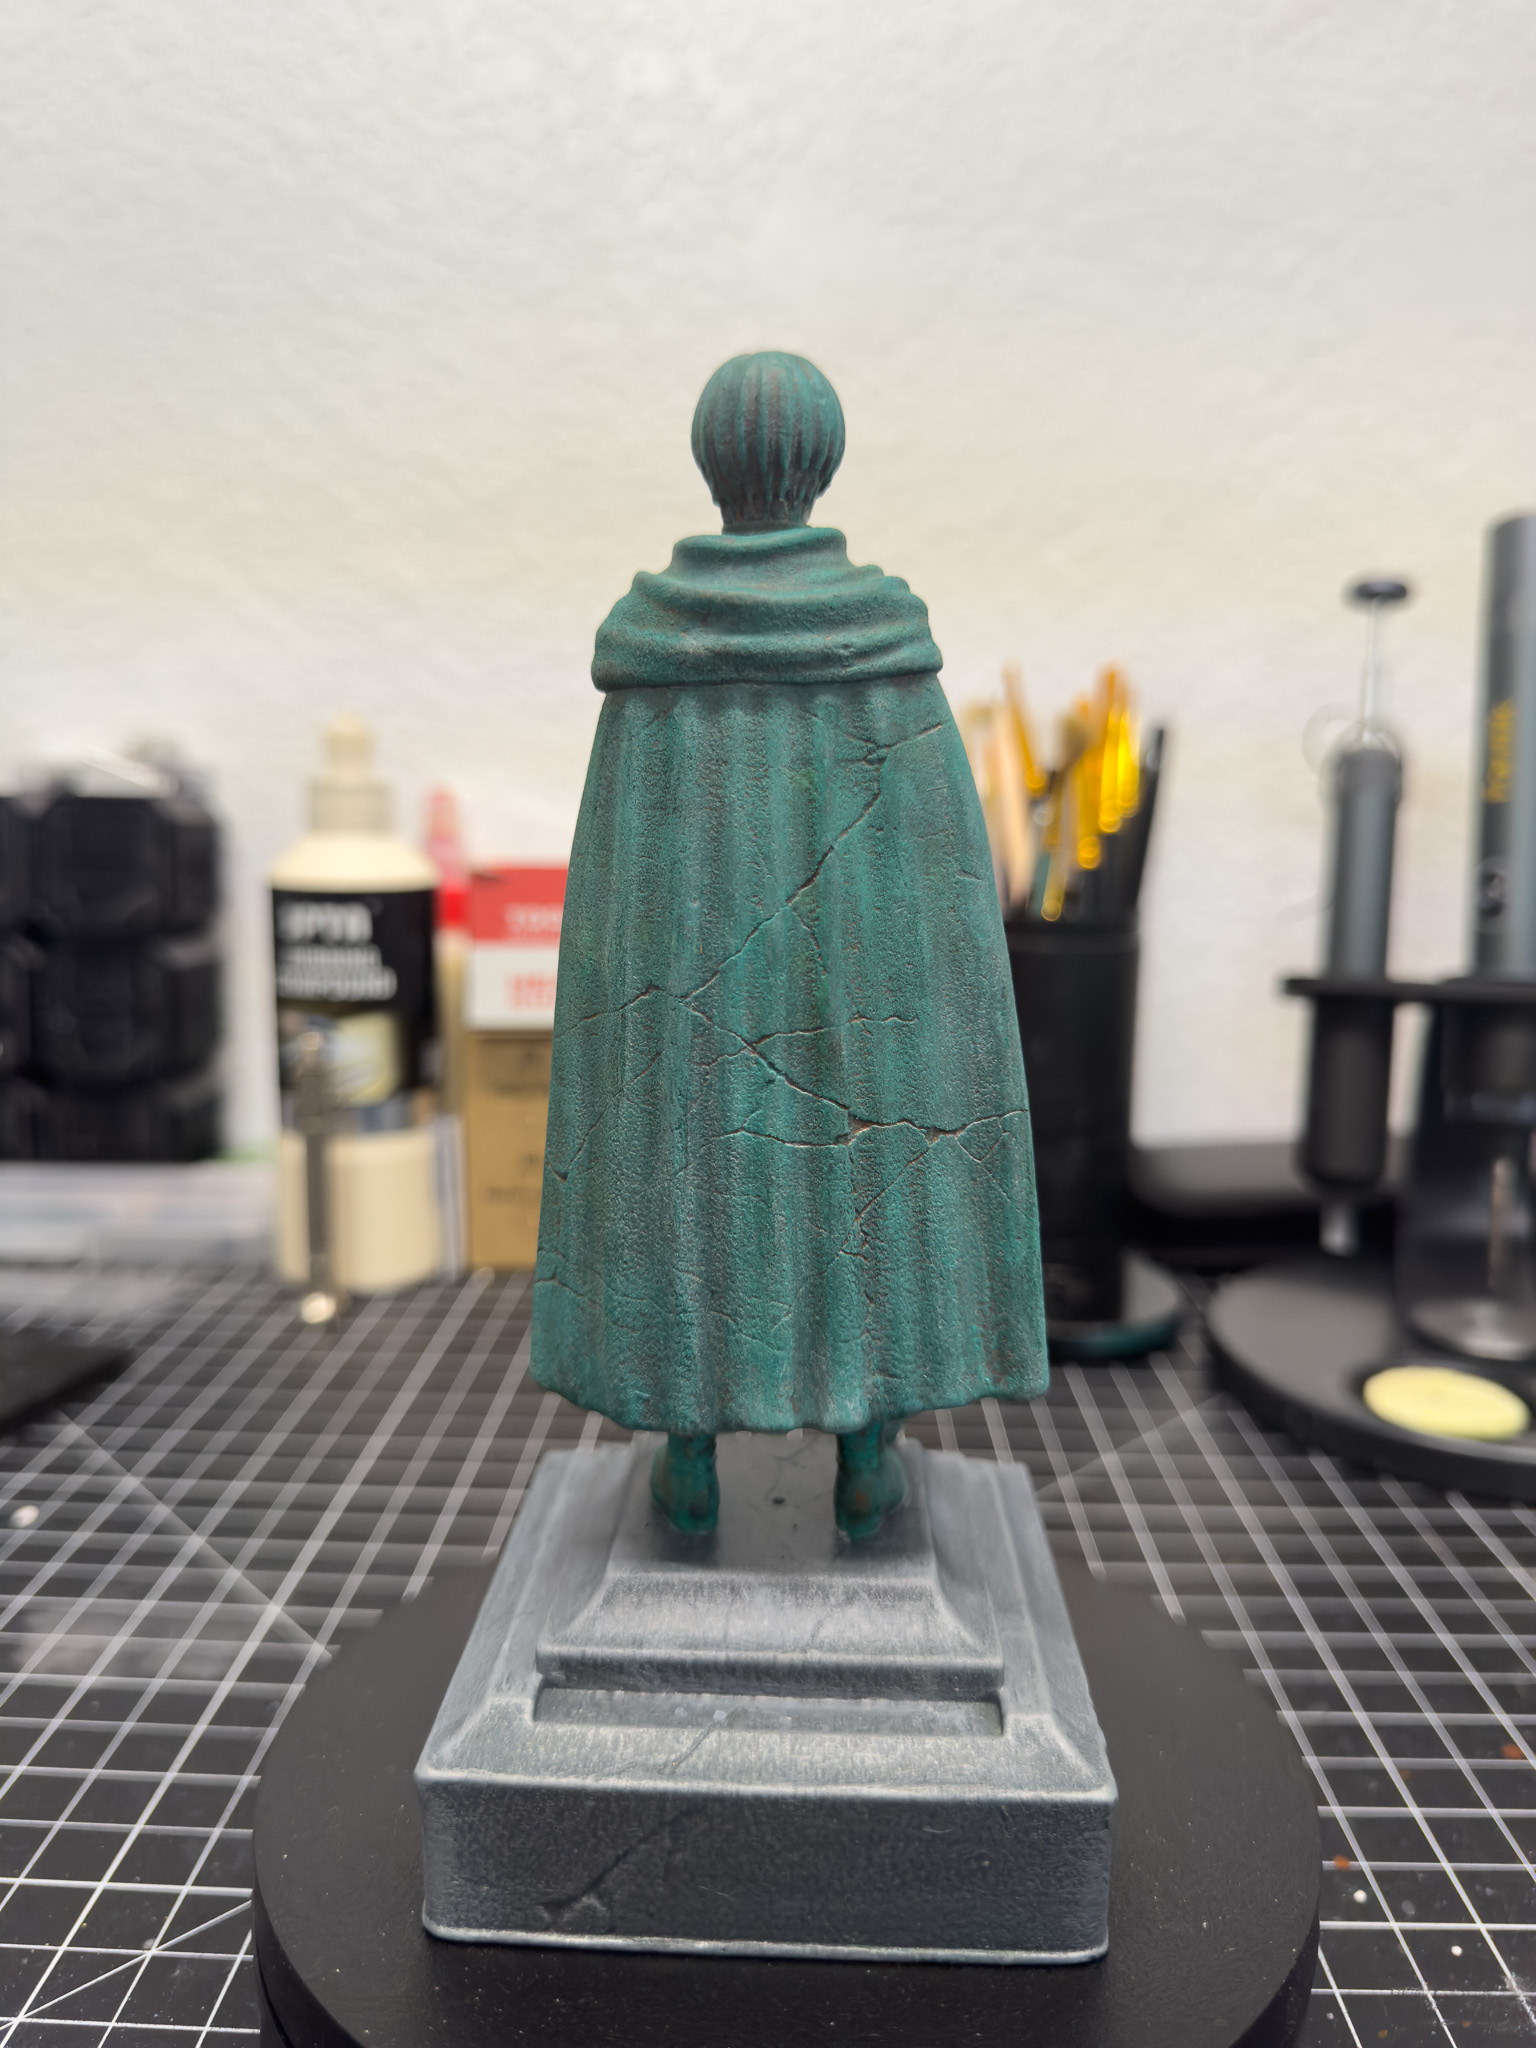
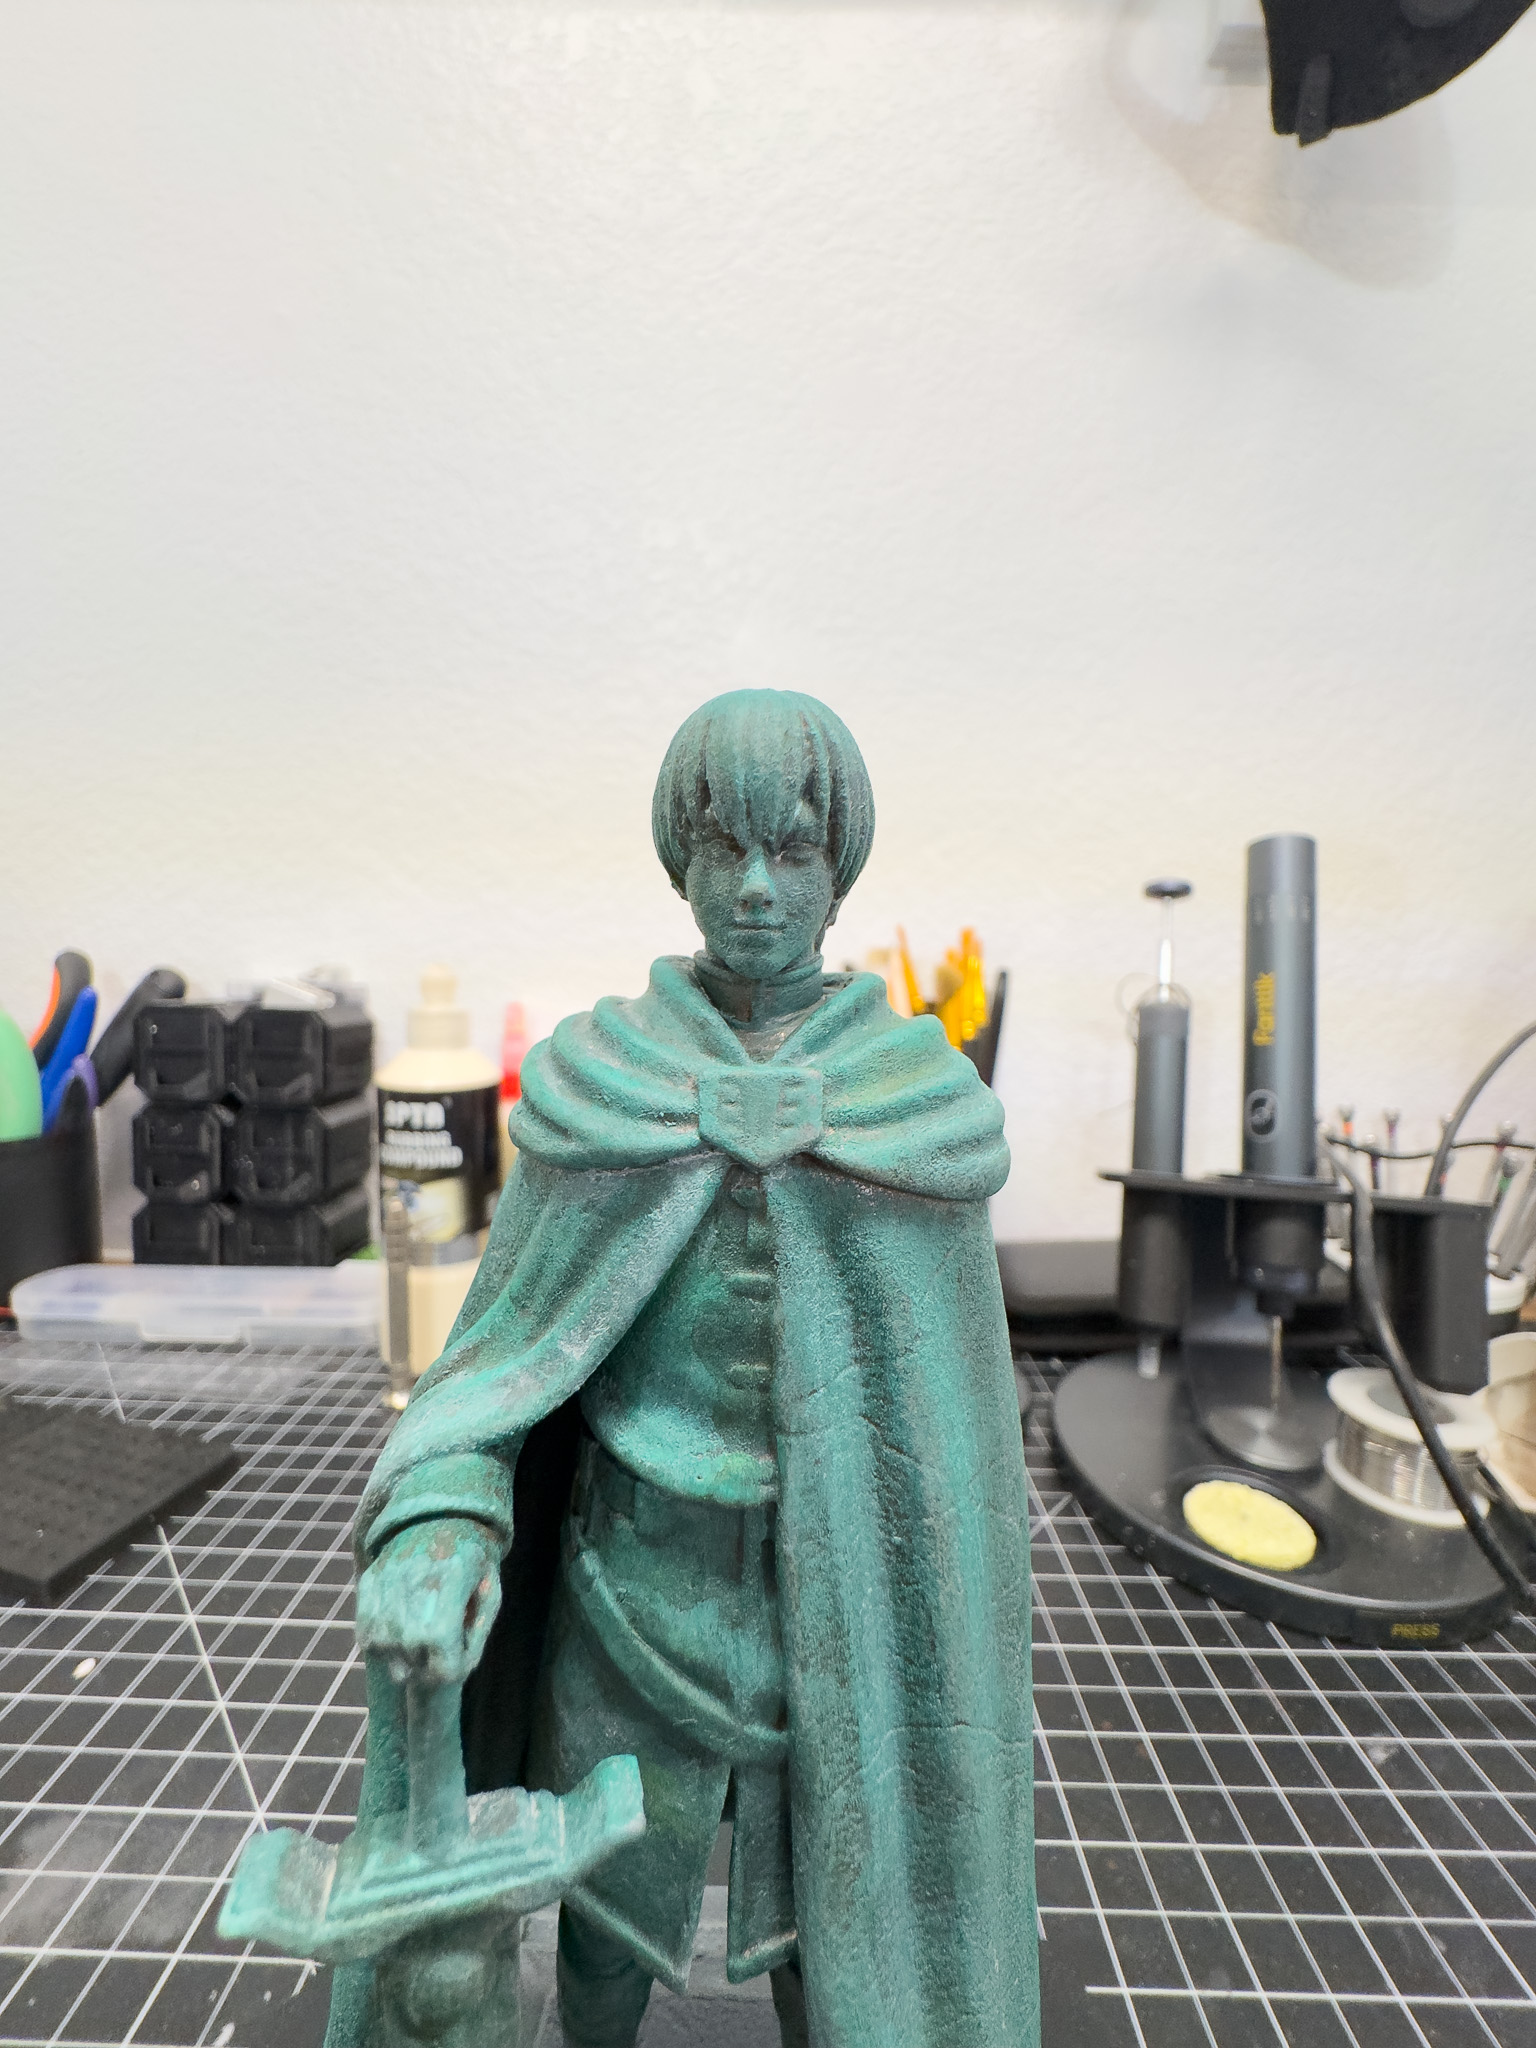
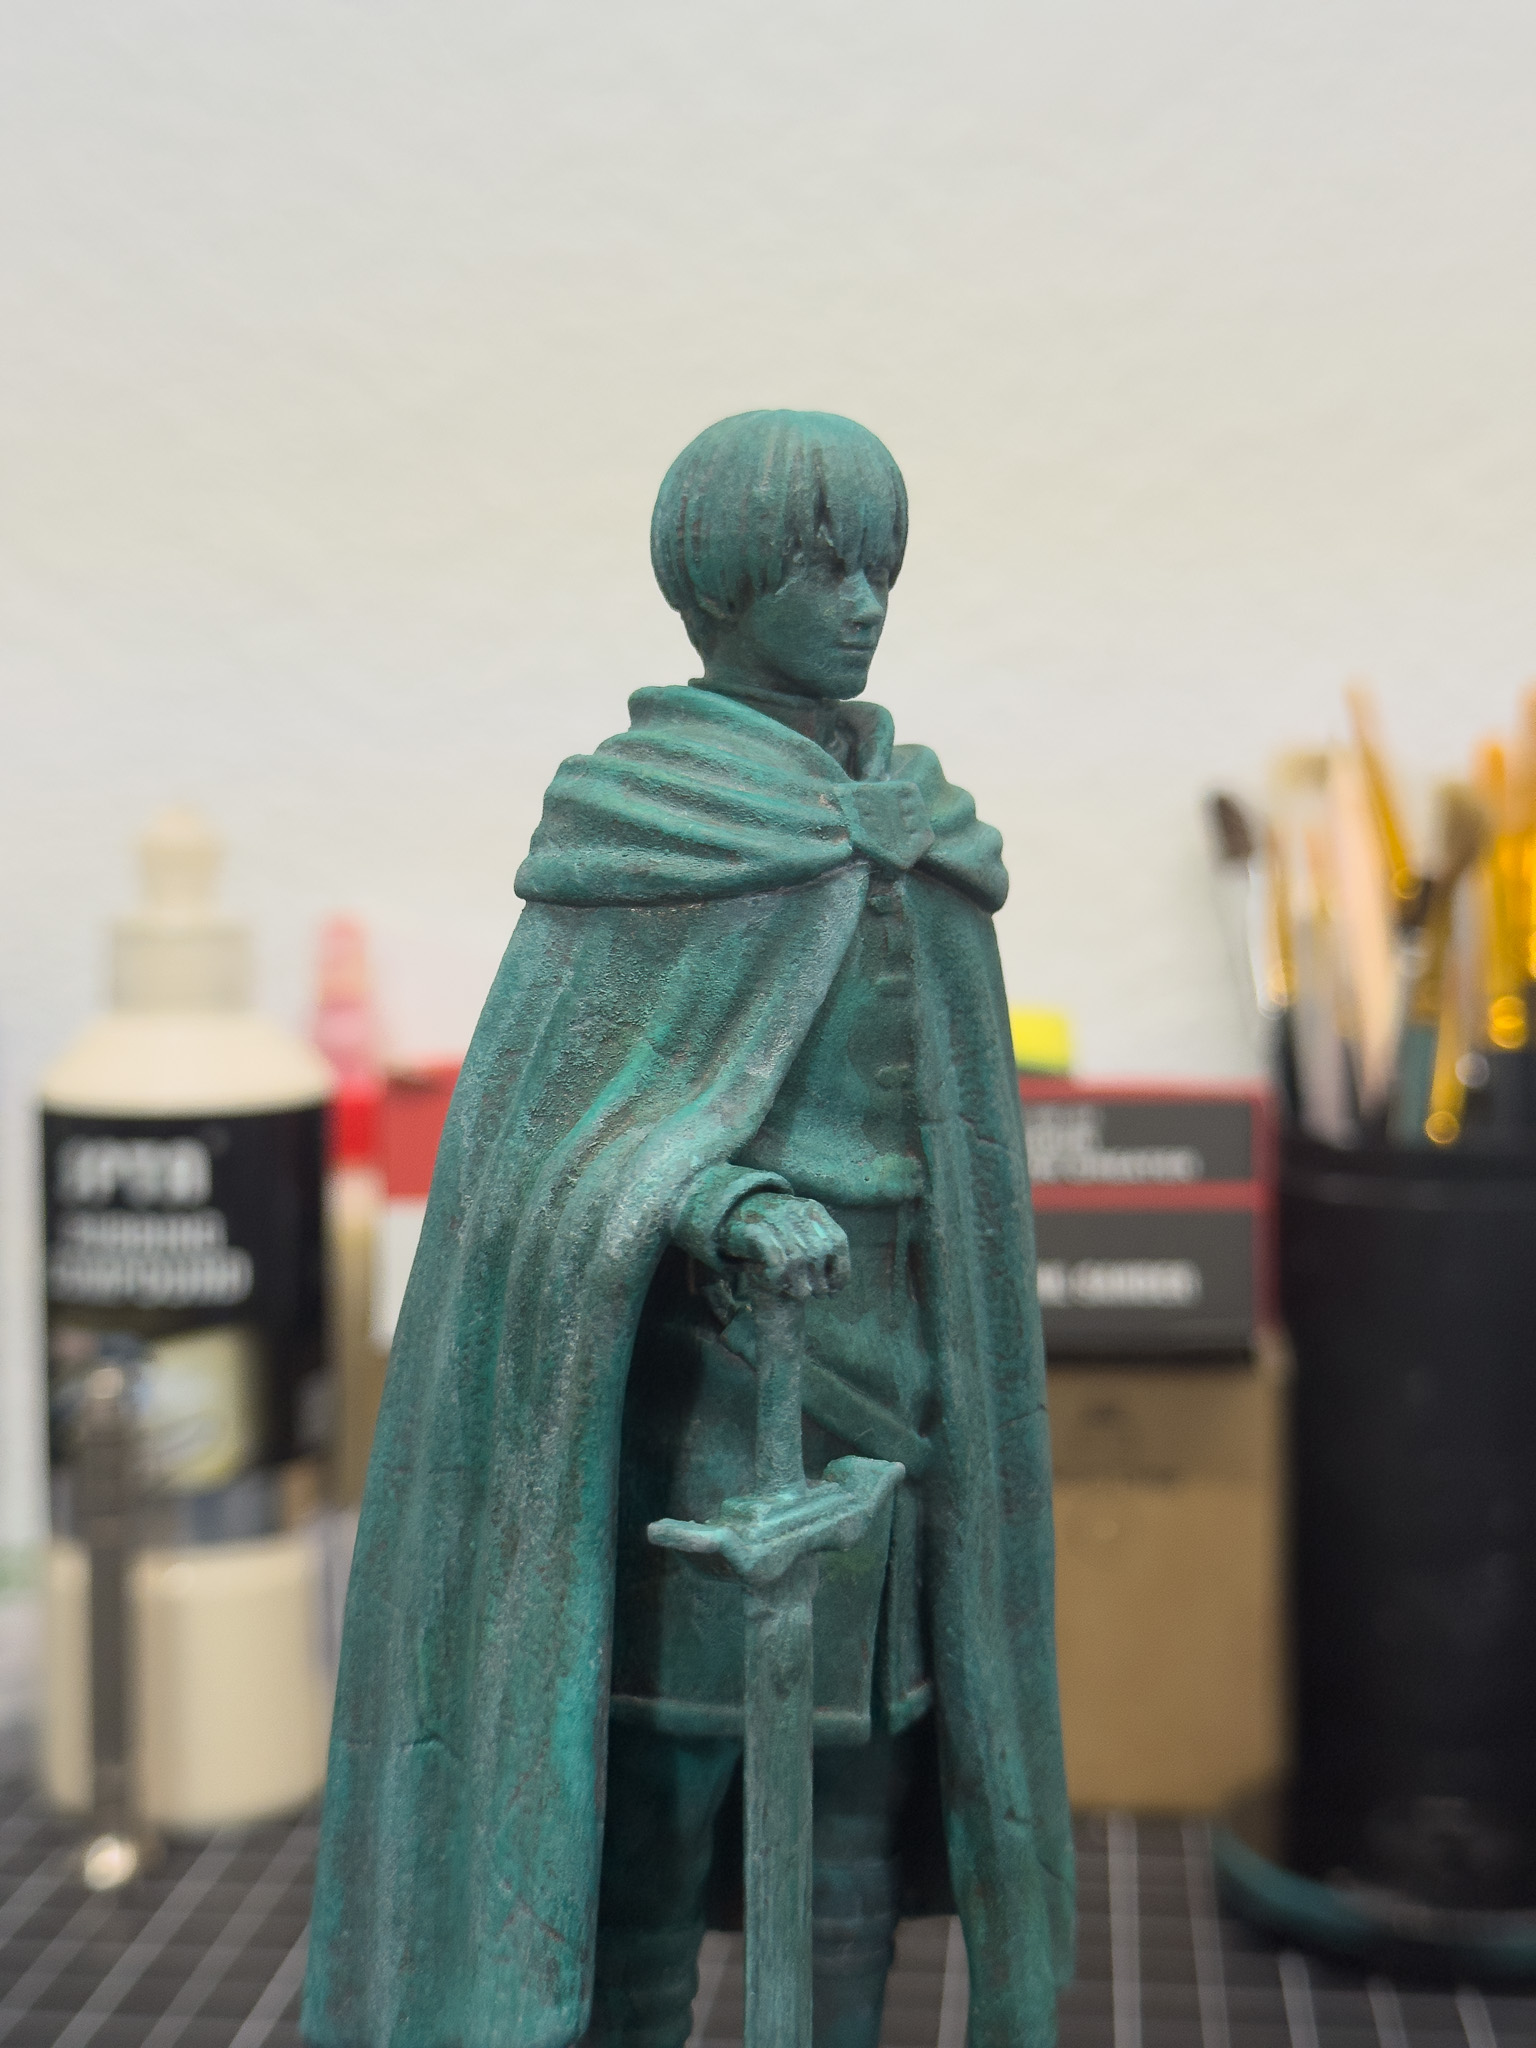
The real magic came from the greens. By dry brushing different shades of green over the bronze finish, I was able to create the oxidized patina effect that naturally develops on bronze statues over time.
The green tones were concentrated around folds in the clothing, recessed details, and lower areas where moisture would naturally collect on a real outdoor statue.
Once that was finished, I came back with lighter bronze highlights on the raised surfaces to bring the details back out and create contrast.
The process was surprisingly simple. A few colors. A little patience. Lots of dry brushing. That's really all it took.
Sometimes Simple Is Better
One thing this project reminded me is that not every model needs an incredibly complex paint process.
As makers and prop builders, it's easy to get caught up in trying to add more detail, more layers, and more weathering effects.
This statue didn't need any of that. The sculpt already looked fantastic. The paint simply helped bring out what was already there.
Most of the work was done with dry brushing and layering colors until the finish felt believable.
The end result looks like a miniature bronze monument rather than a freshly painted resin print. And that's exactly what I was aiming for.
Final Thoughts
This was one of the easiest projects I've completed in a long time, but that doesn't make it any less satisfying.
The model printed perfectly. Cleanup was minimal. The paint process was simple. And the finished piece looks fantastic on display.
What I love most about this build is that it proves you don't always need a complicated project to create something impressive. A great model, a clean print, a handful of acrylic craft paints, and some simple dry brushing techniques were all it took to create a piece that I'm genuinely proud to display.
Sometimes it's nice to step away from large prop projects and spend a few days working on something simple.
No hardware. No wiring. No assembly. Just a good print, some paint, and a finished piece ready for the shelf.
Now Himmel has a permanent spot in my display collection, and every time I walk by it, I'm reminded that some of the most enjoyable projects are also the simplest.
Project Status
100%Completed
Techniques
Materials
Resin, Acrylic Craft Paints, Primer
Complete Build Gallery
All documentation photos from the build process.